
We have already installed the new baseboards for the main level of the house and we wanted to replace all of our door trim to match the new baseboard style. We decided to break up the project into smaller sections because we just needed a bit of a break from massive projects. (And we might replace our hollow-core interior doors at some point as well.) So, for this project, we just tackled the master bedroom and kitchen doors.
We went ahead and purchased a new master bedroom door – one that wasn’t hollow – and decided to go ahead and replace the trim along with the door.
We made our own trim out of 1×6 pine. In order of the door trim to look less plain, we added a bit of a stand-off detail surrounding the frame. The detail is also made from a ripped 1×6 turned on it’s side.
Assembly (with pocket screws) down in the garage:

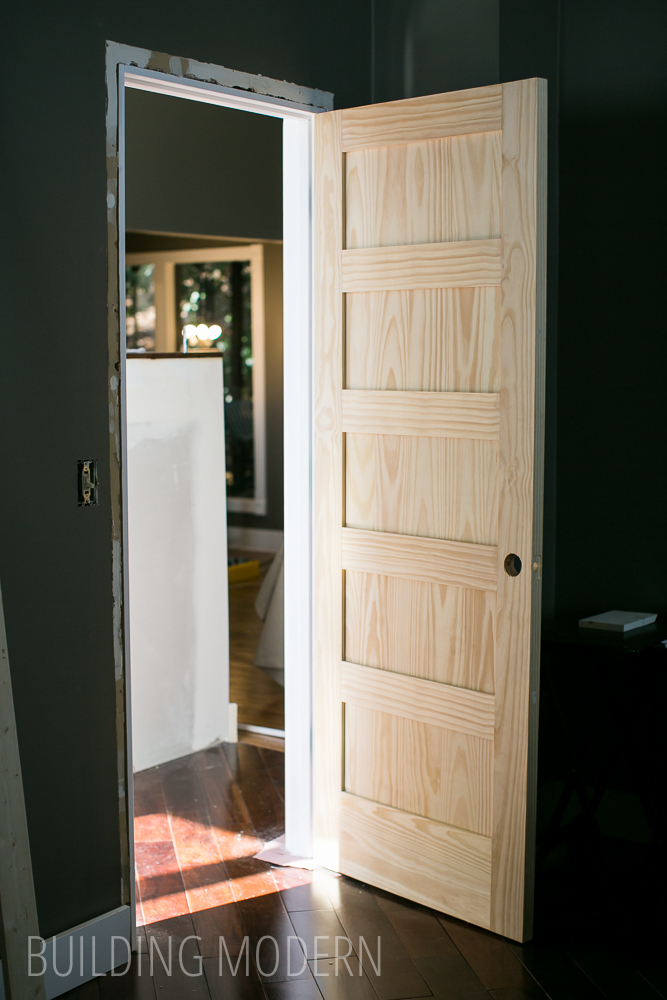
The installed door frame. It literally was just bringing it upstairs, nailing it in place and adding the decorative edging.

We painted the trim in place and will caulk at a later date:

I didn’t want to take the door off of the frame, so I just used frog tape to protect the hardware

We chose the most plain door we could find. We considered a flat door, but realized that it would just look like a cheap hollow-core door.
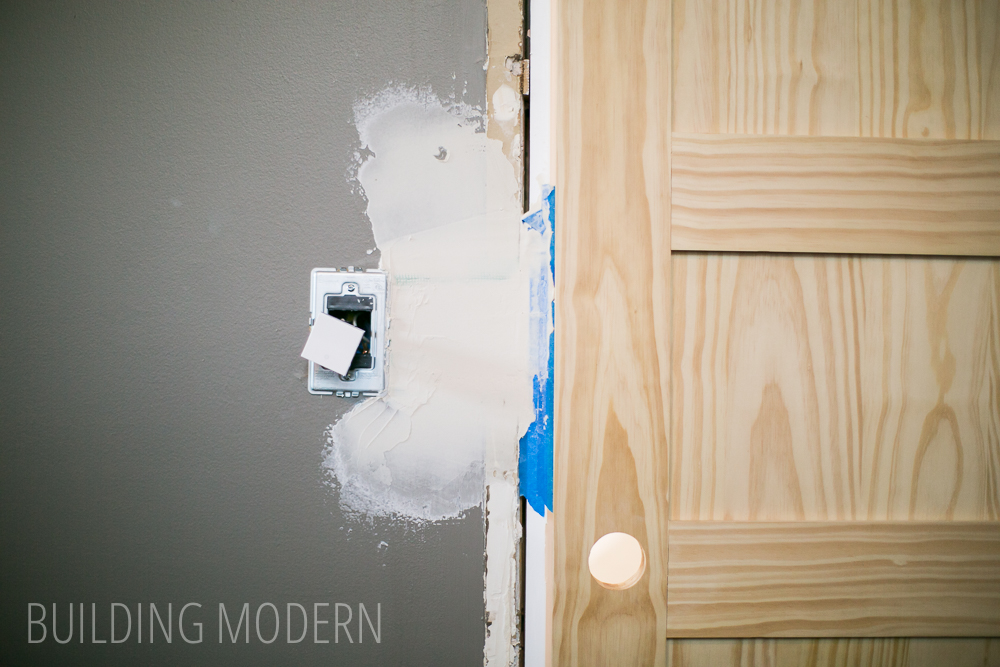
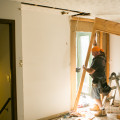
In the bedroom, the new trim would be too wide and wouldn’t work with the current location of the light switch. Here, you can see the unpainted strip on the wall where the old trim was.

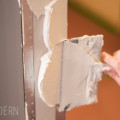
Spencer moved the switch over a few inches. Here is the new Legrand switch with a awesome first coat of drywall mud. Additional things you might notice: green mesh tape under the mud – to patch the hole and blue painter’s tape protecting the door jamb from all that sloppy mud. Also, you can see a shim that we used from installing the pre-hung door jamb.
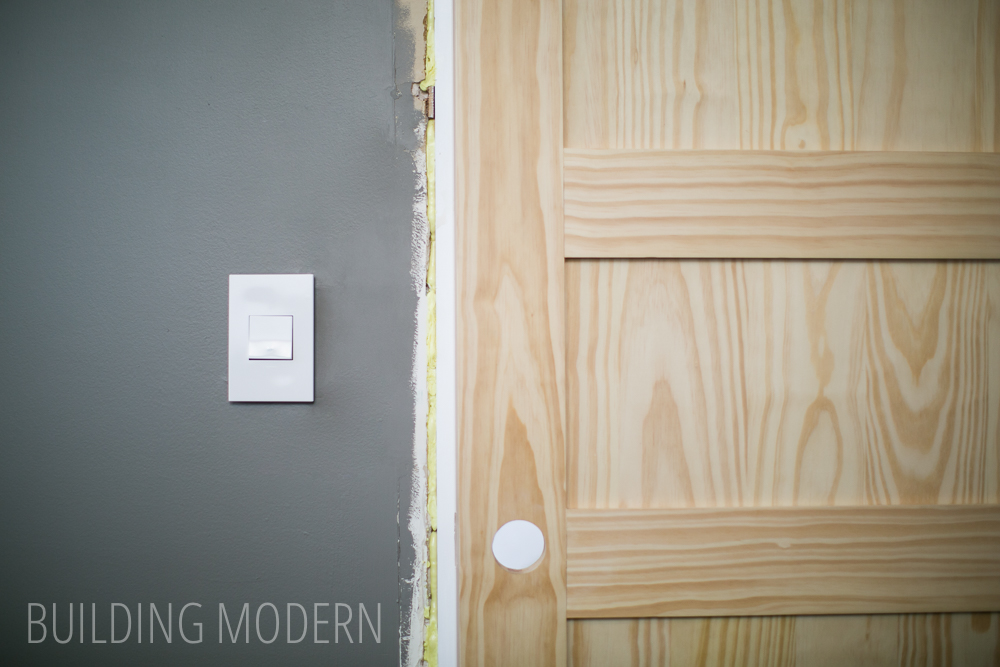
We filled the gap with “door” spray foam – for even more privacy, painted the wall, and installed the switch’s face plate:
Since I didn’t want to deal with possibly getting white paint on the grey walls, I filled any inconsistencies or knots in the wood and pre-painted the next door frame.

Painting inside the house is nicer than the garage:

We installed the second door frame just like the first.
While we were at it, we made a frame for the only door in the kitchen that actually needed a door or frame. (The other two are just openings). Here, you can see that I filled the nail holes and knots with wood filler. The update to the door itself is that it came from my mom’s house – it is still a hollow-core door, but it was already painted, so it saved me the effort.

I took the door off in order to paint the frame. This door only received one new frame: inside the stair well, the walls were too close to the original frame – the new, wider style just wouldn’t fit. I climbed in there and painted the original trim white… it truly is one of those things you wouldn’t notice.

Yay door frames! Only two more (double sided) doors for the main floor to go. We should replace the trim on our master bedroom closets as well – but I’ll save that for a later time.
… also there are the upper bedrooms and bathroom…(and closets and all of those baseboards, I suppose) but I just painted the old trim so that’s not happening any time soon. As for the basement, it is just getting neglected. It’s a basement.
Overall though, I am pretty happy with the new door frames to go along with our new baseboards!

I know this is an old post, but we’re looking to replace our front door and I never had to think about trim before. I didn’t know it until I saw it, but this is exactly the style I’m looking for. Love how it turned out!
Hello! I LOVE that door as is. May I ask what type of wood it is and where you purchased it? THANK YOU!
Hi Karyn!! We purchased this door from Randall Brothers in Atlanta. It’s a custom-made door that they offer at a reasonable price. Of course, the moulding we made ourselves. I hope this helps!! – Spencer 🙂