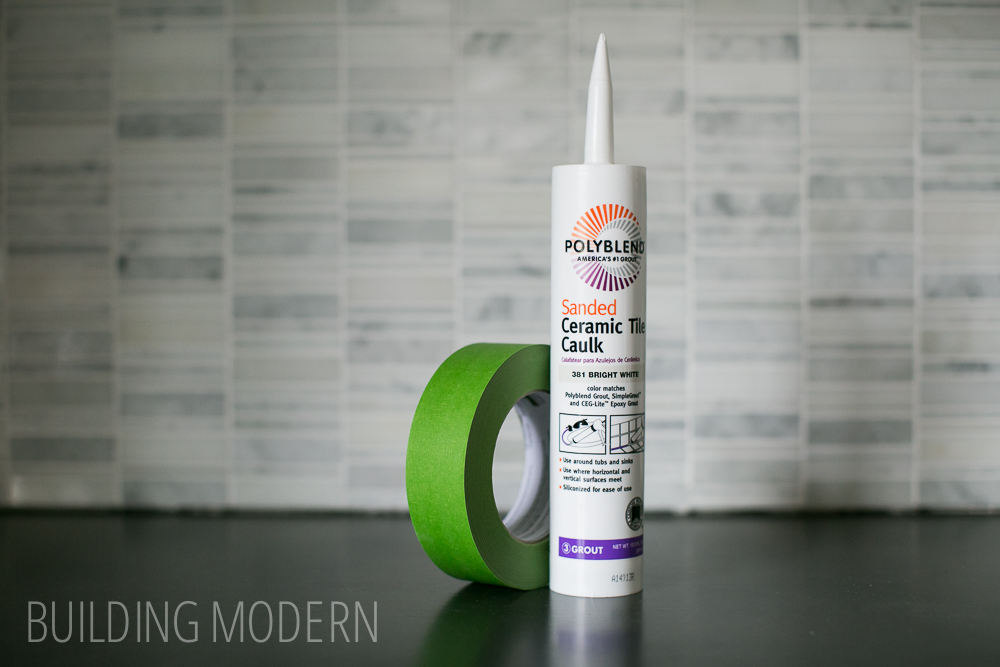
Time for the finishing touch on the kitchen tile backsplash! We used white sanded caulk so the caulk looked a bit more convincing: more like grout, less like caulk. (We did this even though the grout we used for the tile itself was unsanded.)
The steps were pretty straight forward:
– make sure the surfaces are clean
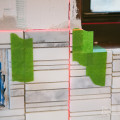
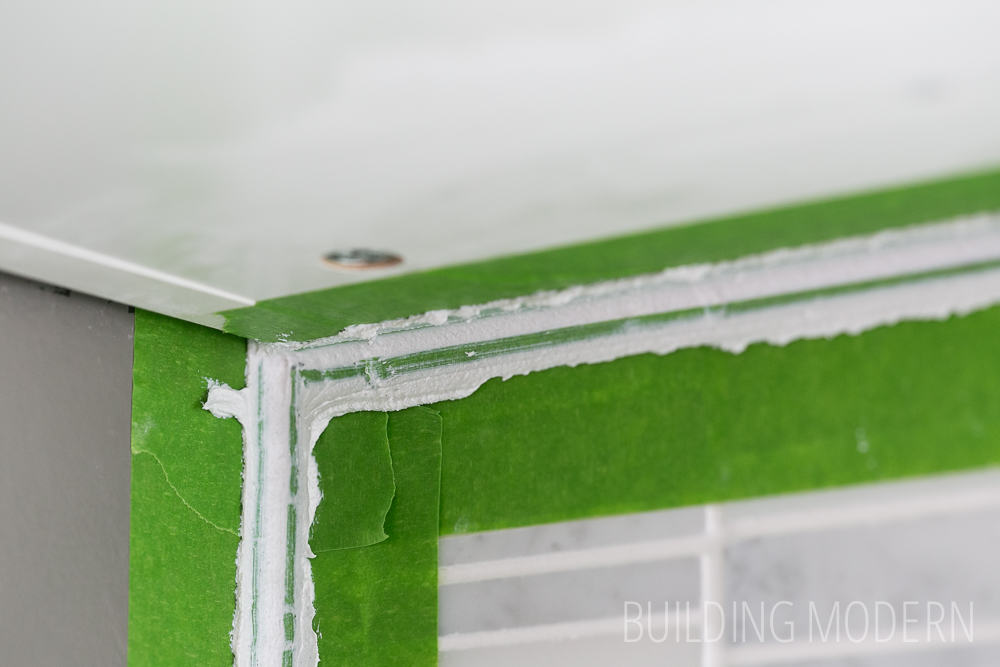
– lay down painters or frog tape as a guide – it will result in a clean line of caulk
– apply caulk
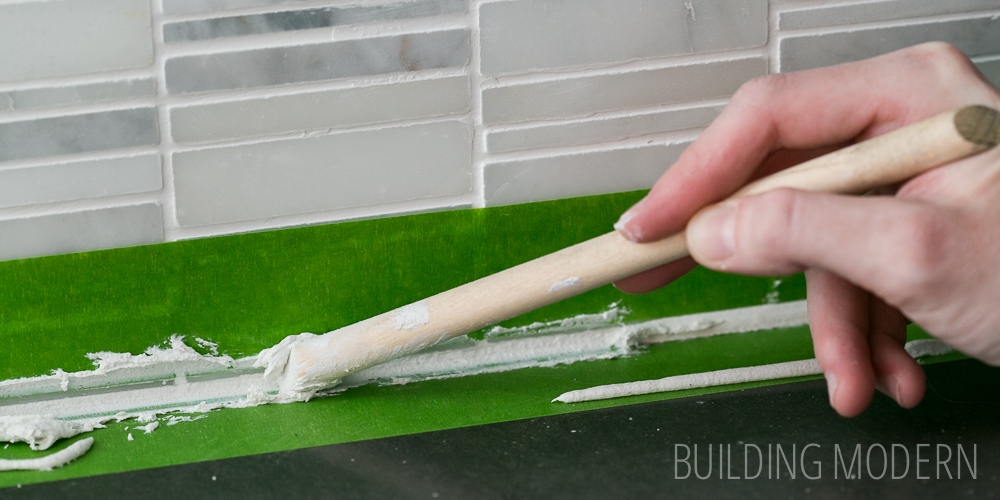
– smooth caulk with the dowel that’s cut at a 45 degree angle
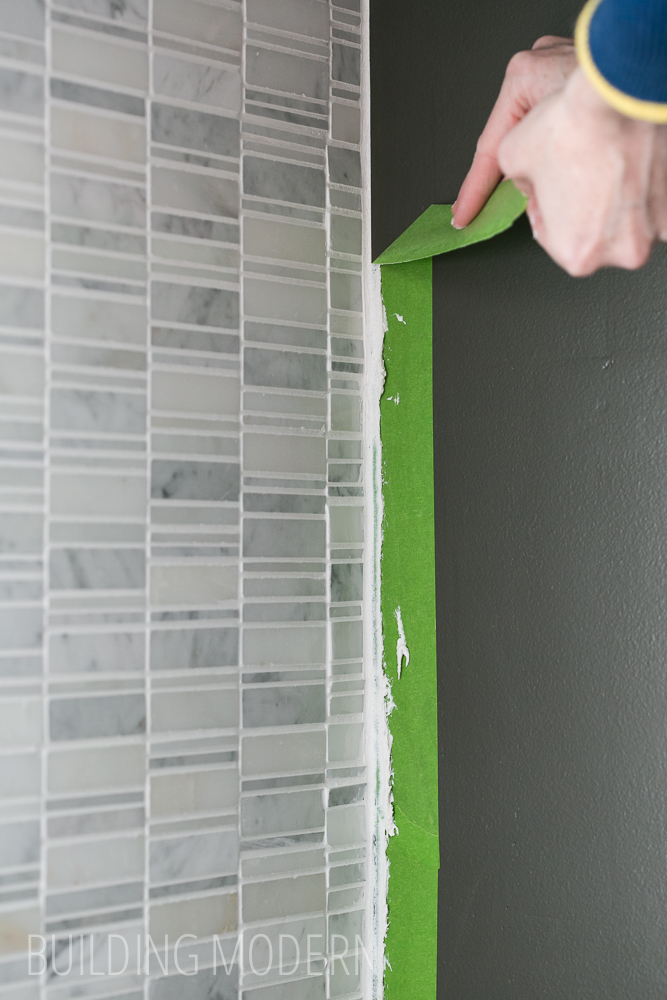
– remove tape
Only two consumable materials needed: caulk and frog tape.
The “tools” needed: caulk gun, dowel, & paper towels.
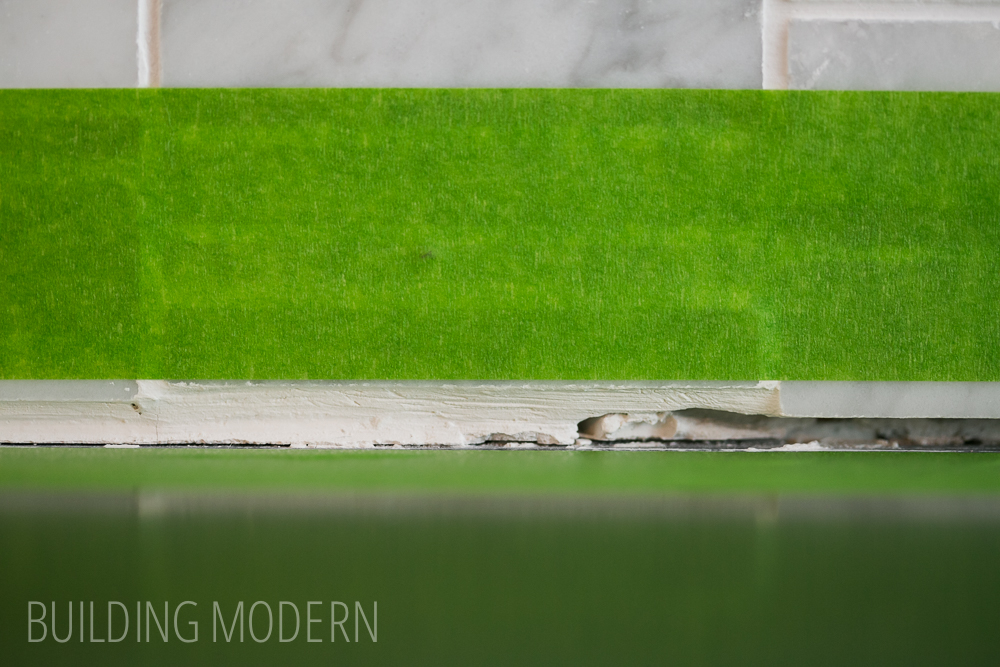
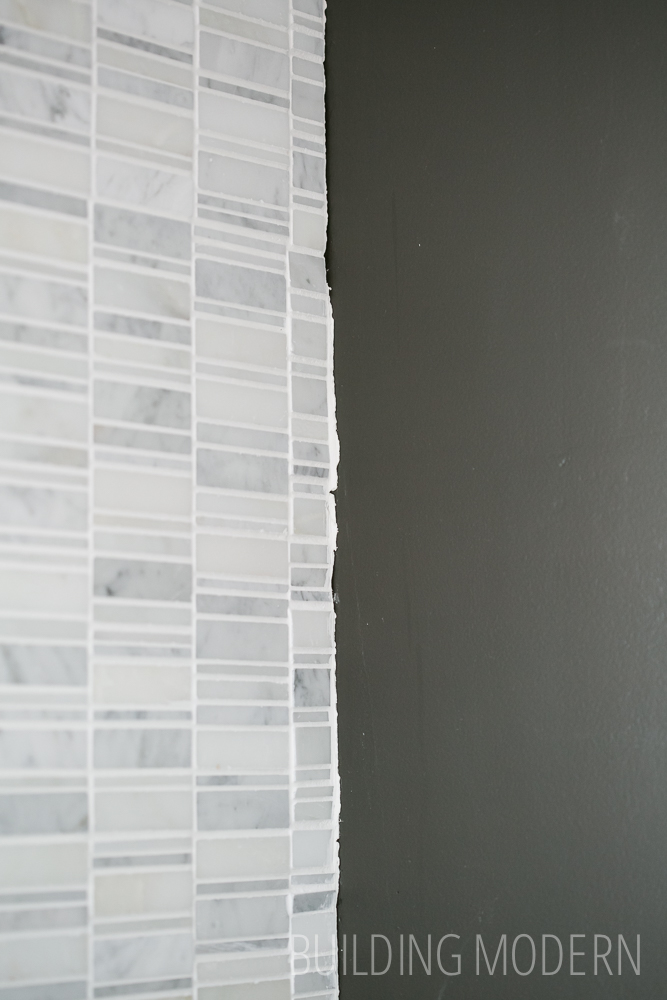
Here, you can see I needed to place the tape high up enough to compensate for the tile that was farthest away from the countertop surface.
Tape protecting both surfaces:
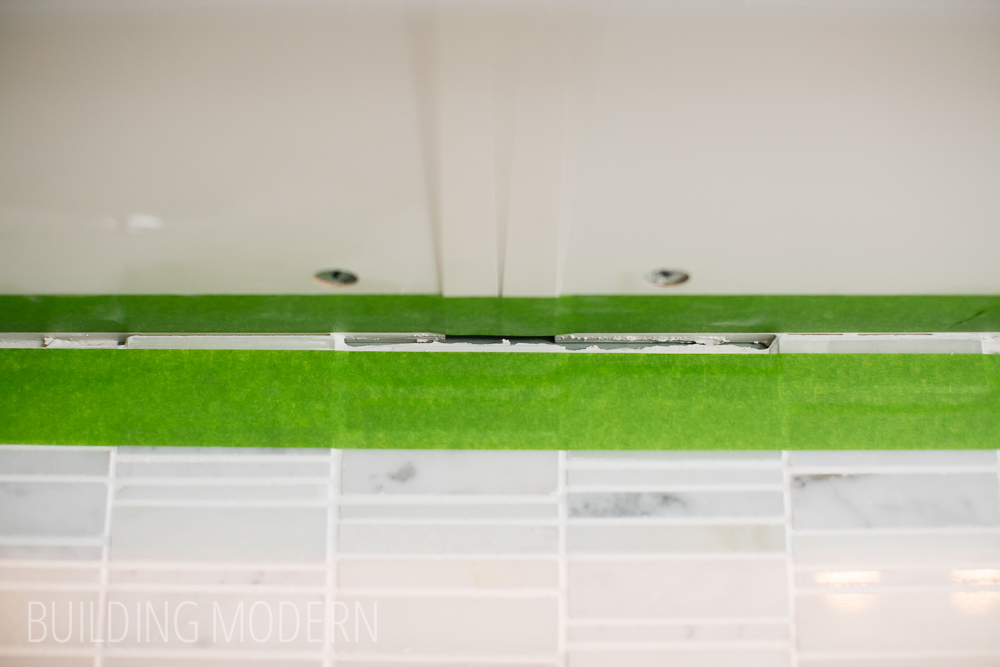
Covering the area under the wall cabinets:
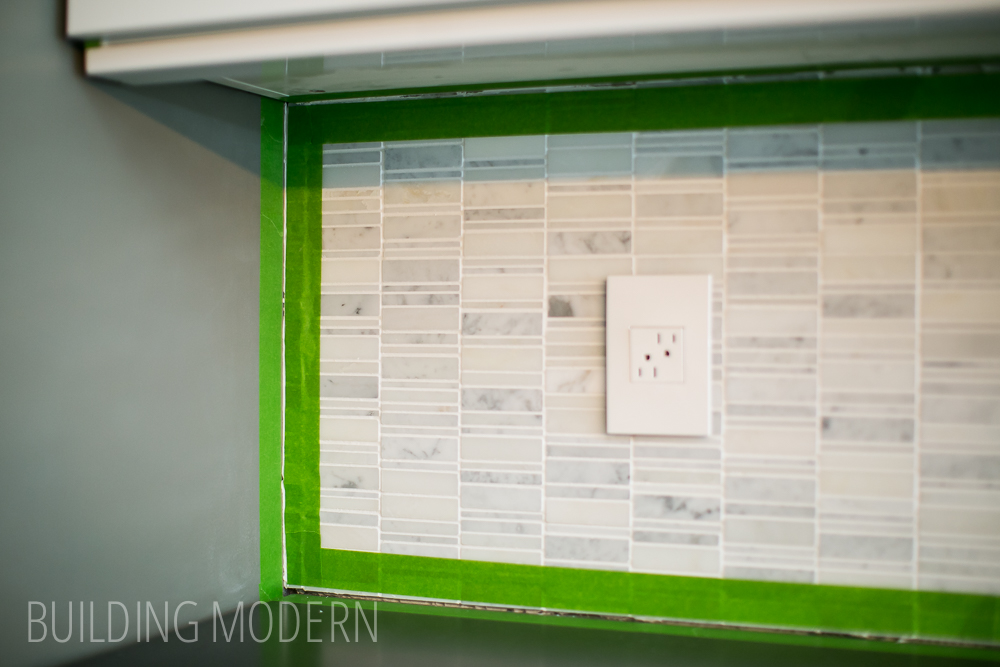
The prepped space with frog tape:
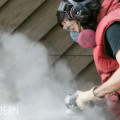
Sorry – no photos of the actual caulking process – it’s one of those things you really need two hands for… at least my caulk gun: that thing was ridiculously difficult to squeeze. But all there is to it is piping enough caulk in the area so you don’t end up with air bubbles when you go to smooth everything out.
Smoothing the grout with a dowel:
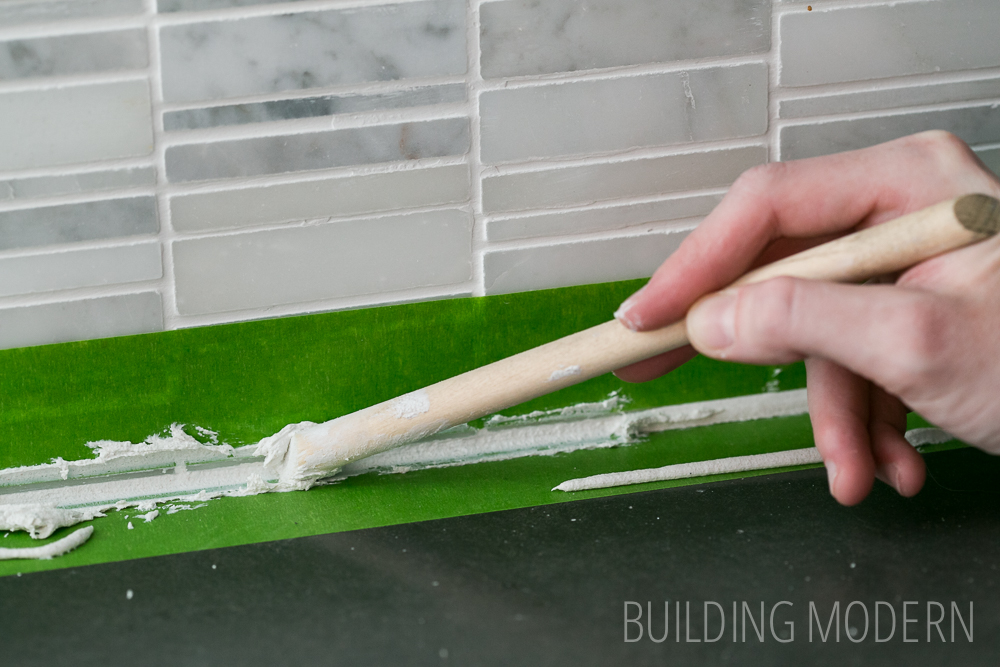
This stage was somewhat messy, I had paper towels on hand to periodically wipe off the excess caulk from the dowel. But, again, you need enough caulk so you don’t have inconsistencies or air bubbles. It will seem like there is a lot of wasted caulk unfortunately.
The smoothed caulk before the tape is removed:
Carefully pull the frog off the tape from of the tile/wall, maintaining even pressure & a good angle – all while trying to keep the excess grout on the tape:
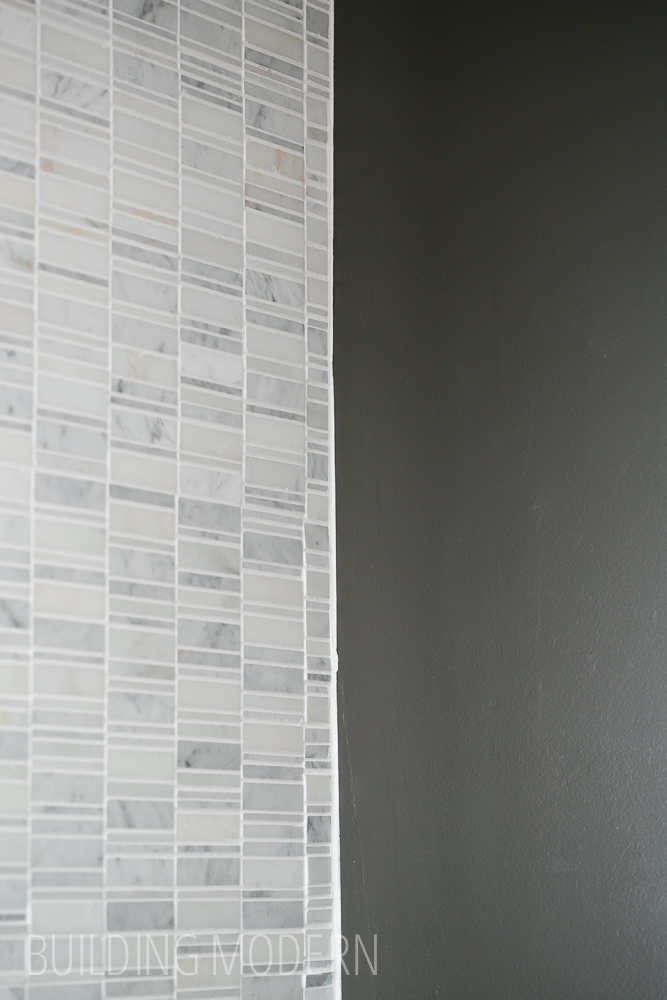
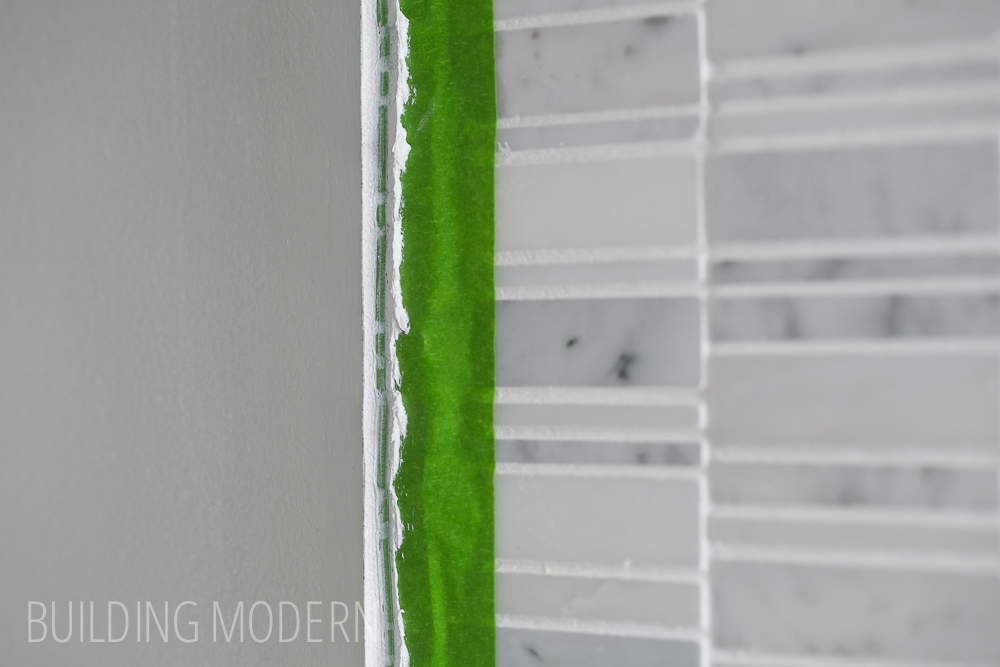
A nice, clean line:
Oh, so simple sounding. But, like all things, these steps do take time. And, really, compared to other projects – this portion of this particular project was a snap.
Taping just took precise attention to getting clean corners. Applying the caulk is not fun when you have a cheap caulk gun & have to squeeze the gun with all your might – resulting in sore hands. I can’t complain about smoothing the caulk – just be consistent & try to feather the ends when you have to lift the dowel away from the caulk. Removing the tape is just plain fun.

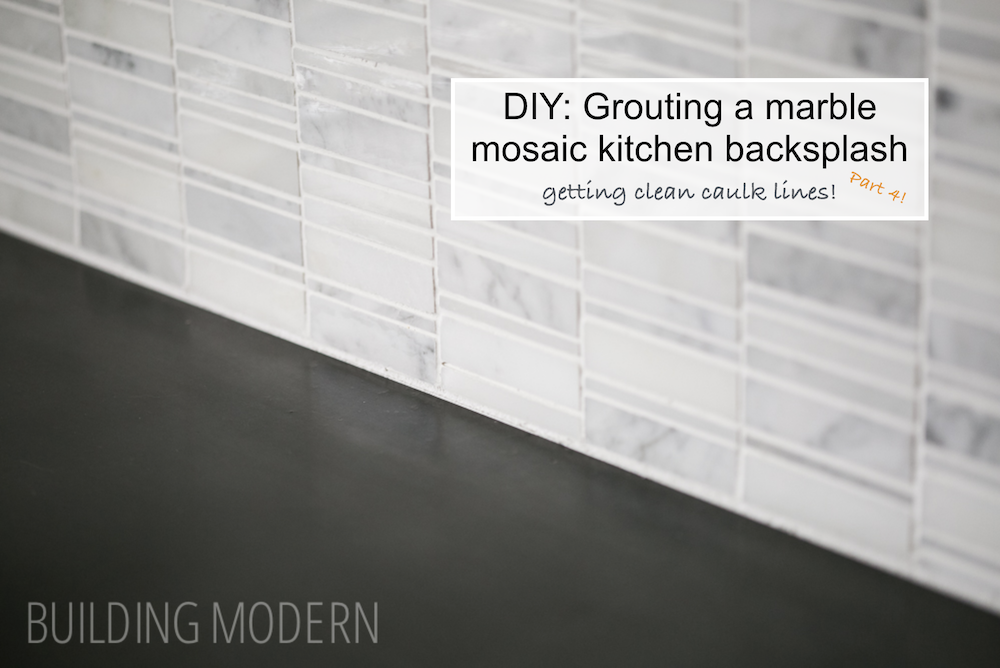
Nice, pretty finished backsplash tile against our concrete countertops!

Here’s a before & after for you:
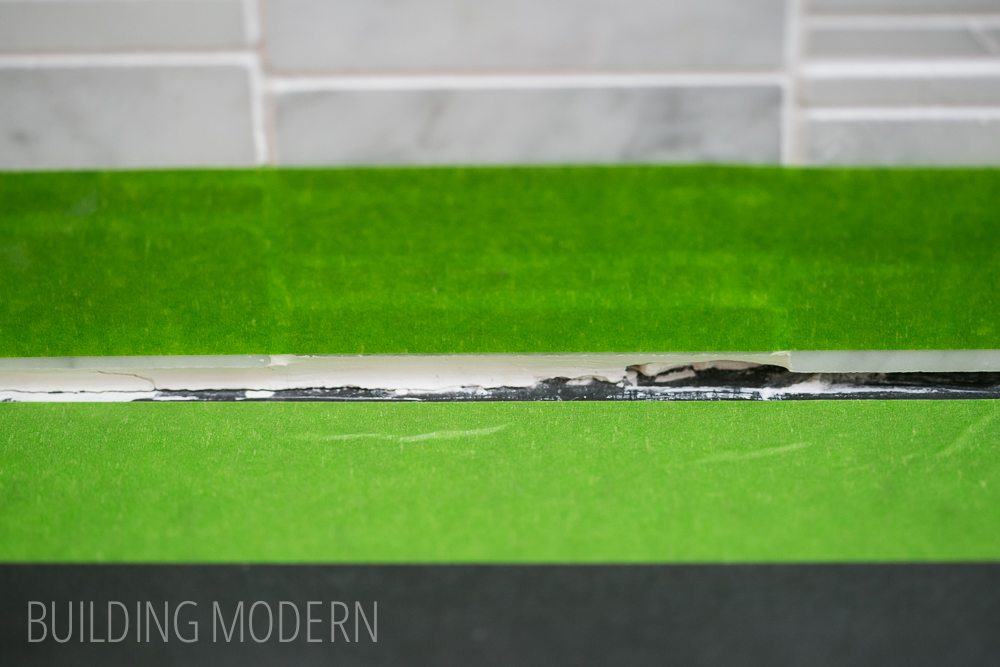
Before caulk on the especially uneven grout against the wall:
After: