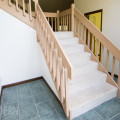
After we removed the linoleum & underlayment in the kitchen, we moved on to the foyer. Destruction of the foyer tile was next on our list because we wanted to complete all the messy demolition at once. The kitchen floor was simple to remove – it took only one day. The foyer tile however, was another story. The day after we completed demo & clean up of the kitchen floor, we started on the foyer.
We did look into tile scrapers, but I wasn’t keen on spending extra on a one-time-use tool. Different brands were around $25 – $30. (Due to price, I didn’t even consider an electric version.)
The foyer tile before:
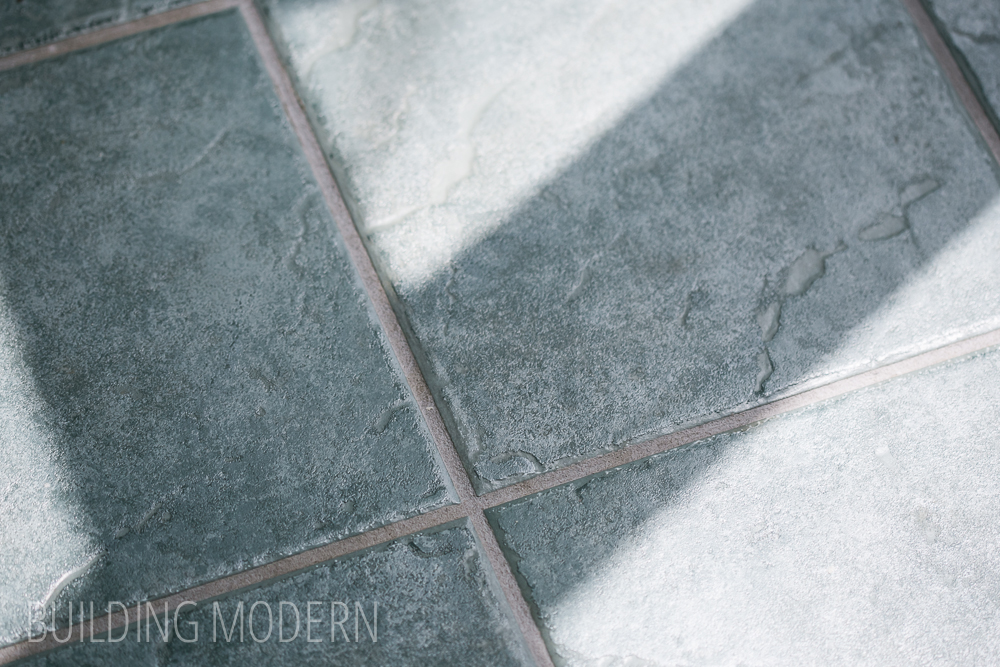
Ultimately, I just started smashing tile with a hammer & pry bar. I would place a grubby towel over the tile while I was hammering so the little chips would be contained. Under the tile was a mesh backing that I could sometimes rip up with the pry bar. Tile smashing was slow going. I only had a few tiles removed before we had to go out of the country to shoot an engagement session. At this time, Spencer’s cousin, Wade, moved in with us while he was looking for a place to rent in Atlanta. While we were gone, he smashed some tile for us, but he still only was able to remove a few more square feet. We were able to remove maybe… fifteen tiles total or so. While some of tile could be smashed & removed, the motor was defiantly still adhered to the subfloor.
At this time, I was watching Youtube videos on how to remove the thinset from the plywood subfloor. (Actually, there were few on this topic – most were about how to remove it from a concrete floor.) The conclusion I came to was basically you had to use an angle grinder. The best video I could find at the time (that did show thinset removal from plywood) was not super informative. Visually, it demonstrated that a grinder could be used on plywood & it also showed specifically a concrete grinder pad in use… but the person never said the brand and we were never able to find anything that looked like it. In the video, most of the thinset was already removed, but in our case, it was still so thick that you couldn’t even see the plywood. I think i f we had tried using a grinder, we would have burned through a lot of grinding wheels/pads.
But before we made any more progress, I had an emergency room visit & needed surgery. (Not reno related, just a spontaneous medical emergency.)
So, our diy demo was put on hold as I waited a week to have surgery. We were also told that I wouldn’t be able to lift anything over ten pounds for two to three weeks post surgery. So, during my time out, we hired a contractor for two days to address the foyer (among other things.) It was their opinion that the best thing to do was to pull the entire subfloor.
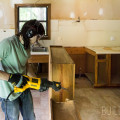
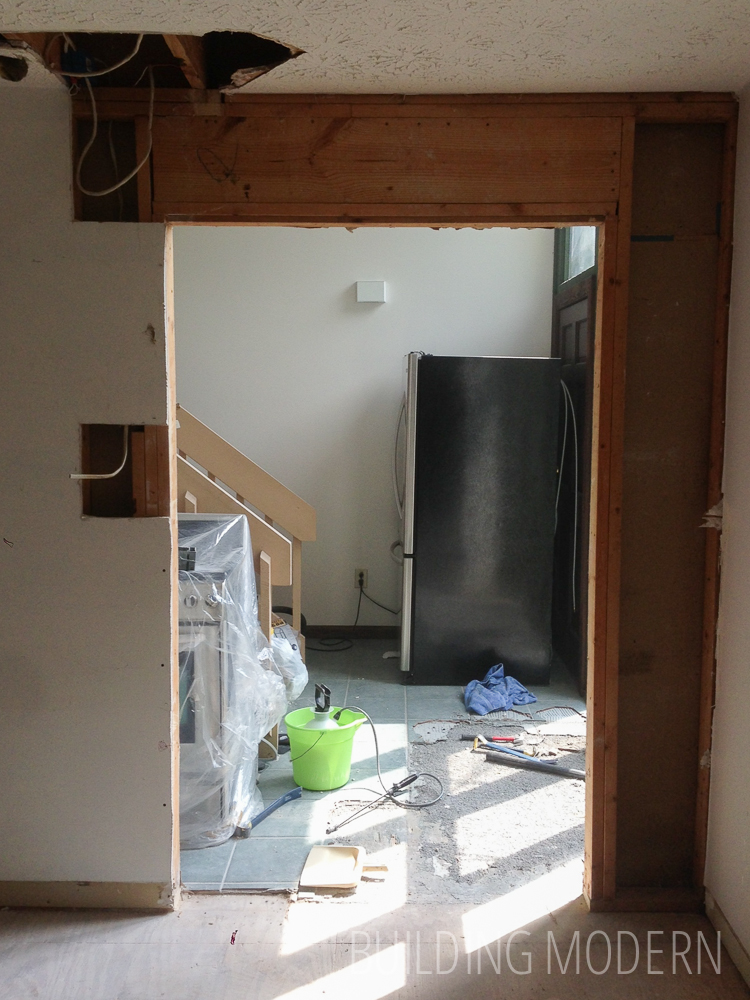
Here are some images from that time. I apologize for all of the following images being iPhone photos, but I was out for the count. The following photo is actually one Spencer texted to me so I could see what was going on.
You can see the little progress we had made with the tile before the contractor started work on they foyer. Also, notice how much thinset was still stuck to the floor. The weird nook in the foyer was pretty handy for storing kitchen appliances, by the way. (In this image, they had already started work on the foyer/kitchen door frame…which, I will get to in the next post.)
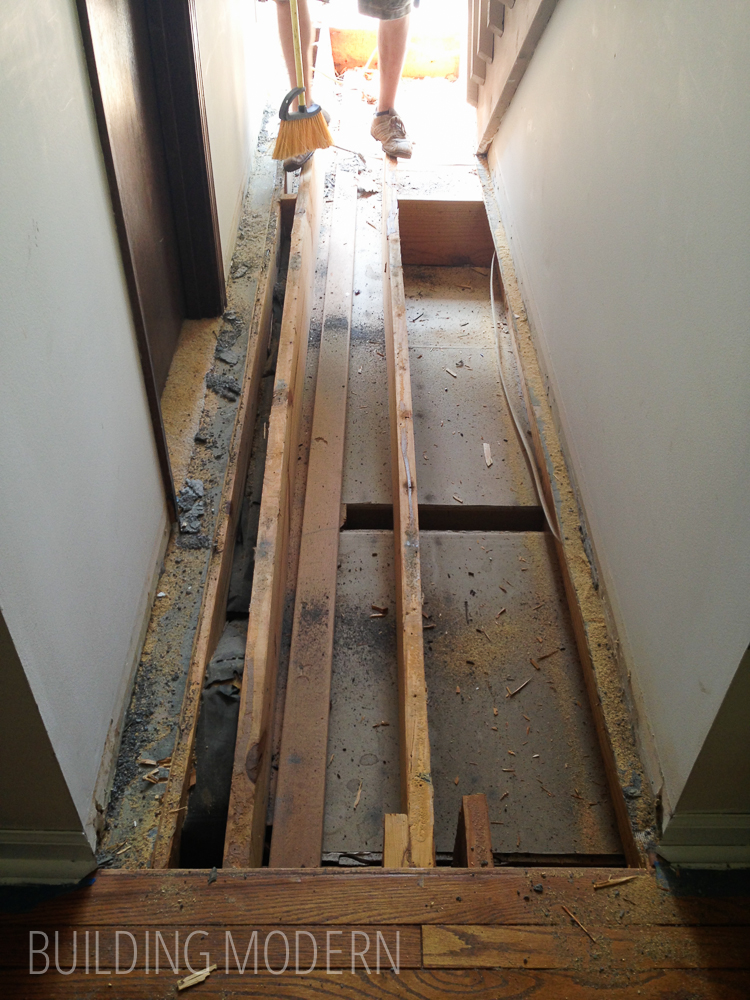
Spencer says the guys used a circular saw and cut straight through the tile and the subfloor – I was must have been out of it for all of this demo because I was in the next room and don’t remember hearing anything. I barely crawled out of the bedroom with my phone to take photos like a zombie – must. document. progress. …then back to bed.
In addition to the goal of removing the tile (and therefore the subfloor), the contractor leveled some joists in the foyer and also in the kitchen. Leveling the floor consisted of jacking up a joist and installing a support wall in the garage (this also happened in the basement for the kitchen) and removing an unnecessary joist that was contributing to the slope problem by being to high.
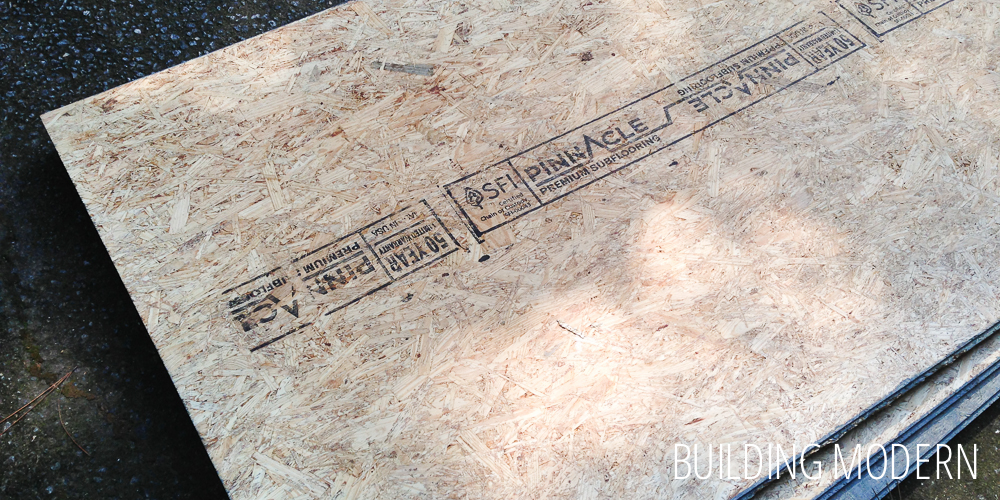
We purchased Pinnacle 50 year premium subflooring for the project – $105.

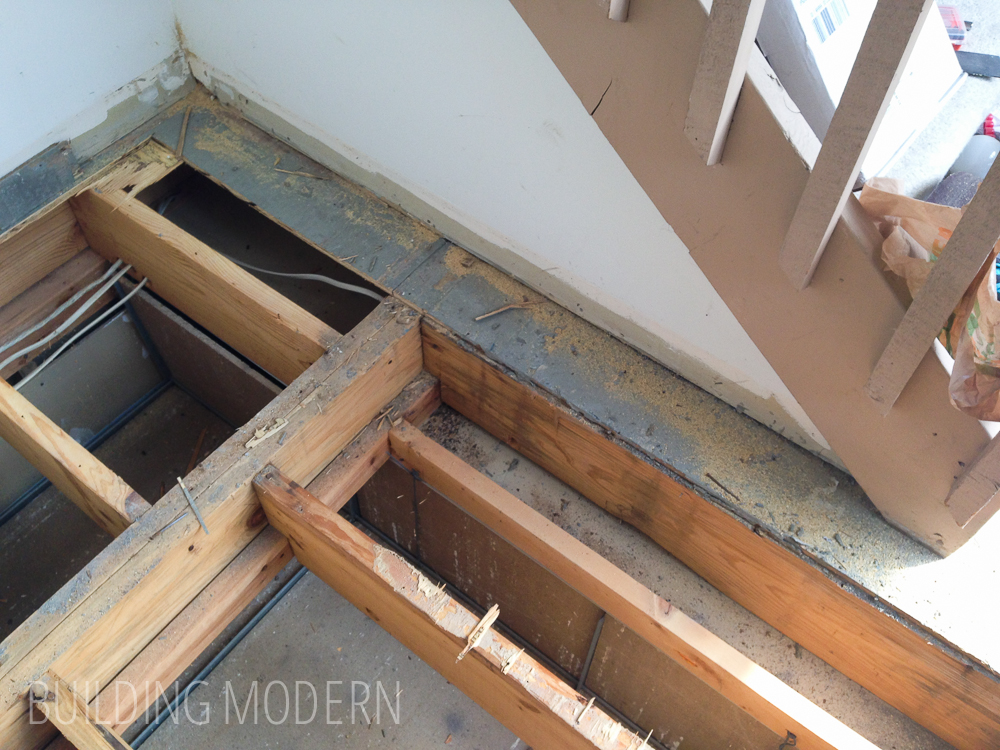
There were two joists sitting next to each other about three inches apart. The contractor had no idea why they built the house this way, but one was installed too high and was heaving the floor up. It wasn’t needed for support, so they just knocked it over and left it under the subfloor. You can also see a little bit of moisture damage near the front door opening and at the corner.

They left a little border of the original subfloor around the edges of the foyer walls. They said the walls were built on top of the plywood so it was unadvisable to pull it out.
Finished plywood subfloor in the foyer. (+ a moderately sized mess.)
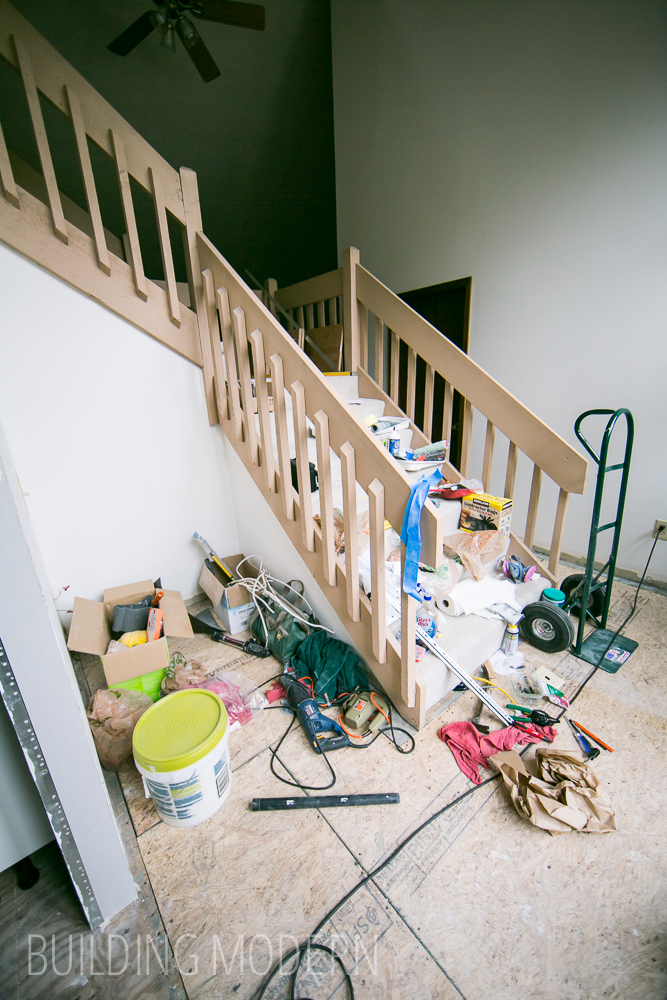
Overall, it was nice to have someone doing the work, fining something weird, and knowing how to deal with it. If we had pulled the floor ourselves, I don’t know if we would have thought of the easy solution of just knocking over the high joist. I may have thought it was there for some mysterious purpose. In retrospect, it was also very nice to have someone take care of getting the supplies, having the appropriate tools, and getting rid of the waste at the end of the day.
In the next demo post, I’ll rewind a bit and explain what we had done the first day in the kitchen (which you can see from the above image) and go a little more in depth about the joists and different quotes for the job.