Our next project is our foyer stairs.
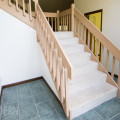
As a reminder here’s what the foyer looked like before we moved in. Green tile and chunky, beige, wooden railings… with carpet:
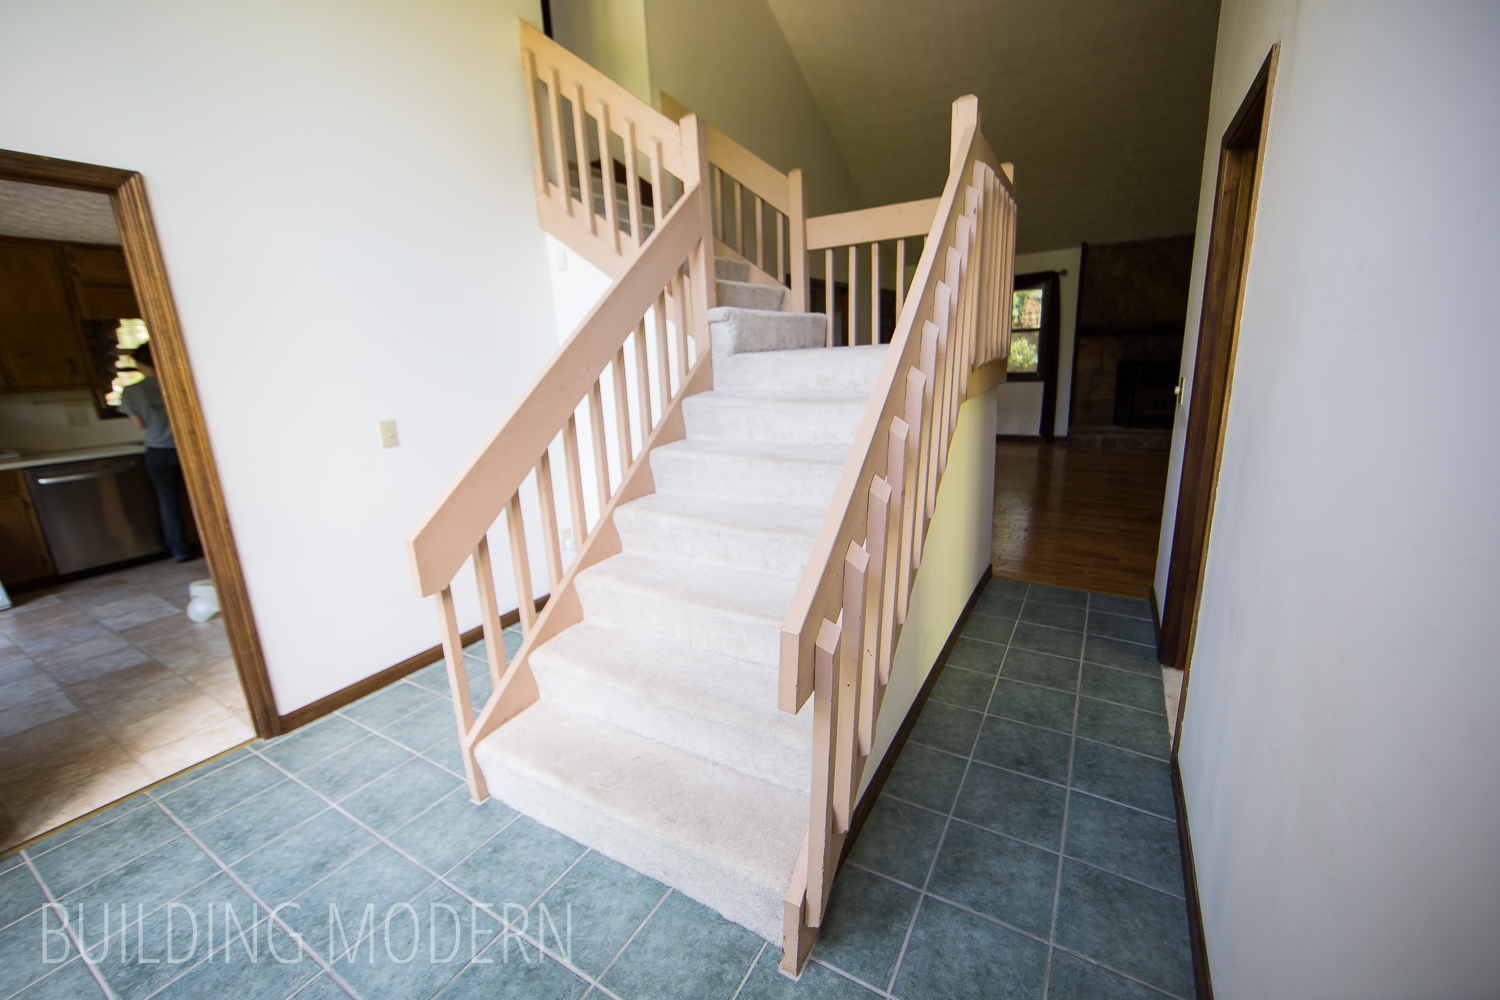
Another view from the living room:

So far, in the overall foyer, we have leveled the floor a little, removed the green tile (which meant essentially removing and replacing the subfloor), installed solid walnut flooring (in the kitchen, foyer, and master bedroom), and – as pictured below – painted the walls with a fresh coat of white paint.
We had to pull off the lower railings, baseboards, and door trim in order to install the new flooring:

Alright, now that that review is done – onto the new phase: stair demo!

I have to say, the carpet wasn’t really that dirty.


Our plan is to update the flooring: from carpet to walnut hardwood and change the railings from chunky to a more streamlined design (more on that later).
One of the challenges in this house is the “foyer hallway” from the front door to the living room. The “hallway” from wall to wall is only 33 inches (which is less than 3 ft.) wide. It’s a pretty tight space. I believe that 36 inches is more of a minimum standard… but don’t completely trust me on that. In addition to the hallway width, the original stair railing system – the side boards and pickets – intruded into the narrow space even further. The substantial pieces of wood were just imposing… and really not very good quality wood in the first place. They were also the same design as the exterior railings.

Our plan is to move the railings from the side of the stairs and replace them with ones that will sit on top of the treads. The treads themselves are four feet wide, so we will still have enough room on the stairs themselves with the new modifications.
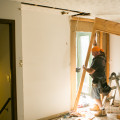
The railing system was just held in place with nails. I don’t know if they used a single screw in this house. We were able to rip off the railing pretty easily, which was a little scary.

Next: removal of the carpet pad:

It is pretty fun just being able to chuck debris over the front railing to get it out of the way:

Just a little vacuuming the grit and removing the carpet staples:

Originally we thought we would try to see if we had enough of our flooring left over to cover the treads.

We were pretty sure we didn’t have enough… or we would just barely have the right amount. In this instance, we would buy 1×6’s and paint them white for the risers.

It was close – too close for comfort. We decided that we probably didn’t have enough to be comfortable.


By the way, this is how the foyer looked from the kitchen at the time. Still on the list: paint that hunter green trim! The floor looks nice though.

So. the leftover solid walnut flooring looked like it was a no-go: but in the next post I’ll reveal our solution.

Back to demo… and, well, more problem solving:

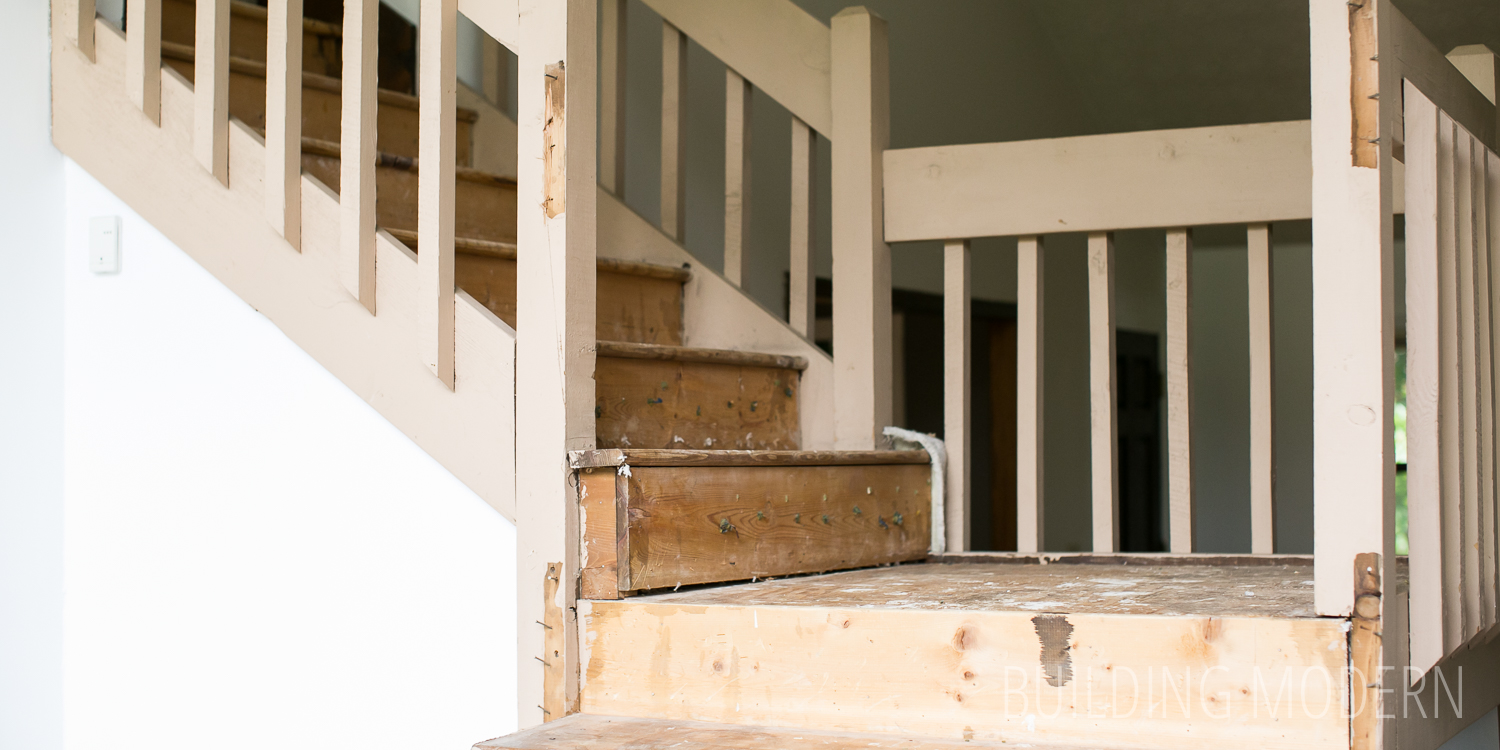
Since we will be moving the railings to the treads, we will have to deal with modifying the stair treads that currently have posts in troublesome locations:

We will have to do something about this notched-out tread in the future:

Another issue is that the drywall did not continue up and underneath the original railings. Since our new railings will be on top of the treads, we are planning to run new drywall up on the sides of the existing risers/treads. Basically, we need to fill out those little bare triangle spaces.

We simply can’t just fill out the triangles with new drywall though. We will just have to add another layer of drywall on top of the existing sheets because the current sheet sits underneath the treads/risers.

Demo phase complete!

Oh, by the way, here’s an example of mold lurking where you wouldn’t expect it – between the painted wood railing and the drywall. We haven’t found mold really anywhere else in the house, so this was a bit of a surprise. I cleaned it with diluted bleach and kept my eye on it.

Yay! Look how it opens up the space! I almost wish I could leave it this way. This would totally pass code right? Seriously though, the amount of light that zero railings allowed into the living room was surprising.

Next up: prepping the stairs for their renovation and I reveal our flooring solution!
In case you missed the other parts of this project – here they are:
Part 1: Foyer Stairs Demo
Part 2: Prepping the stairs
Part 3: Installing newel posts & drywall
Part 4: Installing hardwood treads & risers on our foyer stairs
Part 5: Installing Hardwood on the platform & temporary railings
Part 6: Sanding & diy wood filler
Part 7: Choosing a stain & finishing