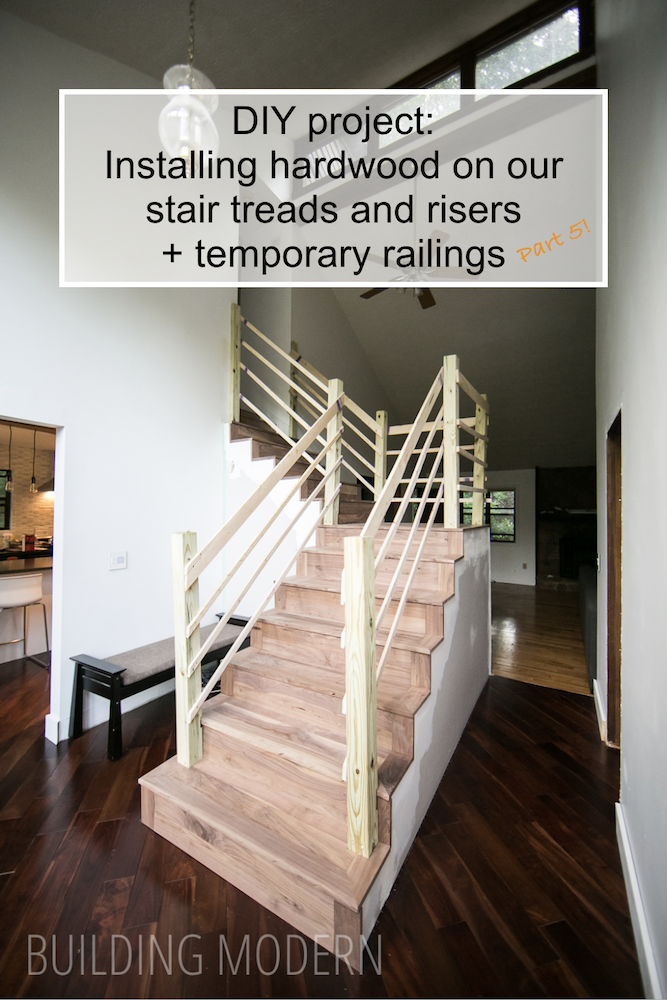
At this point of the project, we have installed all of the unfinished boards for our stair risers and treads. The only thing left is the 43 x 46 inch platform where the stairs make a 90 degree turn.
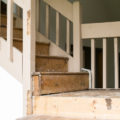
Before we installed the platform flooring though, we needed to make room on one of the risers for it’s future newel posts.
We had previously notched out the area to receive the post:

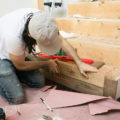
The notch wasn’t quite deep enough for the post, so I decided the best tool for the job was a chisel, a hammer, and a straight edge:

This is the first time I’d been able to use my old chisel set that I hadn’t ever actually used. I was happy to get some use out of it.

First time chiseling success!

Done and done:

Now that we had the space, Spencer drilled a pilot hole for the newel post fastener:

The spot ready for the newel post:

After we had the area prepared, we could install the last tread and riser… and also the newel fasteners. Here is the other side of the same stair – this was the most complicated area. You can see behind the metal fastener, we had to shim out the riser a bunch in order to make it perfectly vertical. We also needed to make decisions on what would visually look the most correct once the post was in place – how to make the turn and finish off the side of the riser. The way the stairs and old railings were previously structured, it made the edge of the stair not as deep only on this corner. I think it won’t be strange looking once the post is installed.

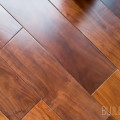
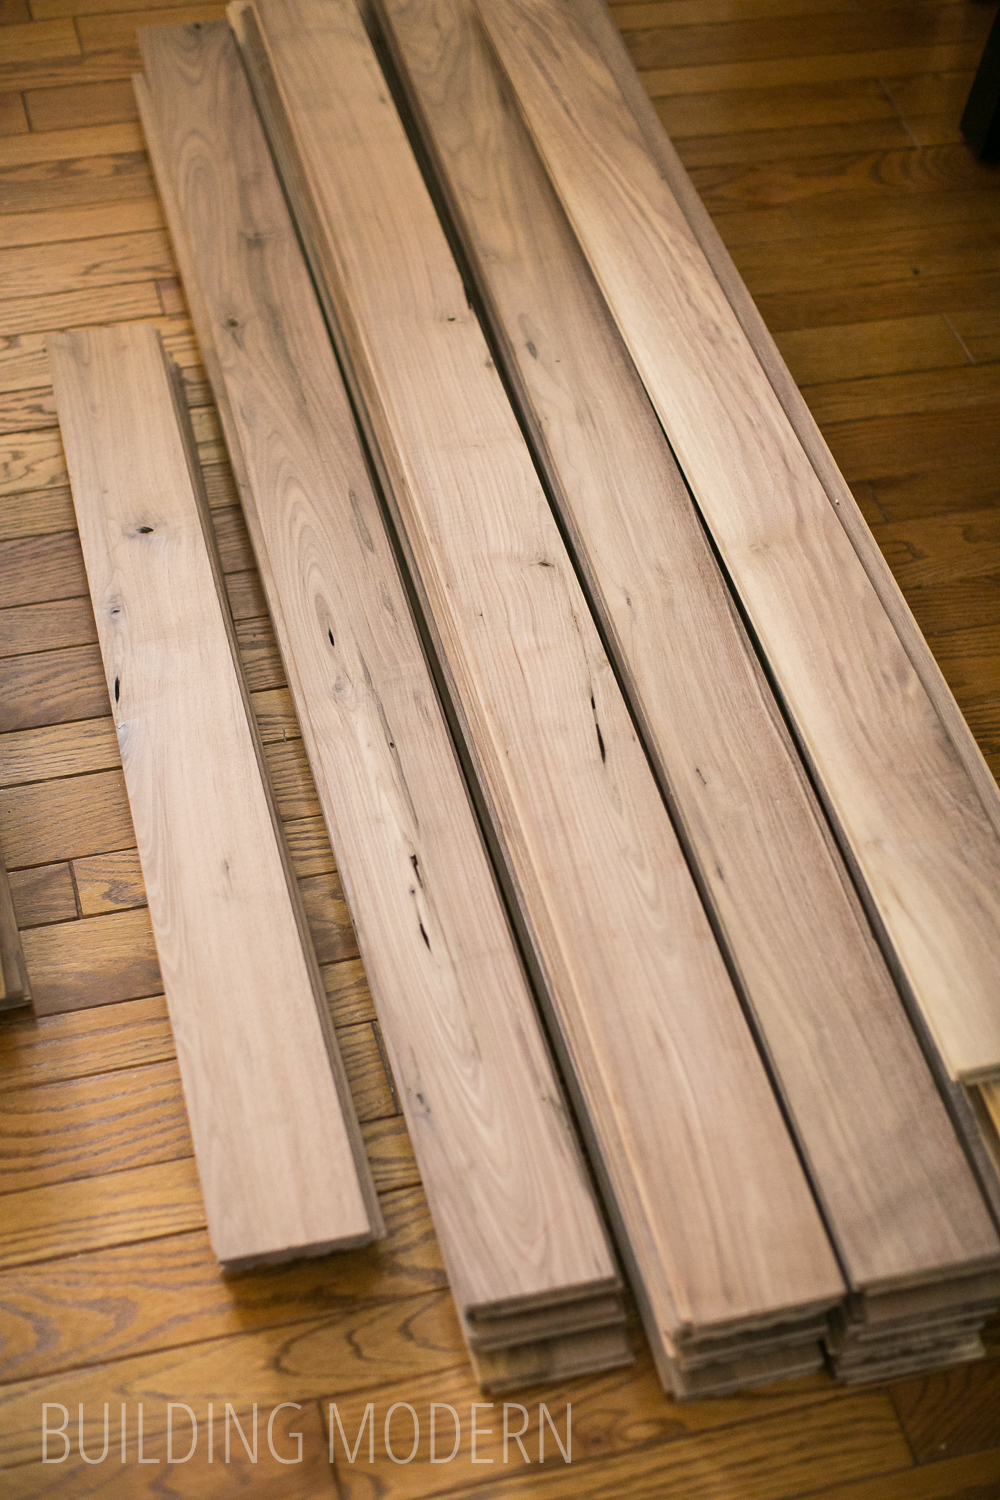
Back in the living room is the dwindling pile of walnut hardwood flooring:
A temporary newel post ready to go – it is very very hard to find non-pressure treated 4×4’s by the way – I like to keep mine on the brand new concrete kitchen countertops. The potholder will take care of everything.

We decided to go with a diagonal layout that opposed the diagonal pattern of the rest of the walnut flooring in the house. I feel like this angle leads you up the stairs. The diagonal section will be surrounded with a frame of boards in order to finish off the edges of the wood. Here you can also see that we slipped the temporary newel posts over the fasteners. Numbering everything is always a good idea.

Mid-instilattion: screwing and glueing:

We framed out the edges first and then filled in the center section with boards. I helped by taking photos and standing on the boards while Spencer screwed them in place. It wasn’t really a two person job.

Once the platform was completed, we needed to secure our temporary newel posts. We tried securing them the proper way: by turning the nut on the fastener… but it was very difficult to turn.

Because these were temporary, we toenailed (screwed) in the 4×4’s.

For the temporary safety railings, we purchased cull lumber from Home Depot (it’s warped, cracked, or has something wrong with it) for 70% off.

See? 70% off!

Our beautiful temporary railings. This is a nice contrast of fancy (stairs) and super shady.

For real though, here’s a look at our installed, but yet-to-be filled and finished solid walnut stair platform:

and stair treads and risers:

Here’s where we are with the sides of the stairs where the drywall meets the wood. It’s not as close as I would like and there is no way to fill the space with drywall mud – it would get everywhere and would crack with the expansion/contracting of the wood. We will have to find a modern-looking solution to cover the gap.

Pretty tight joints, but they will need to be filled with home-made walnut wood filler:

Here’s a wider view of the space. We will be leaving this project here for now. At this point wedding season was starting to get into full swing and it’s time for a break from this particular project!

In case you missed the other parts of this project – here they are:
Part 1: Foyer Stairs Demo
Part 2: Prepping the stairs
Part 3: Installing newel posts & drywall
Part 4: Installing hardwood treads & risers on our foyer stairs
Part 5: Installing Hardwood on the platform & temporary railings
Part 6: Sanding & diy wood filler
Part 7: Choosing a stain & finishing