Now that all the demo and prep is done and we have addressed some of the challenges for the stairs, we are ready to install our hardwood stair treads and risers!
We decided to install the boards directly on the existing stairs (like you would with flooring), rather than making our own full treads and risers first (like pre-manufactured ones).

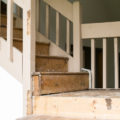
Spencer started off installing the risers for some of the bottom stairs. He checked everything with the laser level – even though we had leveled the treads, the stairs were not to be trusted!

Shimming out a riser: the shim won’t be seen, as it will be hidden by a tread. (Cedar shims are really inconsistent by the way. We’re going back to pine after this.)

Two risers done, many more to go:

So here’s how we are going about this project:
Instead of using a flooring nail gun, we are both screwing and glueing the risers/treads down to the structure of the stairs.
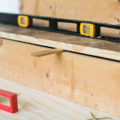
In order to sink the screw head into the wood, we used a countersink bit:

Drill a pilot hole first, then the countersink, then the screw. The screw must be below the surface of the wood or else it will affect the next board. This is the result of a countersink:

Before screwing in the board, we added wood glue to the backside:

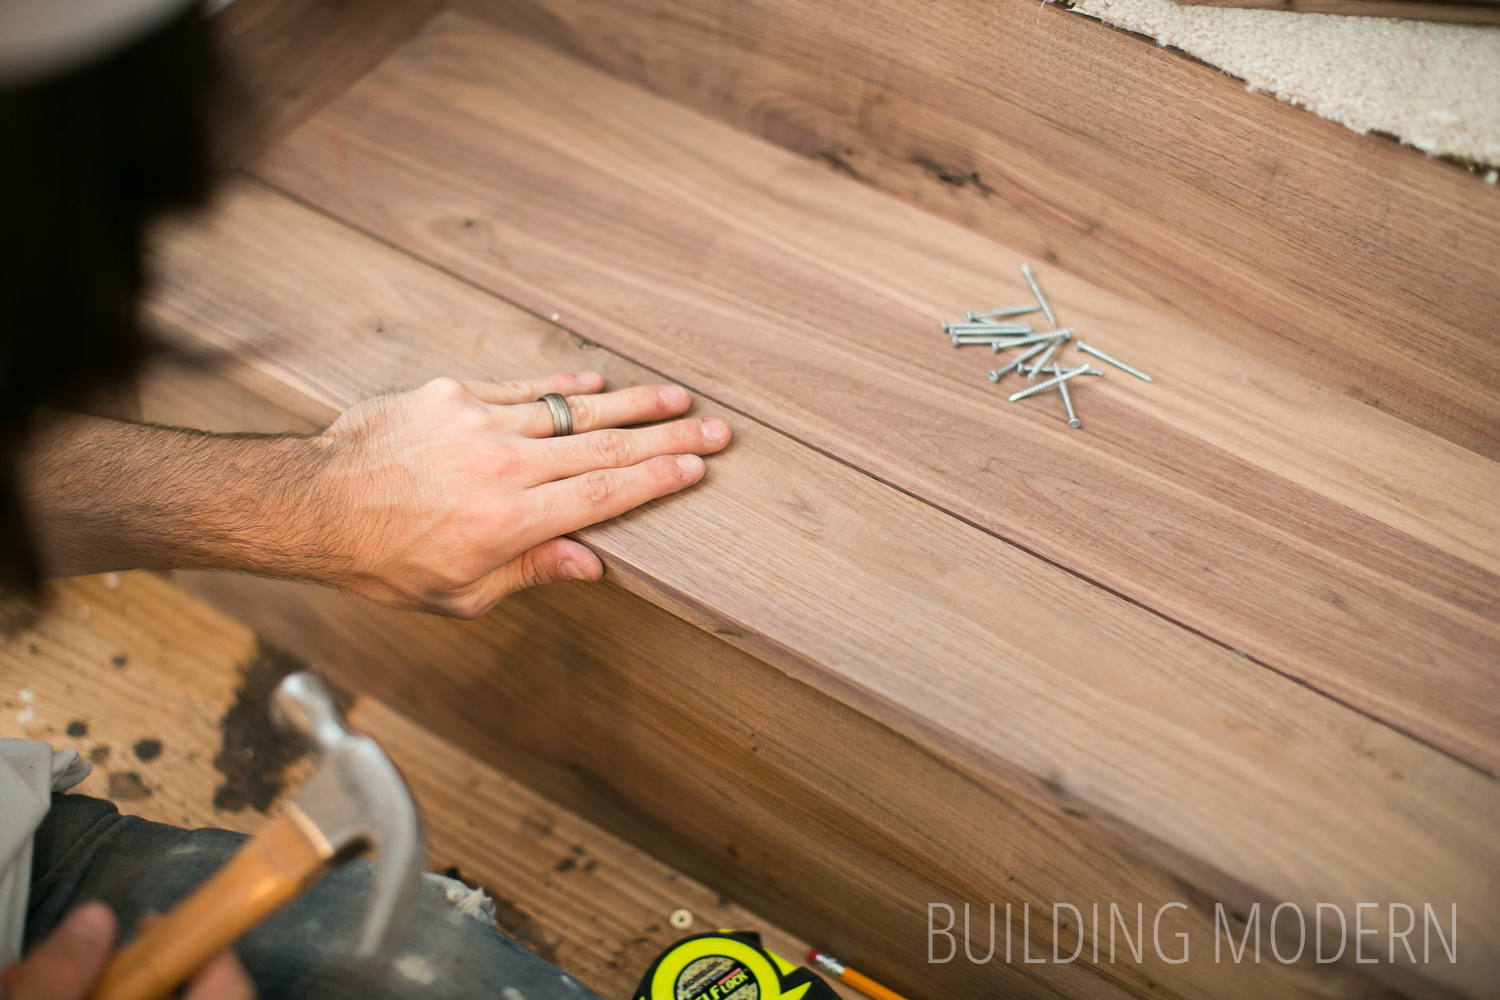
Lining the board up properly:

…and screwing the boards in place:

This is jumping the gun a bit, but so you know where we are going with all of this… here is the end goal. Risers installed first, then the tread with a mitered corner. The result is a tread that is finished on all three sides. This example has a space cut out for the future newel post.

By the way, this is a fairly minimal mess in our living room. Of course, renovations affect more than just the space you are renovating. You definitely need a storage space for all of the construction supplies… and for wood, it’s best/necessary for the material be acclimated to the space. Just something to consider when taking on a reno. Seriously, though, this is pretty clean, considering. Also it’s kind of fun to see a summary of what all we were working on at the time: there’s the air compressor, our light stand, our old porch light, scraps of flooring, a new baseboard, the stupid new vacuum that never worked properly, kitchen tile boxes for some reason, drywall supplies, caulk… a light house for the roomba and a subwoofer – you know, construction stuff.

Back to the stairs and looking more closely at what was going on when installing the treads. After the two bottom stairs were finished – as a proof of concept – Spencer restarted at the top of the stairs and worked his way down (so he wouldn’t be constantly standing on the new boards.) All of the boards on the risers and the “middle section” boards on the treads could be screwed down.

The “front board / bullnose board” couldn’t be screwed down (because you would see the screws) so, he only glued it. We were pretty confident that the wood glue would be enough… but it was just unfortunate that the place that would see the most future use was these particular boards. But we had to just go for it.
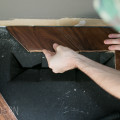
Here, Spencer is gluing the tongue and groove…

…and the bottom of the board.

It’s hard to tell, but there is a little bit of a square bullnose on the tread.
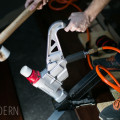
Spencer tapped it into place with a scrap piece of walnut:

Wiping off any glue that squeezed out:

Yay! It’s so pretty!

We used whatever we could find to weigh down the boards as they dried. That bottle is a gallon of “Titebond III Ultimate” wood glue that we purchased for this project. That’s why the tile boxes were still hanging around: stair weights! I knew I had responsibly put those away before.

I will mention that we have maintained the proper rise over run for the stairs. Yay progress!

While we were at it: I did a rough, first coat of mud on the drywall.

Have I mentioned that I’m terrible at mudding?

Next up: adding boards to the platform in the middle of the stairs and adding temporary safety railings.
In case you missed the other parts of this project – here they are:
Part 1: Foyer Stairs Demo
Part 2: Prepping the stairs
Part 3: Installing newel posts & drywall
Part 4: Installing hardwood treads & risers on our foyer stairs
Part 5: Installing Hardwood on the platform & temporary railings
Part 6: Sanding & diy wood filler
Part 7: Choosing a stain & finishing