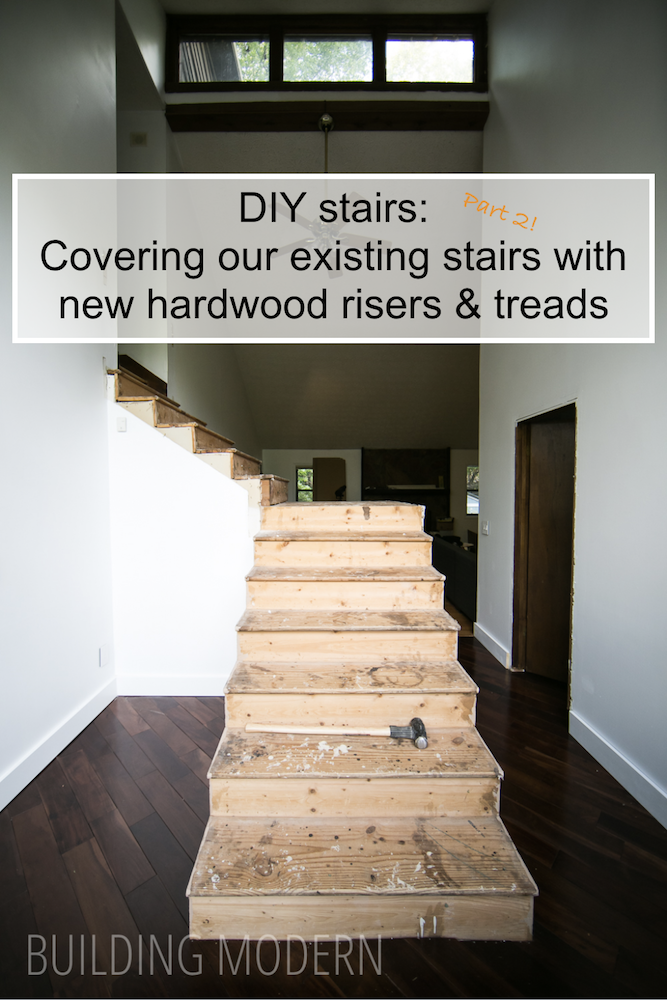
The next phase of updating our foyer stairs is prep.
Last time, I said how we were trying to use our remaining walnut flooring combined with painted white risers for the stairs. We decided that we comfortably didn’t have enough material, so we needed to find some more walnut flooring.

We decided to go to Floor and Decor to try to find some solid walnut. Surprisingly, we found some. (Which we have never seen before nor since).

Here’s how this went down:
First off, this was a great price for walnut. Because this was an end lot of wood at only 128 square feet remaining (which would only be good for a 10 x 10 room plus safety overage), we knew that it would be very difficult for the store to sell this product. This amount, however, was enough for our stars: for both risers and treads. Spencer offered them $200 for the lot. We really didn’t think they would do it, but they contacted a manager and gave it to us for that price… including tax! That’s $1.56 a square foot including taxes. Craziness. We were pretty happy.
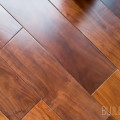
When we got home, we compared the walnut to an unfinished walnut board that we had for another project. Yep, that’s walnut.

Here’s the unfinished flooring plank compared to our pre-finished floor. I will say, our pre-finished floor is a bit red for my liking. I really just like the natural color of the walnut without a color modifying stain.


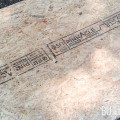
Organized by length because I’m a crazy person. But this was also practical – unlike laying flooring in a room, we needed very specific lengths for the layout of the stairs.

Back to the stairs! Izumi is a good construction kitty. The view from the stairs is great for bird watching.

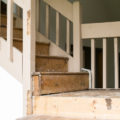
In order to coverup the existing builder-quality stairs, we first needed to remove the bullnose. Enter the circular saw.

At first, free handing it was decent.

Spencer then decided it was better to use a straight edge guide. The original stairs weren’t exactly perfect.


Bye bye bullnose:

I’m going to pause and emphasize how important it is to use protective paper on the floor:

Some instances, we realized that we might have to replace a few treads – due to cracking or the fact that they just weren’t level.


Again, not the most perfect stairs. I assume they built these stairs without caring – they probably thought they would always be covered with carpet.

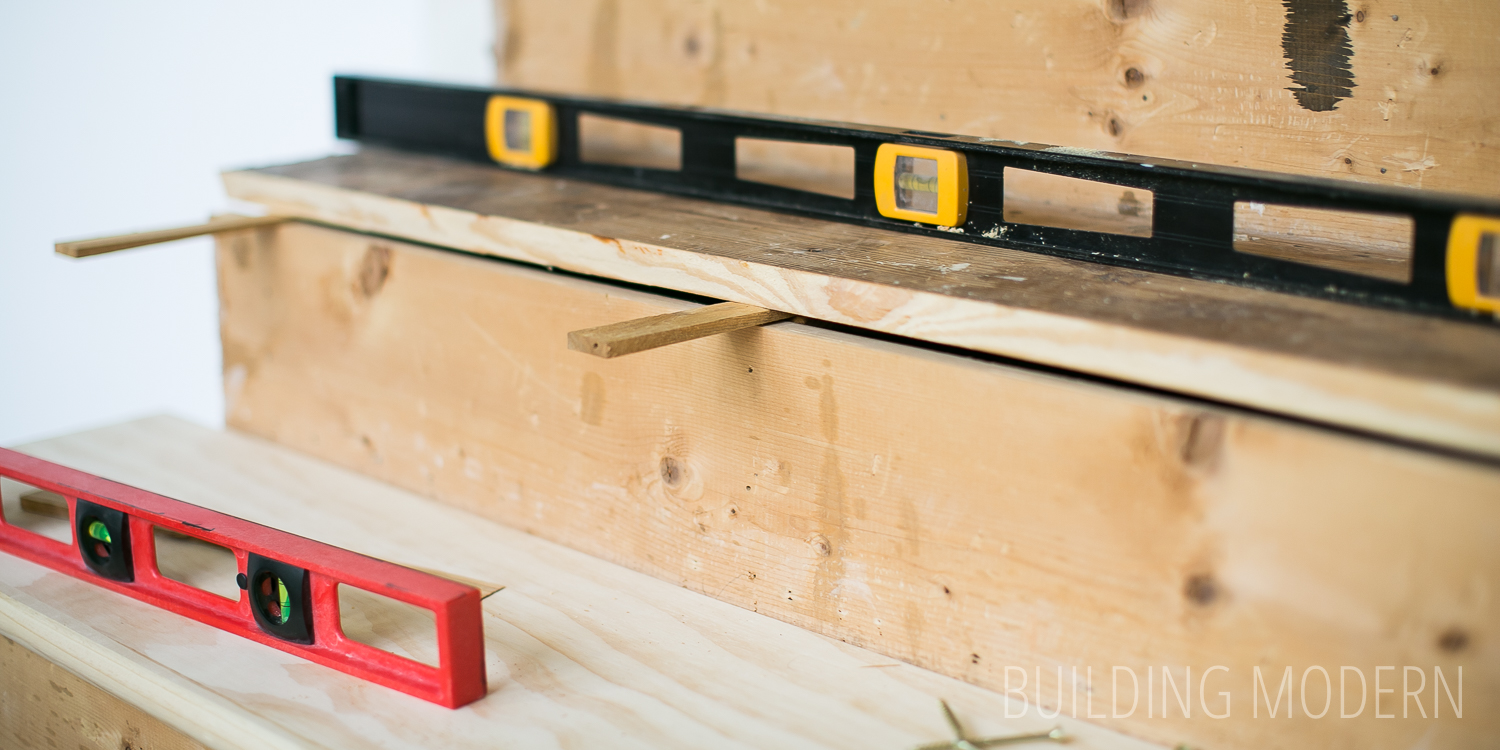
Not level:

So, Spencer removed some of the treads:


All of the old and replacement treads will have screws instead of nails – this will help reduce the chances of squeaks in the future.


A brand new tread (which will need to be trimmed down):

Leveling an old tread:

Looking at how many boards will be needed for cladding the stairs:


We had a few options when designing the board layout.
We could have a blunt edge with a bullnose…

…or miter the edge. (Scrap pieces for demonstration purposes.)


We also needed to address the sides of the treads. The sides couldn’t just be the ends of the boards, since they were cut with tongue and groove. For a finished look, we decided to turn pieces on end.

We also decided to miter the corners. Here’s a little preview:

Stair prep complete and design/layout for the wood decided!
Next up: addressing how we are going to anchor our newel posts and adding that extra layer of drywall… and later, installing the treads!
In case you missed the other parts of this project – here they are:
Part 1: Foyer Stairs Demo
Part 2: Prepping the stairs
Part 3: Installing newel posts & drywall
Part 4: Installing hardwood treads & risers on our foyer stairs
Part 5: Installing Hardwood on the platform & temporary railings
Part 6: Sanding & diy wood filler
Part 7: Choosing a stain & finishing