
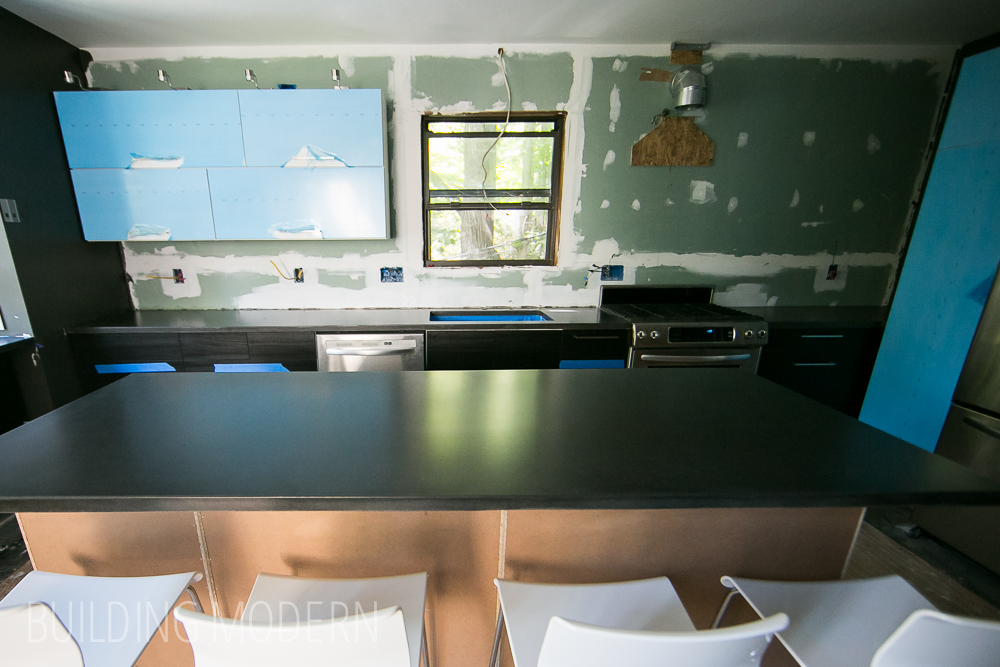
Now that we have a functional kitchen – with appliances, cabinets, and countertops – its time to install the full wall mosaic tile backsplash!
If you recall, which you may not (since it’s been a while & we purchased the tile near the beginning the kitchen renovation), we were able to buy Carrara marble mosaic tile for a super-clearance-crazy-discontinued price. The “light blue” description on the tag below is actually wrong, but the price was correct. I also think this tile started at a higher price as well.

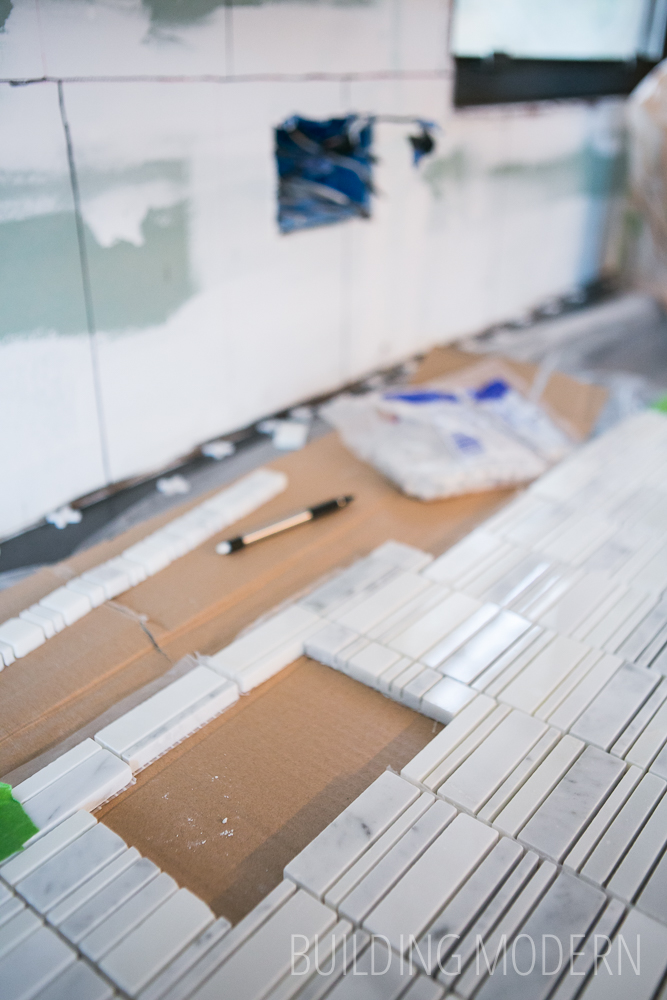
A detail photo of the marble mosaic against our concrete countertops:
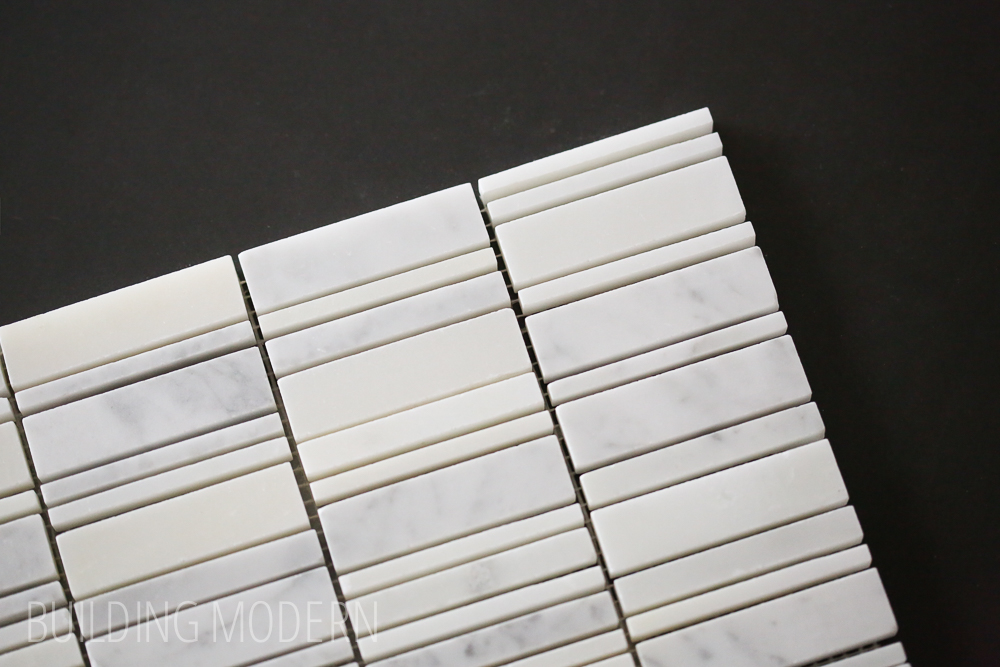
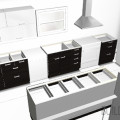
Each sheet of tile is composed of four vertical rows of three different sizes of mosaic mounted on a mesh for easier installation. The plastic is just to protect the tile in the box. I believe that there were only two or three different full-sheet patterns of the tile. Perhaps only two… I can’t remember. I ended up rotating some of the tile sheets upside down for more pattern variety.

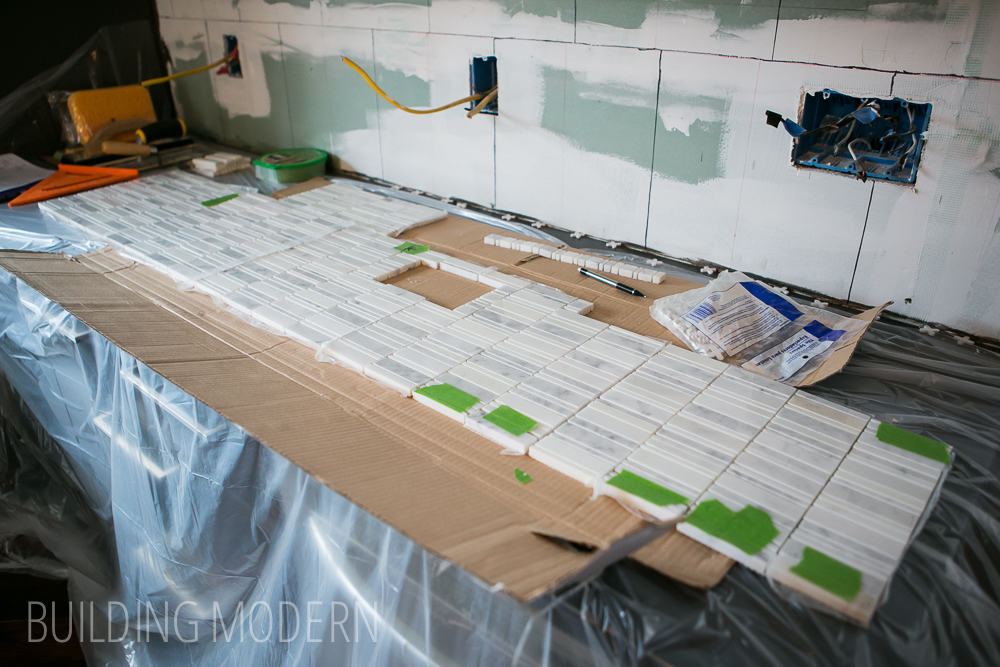
Figuring out a plan before jumping in:
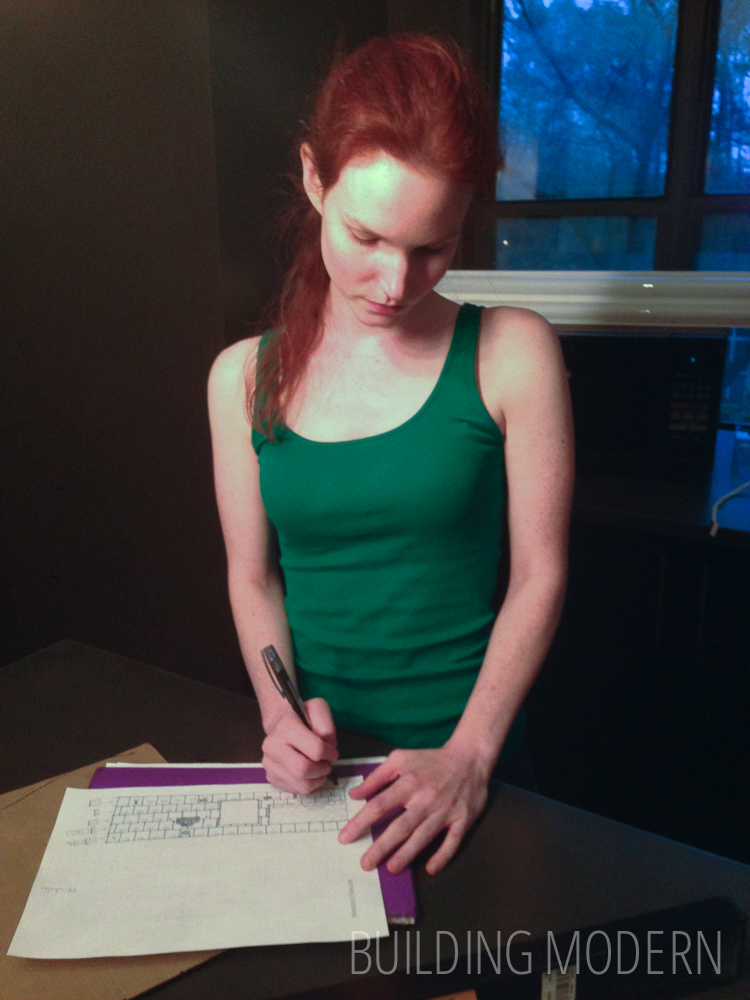
The plan – partly to help verify the amount of tile needed, but also to figure out end cuts. Looks like I have 44 whole sheets, with 8 partial sheets for the left & right sides, 2.5 for under the cabinet, 6 to surround the range hood, and 4.5 whole (or 18, 1/4-sized strips) for around the window. This is including the little bits of tile that will be removed for the outlets/switches. So that’s roughly 57 sheets or ~11.5 boxes at $25/box. We bought extra just in case, but that would be around $290 in tile before tax – based on math (and not literally counting up the boxes I actually used… because, well, those were recycled a while ago). That’s pretty good for an entire wall of marble.

The reason I listed all the basic tile sections above is that this project can look deceptively simplistic. The eye just wants to make the wall into one large simple rectangle with a few shapes removed…. and technically, that’s what it is. But it is still more complicated than that – I’ll go into it a bit later, when I get to actually cutting the tile.
Even though this particular mosaic was broken up into four vertical sections, I still wanted to ensure that the end result didn’t contain an easily perceptible repeating pattern. So, I decided to stagger the sheets of tile. (Later I also decided to rotate & randomly cut off a fourth or half of the tile sheet sometimes – to help break it up even further). What I didn’t know at this point however, was that I should have staggered the pattern vertically and not horizontally. In the way I have it laid out here, there will still be a perceptible horizontal line between 12×12 sheets. If I have staggered the tile vertically, that line would have been disrupted.
The layout transferred onto the wall because I’m a crazy person:

I’m sure I’m verifying or refining something here:

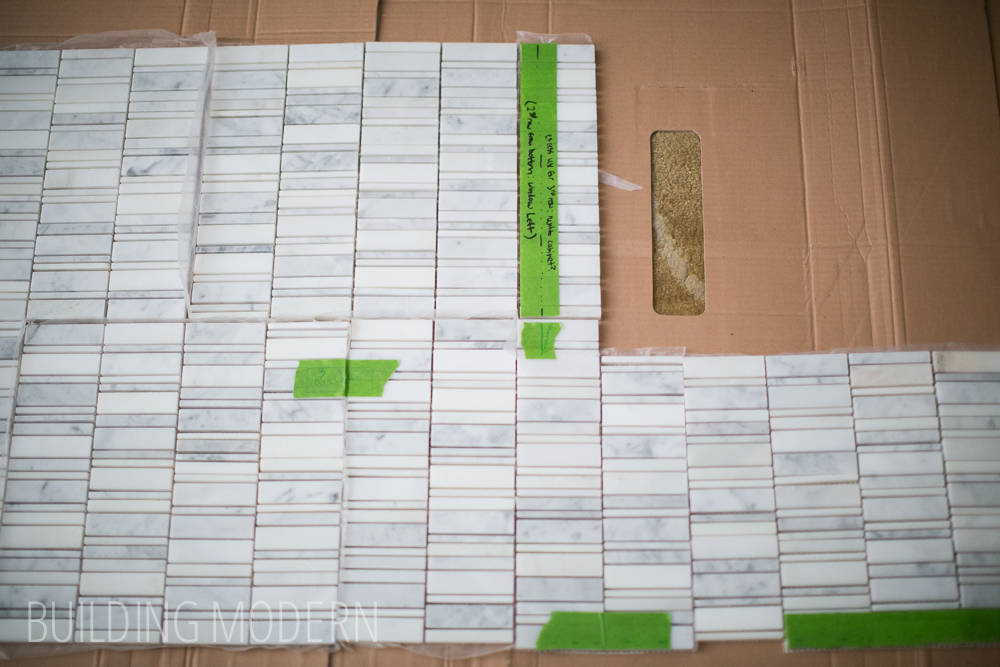
The section of tile for the bottom row near the bottom left corner of the window (with position notes for cutting the excess):
It’s a little difficult to distinguish… but here’s a 12×12 sheet of tile surrounded by other staggered sheets of tile- you can kind-of see a seam near the top center.

Getting things ready:
I proteced the countertop with plastic & cardboard. The plastic was mainly for the mortar but also the tile itself was covered in some stone dust. I Laid out the tile a little shifted down from the sink where I started. I also Laid out the little “plus” spacers against the countertop in order to lift the first row of tile slightly off of the countertop itself. Some of the green tape is to help keep the tile together where it fell apart, and some is there to mark locations.
The plan was to prep everything ahead of time as much as possible. I was a bit paranoid about the mortar drying out – even though the mix claimed to have a few hours of workable time. Hence the crazy plan & super organized tile layout.
The thing about tile work is that you learn by experience… and there is really no other way to do it. Unfortunately, the best place to start the tile aesthetically was smack-dab behind the middle of the sink: a very visible location. I started at the sink just in case everything shifted as I worked – I didn’t want to start in a less visible place for “practice” and then end up not being aligned properly over by the sink. I didn’t trust the math… and it’s a good thing I did it this way, because the tile spacing did shift by tiny amounts that definitely added up.
The prepped cut tile and it’s light switch destination in the background:
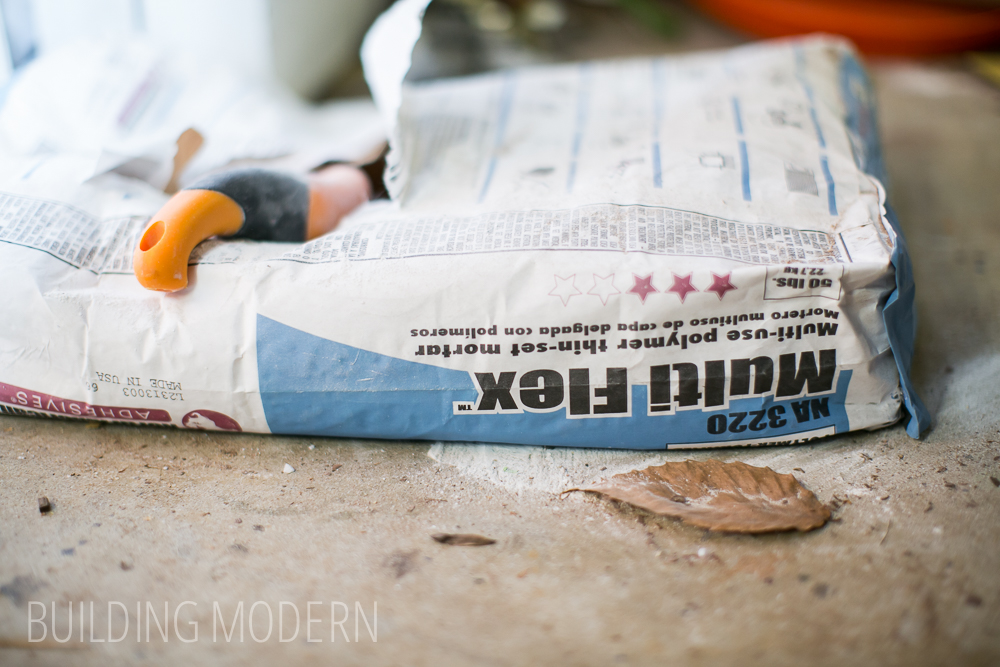
The generic thin-set mortar purchased form the same sore as the tile (Floor and Decor):
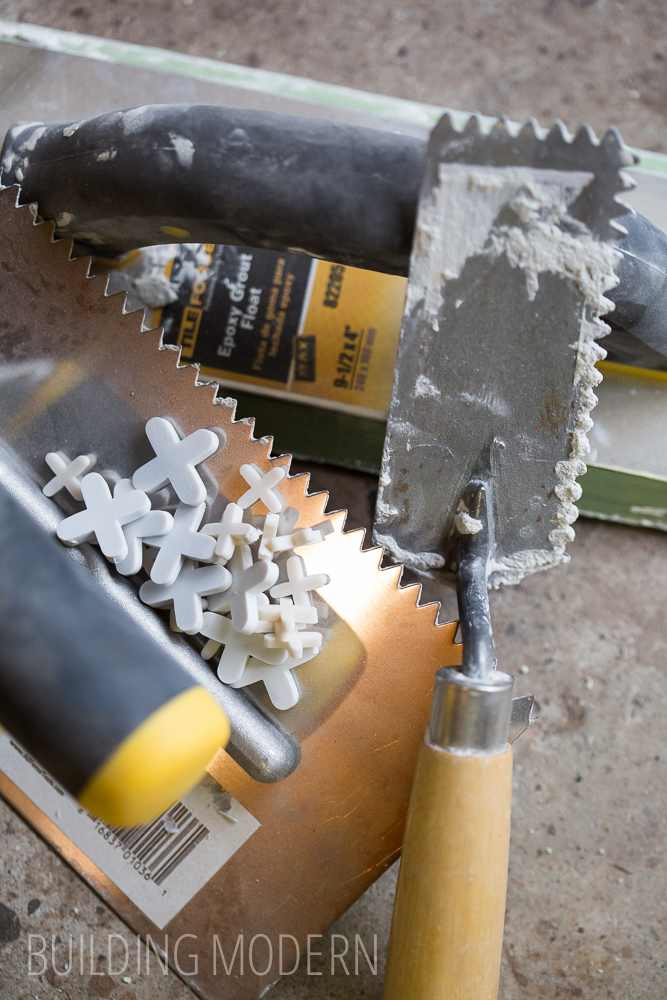
Some of the tools for the project – two different sized trowels, “plus” tile spacers (which ended up fairly useless later), and a float. The trowels had a specifically sized V notch intended for mosaic tile, by the way. We also purchased an inexpensive wet tile saw & had a mixing blade for the mortar as well. I’ll list tools & prices more thoroughly later.
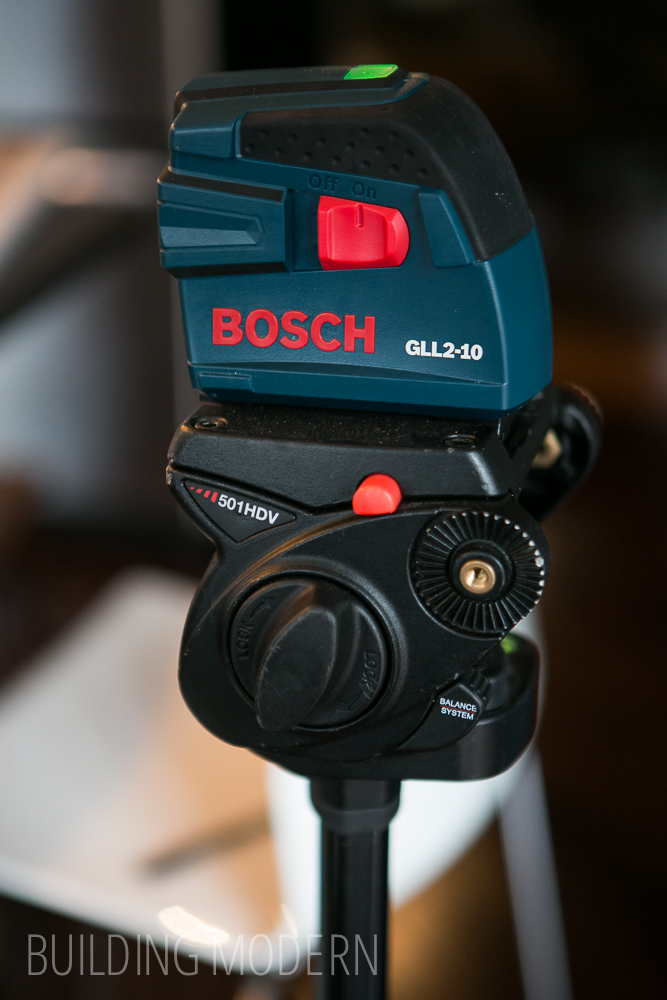
The purchase of a laser level was unavoidable. We couldn’t trust that the countertop or even the house was level. We were pretty sure the counter was level, but just in case, we had the laser. It was pretty cool tool, it leveled itself even if the tripod wasn’t.
*I know I’m skipping steps about how to cut & apply the tile to the wall here, see the next post for those details!*
The laser level at work: it really did help keep everything aligned – especially since the guide lines drawn on the wall were hidden with thin-set.

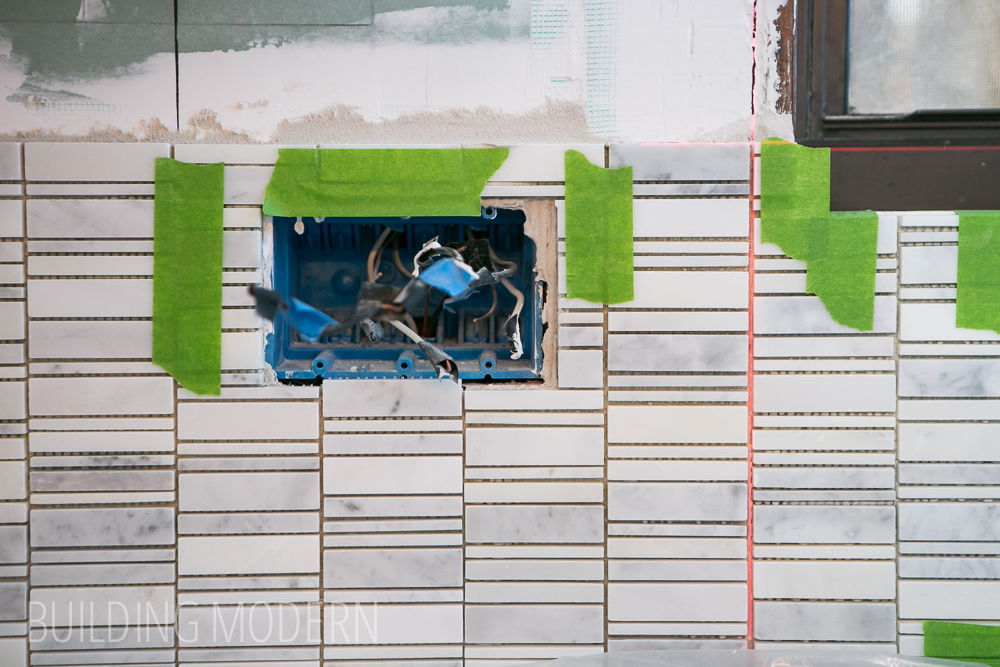
Can you see how the edge of the tile (by the piece of tape on the left) is just a hair off from the line drawn on the wall? Yeah, that continued to happen. Also, you can see here that the mosaic around the switch didn’t have to be perfect: the edges just needed to be hidden by the switch plate and not hinder the function of the electrical box.
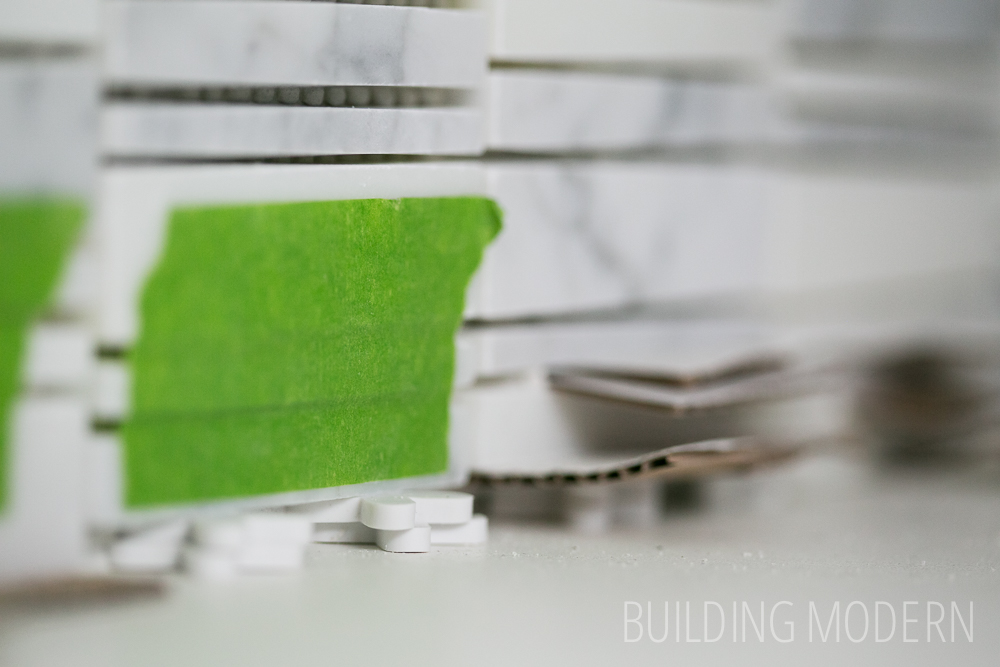
A close up of the “plus” spacers lifting the first row off of the surface below. Additionally, I used a combination of tape and cardboard to keep the tile from sagging.
I decided to break up the project into many days because I was concerned about the weight of two or more rows of tile pushing down on the still-wet rows below. The sales person at the store also confirmed that he would recommend only installing 2 or 3 rows max and let the thin-set dry before continuing. So, because it was my first time tiling and I had a bunch of cuts for the outlets/switches, I only did the bottom row along the countertop and the half row under the cabinets on the first day.
The first few sheets of tile – again, the tape was to help keep loose tiles from sagging
.

The first day’s work almost complete! Even the smallest “plus” spacers were too thick to fit between the tile, so I had to make my own spacers from bits of cardboard (this actually added on more time than you’d think). I had to remove the cardboard after the mortar had firmed up, but hadn’t set completely yet – so they wouldn’t get stuck in there. (…and actually, there are some bits of cardboard forever embedded in the mortar.) I suppose if I were only doing the backsplash up to the bottom of the cabinets, then I would be nearly done at this point – but no, I’m covering the entire wall!

One of the things I learned, just on the first day, was that the tile did shift a little and no longer sat square on the grid I drew on the wall, so I needed to recut some of the pieces that I had precut for the outlets. Since the tile was composed of various heights of pieces, I didn’t have a completely smooth edge up under the cabinets. In order to fill gaps under the cabinets, I had to dissect appropriate pieces from other sheets of tile – which meant that I would have to do the same thing along the ceiling as well. I knew the line of tile wouldn’t be perfectly even, so I planned on getting as close as possible and then would caulk the gap to even things out.
Over all, I think this was a pretty good start!
Next time, I’ll actually show the process of cutting the tile with the wet saw and applying it to the wall!


Gorgeous tile choice. Wow!
Thanks Joy!!