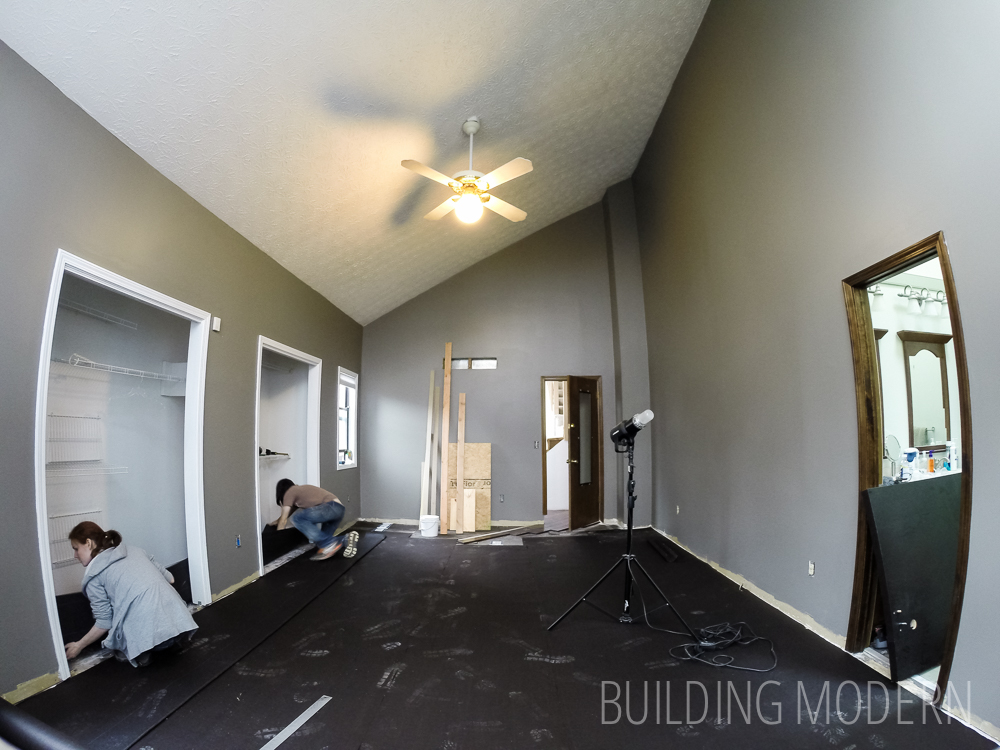
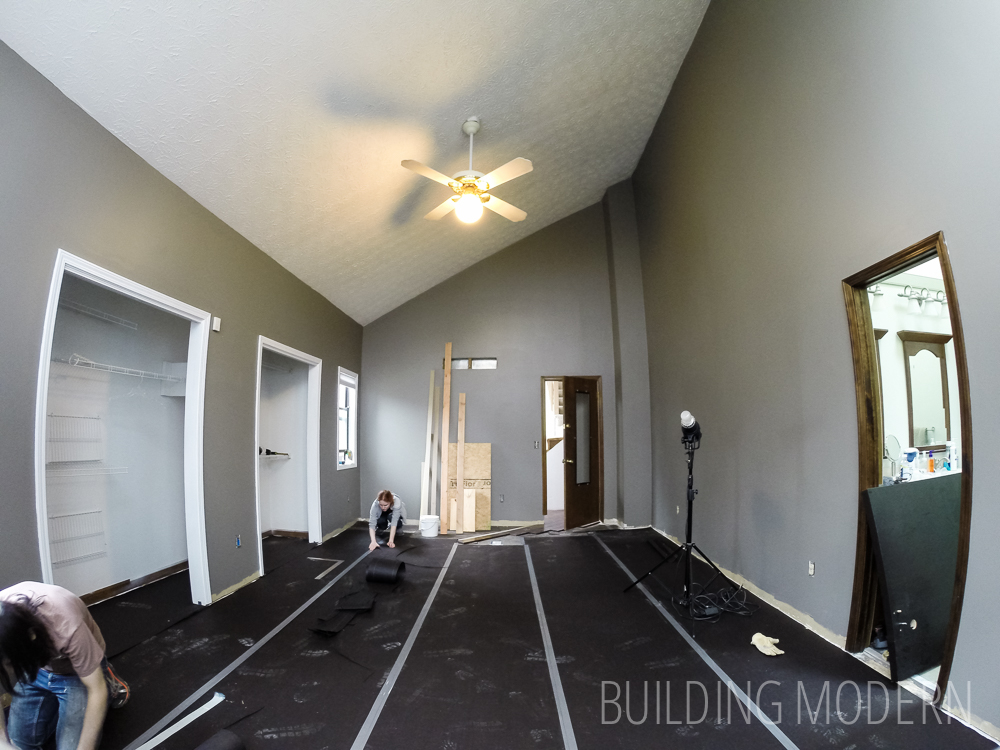
We are now finally at the place where we thought we were at- at the beginning of this project! As a recap: We were all ready to lay down some new solid hardwood floors in our master bedroom… and then discovered that our floor was not level when we pulled up the carpet.
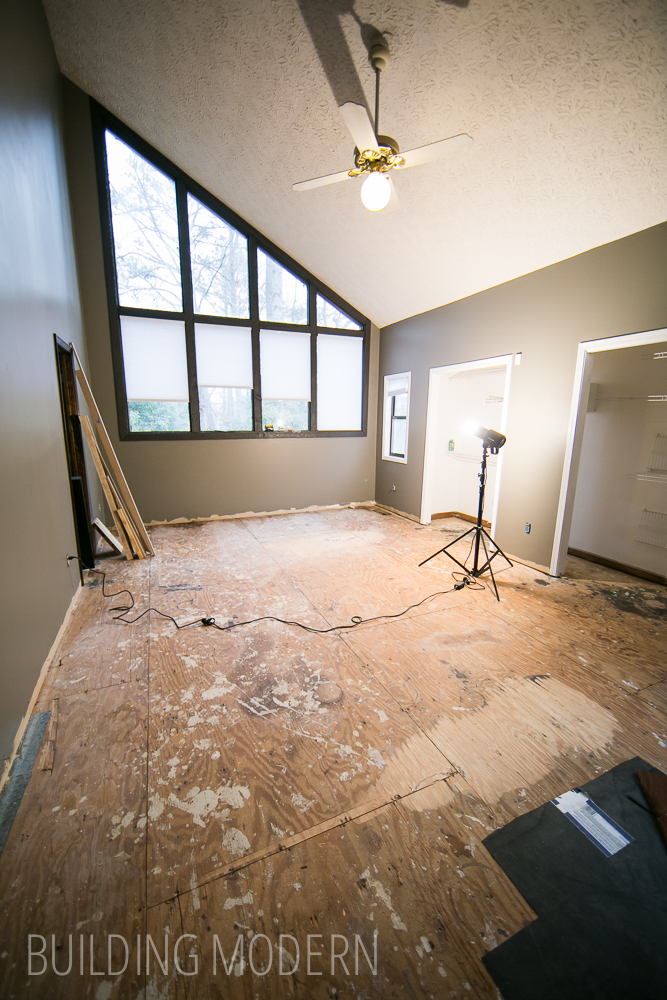
We jacked up some joists & routed down some high spots… and now we are ready to go!

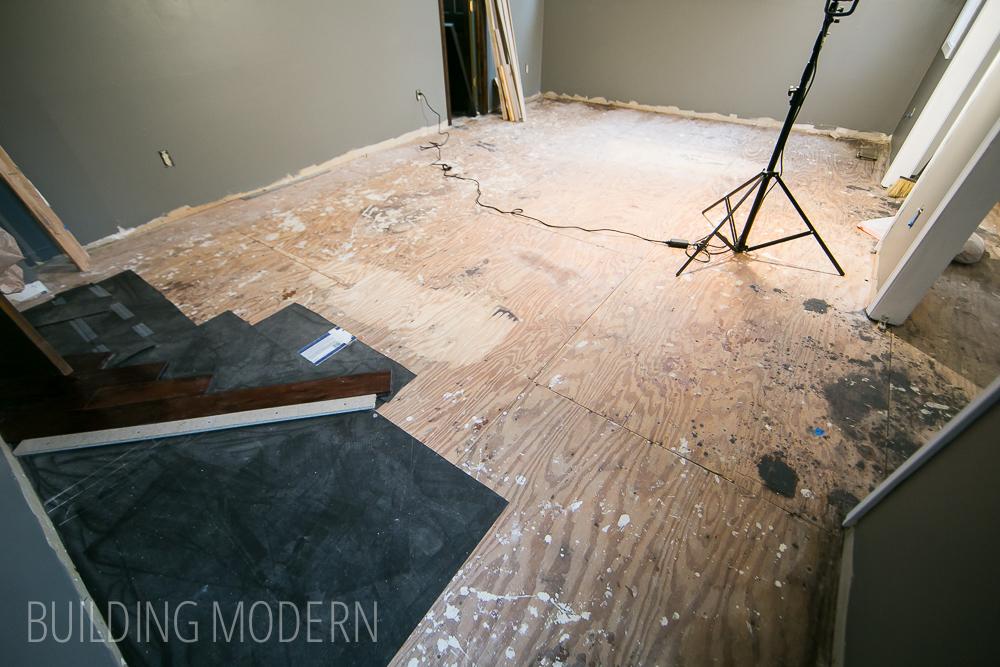
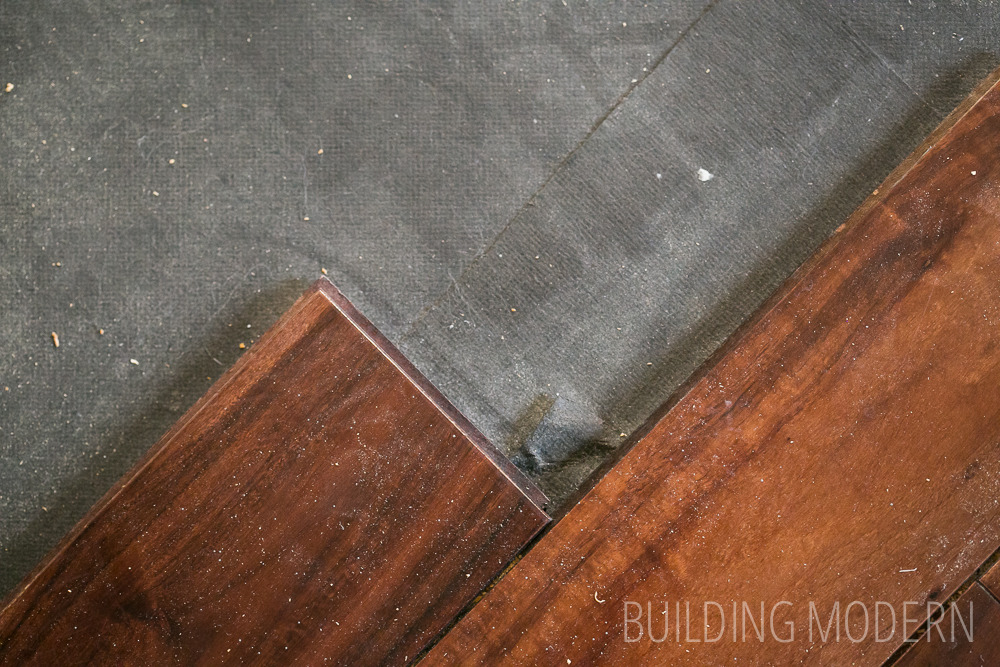
Some of the hardwood floor was already creeping into the bedroom from where we left off in the foyer:
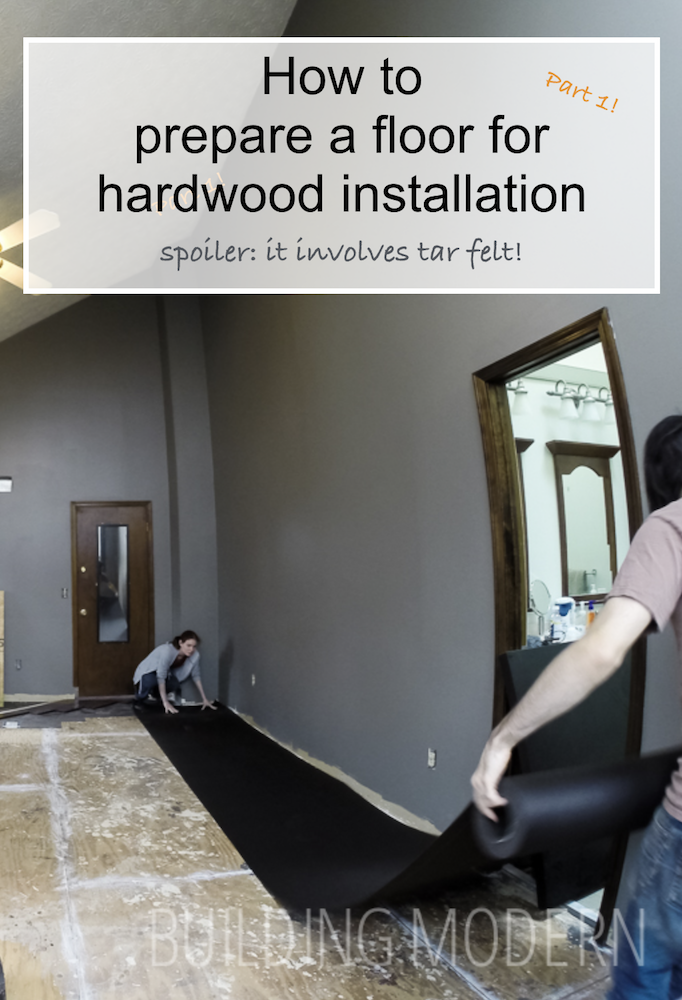
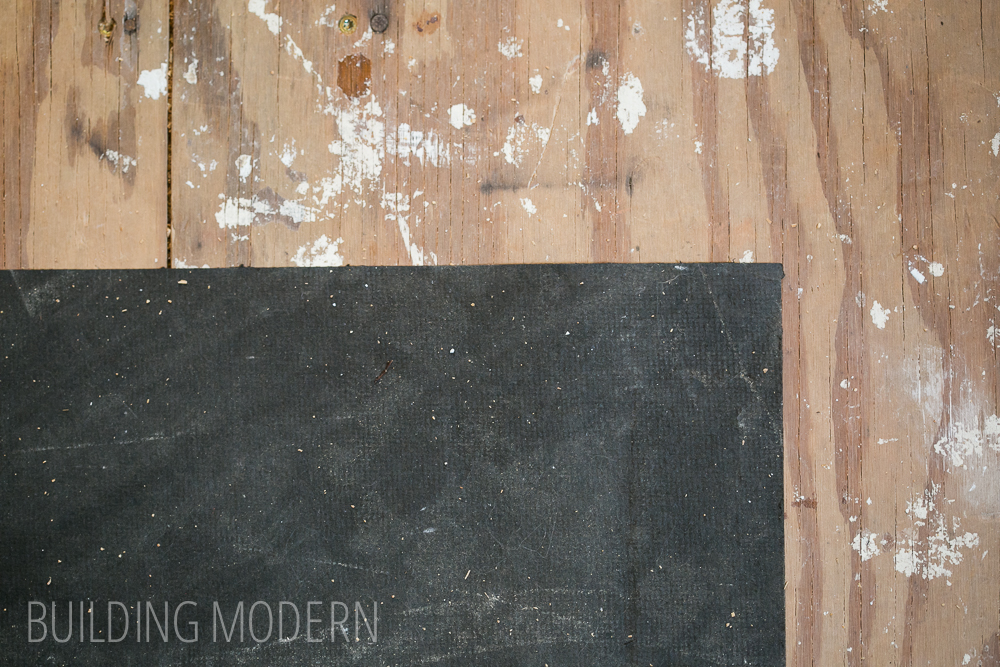
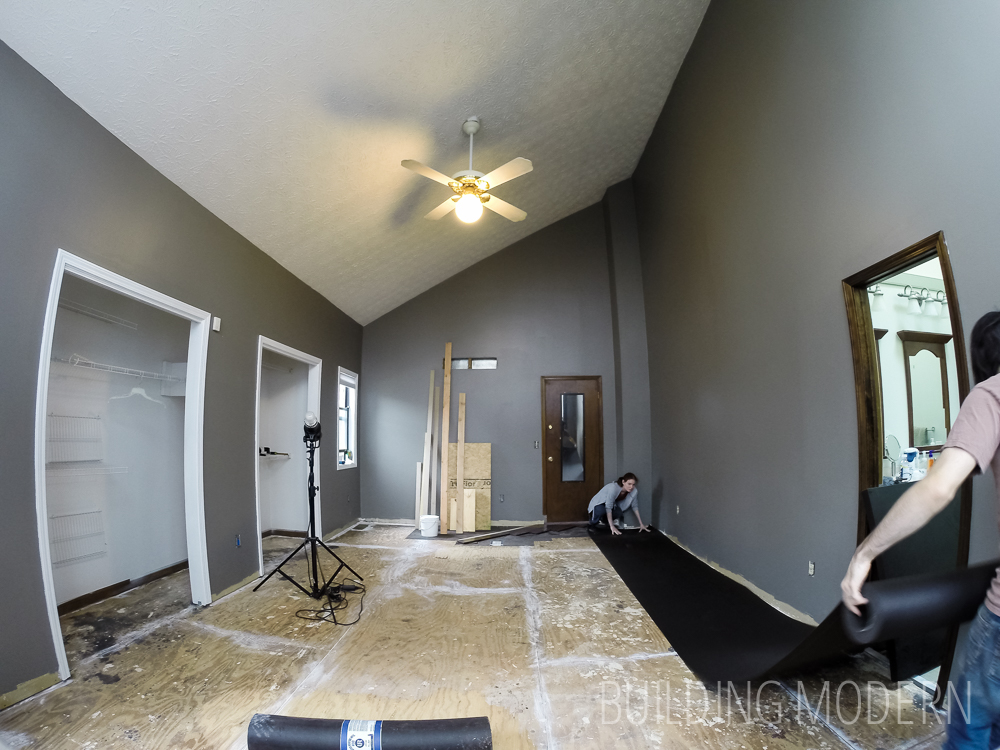
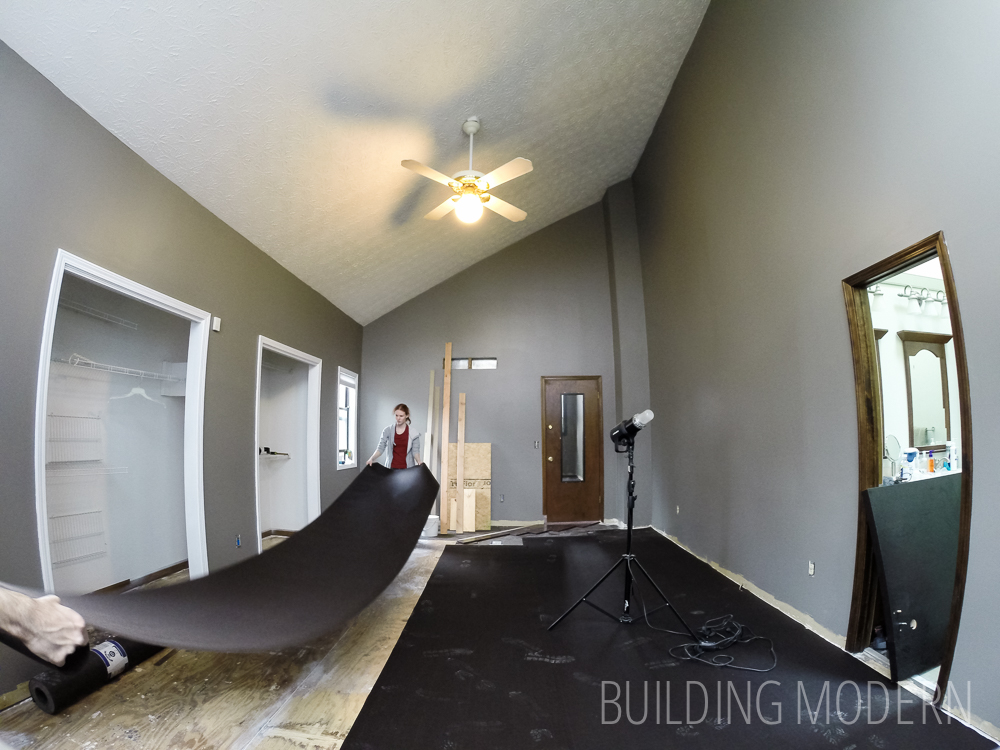
Just as we did everywhere else, we first need to put down a vapor barrier of tar felt:
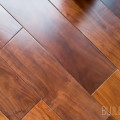
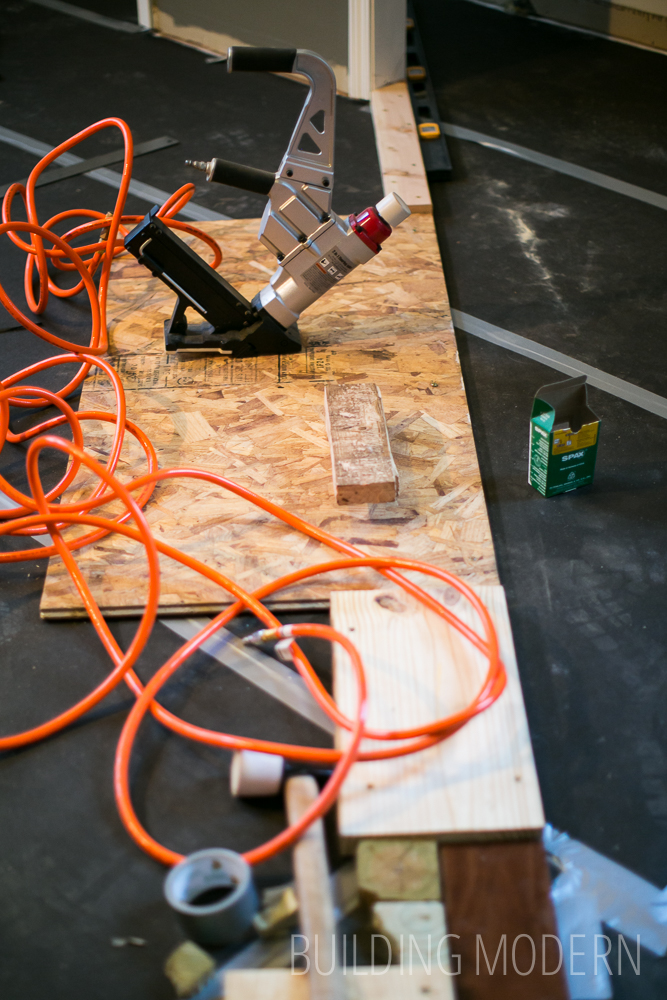
…and then the flooring:
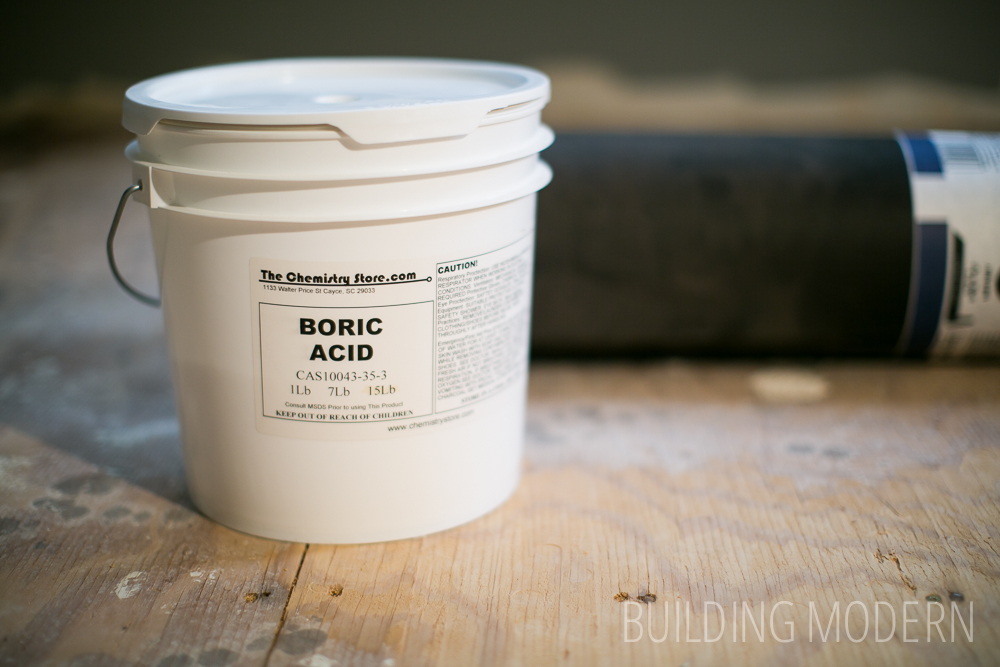
But before all that, we have a spider problem… not a big one (just daddy-long-legs that mainly take it upon themselves to decorate the house with spiderwebs – a welcome addition at halloween… the rest of the year, not so much.) So we sprinkled boric acid around before we actually got underway.
It’s okay, you can call us paranoid:
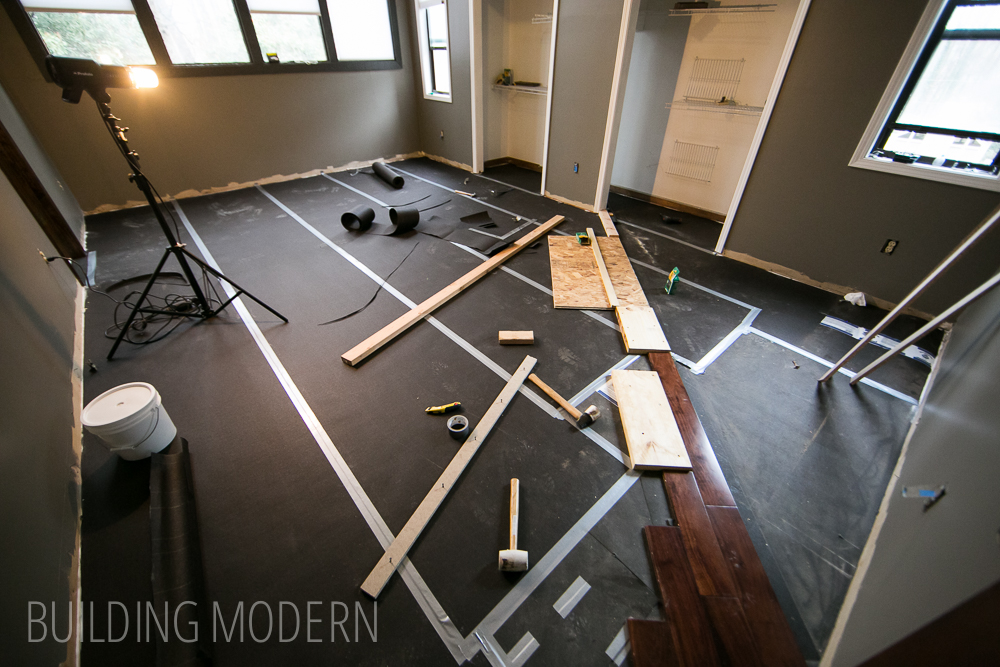
Now, were ready for tar paper:


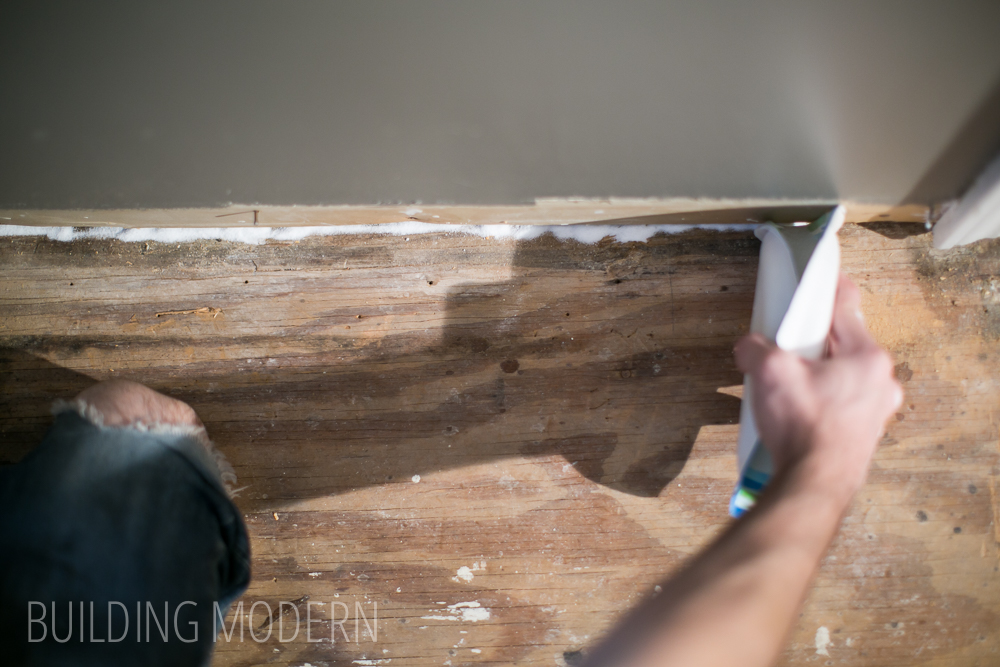
Taping the seems:

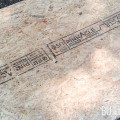
We had to add supports blocks to continue to extend the flooring into the room:
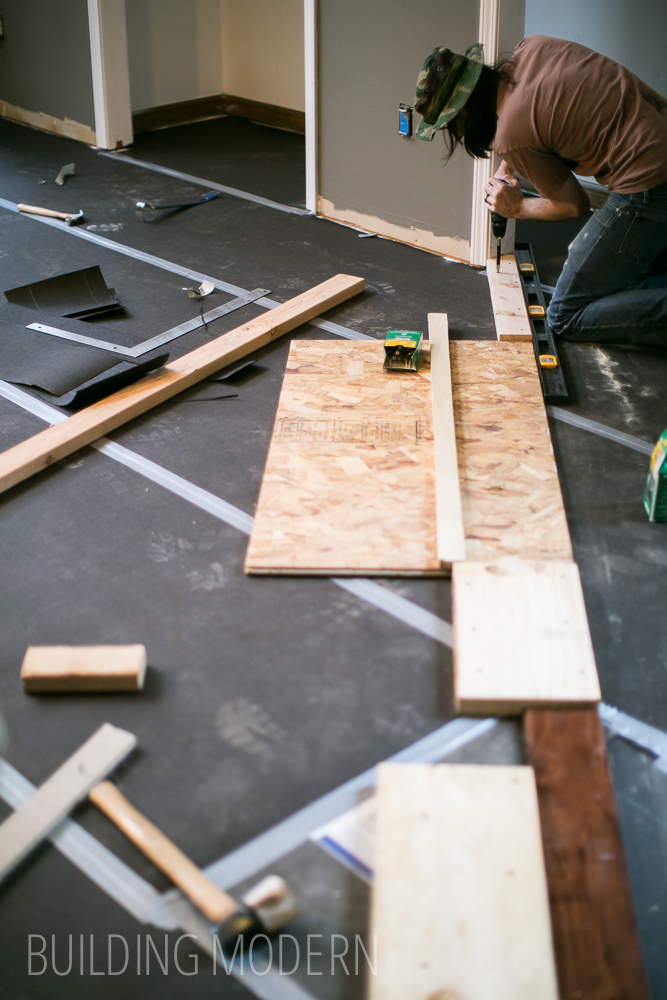
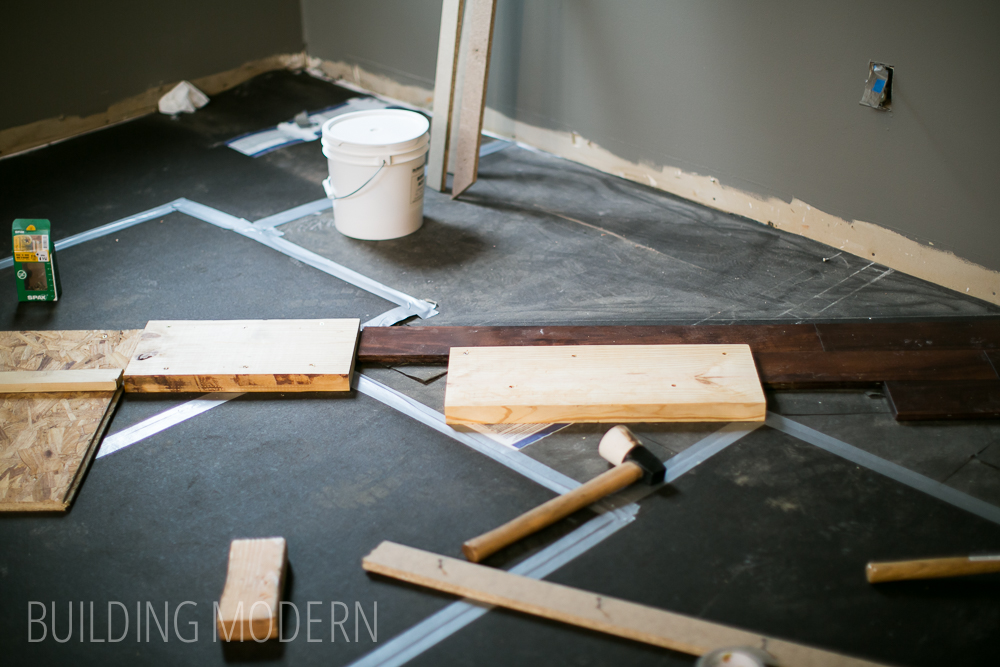
The current direction of the floor is tongue facing to the left. For now, we will reverse direction by adding a spline and heading towards the right corner. Just like in the kitchen, we had to do this because of the floor being laid on diagonal.
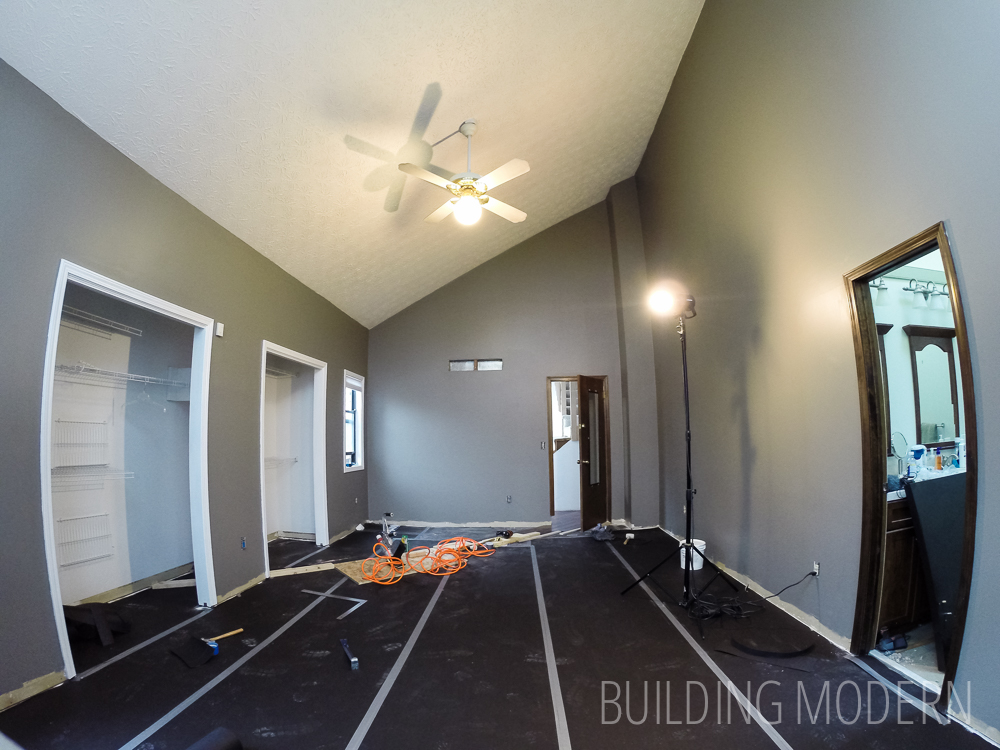
Prepped and ready for the install!
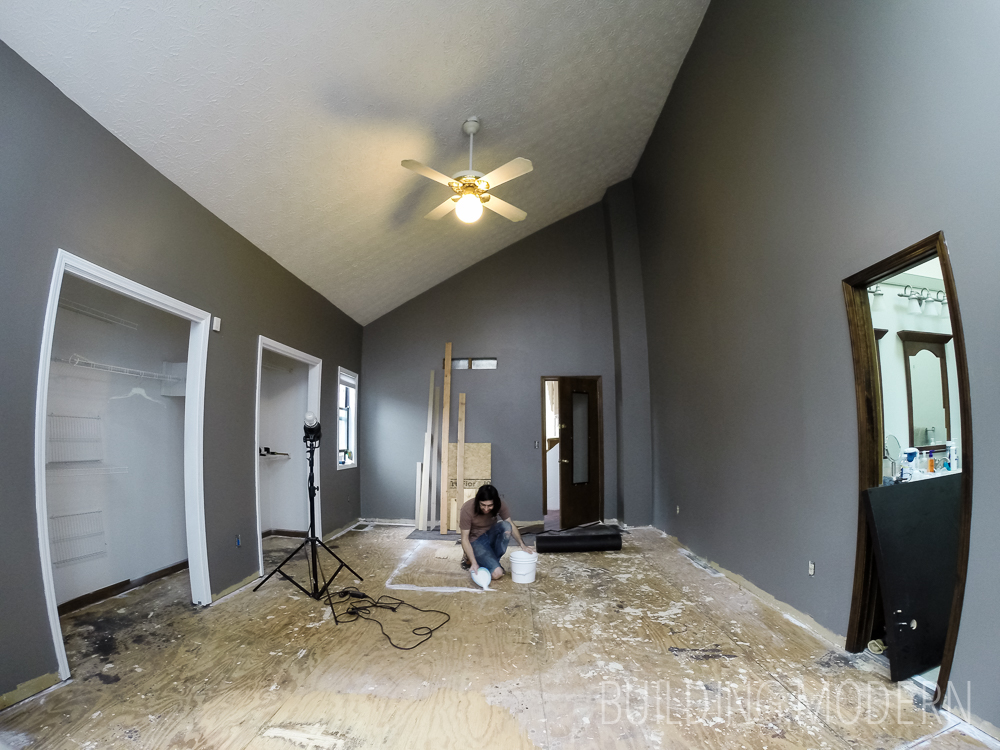
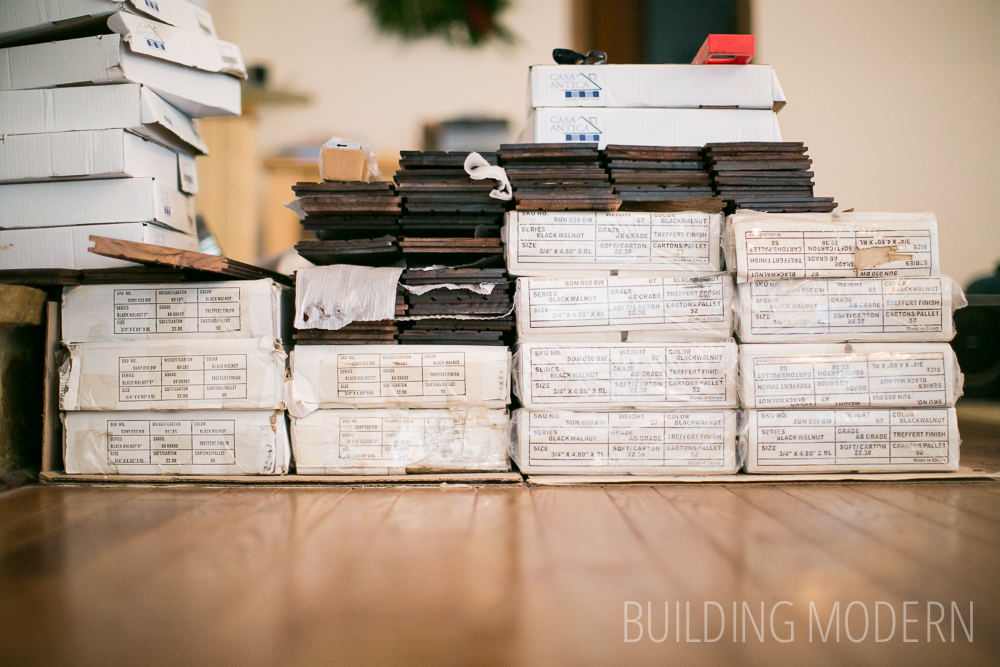
As a side note, here is the condition of our living room while all of this has been going on. From renovating the kitchen to installing floors for three rooms, the living room has been a giant storage space. It was important to store the flooring in a similar environment as it’s final destination, so we have been living with piles of stuff for quite a while.
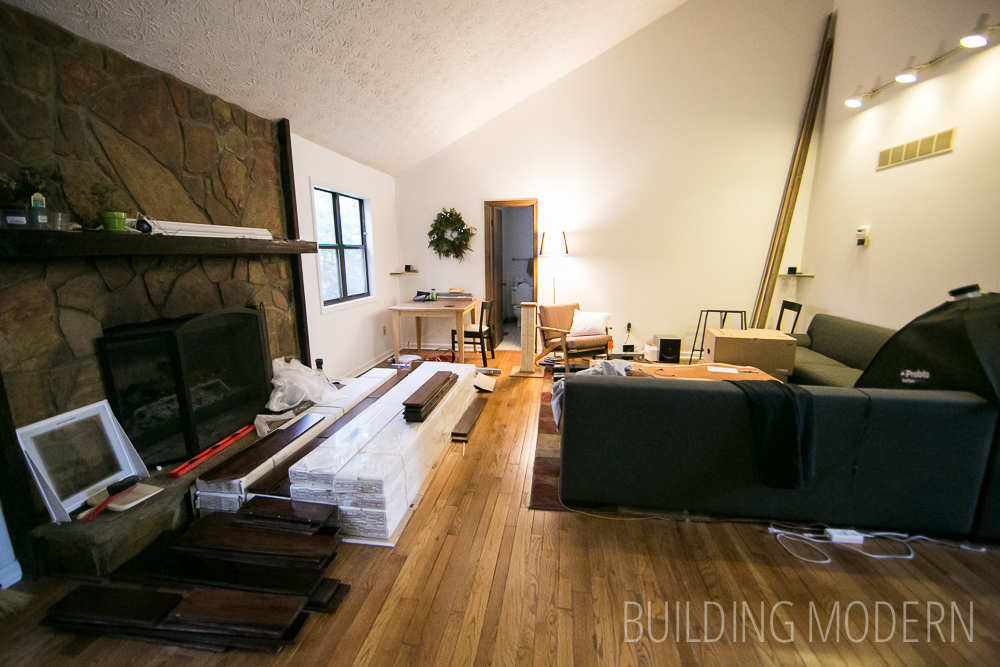
Here are all the remaining boxes left for the master bedroom (along with some empty tile boxes – they are good for holing scraps.)

And if you’d let me go a bit off track again, here’s a photo of the ends of the two types of flooring boxes. When we purchased the flooring, the company didn’t have enough for our project from one shipment, but they had another shipment with the same dimensions and description. They claimed that they were the same. They marked down the first group because it was the end of the lot. We checked an made sure they fit together properly and were the same width and had consistent color.
It wasn’t until that I worked with the flooring that I suspected that something was a tiny bit off. And it was, check it out… one type is a smidgen short.
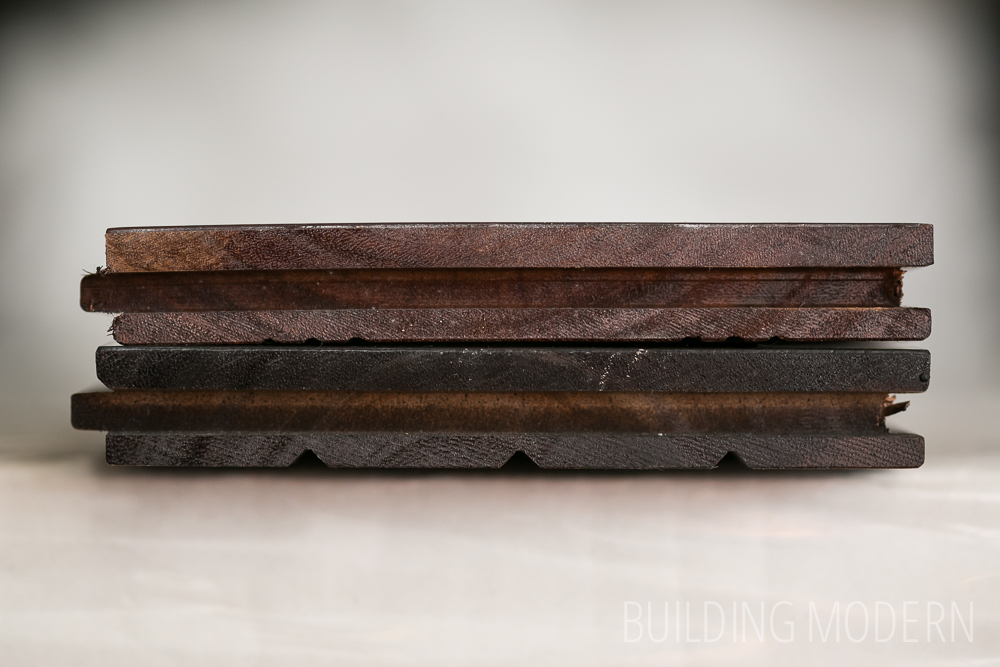
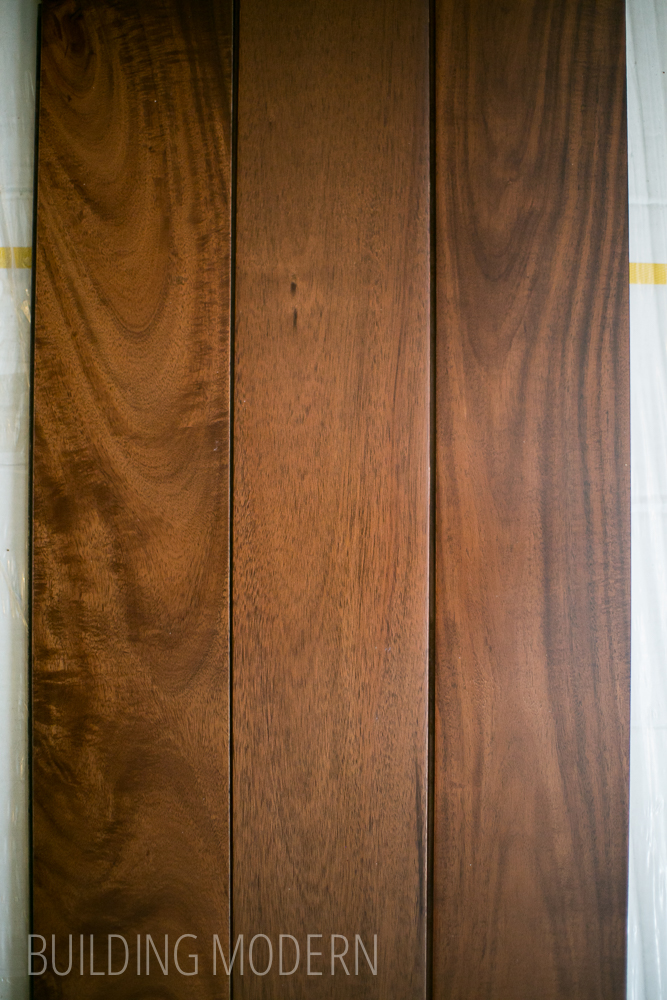
The front is still consistent with understandable differences from board to board. The two right boards are from the same lot, the left board is from another – even though the two outside boards look the most similar (in grain).
Proof of the different lots – the backs have different relief line patterns… also, check out how dark the wood is on the left board compared to the other two:

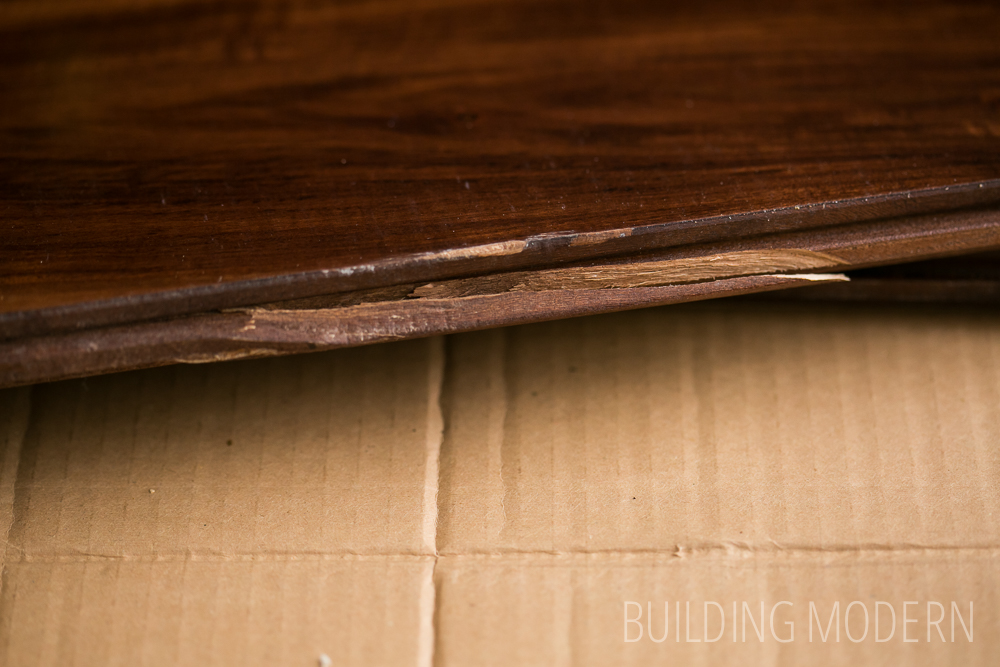
And while we are closely examining the boards, here’s a few examples of probably normal shipping damage: scratches and dings. I mention this, because I am a bit concerned about having enough boards for the master bedroom. I would need to keep some “bad boards” to the side (to use in the closet) if we run short… which we shouldn’t.

a few broken tongues:
Overall, the flooring worked, but I think that they may have fit more tightly together if they were all from one lot. It didn’t cause any real major issues in the other rooms (just one spot where they are not as tight as they could be). Moving forward, in the master bedroom, we will take extra care to make sure everything is tight – especially because of the not-so-flat floor!
In case you missed it, here are the links for installing the floor:
Jacking up floor joists
Leveling out the subfloor
Part 1) How to prepare a floor for hardwood installation
Part 2) Installing hardwood floors
Part 3) Installing hardwood floors
Part 4) What we learned for installing our own hardwood floors