Putting together Ikea kitchen cabinet boxes is silly easy. Easy, yet repetitive. I have no photos of assembling the cabinets because it was so simple it really didn’t warrant a photograph. Installing the cabinets was also fairly straight forward – I think it was one of the easier things we did in our entire kitchen renovation.
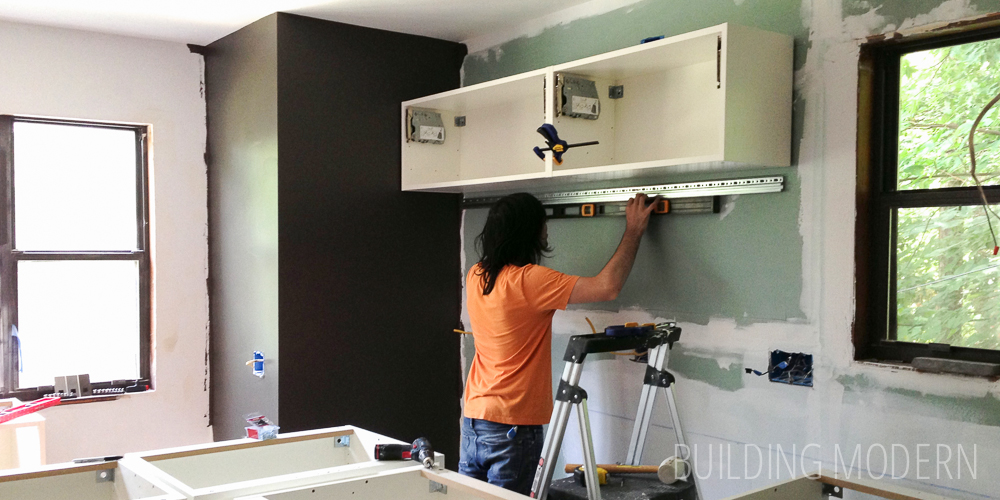
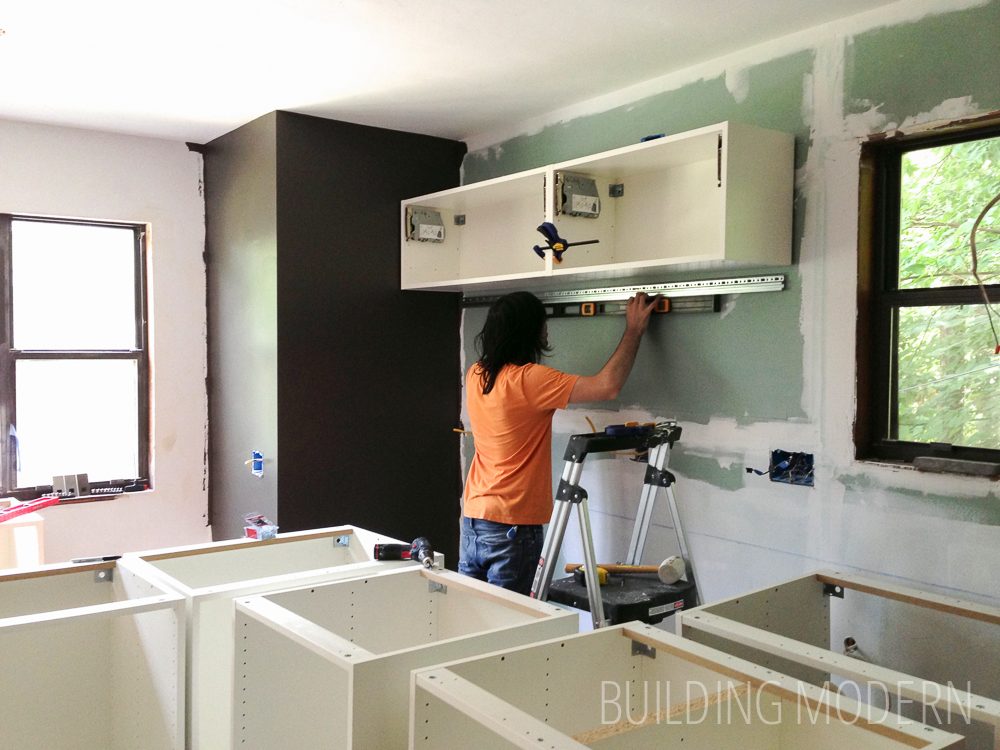
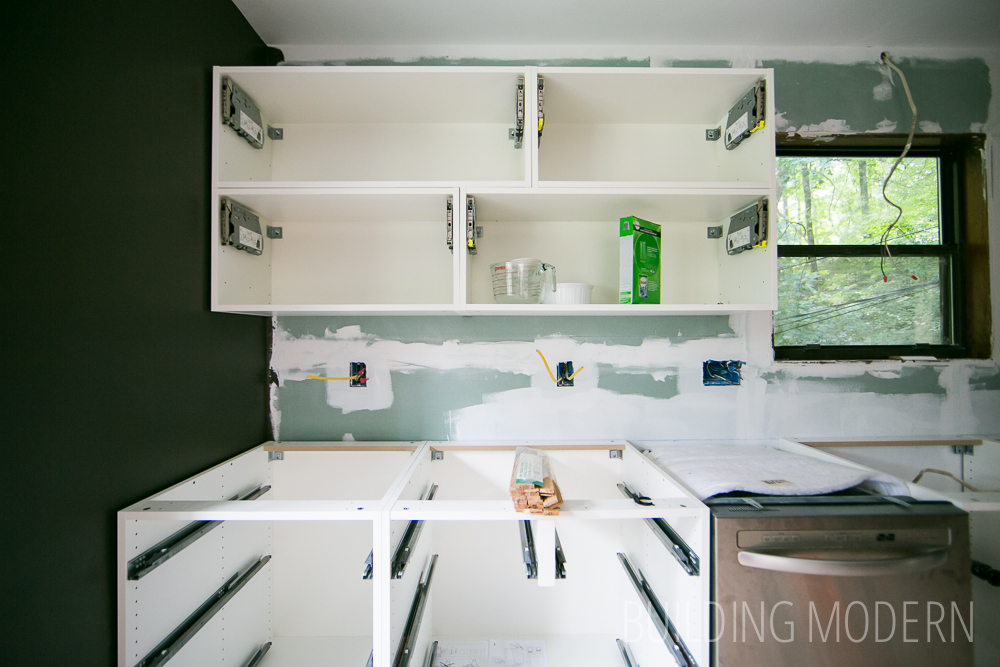
Here, Spencer is installing the upper Akurum horizontal cabinets. This was so simple and easy: just position & level the metal cleat and the cabinets are automatically level – I wish the lower cabinets could be installed this way. I will say, that this portion was fun and easy… not so much fun was using a manual hack saw to cut the cleat. (In total, between the horizontal uppers and the tall cabinets, I needed to cut four cleats for our layout.)
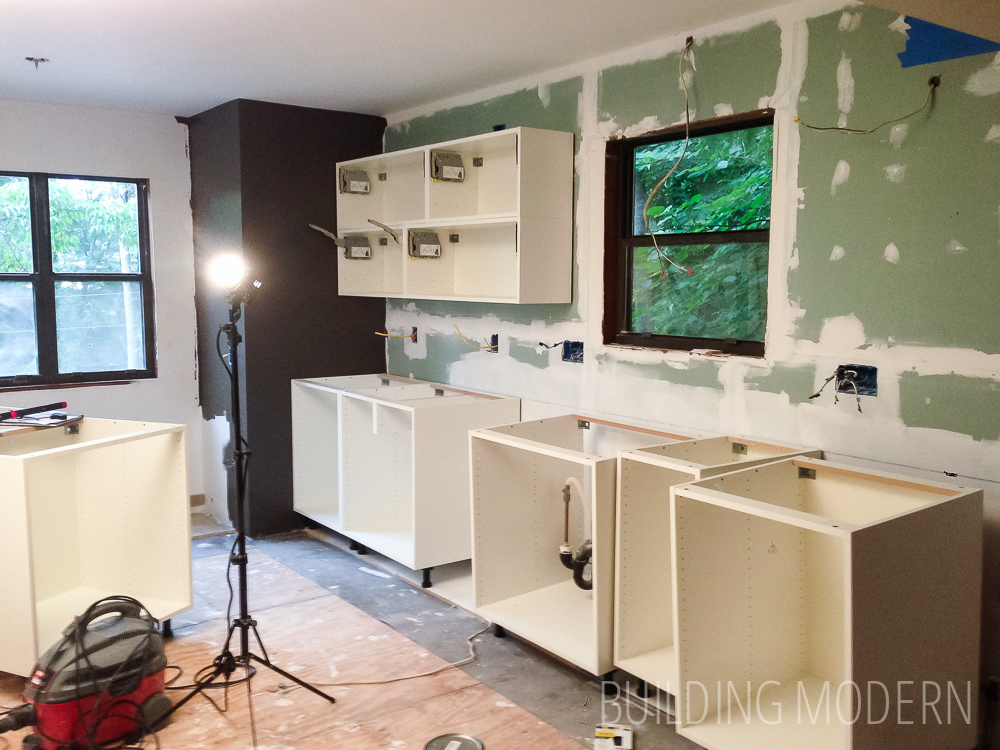
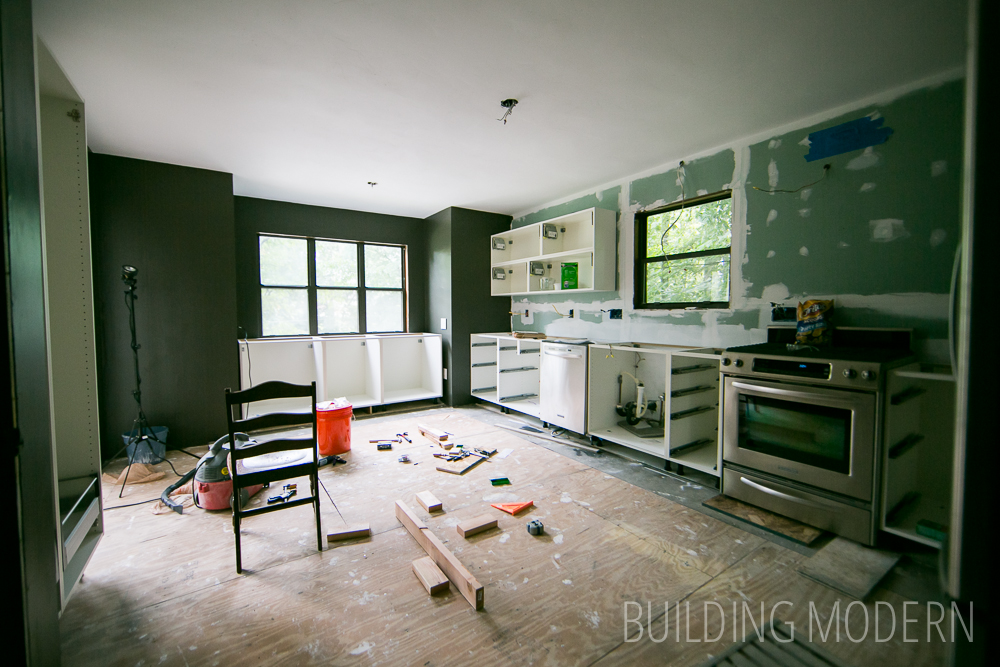
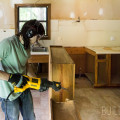
I’m going to rewind a bit: here, you can see the new green water resistant drywall that we put up on the back wall. We needed to move an outlet lower for the oven (since it was plugged in at a counter top height outlet) and we added outlets above the upper cabinets for accent lighting. We also removed the drywall because behind the original… it was just gross – we cleaned and threw in some boric acid for the bugs to enjoy. The “we” in this instance, would be Spencer and his cousin Wade, since I was still in bed at this point and couldn’t lift anything. But, in a few days, I started to paint any walls that would touch cabinets and Spencer & I were able to assemble the cabinets. The color we chose was a darker shade of grey – a charcoal. I originally chose a Restoration Hardware warm medium grey color for the rest of the house, but wanted something more dramatic & darker in the kitchen. I found another paint brand’s swatch that had a progression of the same color and used the next shade.
Back to the cabinets! Here, the horizontal cabinet boxes are completely installed with the lower cabinets obviously not. (We just roughly placed the lower cabinets to visualize the space. Some of these are not in their correct locations.)
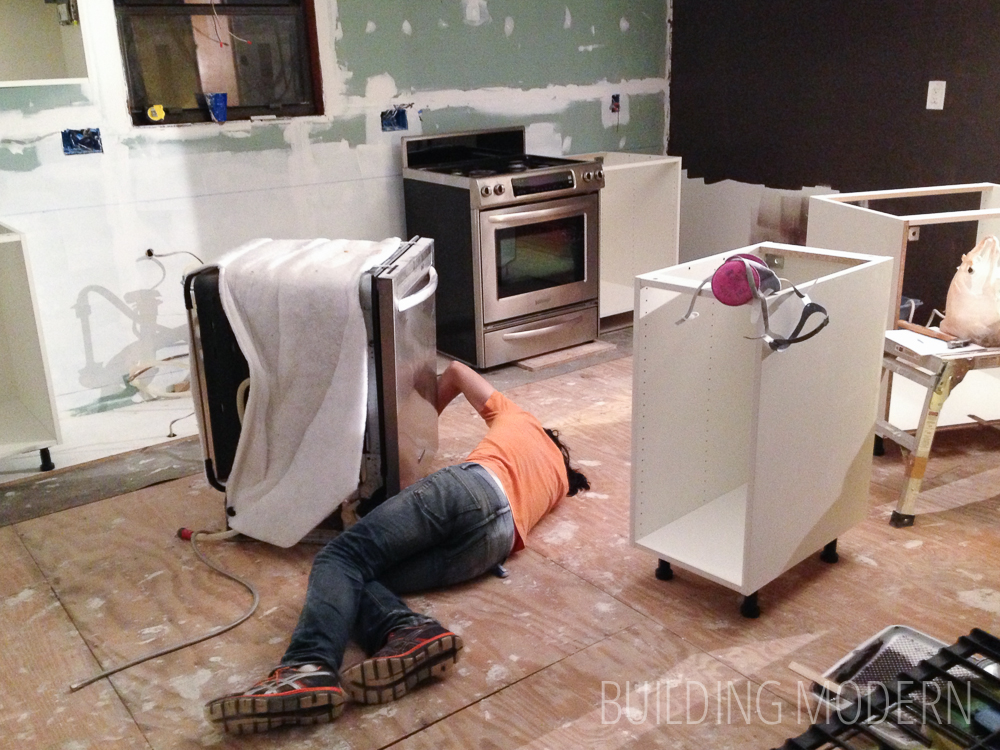
We went against the grain, hooked up and placed our appliances in the room first. In this image, you can see the chalk line on the back wall to help guide the height of the cabinets.
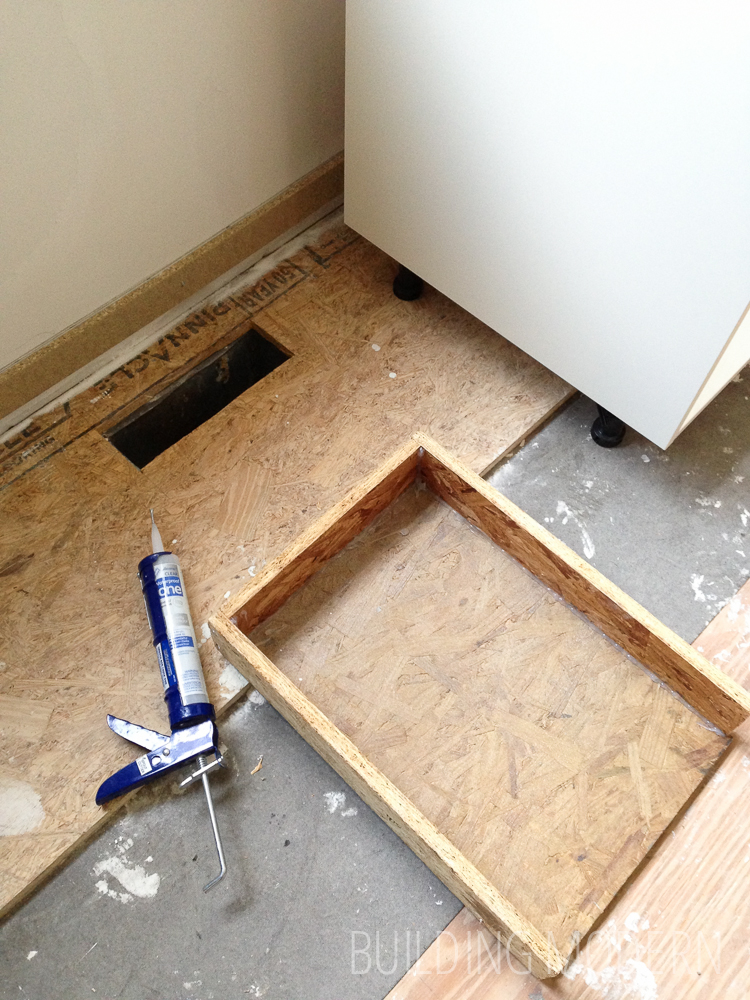
Over in the former eat-in-kitchen nook, as we were installing the lower cabinets, we needed to redirect a vent register. I created a box out of subfloor material and sealed the seams with caulk to prevent air leakage. I needed a box that covered the width of entire vent, but would fit between the feet of the cabinet above. I also measured the distance from the back of the original register hole to the front of the cabinet feet – this was to account for the toe-kick that would be clipped to the front of the feet. Oh, also, you can see the lower cleat for the cabinets attached to the wall. The Ikea cabinets have twist adjustable feet, but you can also utilize a cleat for additional support if you’d like. This cleat is included in the toe-kick package. Also, you can see that we have placed a 3/4″ sheet of board down for he cabinets to sit on – this is to bring them up to the same level of the new hard wood floors that we would be installing in the future.
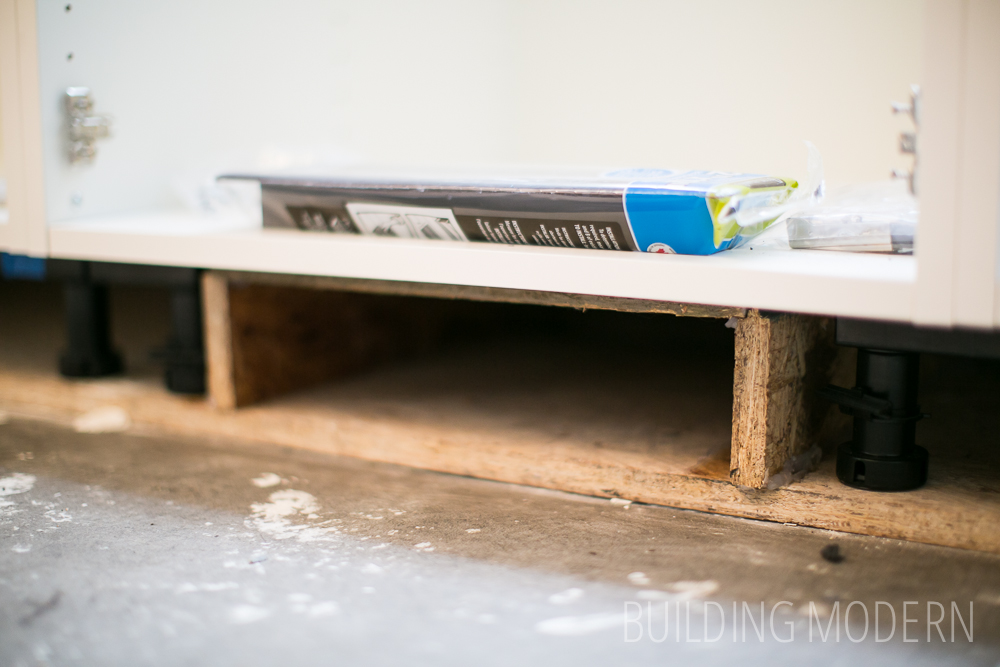
The redirected vent box under the installed cabinet. I also secured & sealed the vent box with caulk.
We secured the cabinets together before we added the drawer slides. We needed to make sure the screws holding the cabinets together were not placed in a hole that would obstruct the slides. Here, you can see the screw two holes from the top of the cabinet frame and just above the bottom slider. As for the drawer slides themselves, the top slider is in the #4 position, middle in #12, and bottom in #22. The sliders themselves obstruct two holes: so it was important to not miscount. The base cabinets have specific sized drawers, so the drawer sliders had to be in predetermined places. I’m getting a little ahead of myself, but I should note that the tall cabinets, unlike the base cabinets, had more flexibility and choice on drawer placement.

Yay! It’s starting to look like a kitchen! And we can use our dishwasher again!
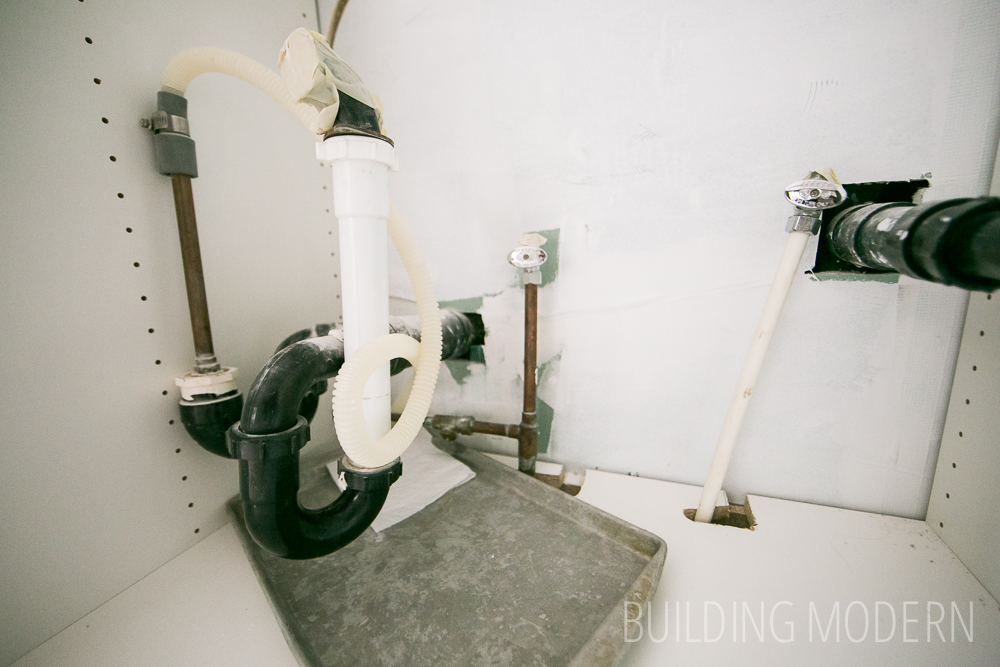
The plumbing just barely cleared the inside of the sink cabinet.
The kitchen painted and with most of the cabinets secured in place… well, everything but the island and the cabinets surrounding the refrigerator that is. I’m waiting to put the doors on the cabinets until after countertop instillation (just incase we might damage something). Also, the blue tape above the oven is where Spencer and his dad cut a hole for the range hood. They had to use the extension ladder fairly high up on the outside of the house. Fortunately, they knew where the studs were (to avoid them) and cedar siding was a lot easer to deal with than if we had a brick house. We made sure to have a vent outlet that had mesh to prevent critters from entering if the louvers were open & in use.
Remember the issue of our kitchen floor not being level? And how we had some help raising a few joists? Well, the joists were raised, but we still needed to use the maximum height on the “tall cabinet” legs in order to match the same height of the other upper & tall cabinets around the room. The light switch was a little snug to the pantry tall cabinet, but it is what it is – and it had to be there. Also, I think this is a good representation of how a kitchen project overflows into the surrounding areas: you can see cabinet boxes & the ladder in the living room, work platform sticking out from the dining room, level in the stairwell, and random stuff in the foyer. Oh, the reality of living in your renovation. 🙂

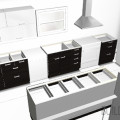
We were in demo mode for so long that it was a rather startling quick turn from empty room to something that looked like a kitchen. Bonus, a good number of the Ikea boxes are now removed from the living room – making that room a tiny bit less cluttered as well. Not useable by any means – but less crazy.


Very clearly explained!
The cabinets that you built look fantastic. I need to start learning some new skills like this. I have always had a hobby for crafting, but have never been this skilled. It’s always been easier for me to find a company make the cabinets for me with the correct specifications.