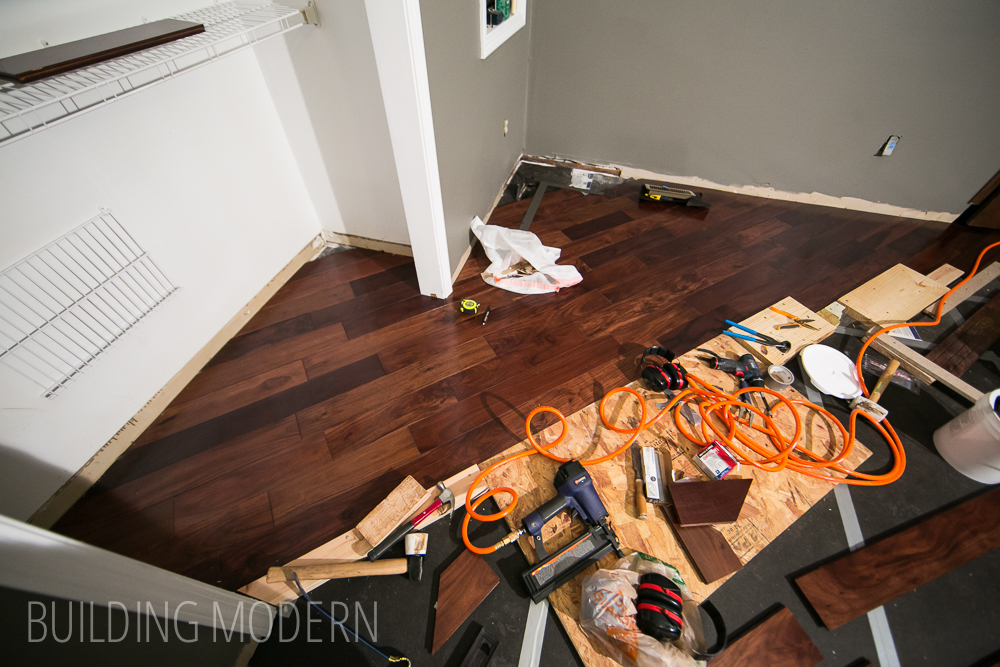
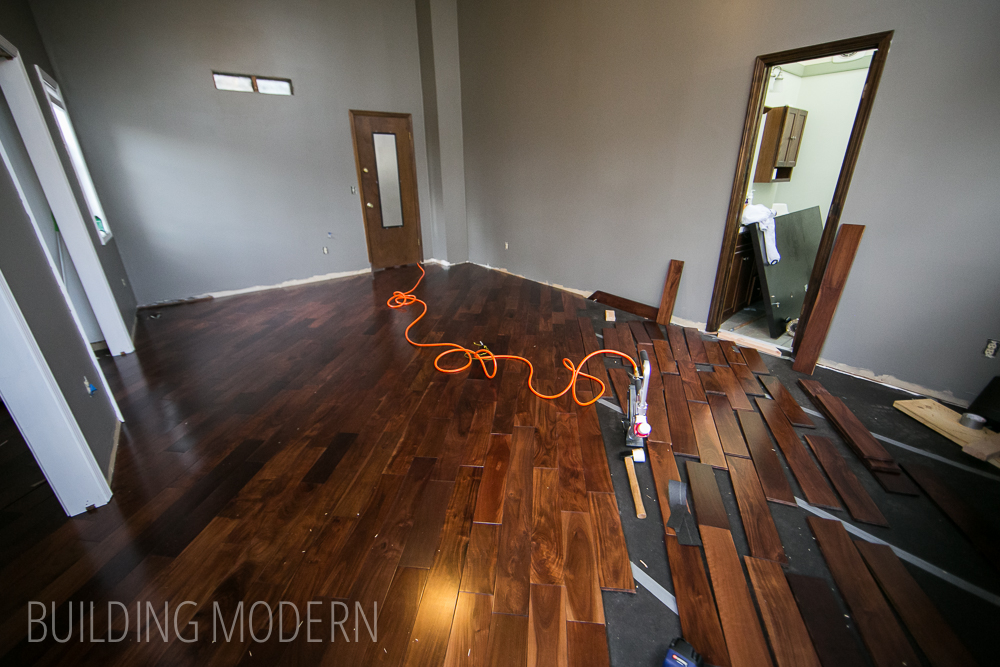
Here’s where we left off the night before in our master bedroom: walnut hardwood floor installation!
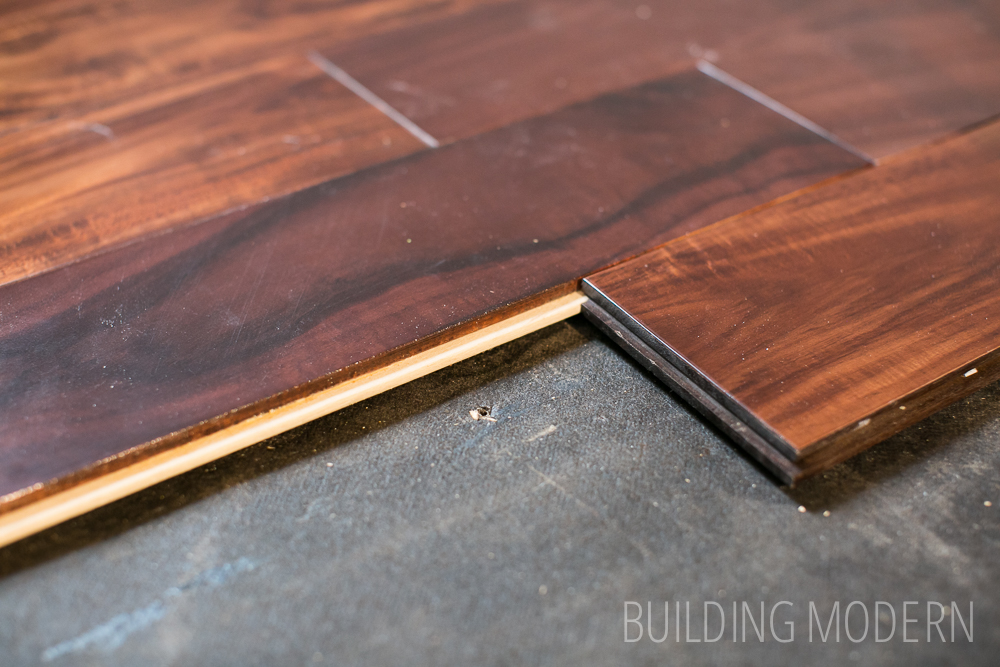
Reversing the direction of the hardwood floors by using splines. The splines are long pieces of wood that fit into the grooves of the flooring and act like a tongue.
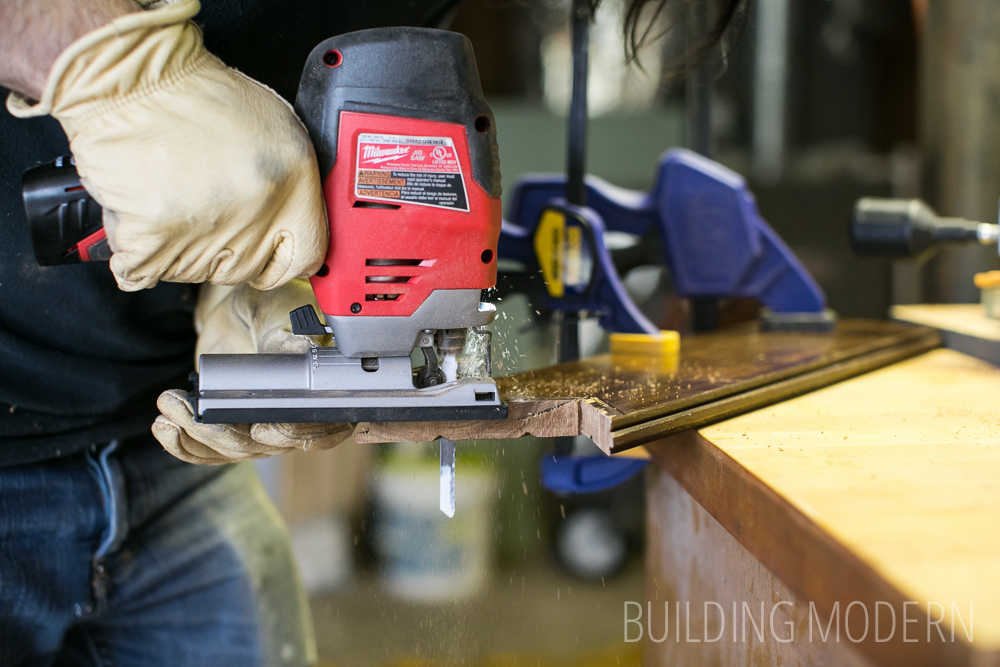
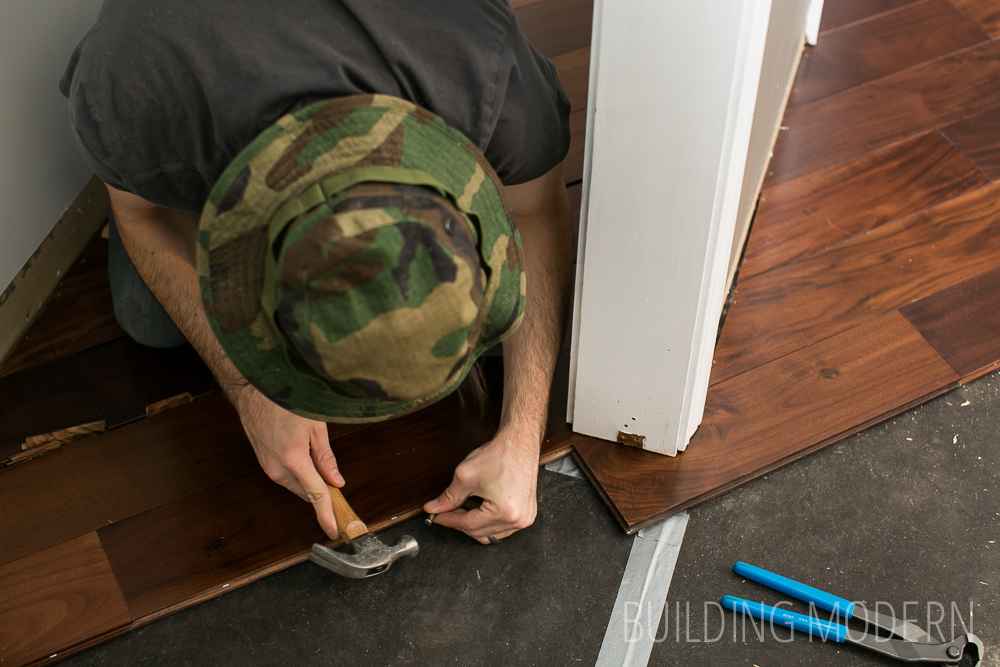
The way our flooring was laid out, when we encountered our next closet door, we needed to cut an odd shape out of a board. I asked “Why are we using a chop saw for this”?
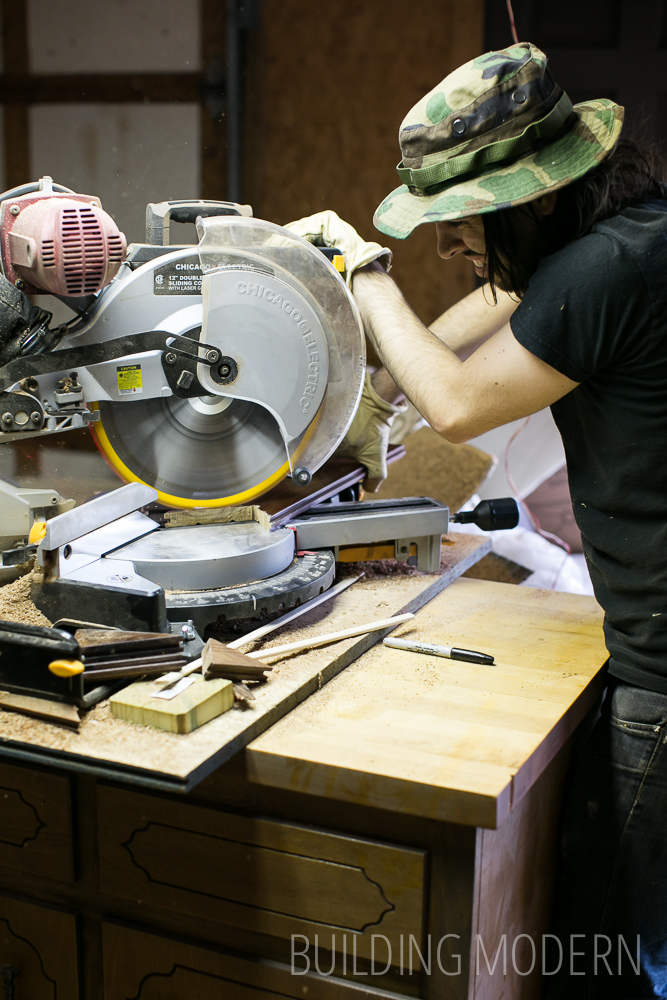
Better: a jig saw isn’t very precise, but better:
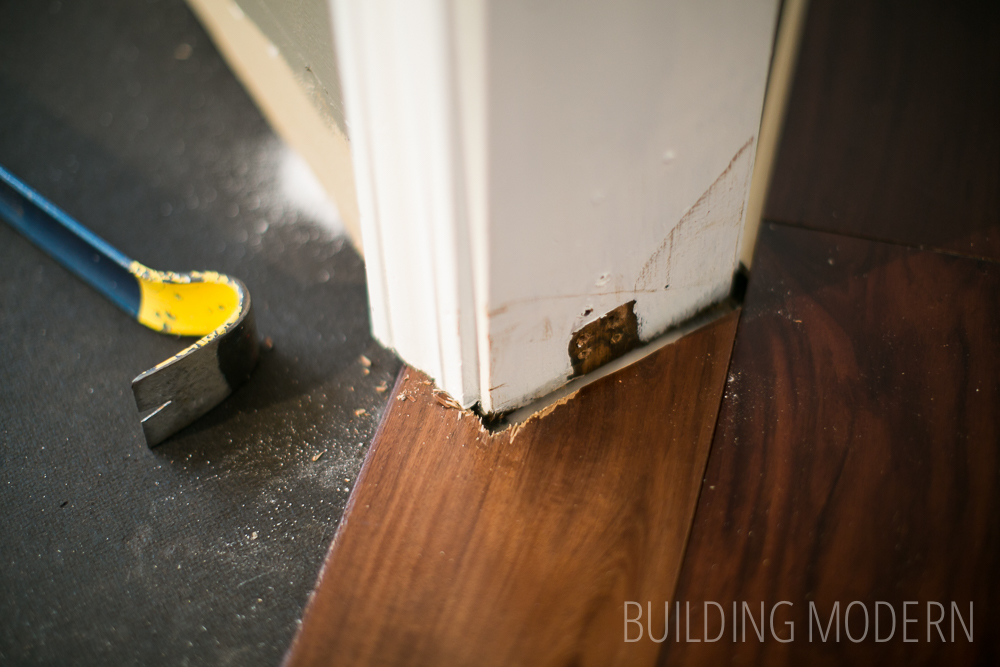
The board will fit, but the doorjamb is too low, so we needed to trim it up.
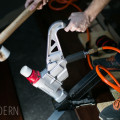
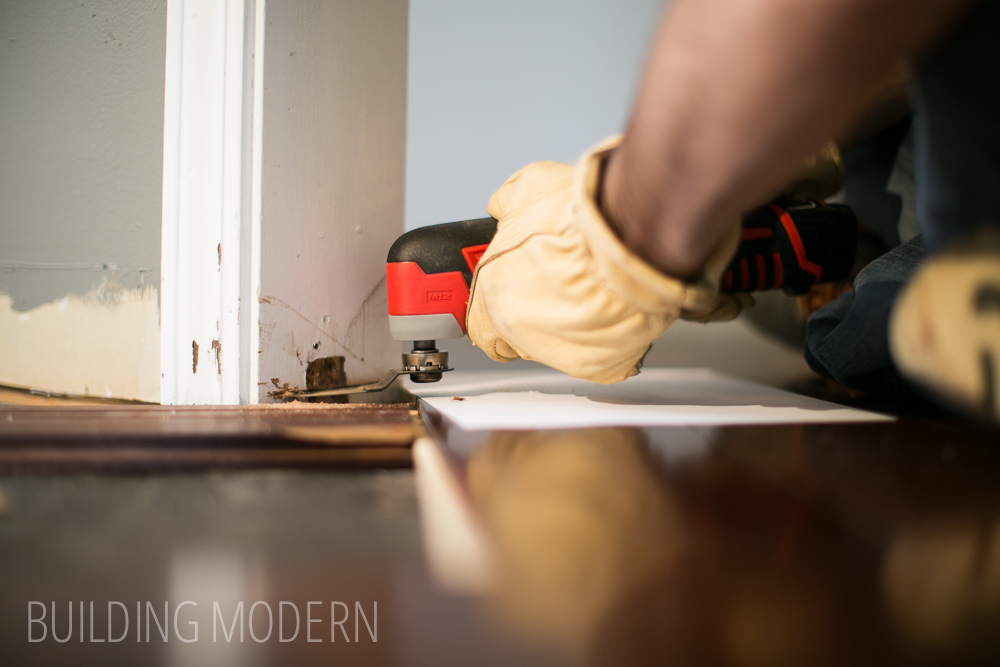
We were trying to avoid purchasing a multi tool (I felt that they were a single-purpose tool), so we borrowed an electric one. (We did buy our own blade though.)

Using a piece of flooring as a guide for height:
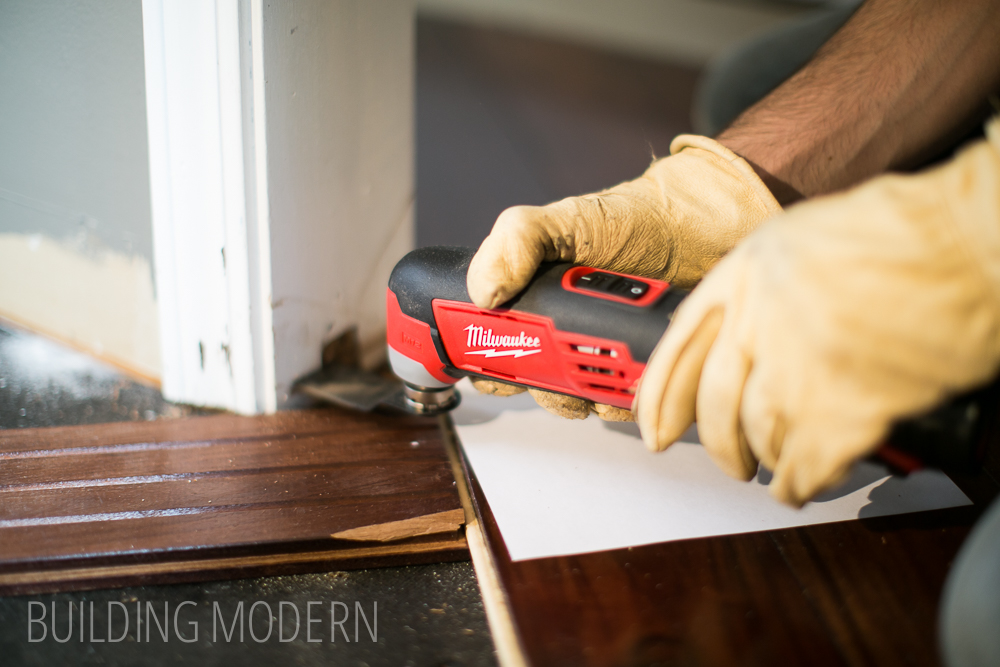
This thing took forever but there was really no other way to get this low against the existing jamb.
Here we are reversing direction!
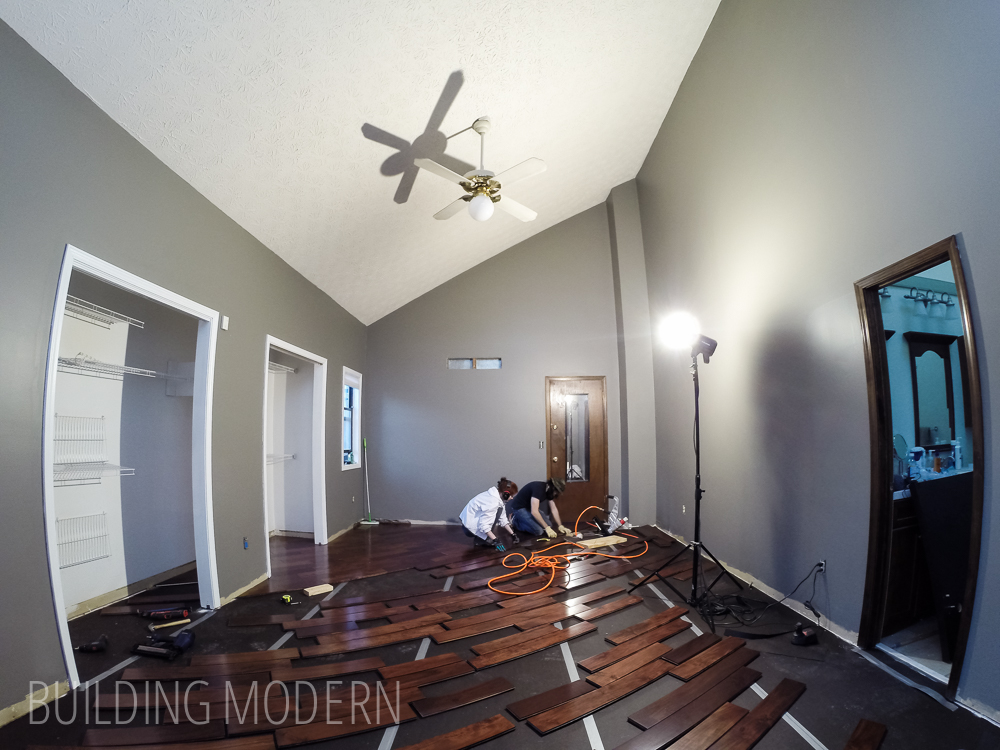
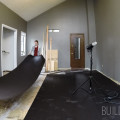
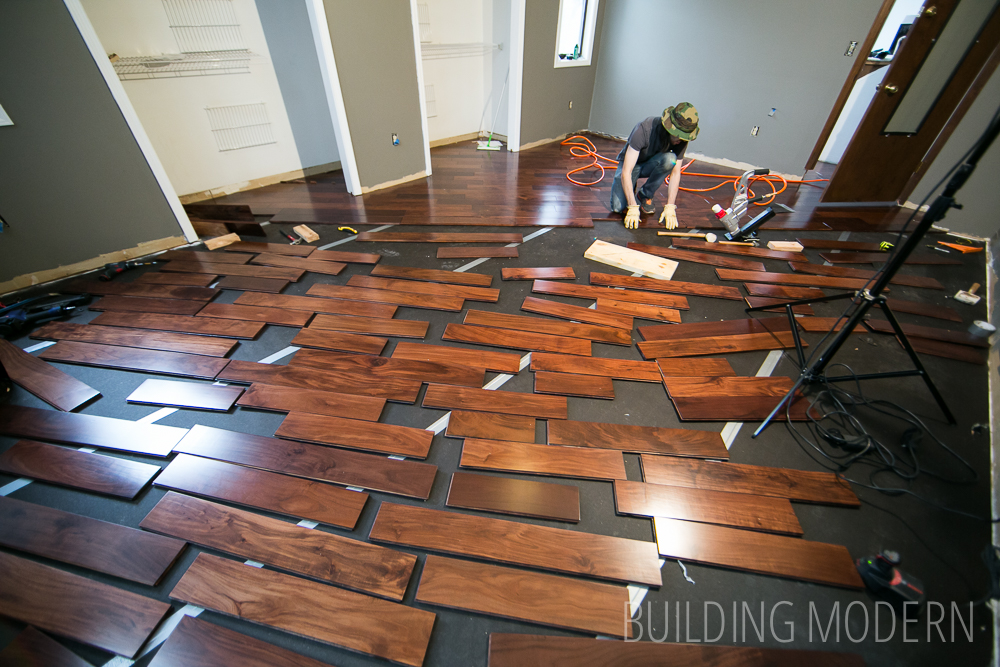
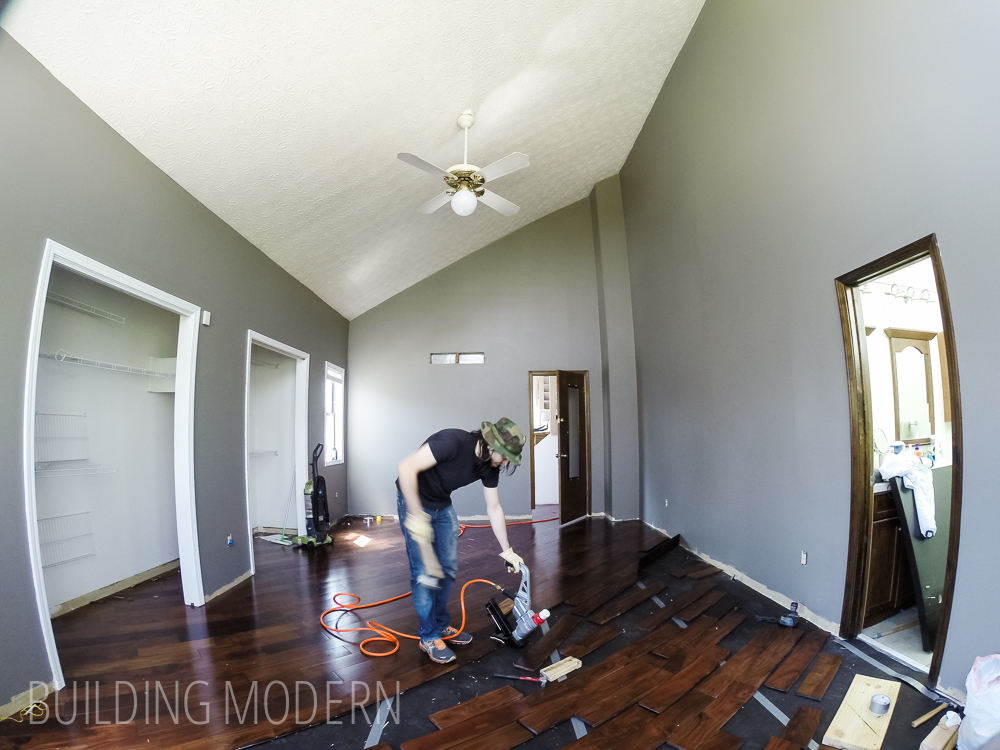
For the middle section of the room, I cold put boards in place and Spencer would nail in the previous row. In this wide shot of the room, keep in mind the wall between the two closet doors.

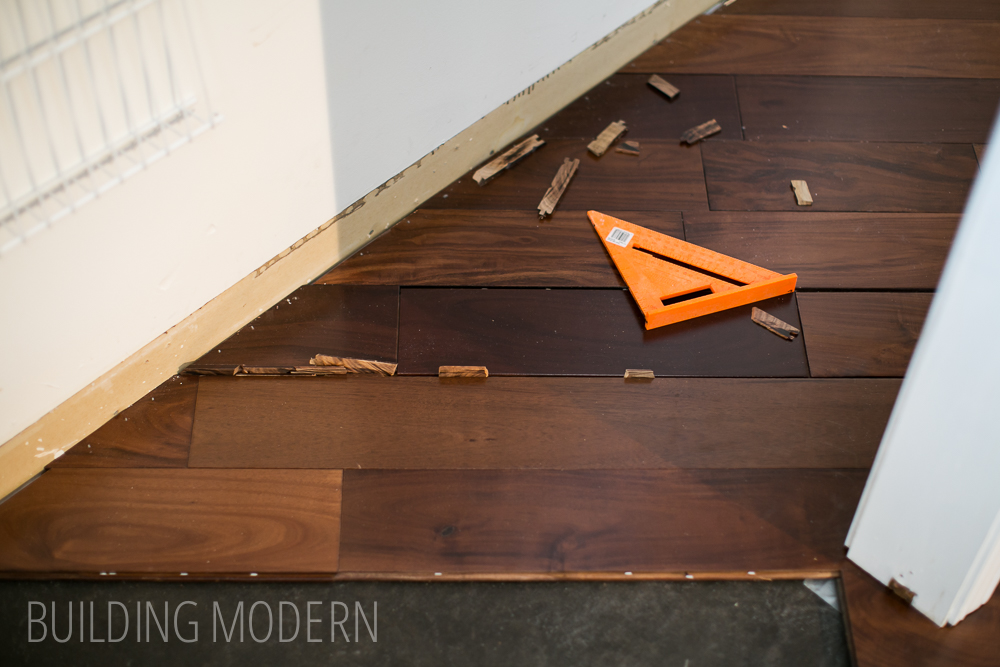
The wall between the closet doors represents an issue. When ever you need to go around an obstacle… say, a wall like this, or an kitchen island, or maybe just flowing flooring through an entire house from room to room – you will have this problem. The problem is getting the flooring planks to line up properly on the other side of the obstacle.

Here, we had a relatively short wall to go around but the planks were getting off. Every time you hit the nail gun, it can be with a slightly different force – thus, some boards may fit more tightly together than others. There is also just the difference between boards – being a natural product. We looked at where the final boards would meet up and shimmed wider gaps between the “closet boards”. If we had the opposite problem, where the closet boards were to wide, I suppose we would have shaved a little off of the long edge of those boards – still trying to hide the modifications in the closet.
We had a mother misfire on the nail gun, so Spencer is trying to recess the nail deeper into the tongue:

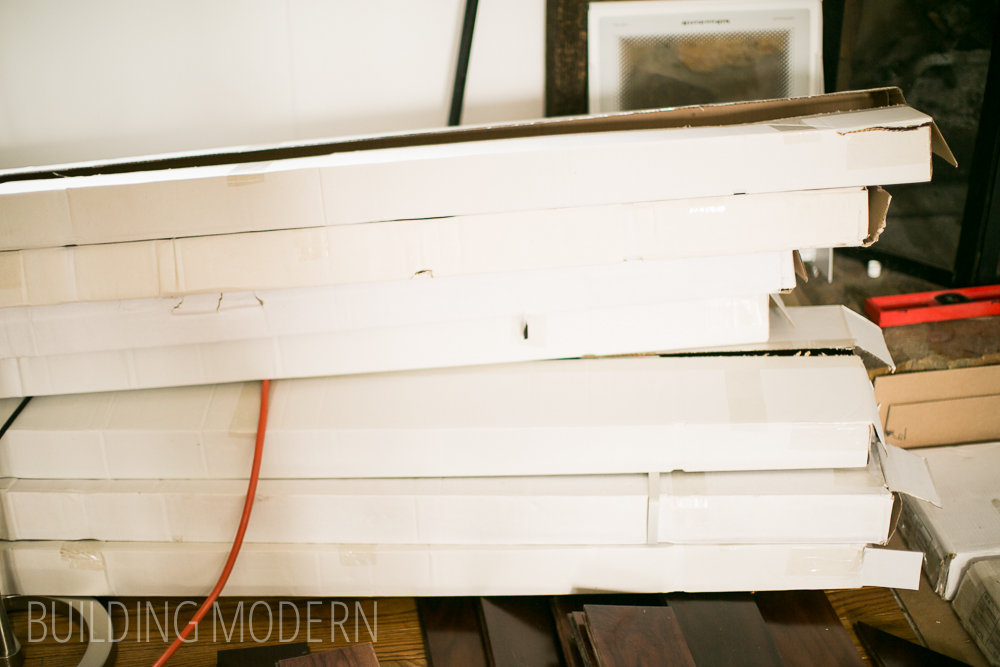
The pile of empty flooring boxes are really starting to pile up!

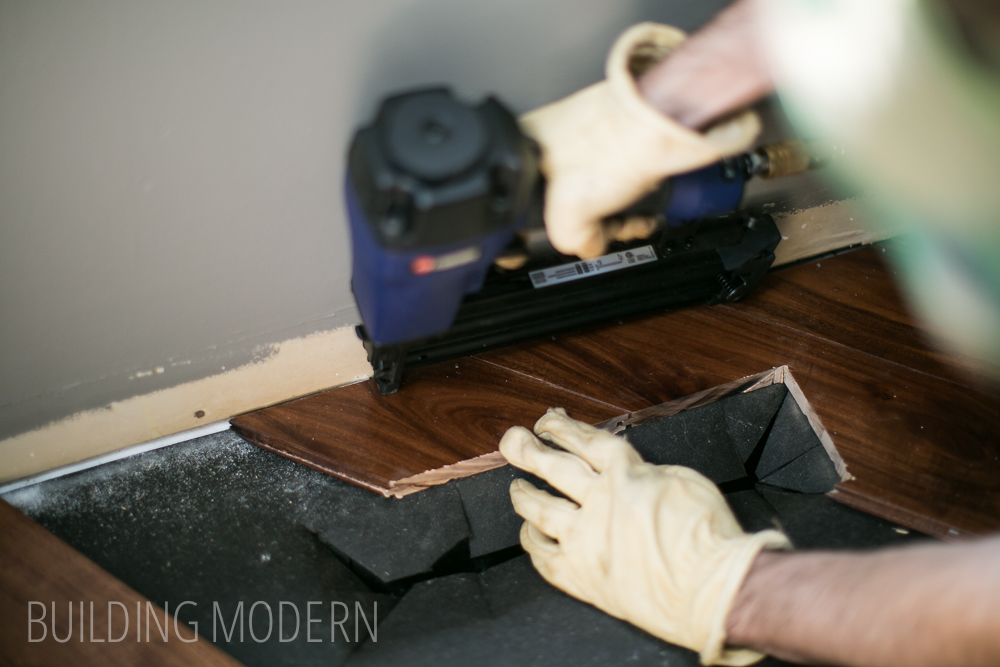
Getting around a floor register means some more creative cuts are in order:

Dry fitting a piece:

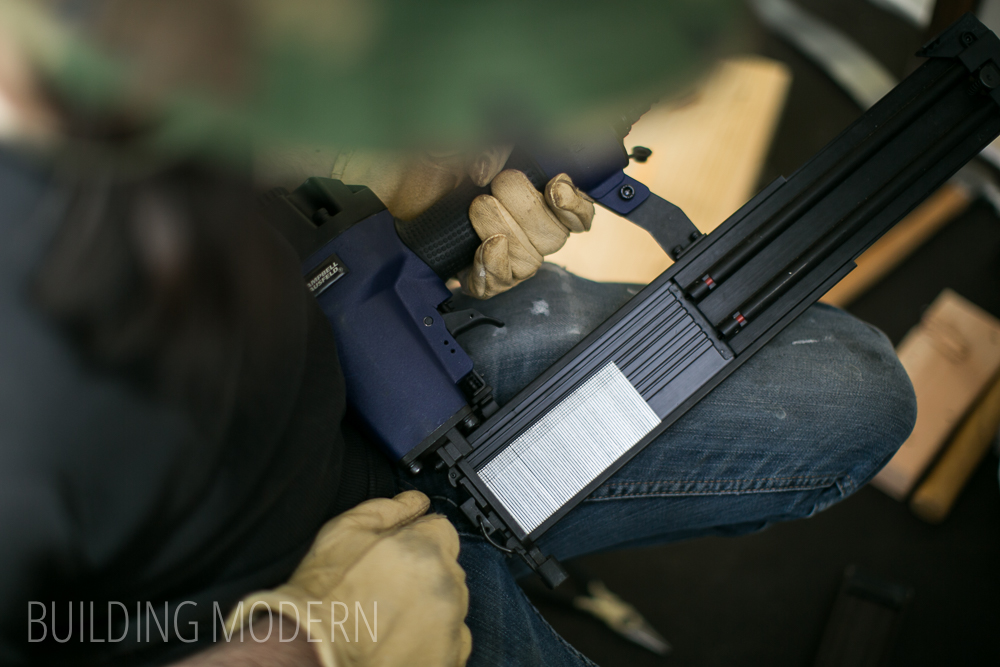
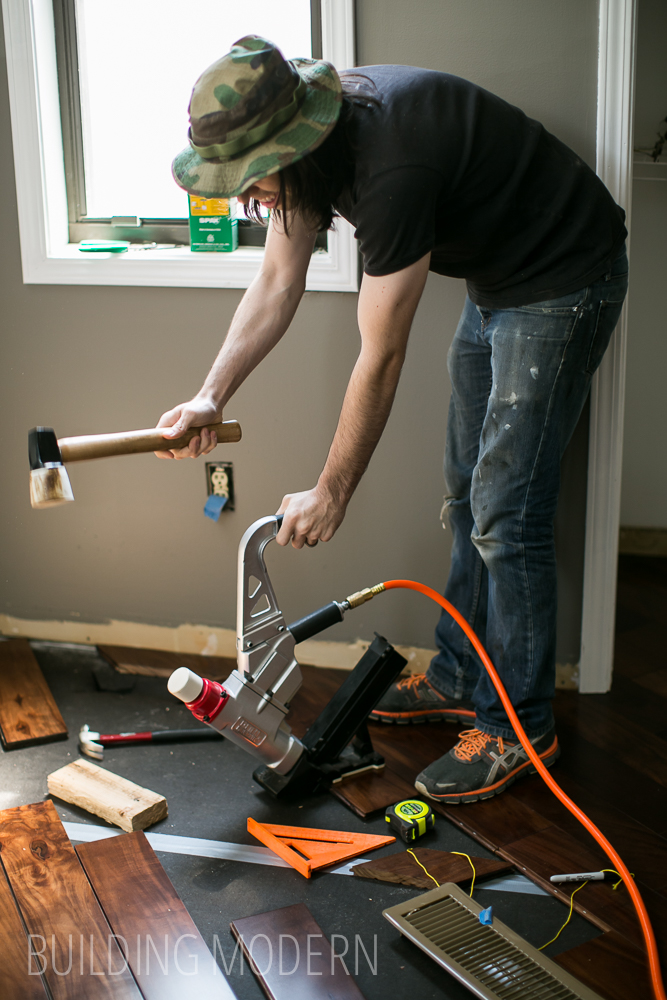
This situation calls for the “face nail gun”:
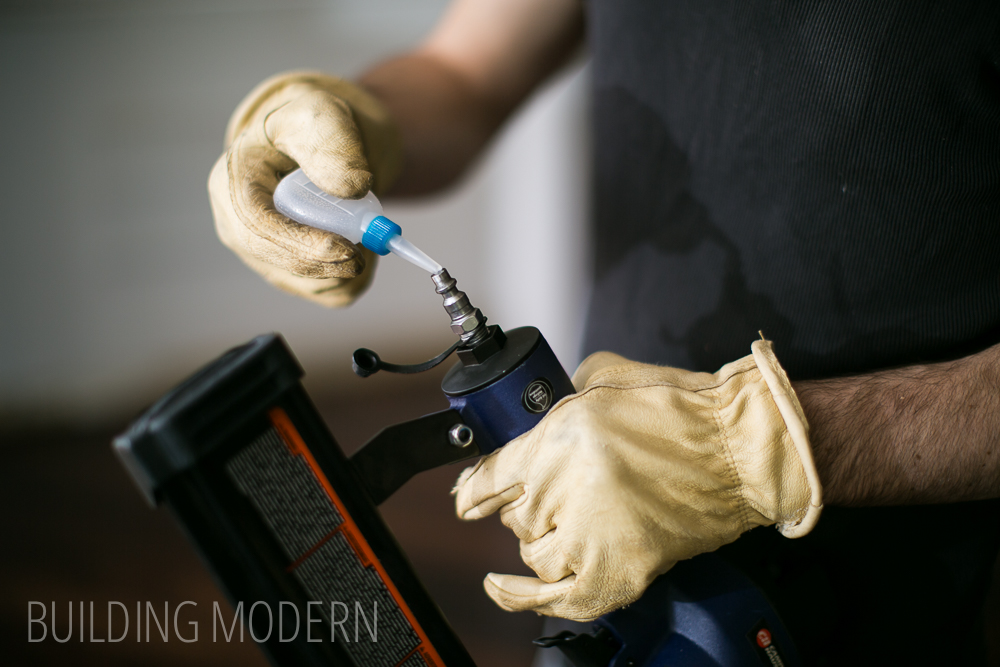
Adding oil:
Loading nails:
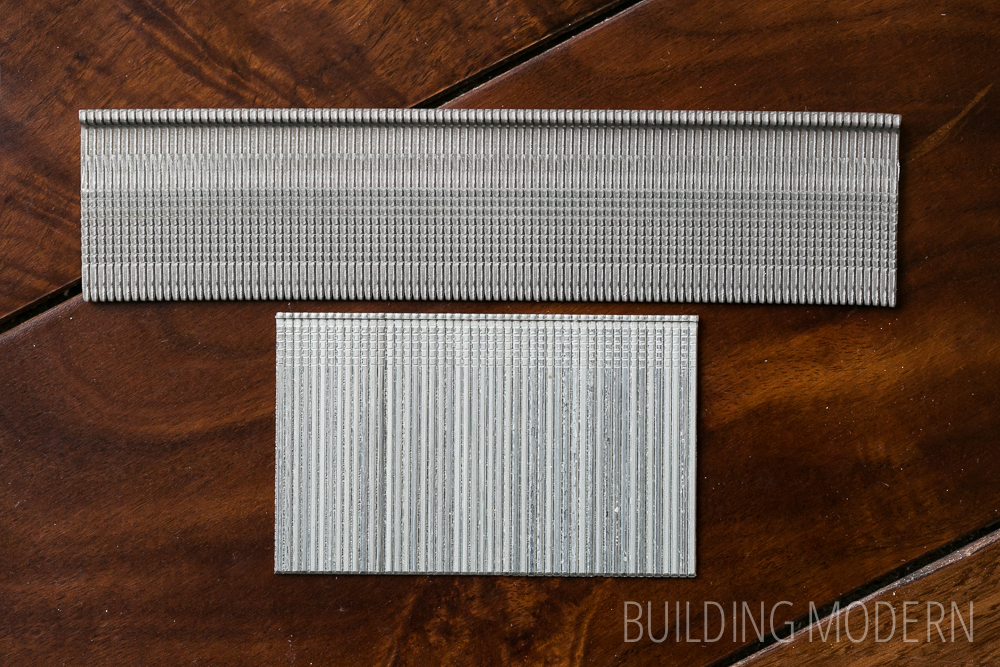
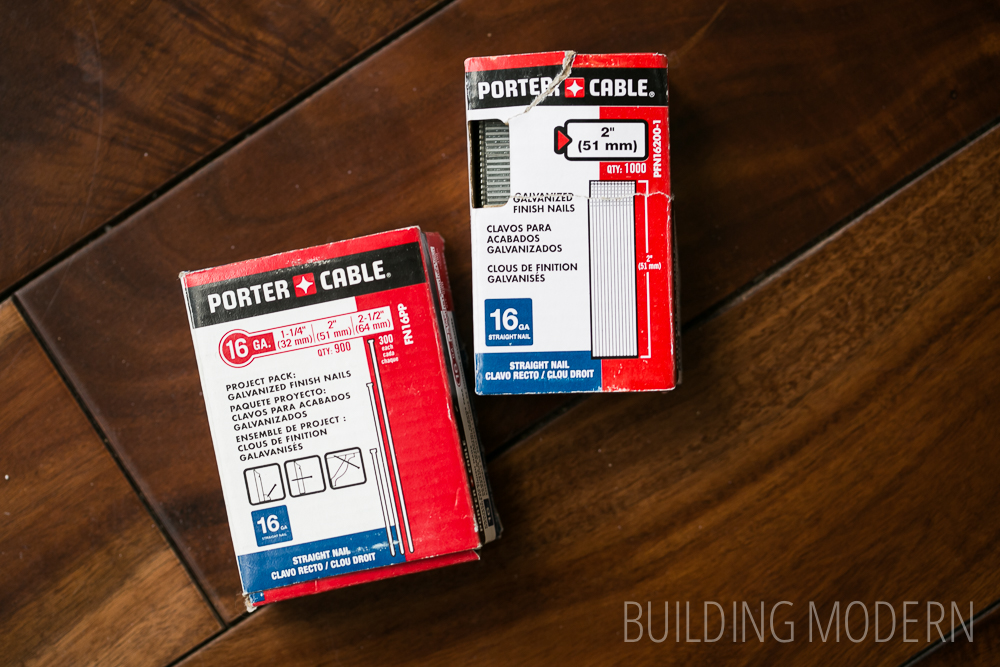
Here’s the difference between the flooring nail gun nails and face nail gun nails:

In addition to working around the vent, it is also important to nail around the perimeter of the room as well:
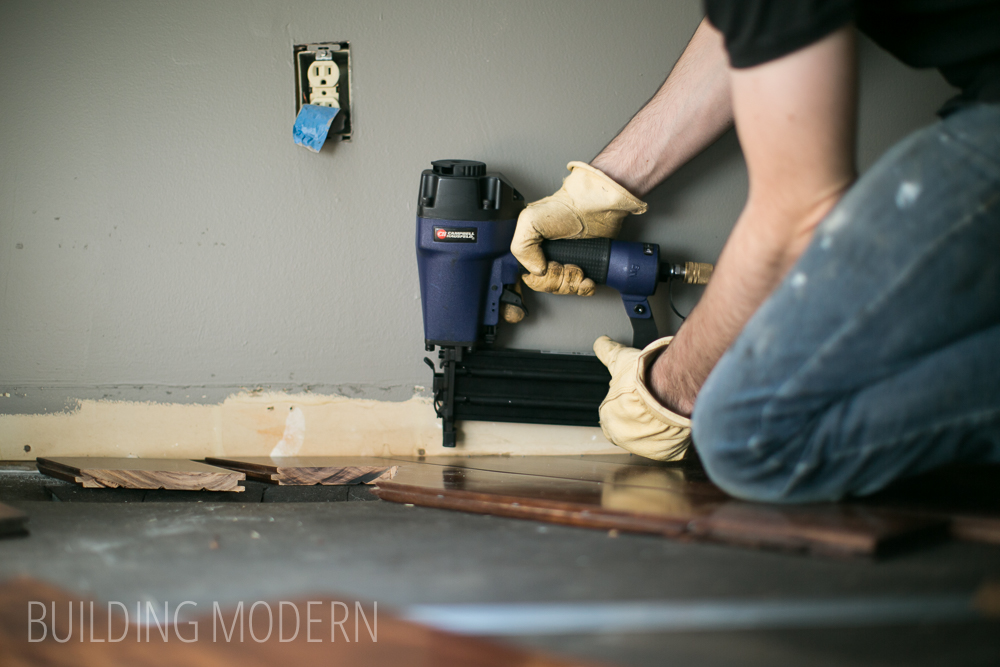
The “perimeter” nails will be hidden with the baseboard in the future:
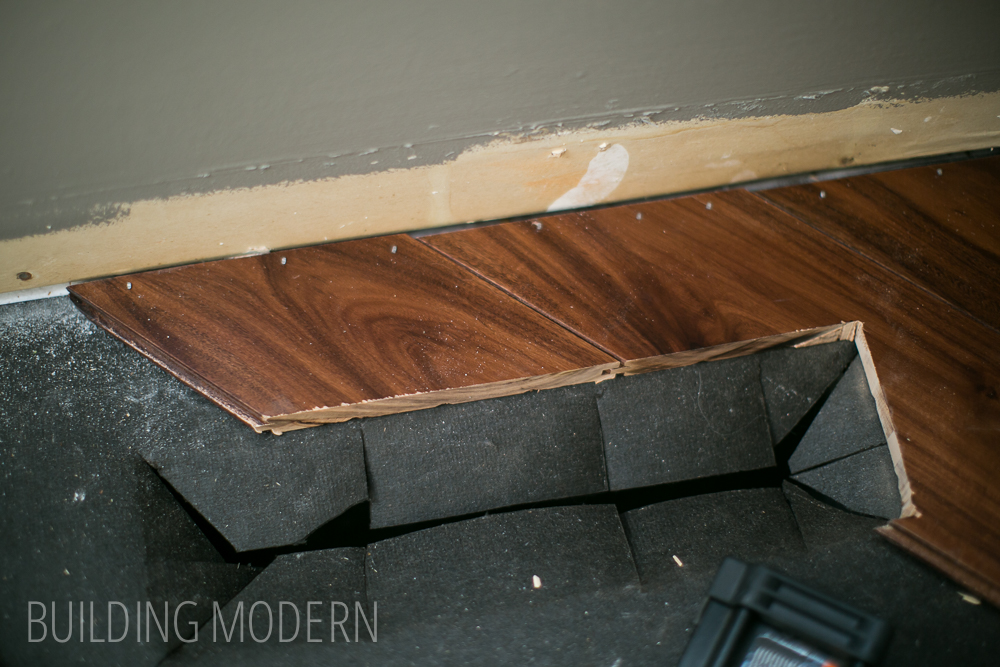
The vent cover will also hide the face nails around the vent:
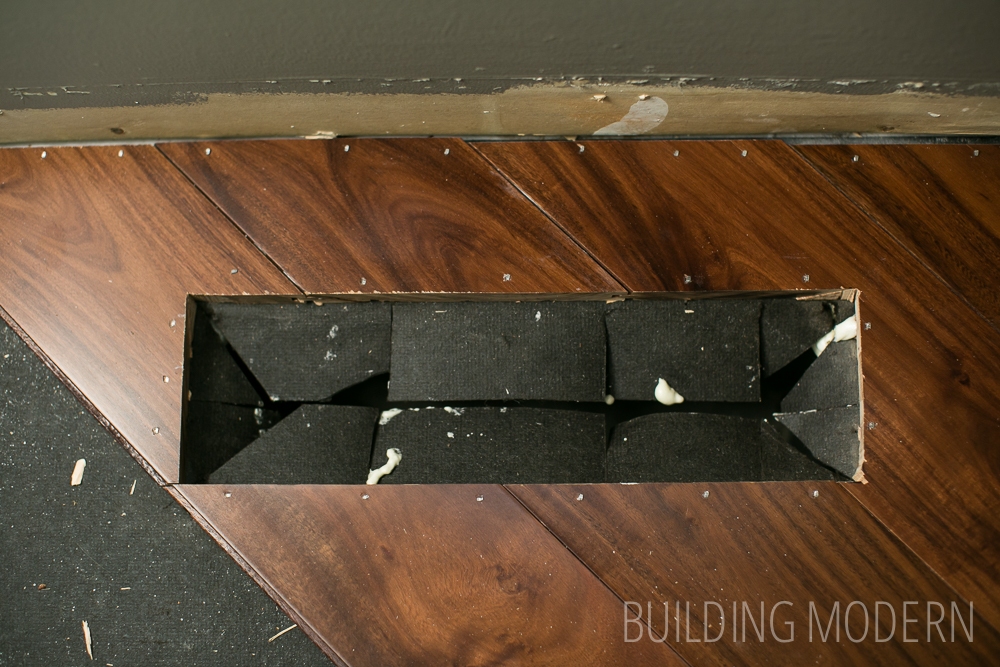
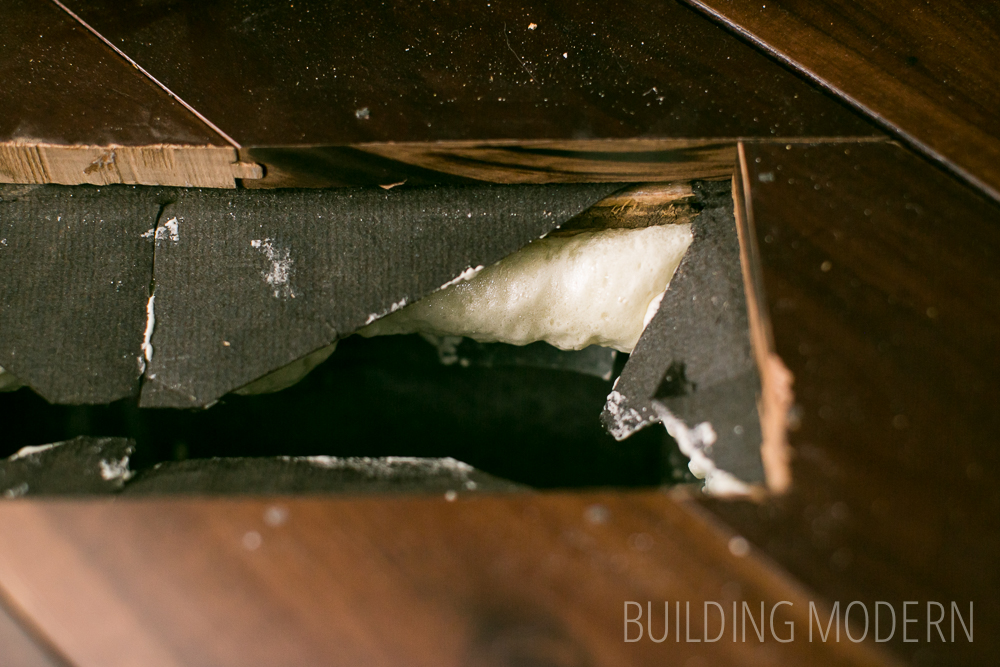
Oh, and while we were at it, we also squirted some low-expand foam (door and window type) into the gap between the vent and subfloor to seal the area.
Back to the rest of the flooring:
Starting to not have much space to put all of our tools, scrap wood, and new planks:

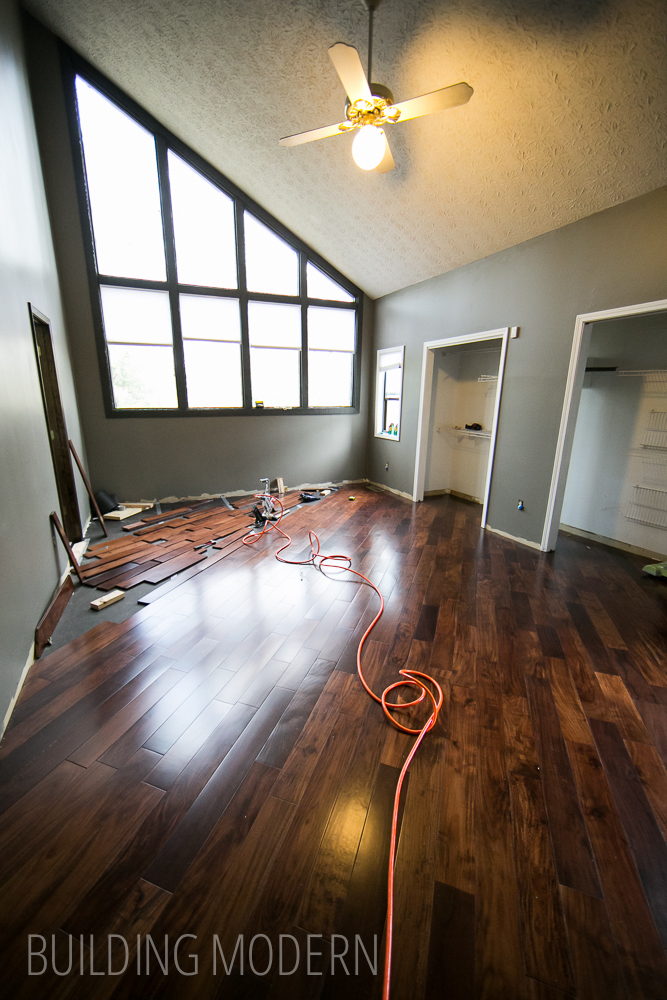
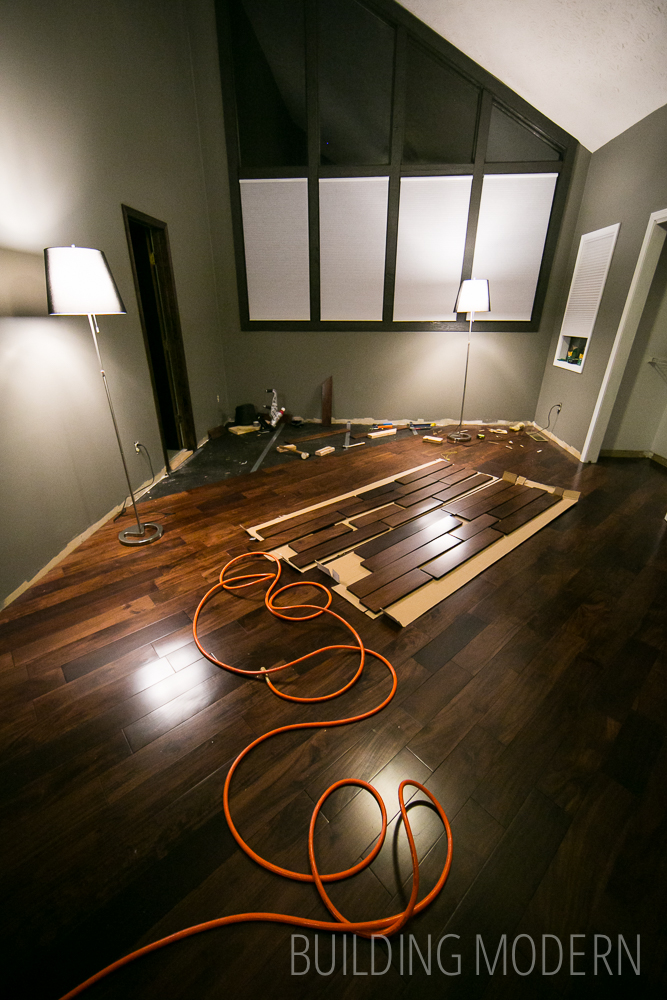
Definitely past the half way point! (This photo distorts the last corner to look smaller than it is though.)

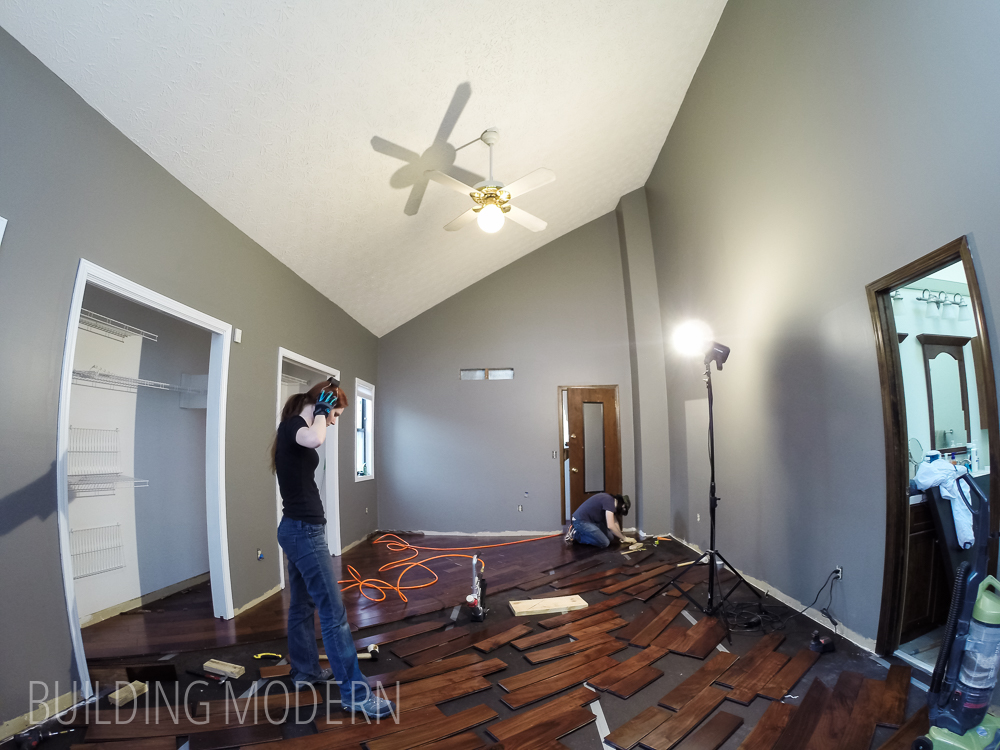
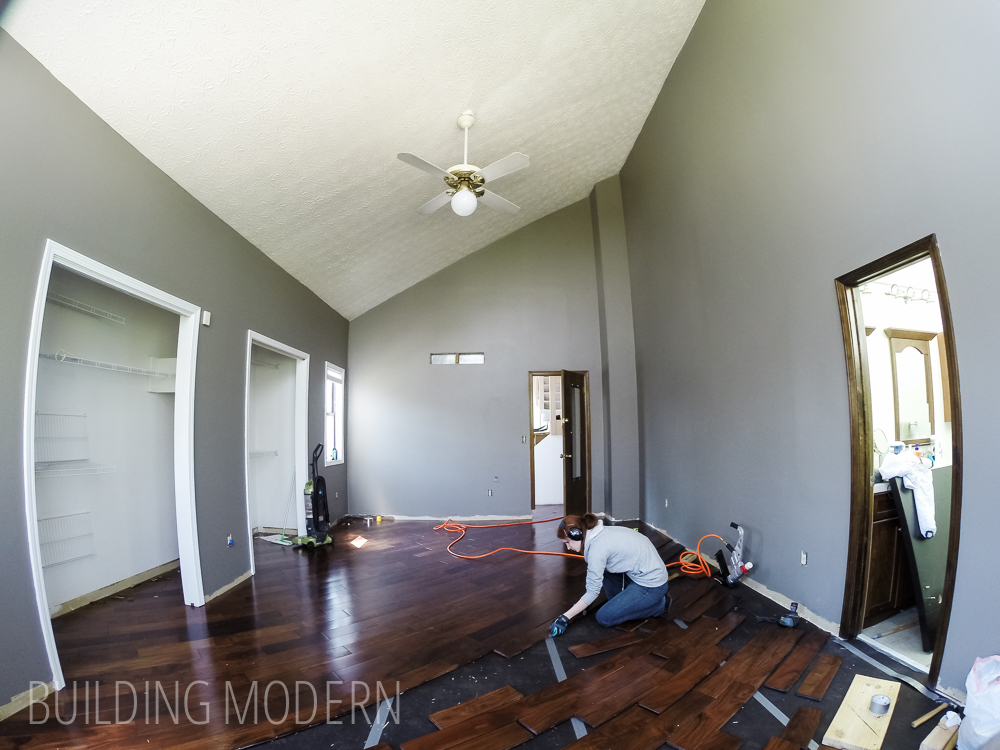
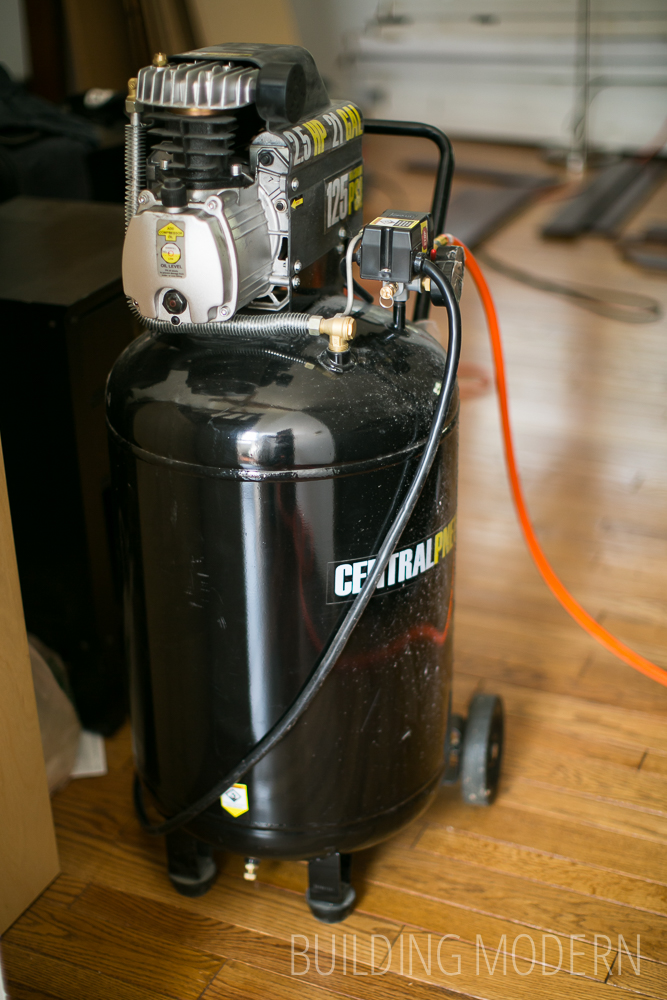
If you can, it’s great to be able to stash the air compressor in another room while you work – it is pretty loud. Here’s a more realistic perspective of the room, by the way:
The giant air compressor. I may have said this before, but we tried a smaller “pancake” compressor at first (when we installed the kitchen floor), but it didn’t have enough capacity.
Since we started to run out of space on the bare floor, I started laying out planks on cardboard boxes – being careful not to scratch or damage the new floor!
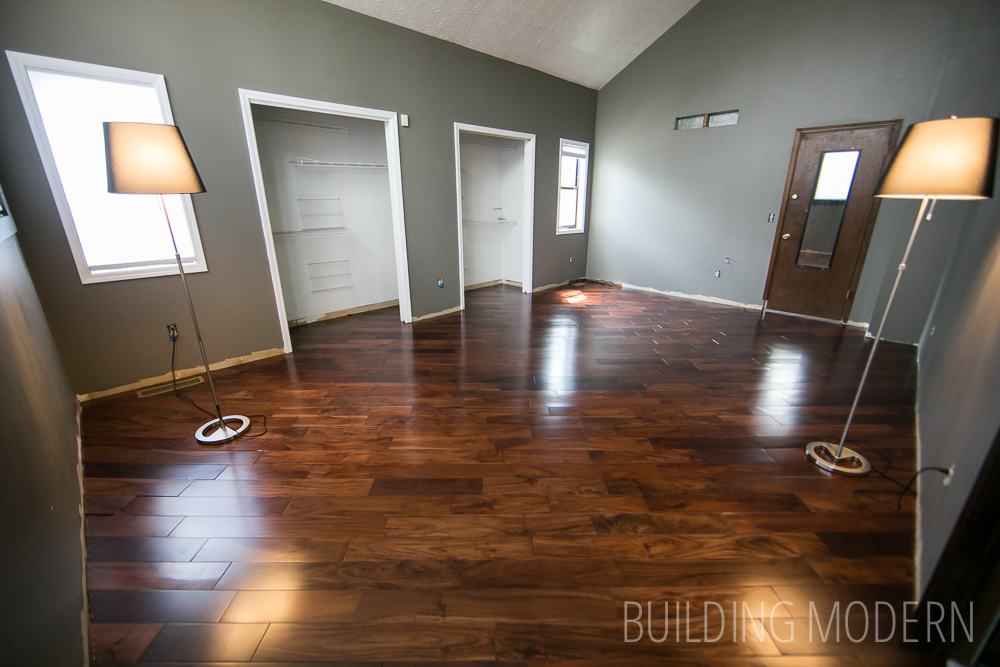
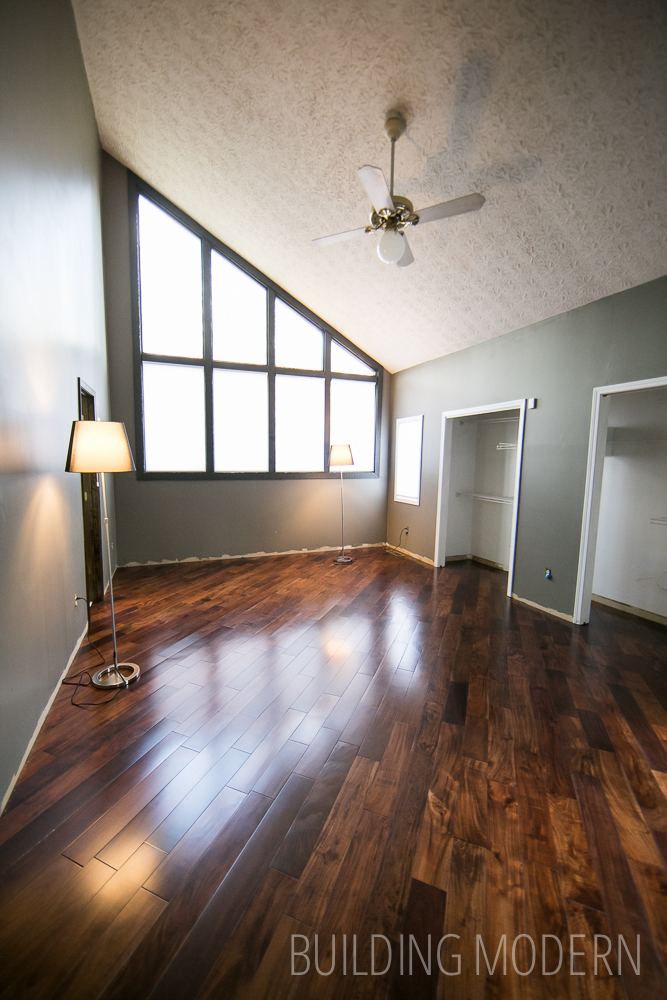
The finished floor! Yay!
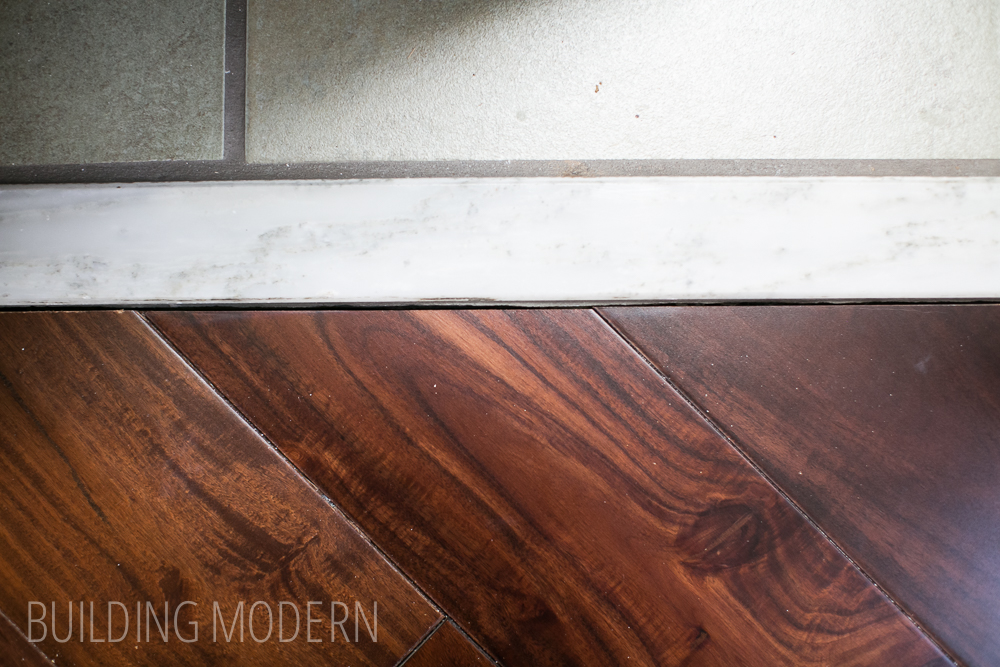
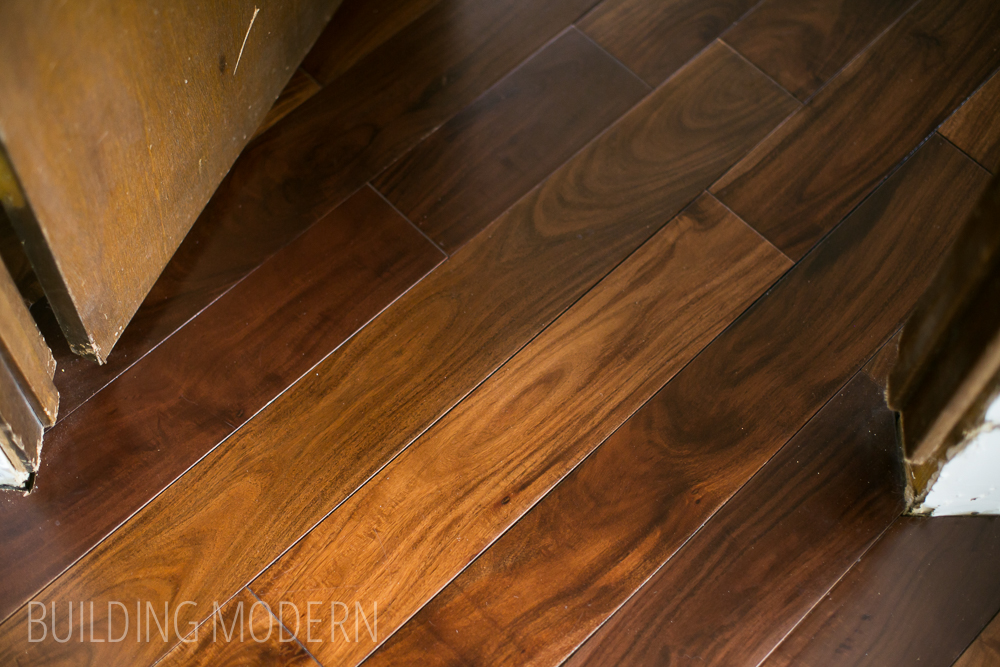
Here are a few detail shots:
Face nails against the wall:

A super clean edge of the wood against the existing bathroom marble threshold:
A beautiful transition between rooms with no threshold or transition strip:
The pretty floor (feet for scale):

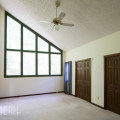
The whole room!
In case you missed it, here are the links for installing the floor:
Jacking up floor joists
Leveling out the subfloor
Part 1) How to prepare a floor for hardwood installation
Part 2) Installing hardwood floors
Part 3) Installing hardwood floors
Part 4) What we learned for installing our own hardwood floors