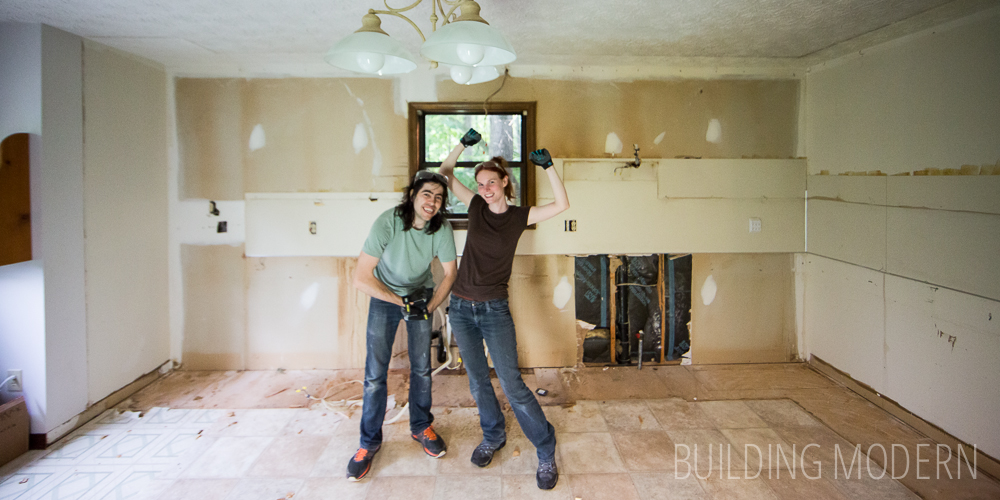
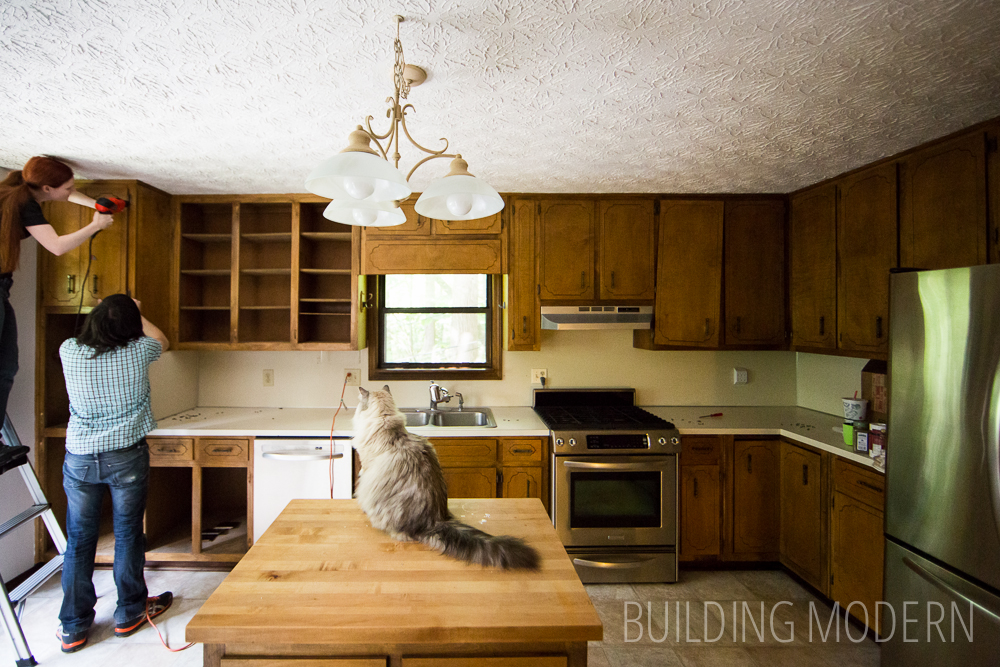
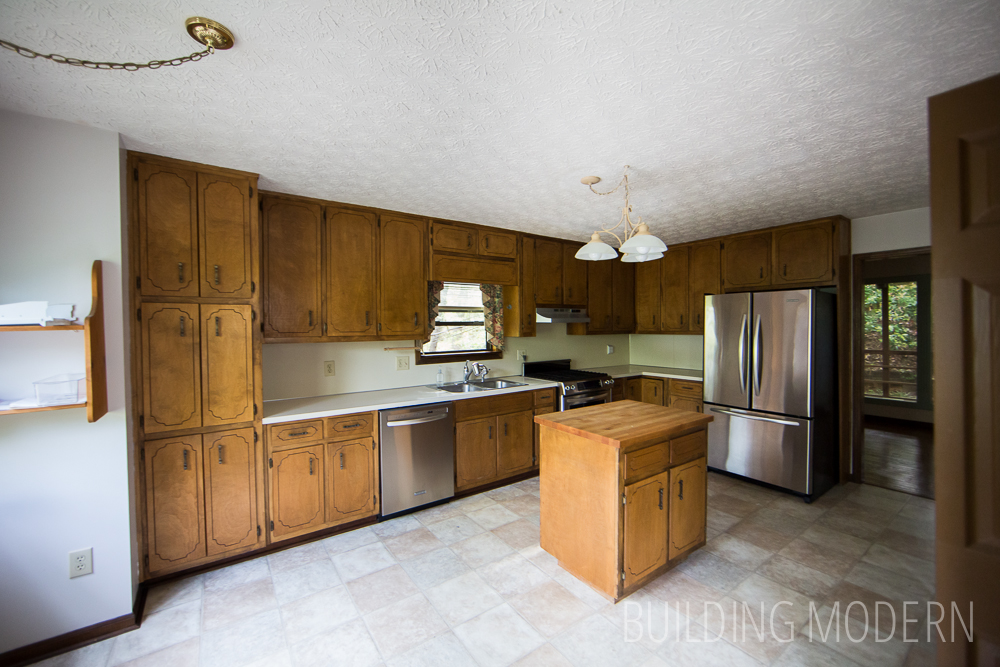
The first thing we tackled in the house, (well, after giving it a thorough cleaning) was smashing the kitchen cabinets to bits…. But wait, let me rewind a second. Initially, our plan was to salvage the cabinets and reuse them in the garage or give them to anyone who would take them. (Someone would want nasty particle board cabinets…right?) Anyway, so we started with nicely unscrewing the doors.
Izumi was helping.
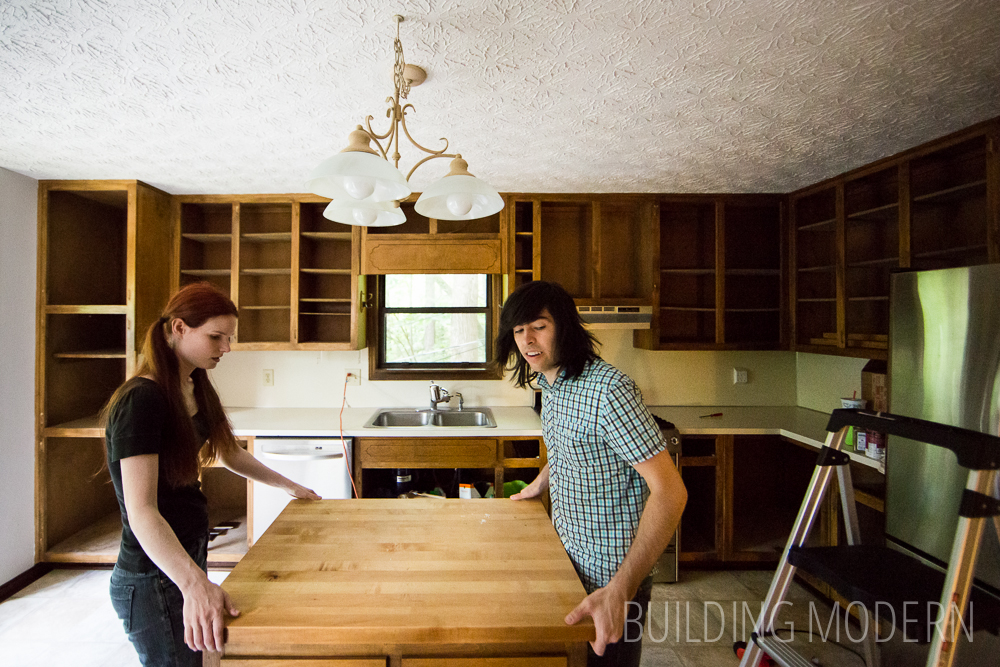
We could reuse the island as it was not attached to anything.
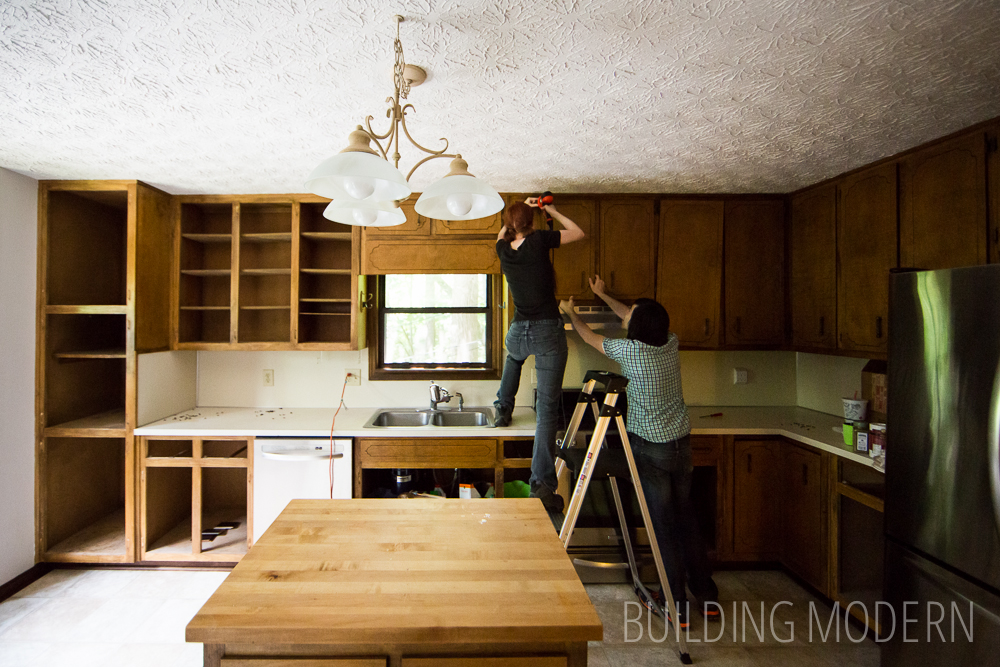
Total time to remove doors and clean up: 1:43pm – 2:15pm (32 minutes)

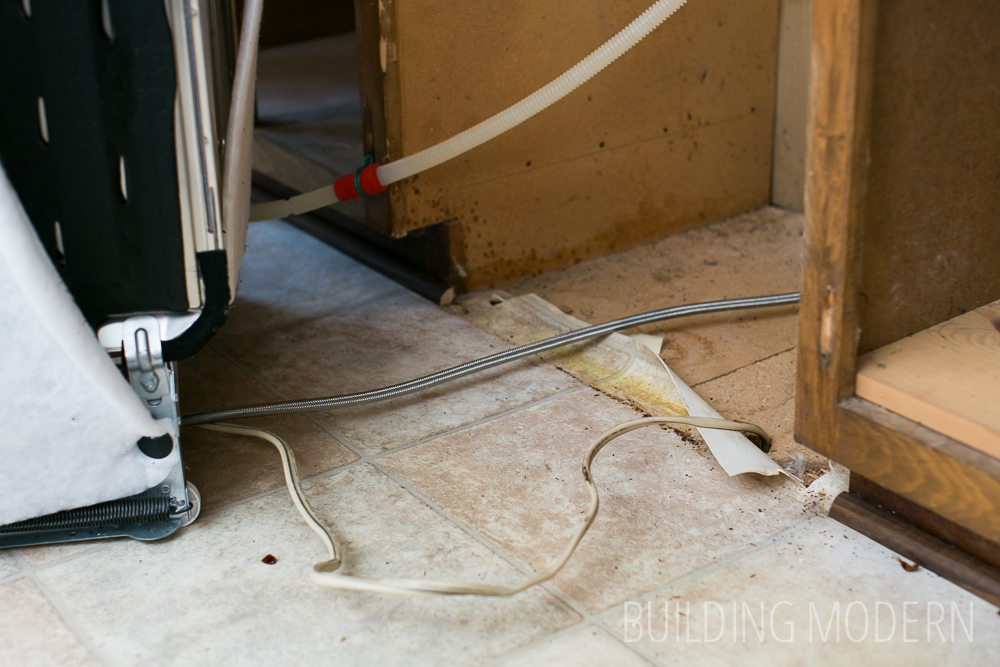
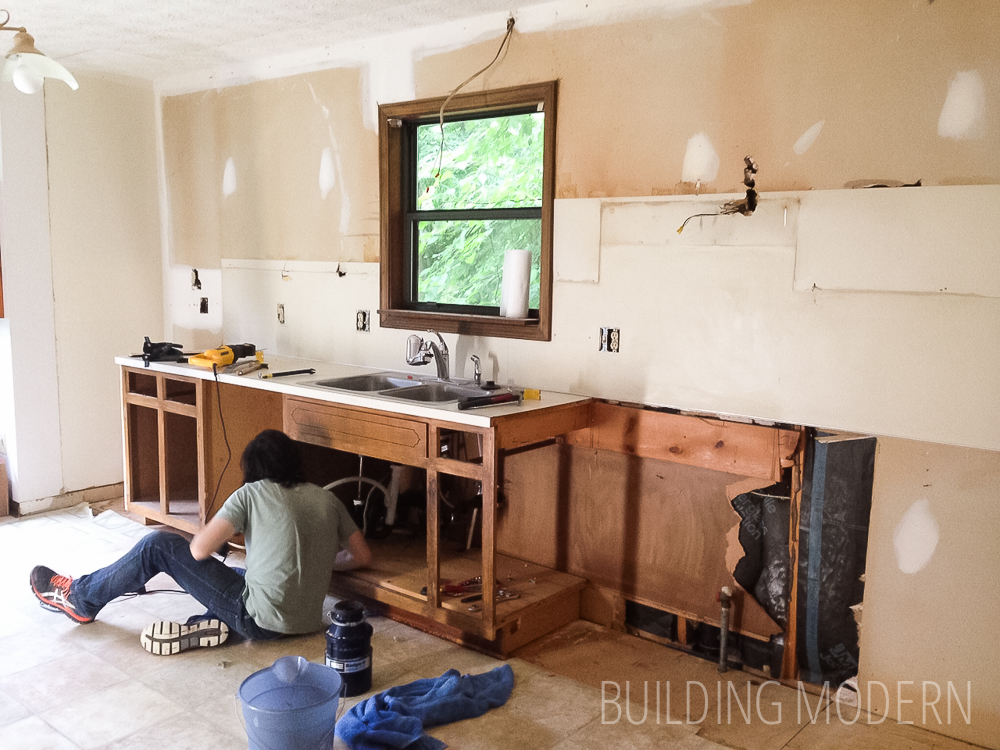
Time to remove the appliances and cut off the water / electrical.
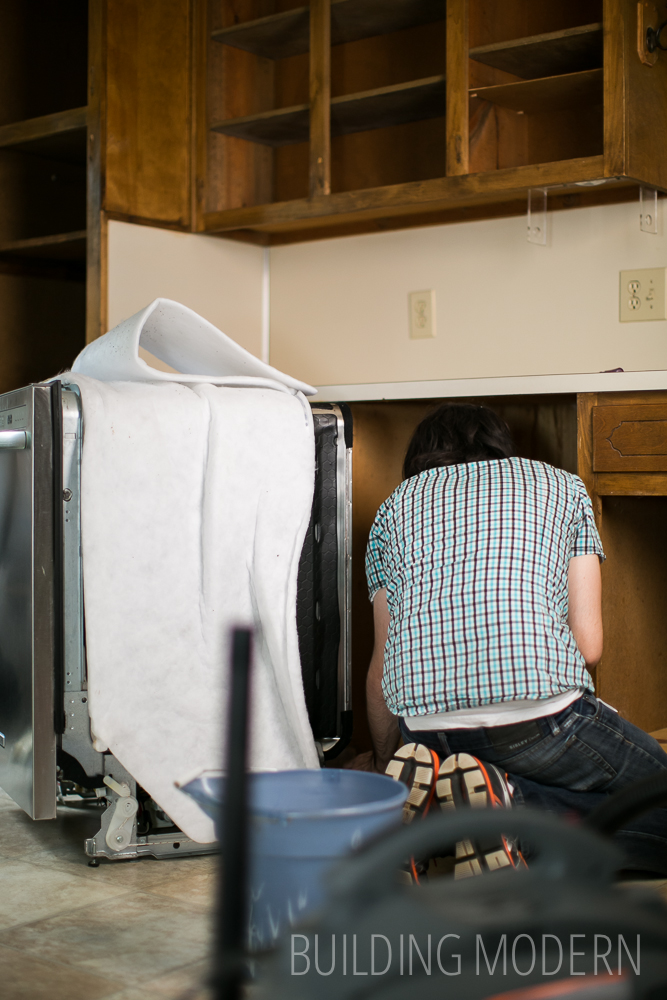
Eww. But this will hardly be our last gross moment.
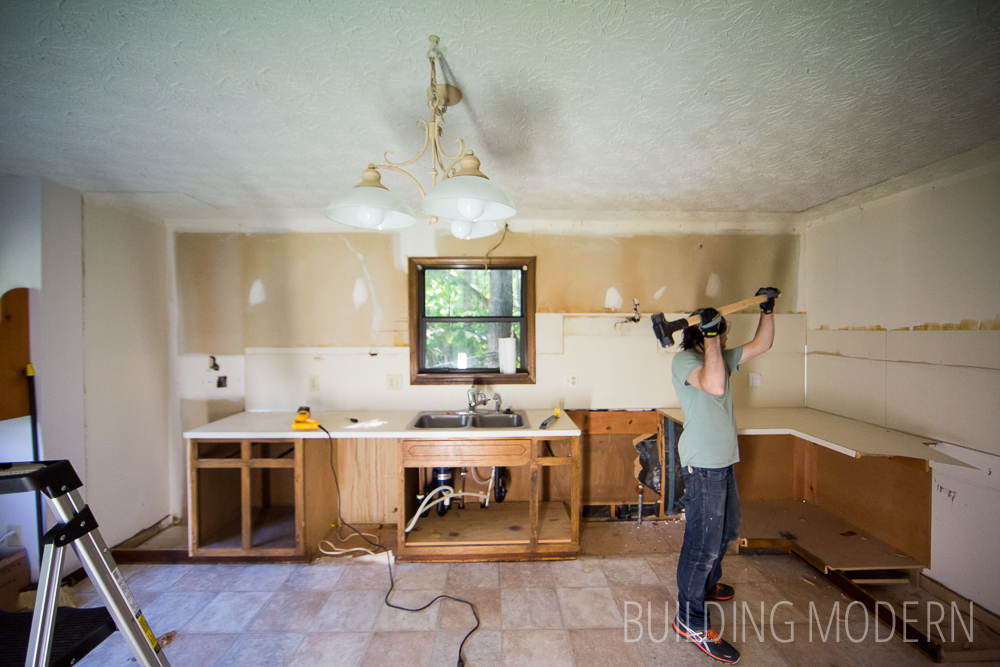
The next day: We discovered that the cabinets weren’t coming down without a fight.
(10:36 am – this looks safe.)

(2:48pm)
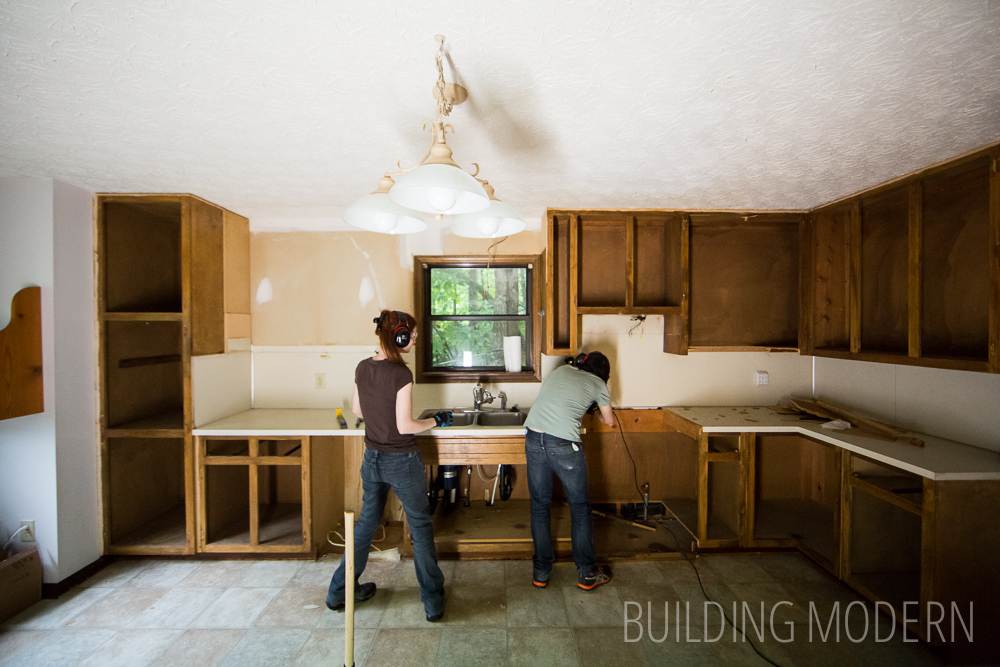
10:40 am – 2:40 pm – The nails holding the cabinets to the walls were not letting loose. We tried to finagle the cabinets off without damaging them or the drywall – but we weren’t getting anywhere. Because parts the cabinets were made of particle board, the nails holding them to the studs were stronger than the cabinets themselves – so some parts would just rip apart. We quickly discovered that we couldn’t do much without a saws-all – to the store! (…and also, lunch.) Additionally, we had to unload & remove the fridge doors to get it out of the kitchen – which was a big pain & took more time than it should have.
Demo tools already owned:
hammers, electric & manual screw drivers, shop vac, broom, step ladder, respirator (x2).
Demo tools shopping list:
pry bars (x2), double ended nail puller, sledge hammer, reciprocating saw + blades, appliance dolly, wrench, eye and ear protection, & gloves (x2), & heavy duty garbage bags.
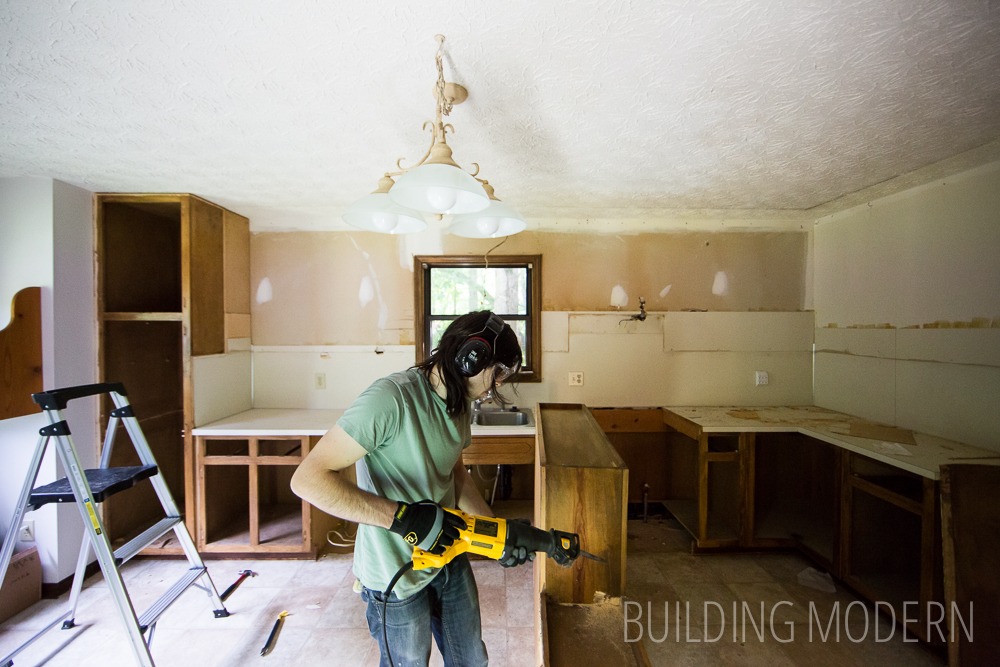
(3:10 pm) Oh, btw, a hammer on a metal pry bar is very loud – hence the ear protection.

(3:22 pm) the “fridge wall” cabinets came down in one chunk after cutting through the nails.

(3:27 pm) chopping up the cabinet for disposal.
(3:35 pm) Keeping the dust down helps.

(4:24 pm) Formica is surprisingly springy when hit with a sledge hammer.
(5:20 pm) All the debris ended up in our garage by the way.

The wall behind the dishwasher & sink. Notice the lovely staining and rather large hole in the wall for the electrical (for the disposal).
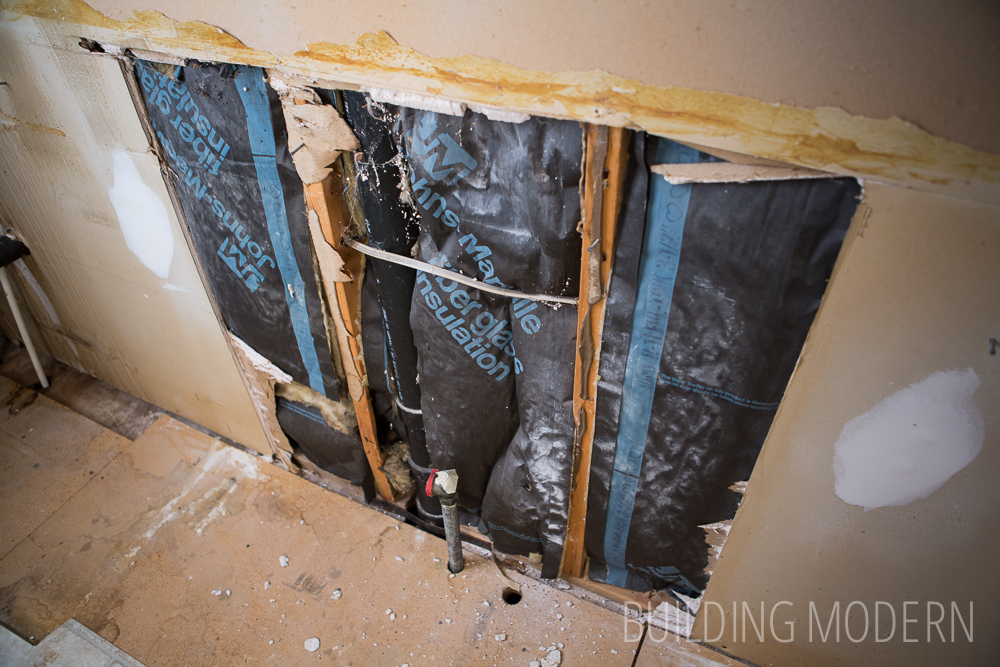
See this exposed insulation? It says “flammable” and has instructions printed on it about how it needs to be covered with drywall. This area was behind the gas stove. Awesome.
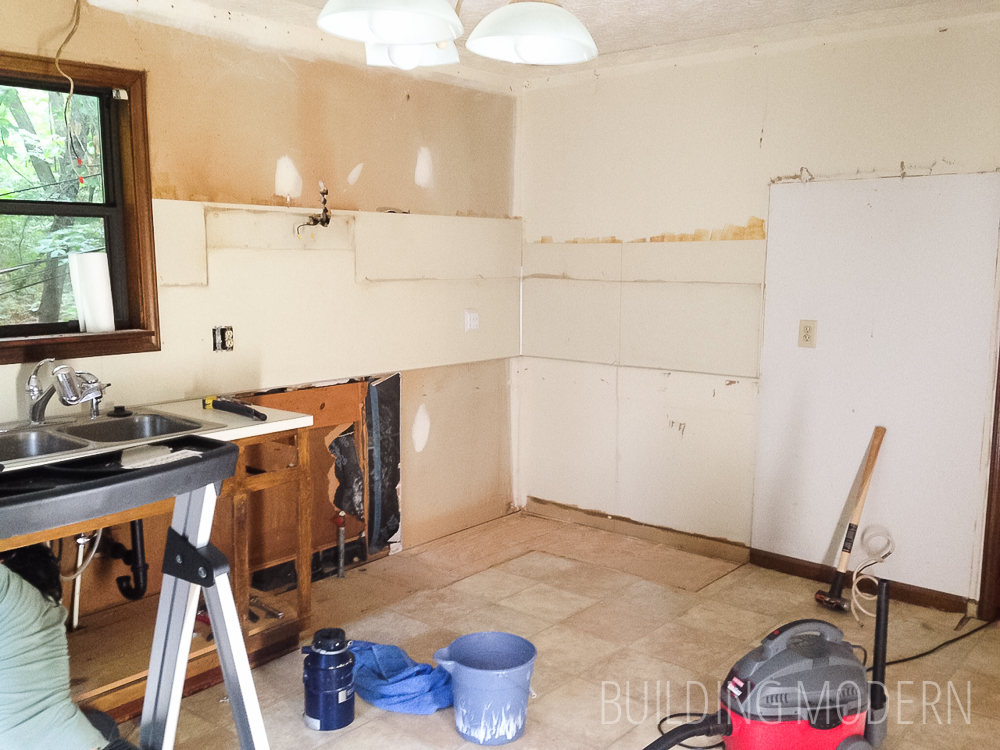
(5:31 pm) Yay! Finished! With the cabinets anyway.
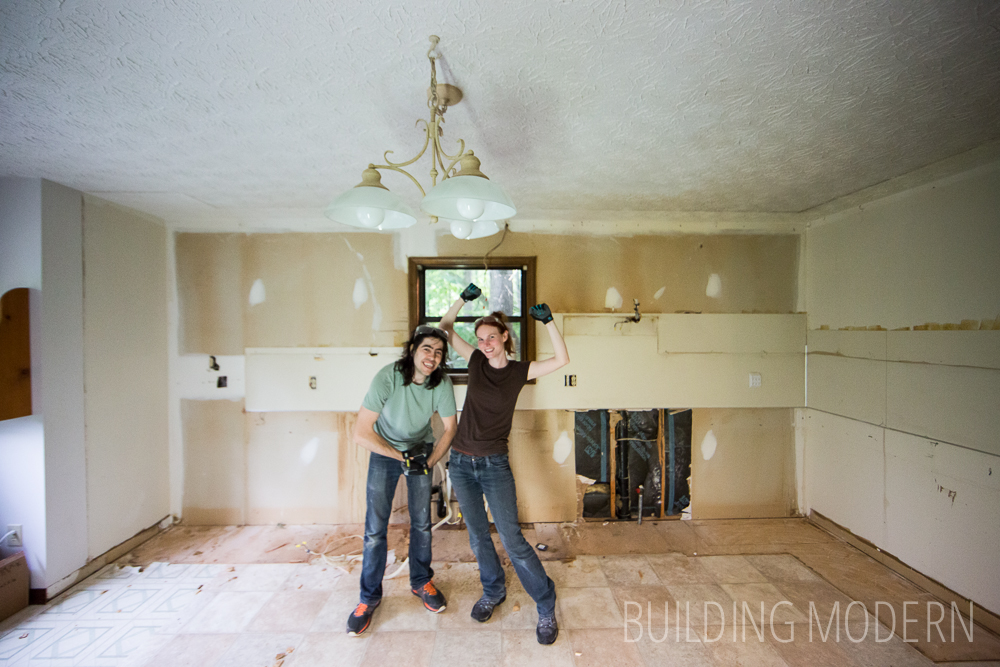
Total time to demo cabinets and clean up: ~ 10:11am – 5:31pm (~ 7 1/2 hours, with lunch).
Next up for kitchen demo:
1) ripping off the drywall on the “sink wall”
2) removing the backsplash from the “fridge wall”, while keeping the drywall intact
3) assessing and removing the flooring
4) removing the light fixtures and shelves
5) the door (from the foyer to the kitchen) & entire pantry demo
6) discovering that the room has secretly painted-over wall paper & removing it
7) scraping the stippled plaster points off of the ceiling
8) cutting a hole for the new vent
No need to move any water pipes or gas lines!
As a reminder, here’s the Before and After:
If you two need,” how to” info on projects just drop me aline. And how to lift items with minimal effort ie. large item such as sheets of glass, plywood, sheetrock you know odd ball stuff look for its CG that is center of gravity. And lift from there using the objects own weight do the lifting You are the fulcrum, and lift from that point. The two of you and I am fairly certain that you could hang sheetrock over head, with some ease.
I have been a Carpenter for just I’ve two decades, I still love it!
Good luck, in the future, plan well cause luck seldom helps.
Steven
Thanks Steven! We may just need to take you up on that!! We’ll be posting more soon!! Oh, AND we’re about to tackle retaining walls while installing new arrow heads, welding stair railings (TIG welding), the works! It’ll be really fun to share!!
Love the daily-recap style blog post! Great article, will definitely share. -Blake