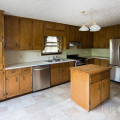
The next demo project that we tackled after destroying the kitchen cabinets was removing the floor. And I mean mostly all of the floor: the multiple layers of linoleum and the underlayment. Since we would be installing new hardwood in the kitchen, the underlayment (which was made of chip board) needed to be removed to make the new wood floor level with the existing oak floor in the dining room.
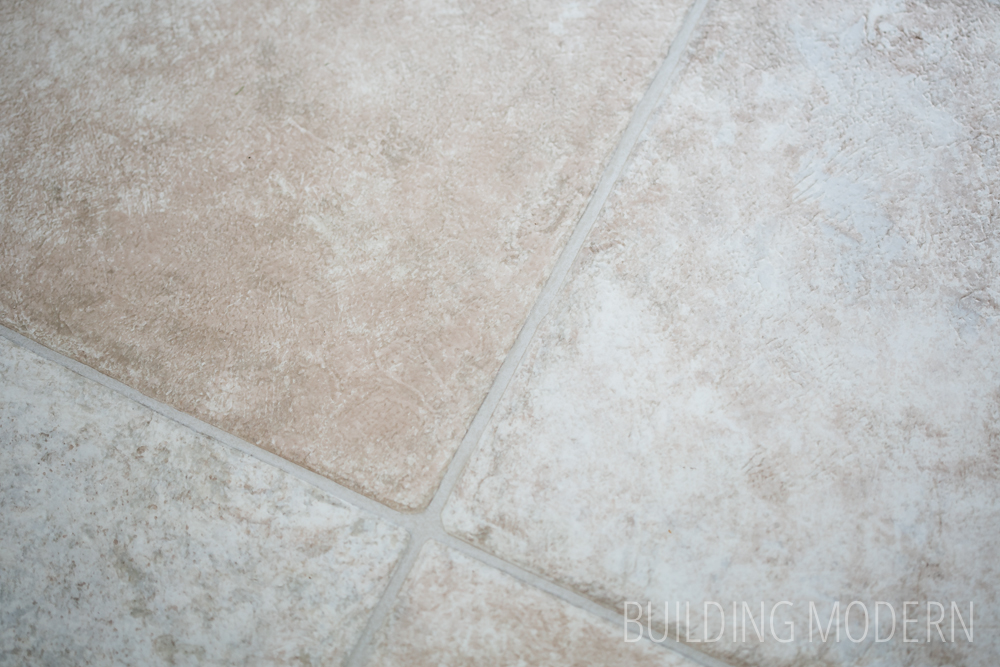
The first layer of the kitchen floor was a sheet of linoleum that was in decent shape. It had a few scrapes and was tugged in some places, but overall it wasn’t in the worst condition. Since the sheet was “floating” in the room – only held in place by the quarter round along the perimeter of the room, it was simple to remove.
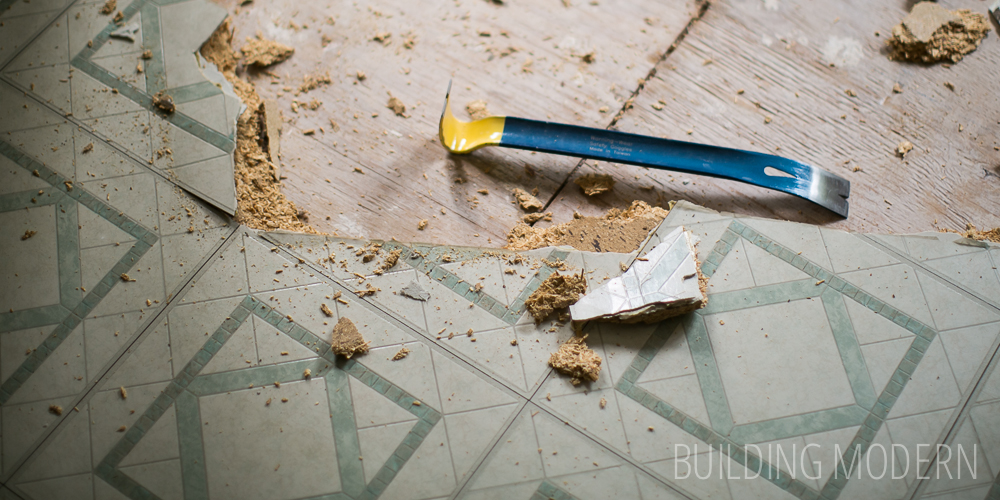
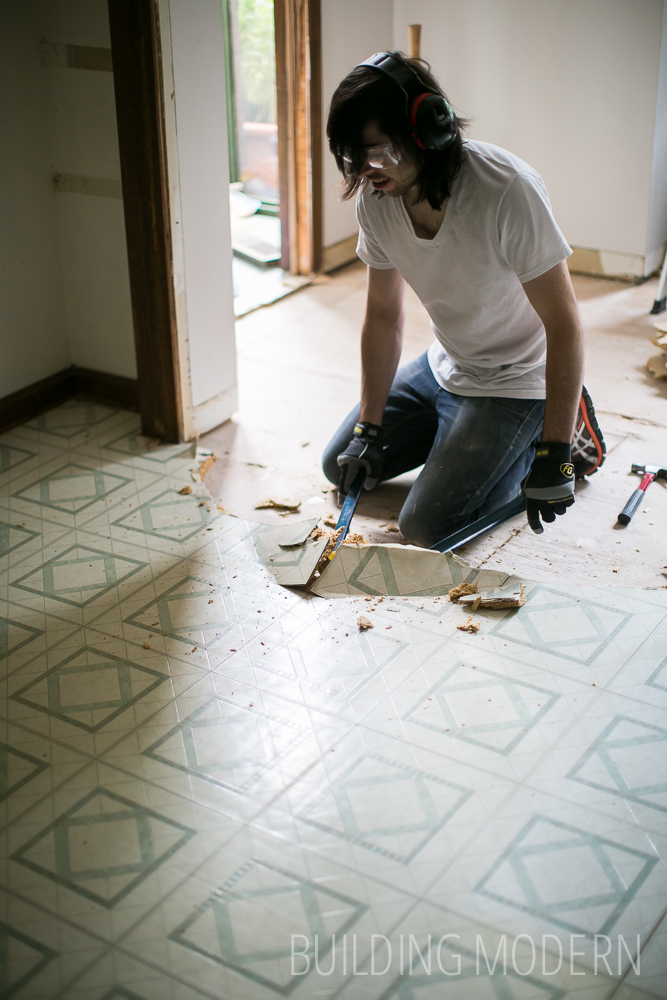
The second layer of floor covering was a different matter: it was composed of those stick-on linoleum floor tiles… and they were not budging. The chip board underlayment gave way before the tiles themselves would. (If you ever want to remove these suckers with out destroying the floor underneath, good luck.) It was already in the plan to remove the underlayment anyway, so this wasn’t a problem – really, it was more like a “two birds with one stone” situation.

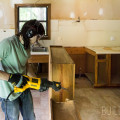
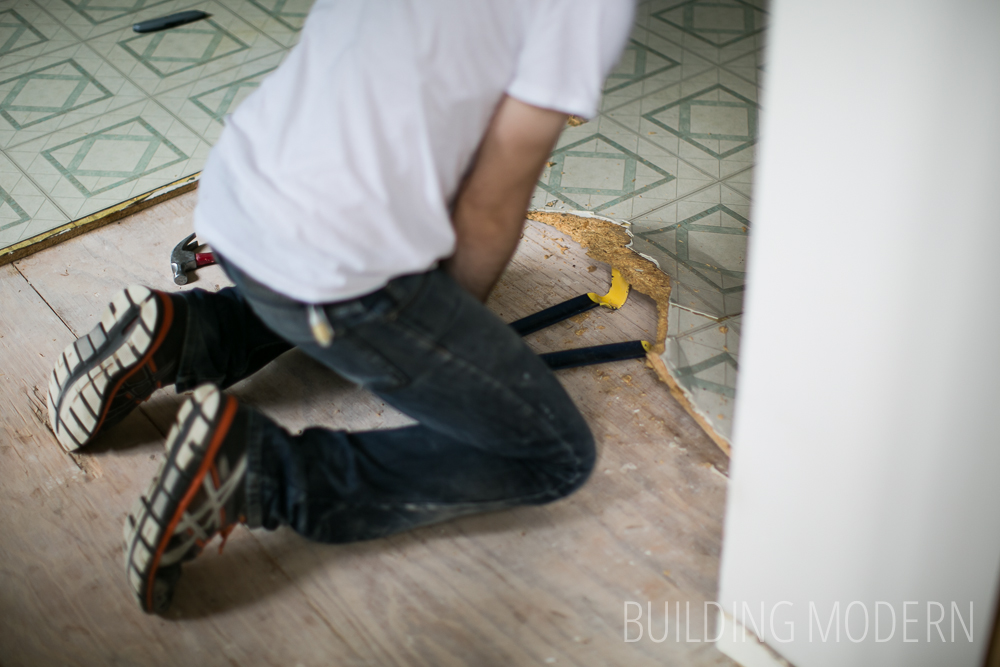
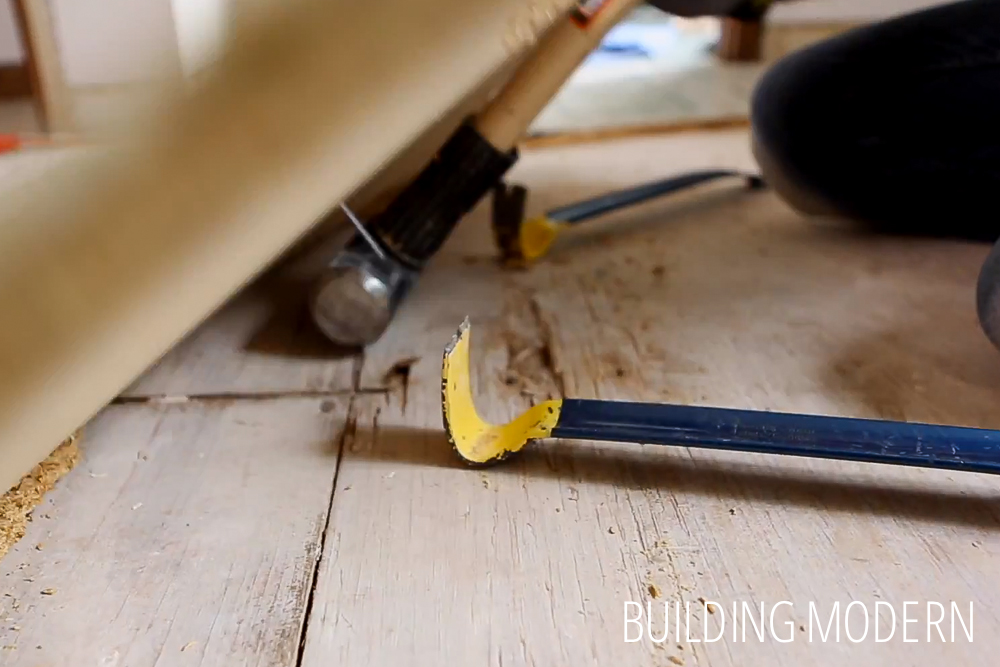
We figured out a technique that worked: “walking” the board with two pry bars.
Spencer started the process by using the curved end of the pry bar as a lever: first scooching one bar forward & lifting up, then the other a little farther under the floor. He would repeat this pattern until the underlayment started to break.
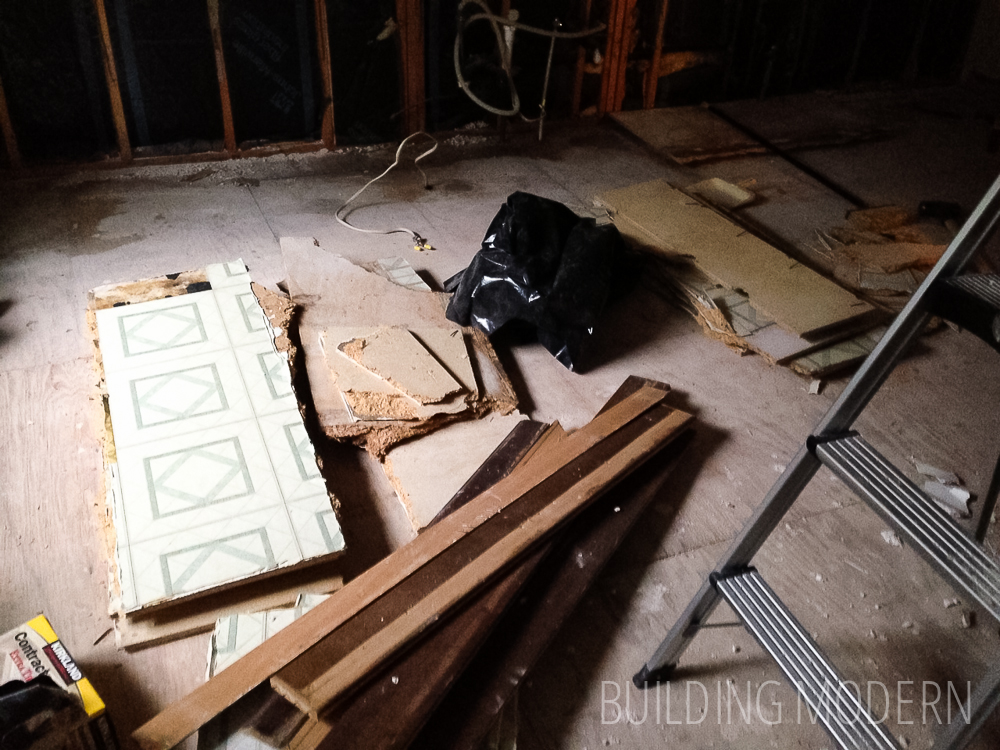
Fortunately, the underlayment was only nailed to the subfloor and not glued down. Unfortunately, the floor was coming up in little crumbly chunks – especially over near the dish washer, where I suppose moisture made the chipboard brittle.
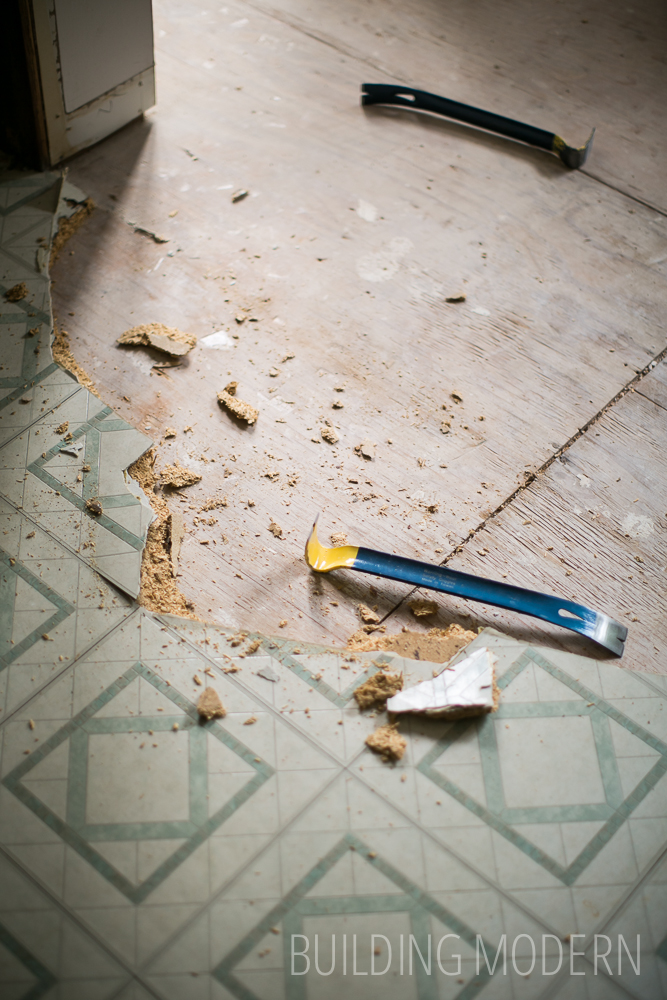
This is about as far as Spencer got before I took over: around 1/3 of the room. Though, to be fair, after he handed off the job, the floor started coming up in larger sections. The sections were around four by two feet, instead of the small bits Spencer had to deal with. When I was working on lifting the larger sections, I would walk the piece like Spencer had, push it forward to bend the stick-on tiles, and use the end of the pry bar to snap the linoleum along the bend. (I had to do this as the chipboard was broken, but the tiles were still holding strong.)

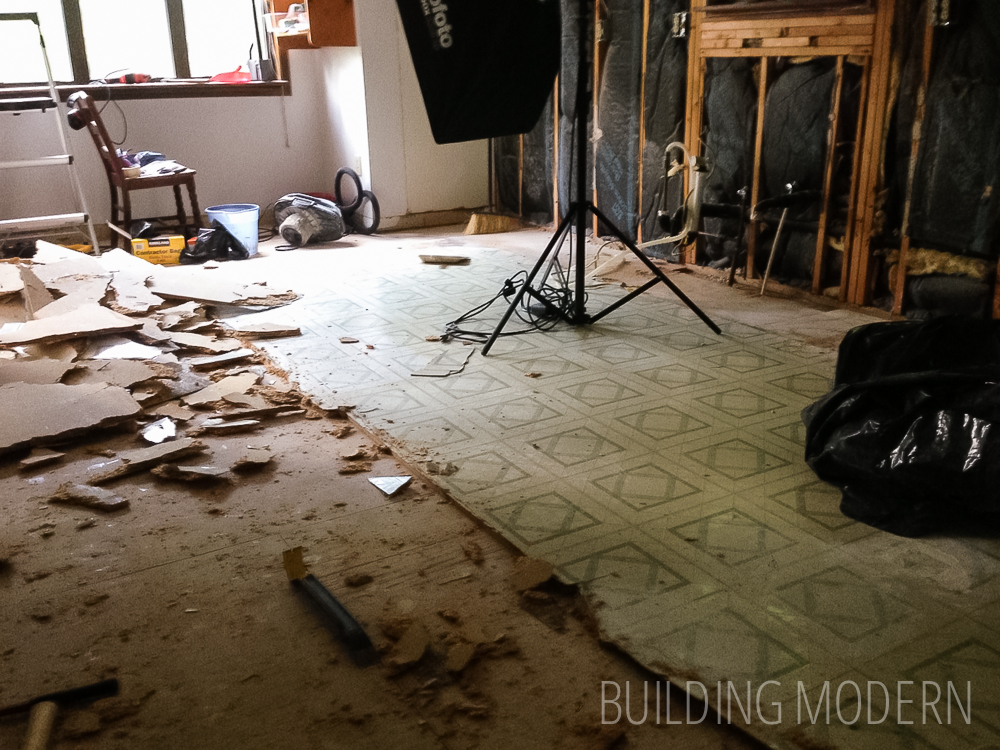
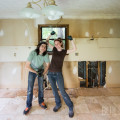
On a side note: you can see here that we decided to pull all the drywall off the “sink wall”. When we tried to remove the back splash, it was taking chunks of dry wall with it. There was a missing section (that had been hidden) for some reason, the wall was damaged from cabinet removal, and we needed to move a few outlets slightly anyway… so the entire wall of old drywall came down. (Replacing it with moisture resistant drywall was a good idea anyway.) Oh, and please excuse the iPhone photos.
When Spencer came back to see how I was doing – I had made much better progress in a shorter amount of time – he thought it was completely unfair.