
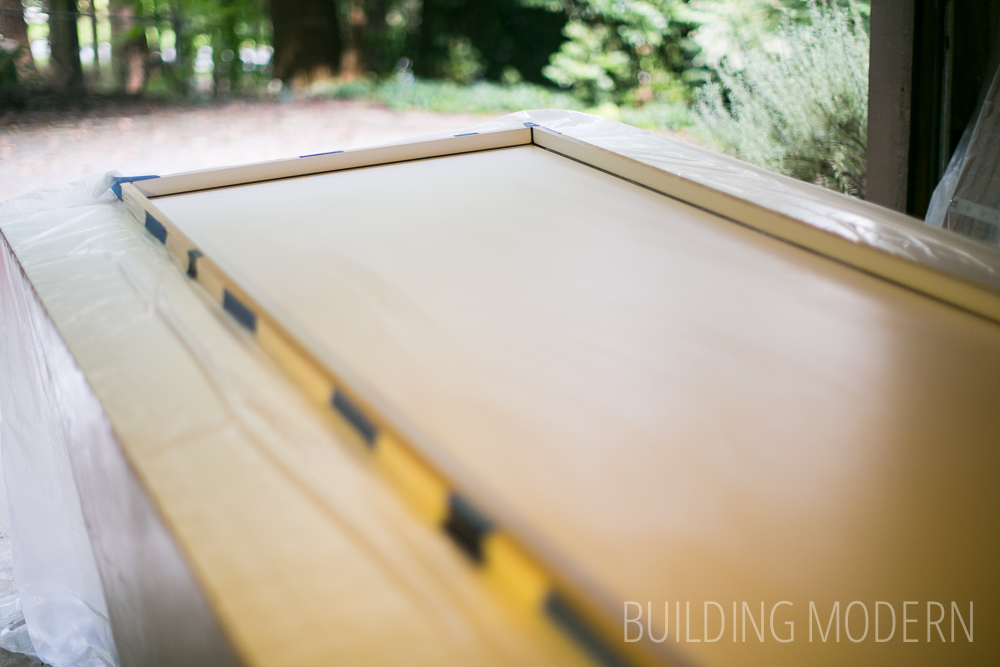
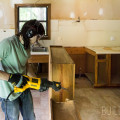
The next project that we tackled for our kitchen renovation, after installing the cabinets, was pouring our own concrete countertops!
We saw an episode of “Ask This Old House” where they created & installed concrete countertops with a homeowner. It was the first concrete countertops that we saw and immediately loved – they looked clean, smooth, & modern: they looked kind of like a mix between soapstone and slate. Another point that interested us was that they were reinforced with glass fibers instead of wire or metal mesh (which can cause ghosting in the finished concrete). The process definitely didn’t look ultra easy or simple, but we definitely thought the project was within our capability… so we thought we would give it a try!
Here, in this first post about our diy concrete countertops, I’m going to just list the materials and tools that we used for the entire process… and later go into further detail in subsiquent posts. Sometimes, it’s just nice to have a straight forward list for the entire process in one place.
This is everything for making the templates & forms to the tools and materials needed for the countertops themselves: mixing, making, finishing, & installation.
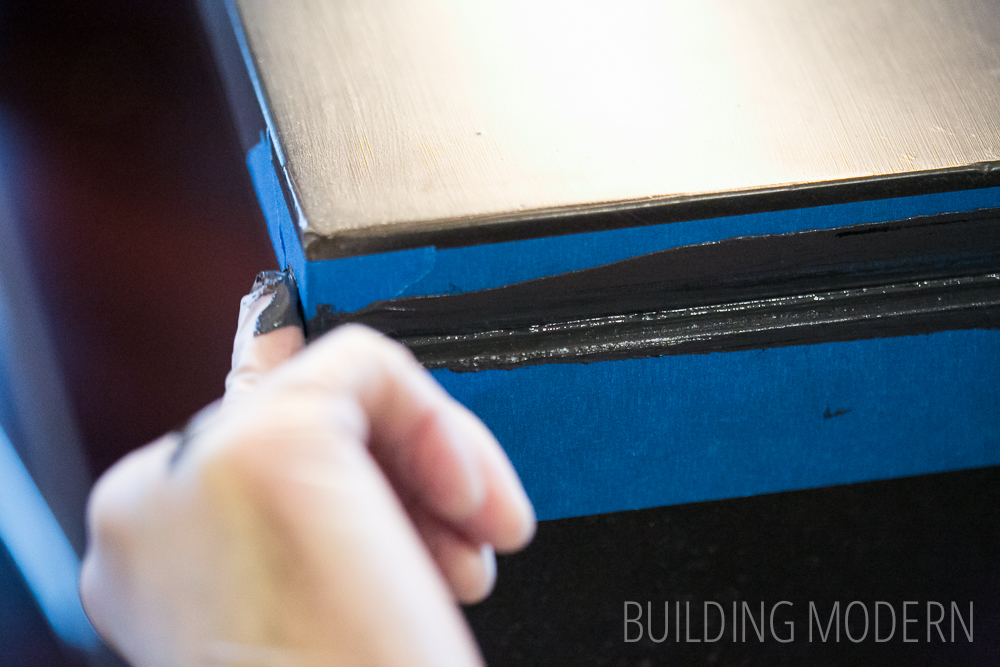
Countertop form materials & tools:
– table saw
– saw horses
– thin mdf hard board panels 4×8 ft.
– melamine boards 4×8 ft.
– painters tape
– wax
– hot glue gun/glue sticks
– black caulk/caulk gun
– dowel (with a 45 degree cut)
– acetone
– paper towels/plastic gloves
– plastic drop cloths/painters tape
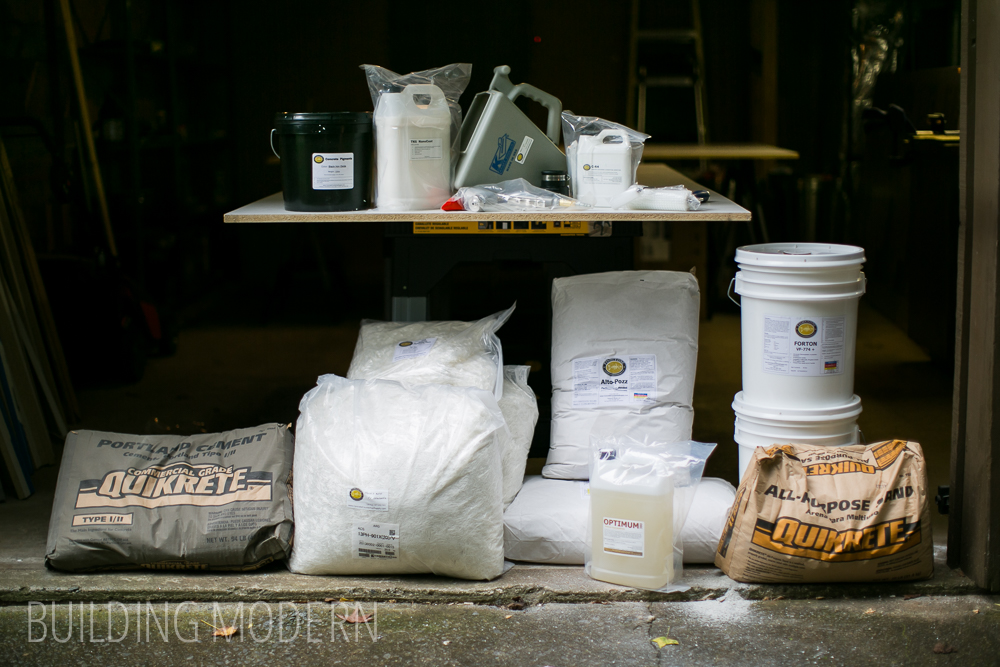
Countertop materials:
– Portland cement
– Alto-Pozz
– Black Iron Oxide
– sieve 30 sand
– water/ice
– Forton
– PVA Fibers & Galss Fibers
– Optimum 380 Superplasticizer
– C-64 Defoamer
Countertop mixing tools:
– thick “cleaning” gloves/respirator
– 20.9 gal. large concrete mixing tub (x2)
– 10 gal. small concrete mixing tub (x2)
– 20 gal. bucket (x2)
– hoe
– trowel
– colander
– powerful mixing drill/ mixing blade
– multiple small/medium containers or buckets
– scale
– syringes

Countertop making tools:
– goggles/respirator/eye protection/thick “cleaning” gloves
– plastic drop cloths/painters tape
– shop vacuum
– air compressor & hose
– sprayer hopper
– compactor rollers
– 1″ thick pink rigid foam/clear packing tape/pvc pipe

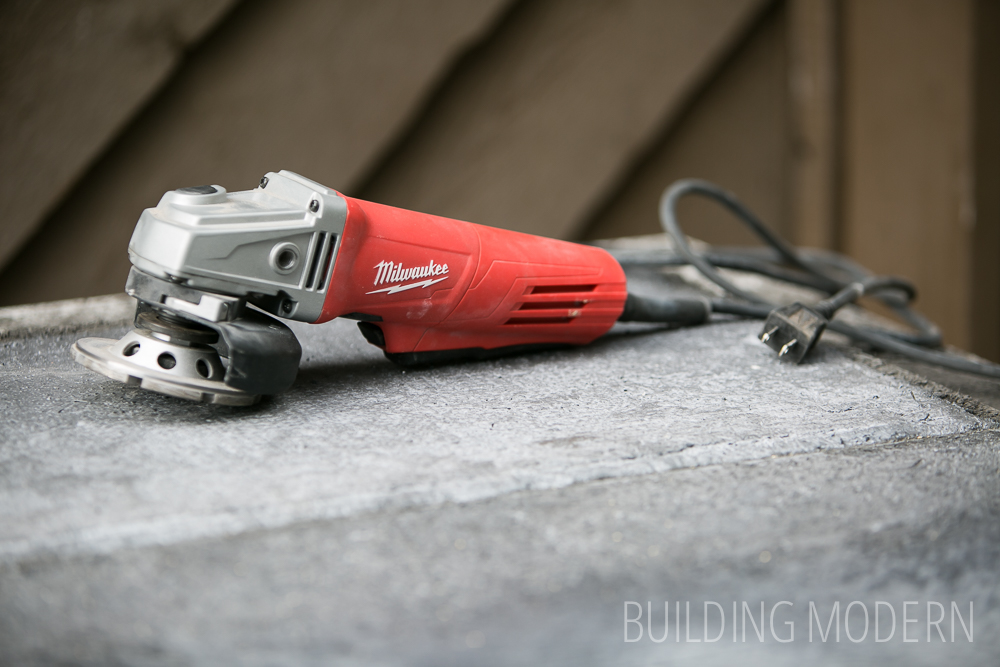
Countertop finishing tools:
– goggles/respirator/ear & eye protection/plastic gloves
– angle grinder/cement grinding wheel
– shims/hammer
– orbital palm sander
– sand paper (60, 120, & 240 grit)
– TK6 Nanocoat
– good paint brush
Countertop instilation tools:
– panel carry handles
– friends 🙂
– rasp
– construction adhesive/caulk gun
– white caulk/black iron oxide/caulk gun/painters tape
In the next post, I’ll break down each section & elaborate!
Here’s a list of all of our concrete countertop posts:
Part 1) Materials and tools needed
Part 2) Making the templates & forms
Part 3) Preparation for the pour
Part 4) The first stage: spraying the beauty coat
Part 5) The second stage: compacting
Part 6) finishing: grinding, sanding, coating
Part 7) installation day
Part 8) the reveal

I love the look for concrete countertops! I look forward to your future post on the how to process, I would love to try my hand at this someday!
What all did you use in your slurry coat? I am working on a similar project and have not found much information on slurry coats. Also using tk6 do you think it would fill in minor imperfections I’m debating whether or not I want to use a slurry coat right now
We used the same mixture but subtracted the sand & pvc / glass fibers. Two cautions – 1) the color is harder to match here, you may want to err on the darker / too much black oxide (just barely) side. Ours ended up *just* lighter than the rest of the beauty coat. This could be due to the subtraction of the fibers & sand (most likely is). 2) I’d actually go with a different sealant rather than the tk6 now that we’ve had tk6 on ours for a few years. While wear & tear is normal, it is covered with small scratches at this point (it scratches easily) and oil easily soaks through the tk6, leaving a stain. That said, we haven’t done a real test to see what works best. It’s my understanding any impregnating sealant for stone or masonry surfaces would work. If you have a sample one still (we don’t), I’d suggest trying out a few different finishes and deciding which one is the most scratch & oil resistant before putting the coat on your main countertop (also, THIN & multiple coats – brush strokes WILL show through with tk6).
Last note – I would definitely still do a slurry coat unless any minor imperfections are very very minor. The slurry coat sands off very quickly (try to not have any excess / as thin of a layer as possible). Once sanded through, it should just leave the slurry only in the holes it filled. I’d sand the slurry off with a very fine sandpaper – if using a random orbital sander, this would most likely be 320 grit. Oh, btw, for sandpaper, I’m not sure if we mentioned it, but Bosch sandpaper is by far the superior product. It lasts about 30 seconds instead of 15 seconds. 🙂 (Seriously though, it is considerably better than the “Diablo” brand)
Hope this helps!! Be sure to check out our other parts of this series along with others. Thanks for your question!
Definitely helps, also thank you for responding as I know this was forever ago for you.
I am going with a natural finish instead of the colored one, so hopefully it will be easier to match. My only thing was that online all ive seen about the slurry coats are that you have to use some polymer something or another to help it adhere better to the surface. Did you have any issues with it flaking off or de-lamination between the layers? I did a cast in place option with fiber reinforcement as a secondary line to stop cracking.
And UGGGGG after reading your stuff I had finally decided to go with the TK6 stuff (paired with another sealer before it), but looks like it is back to the drawing board… This has been the hardest decision in this whole endeavor…
and lastly that’s funny as I have a family member who works for freud (who is the company for the Diablo brand) (who is ironically owned by Bosch) So I guess my excess of samples might make up for the extra 15 seconds lost.
For the slurry coat, it should still have all of the other additives – so, forton, super plasticizer, defoamer, etc. You’ll want to check out the following posts to this one to see mixing it together, etc. If you didn’t include these ingredients in your beauty coat & different layers of concrete, there is a good chance that you’ll see some failure / cracking / flaking. Wet concrete doesn’t like to stick to dried concrete without additives.
To restate – if you did this *without* the additives and were not wet-to-wet applying, you could have major issues. You may not, it’s not the end of the world, but there’s a reason you want to use them.
Ha, about Diablo!! We wanted to love them, but their sandpaper gave out in 15 seconds flat!! We’re fine with the company, just not their sandpaper. But yeah, if you have enough samples, it’ll get you through the job without a problem. 🙂