
Today is the day for pouring the concrete countertops! (As seen in our last post, we had the dry ingredients prepped the night before.) I’m going to break the explanation of this single pour up into two stages and two blog posts, just to make things a bit clearer. In the first stage, I’ll cover the “beauty coat” of the concrete countertops, that’s where the first layer is sprayed into the form. In the second stage, I’ll talk about the “backer coat”: where the rest of the concrete is compacted into the form. The only difference between the “beauty coat” & “backer coat” is the type of fibers used in the overall mix & the application methods.
Working on getting everything organized & ready to start:
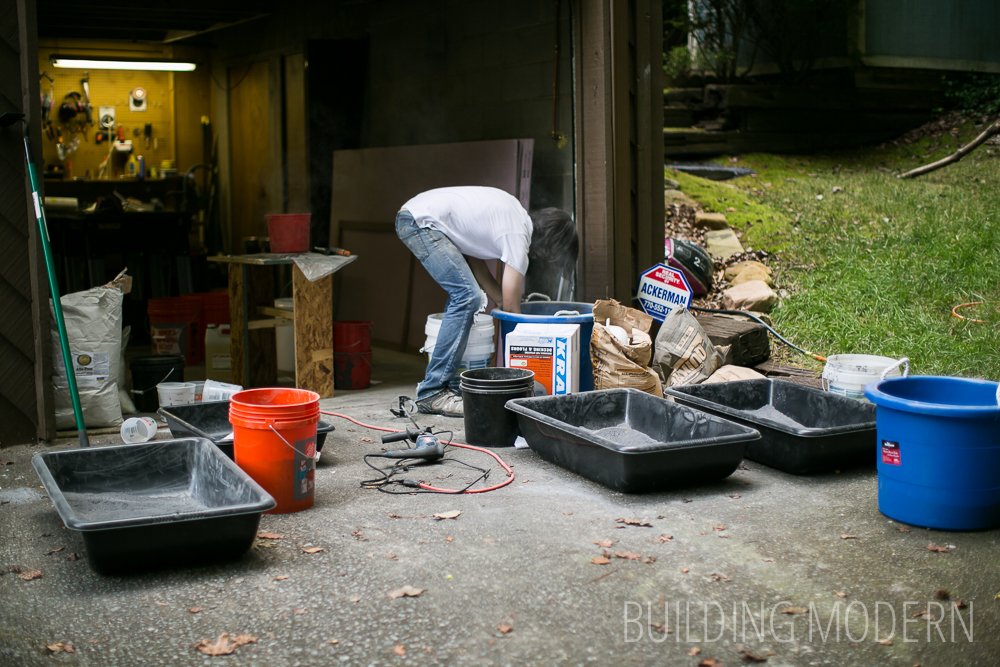
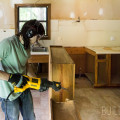
I will note that you do need space for this project. Just like other projects (like assembling kitchen cabinets), the process takes up way more space than the final result. We needed a level area that was protected from the weather. We used one side of our garage for the pour & prepared all the buckets and bins of material on the other side of the garage – during the day, for more room to move around & because of the mess, we mixed everything outside. Probably an ideal space would be a pavilion or park shelter of some sort… a level space with a roof but not enclosed: later, grinding the concrete creates a ridiculous dust cloud that coats every surface of the interior of the garage.
The prepared mix of sand, alto-pozz, & black iron oxide. (The portland cement and fibers have also been measured and set aside):

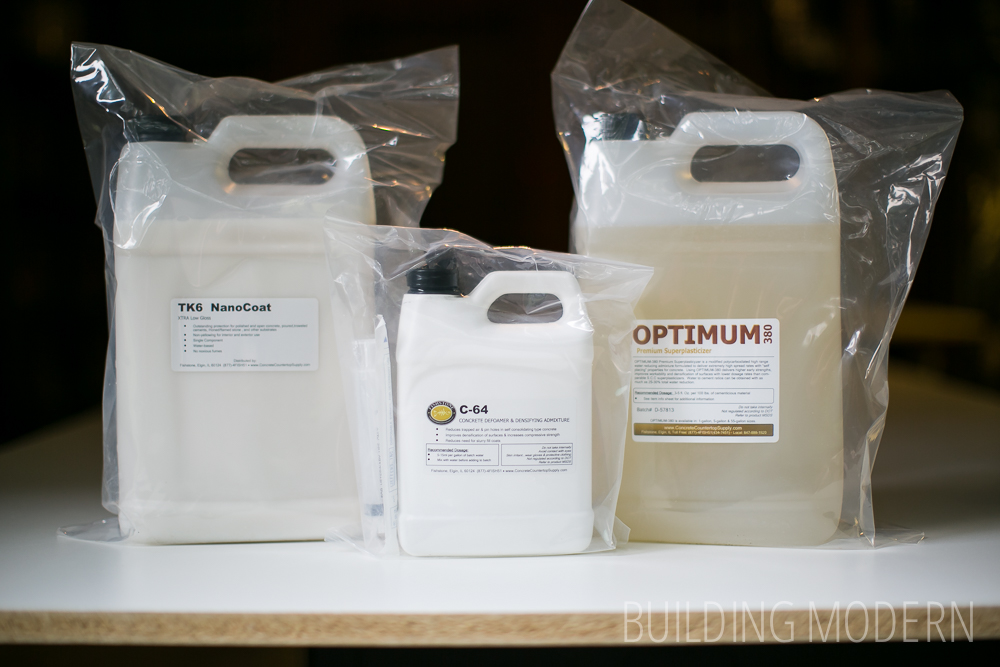
Countertop wet ingredients:
– water/ice
– Forton
– C-64 Defoamer
– Optimum Superplasticizer
What does each of these ingredients do?
– Water is a basic ingredient in making concrete. The ice is a replacement for a portion of water to help cool the mix (in a warm environment) & therefore extend the working time.
– Forton acts like a glue to help bind one layer to another. (It is also another liquid to help replace water.)
– C-64 Defoamer reducing air bubbles in the mix.
– Optimum Superplasticizer makes the whole mixture more fluid, cutting down the need for more water. (The more water, the more the concrete will be prone to crack.)

Countertop wet component mixing tools:
– 20.9 gal. large concrete mixing tub (x2)
– 10 gal. small concrete mixing tub (x2)
– 20 gal. bucket (x2)
– multiple small/medium containers or buckets
– powerful mixing drill/ mixing blade
– hoe, trowel
– scale
– syringes
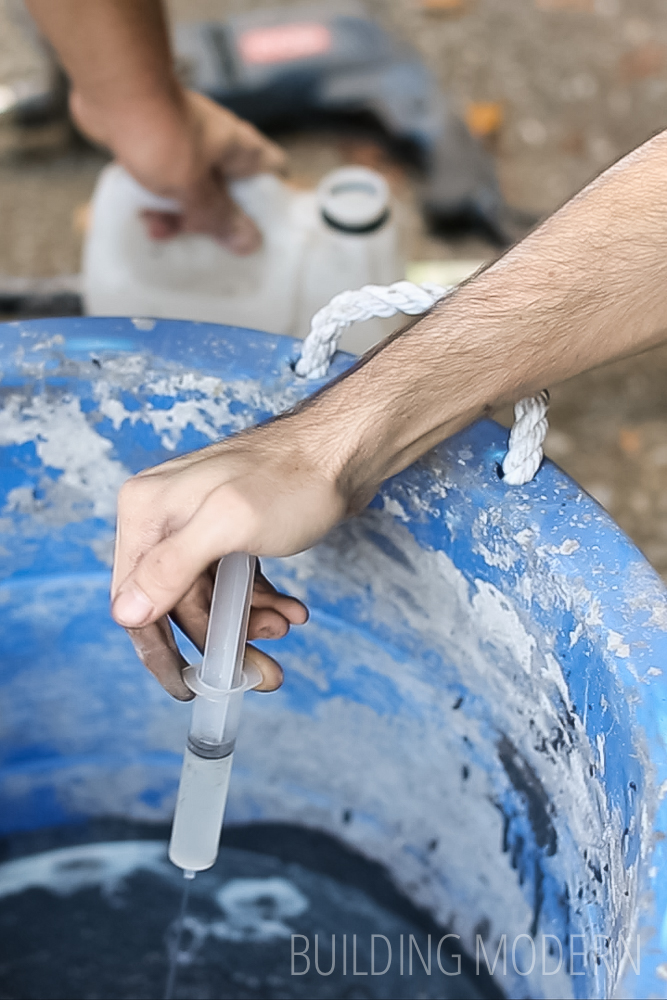
Our setup for measuring the wet ingredients:
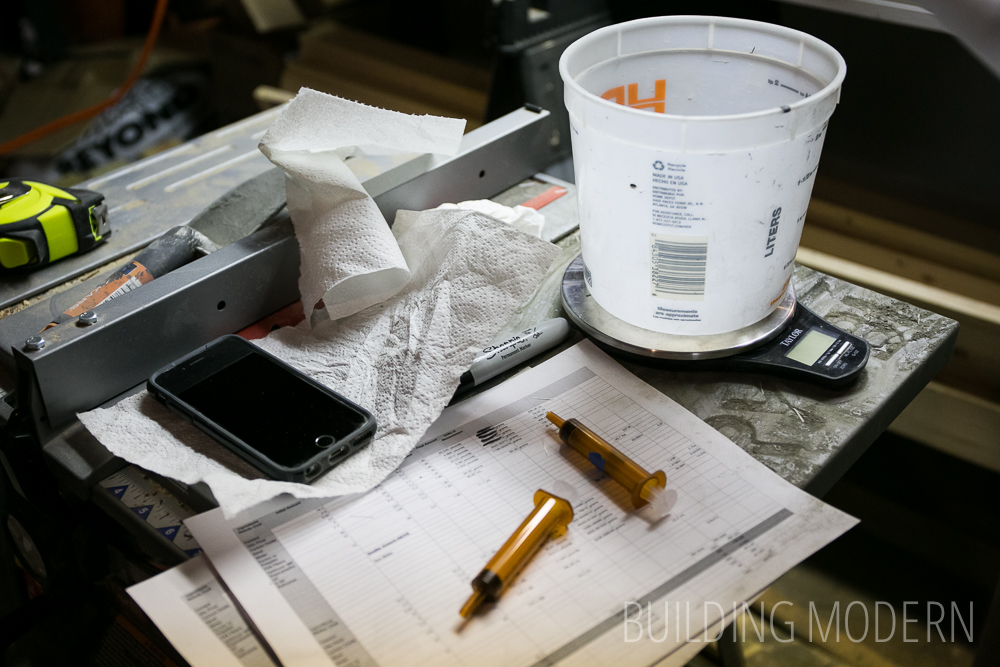
We needed a scale that registered ounces, but the total amount of a single liquid usually exceeded the max of the scale – so we had to measure multiple times and combine the amounts. The syringes were for even smaller portions of defoamer & superplasticizer.
Preparing & measuring a precise amount of forton:
We measured the forton & water/ice into their own separate containers & had the dry mix ready to go in the flat mixing tubs. The thing about concrete is that as soon as the first wet ingredients are added, the clock starts and the drying process begins. This is where the stress of the project kicks in. You need to move a lot of heavy material quickly and make sure the first layer doesn’t dry out too much before the next is added. We needed to create two separate batches for a single countertop: a batch for the “beauty coat” (the first layer that will be sprayed into the form) and the “backer coat” (all the additional layers that will be compacted to make up the rest of the slab).
So, here we go:
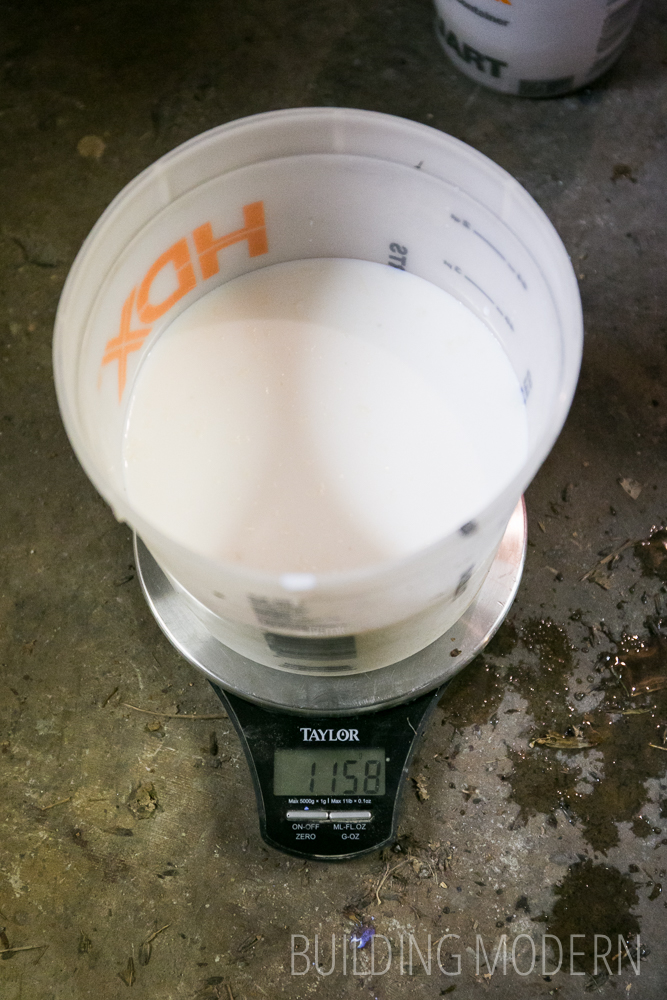
We started with the “beauty coat”: sand/alto-poz/black iron oxide dry mix and added the pre-measured wet components: water/ice and forton. As we were mixing, the defoamer & superplasticizer (measured with the syringe) were added. The mixture wasn’t that difficult to mix at this point, the dry to liquid ratio was pretty easy… comparatively. When we added the cement, the mixture became more difficult to handle.
Here you can see the liquidy mix…
(the superplasticizer may have already been added at this point):

Just so you can see, here’s adding the superplasticizer:
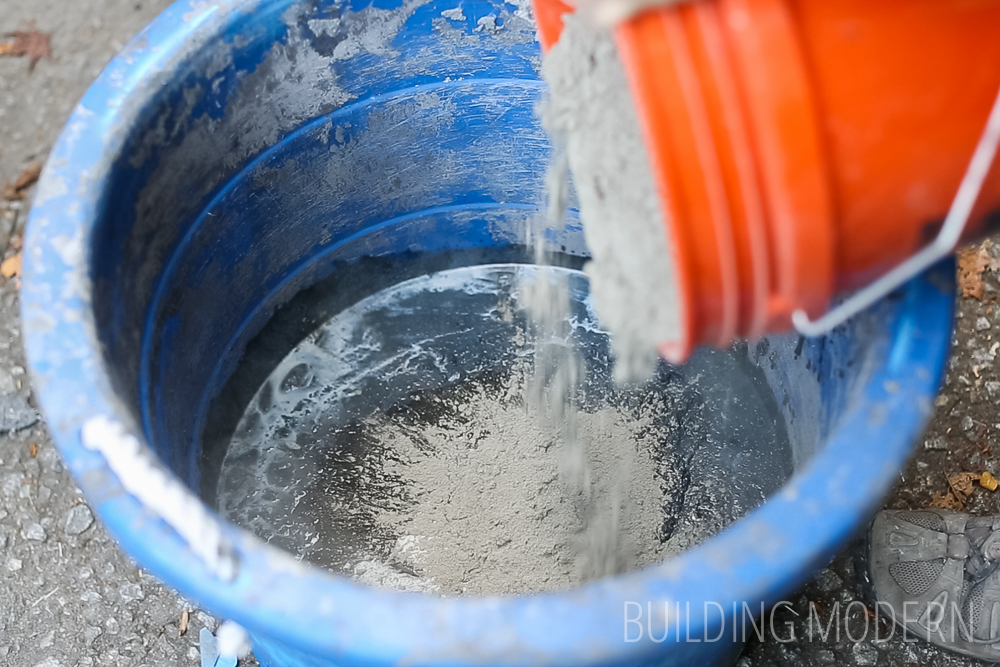
Adding the portland cement:
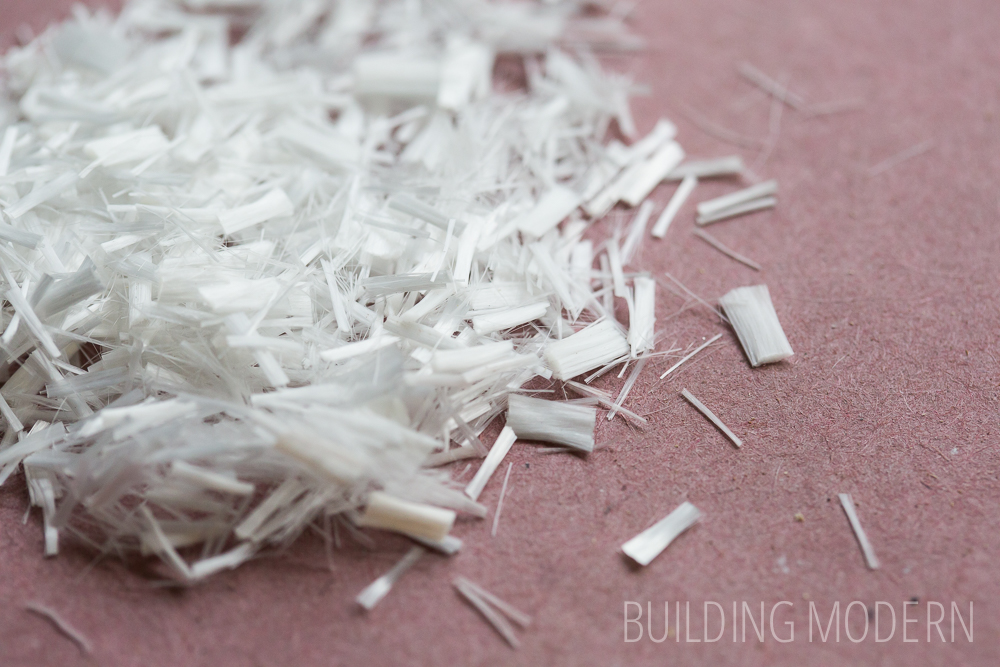
After the cement came the PVA fibers for the beauty coat. The PVA fibers are finer than the glass fibers that we used for the backer coat: they “disappear” and are less visible.
PVA concrete reinforcing fibers:
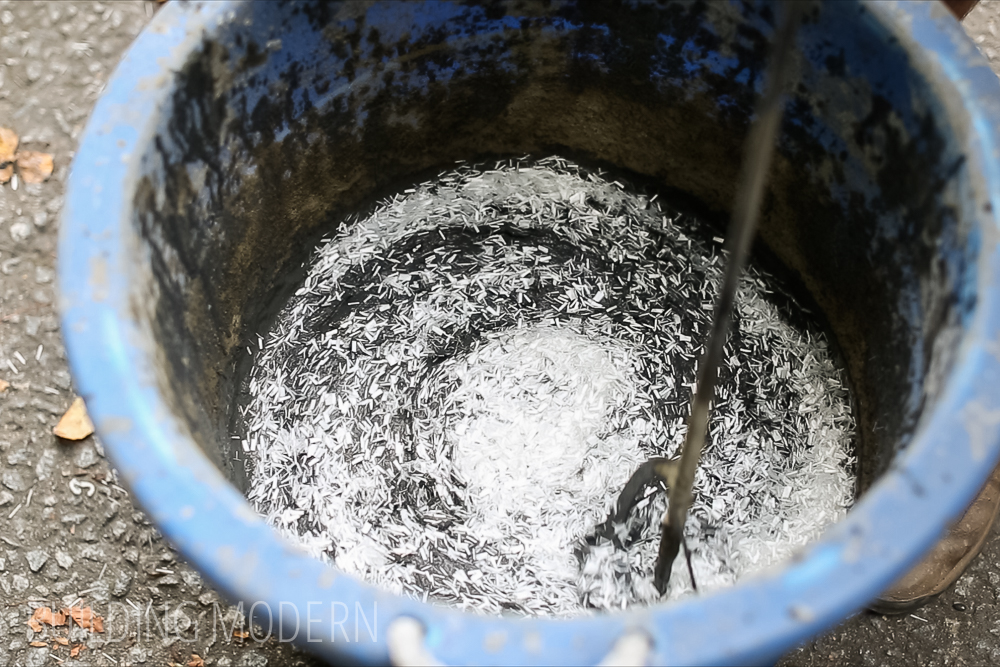
Mixing in the PVA fibers:
The next step: time to spray the “beauty coat” into the form!
(Just as an fyi, the upcoming images are from multiple pours, so there may be some inconsistencies in the project & time of day.)
Tools for making the countertops:
– goggles/respirator/eye protection/thick “cleaning” gloves
– plastic drop cloths/painters tape
– shop vacuum
– air compressor & hose
– sprayer hopper
– compactor rollers
– 1″ thick pink rigid foam/clear packing tape/pvc pipe (for the sink form)
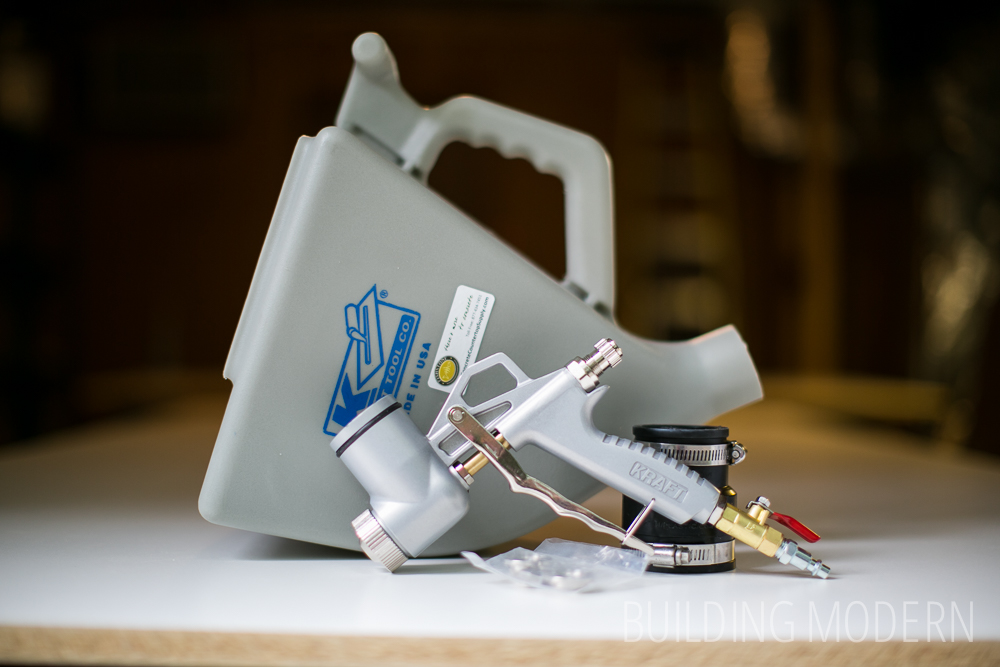
The hopper sprayer:
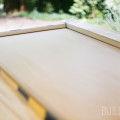
The form ready for the mix:

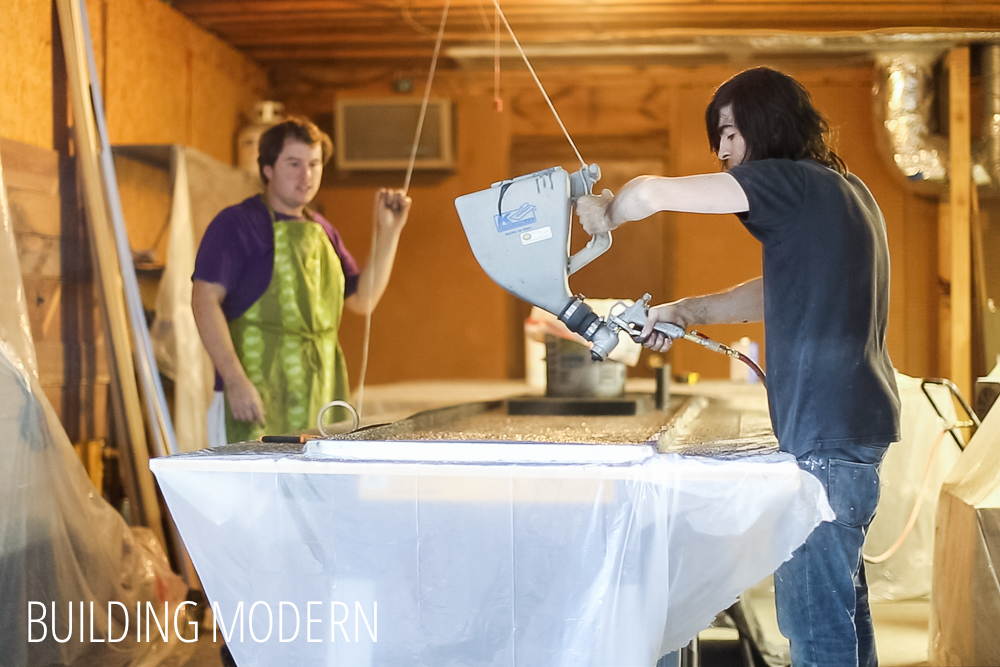
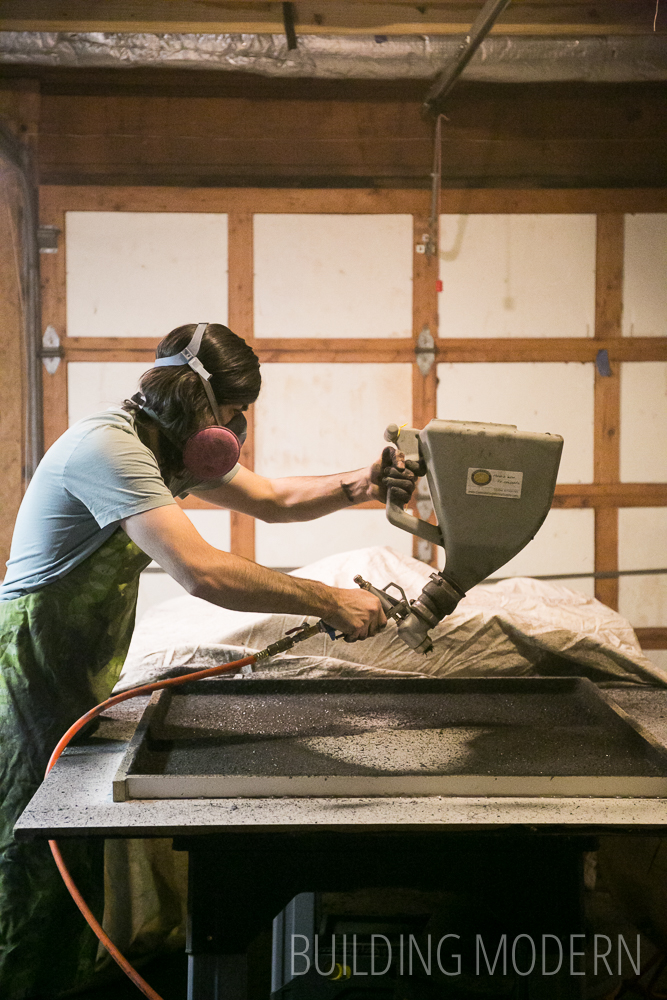
For us, spraying the “beauty coat” (aka the visible surface of the countertops) took two people. We rigged a pulley system to help support the weight of the hopper full of cement – just the hopper suspended by a string from a nail in the ceiling. One person would pull the trigger and aim, the other would hold the weight with the string. The guys in the “Ask This Old House” episode made it look easy.
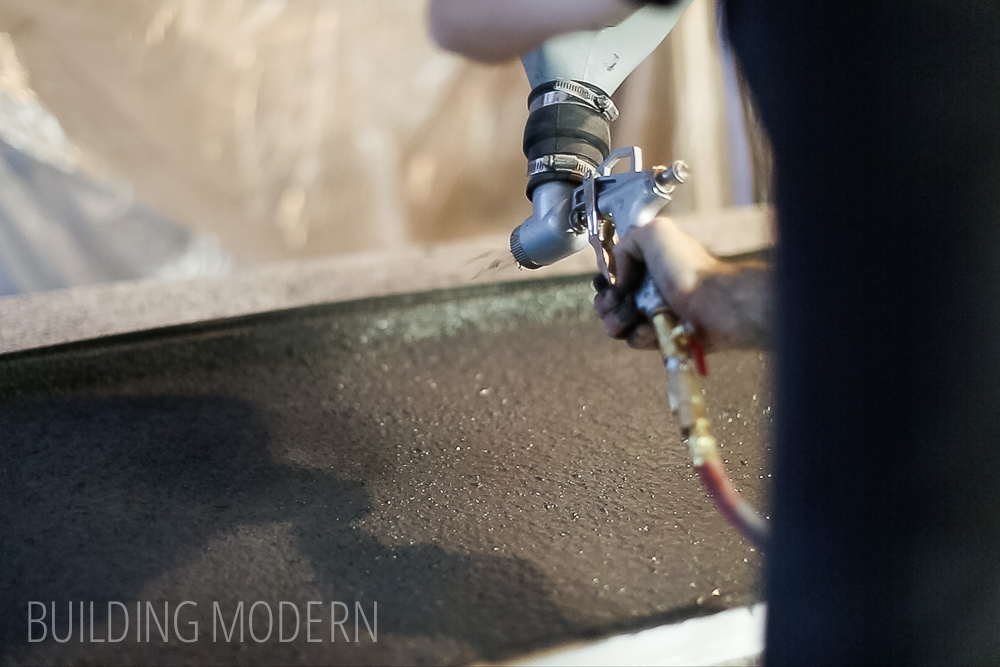
The goal of spraying this coat is to start in the corners and have a second person suck up any “over-spray” bouncing around the form (pretty dry granules coming from the sprayer) with a shop vac. The over-spray, since it is comparatively dry, will not adhere to the form as well as the really wet mix. Make sure to spray the walls of the form and then fill out the center. Concrete gets everywhere: protect everything with disposable drop cloths & wear a apron or clothing that you don’t care about.
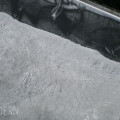
Spraying the “beauty coat”:
This is where a third person would come in handy: the next batch of concrete – the “backer coat” needs to be ready… now. Also, since we were done with the hopper & spray nozzle completely at this stage, we also needed to clean out the equipment before it dried. We managed to do it with two people for the first & smallest pour, but it still would have been better with three. Later, we did recruit Spencer’s cousin for some of the other larger pours (you can see him in one of the images above). While two people sprayed, the third prepared the “backer coat”.
And, on that note, I’ll see you next time when we talk about the second stage of this process!
Here’s a list of all of our concrete countertop posts:
Part 1) Materials and tools needed
Part 2) Making the templates & forms
Part 3) Preparation for the pour
Part 4) The first stage: spraying the beauty coat
Part 5) The second stage: compacting
Part 6) finishing: grinding, sanding, coating
Part 7) installation day
Part 8) the reveal


I need a video of mixing PVA to concrete
Hi Mahaiminul – you can see some of it in our sneak peak video. It’s a pretty simple process – simply add the fibers and then mix with the drill until you can’t identify them any longer. 🙂