
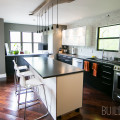
After a bunch of various blog posts on our kitchen remodel, I thought I would give a more extensive tour of our finished kitchen… as well as some Before & After photos.
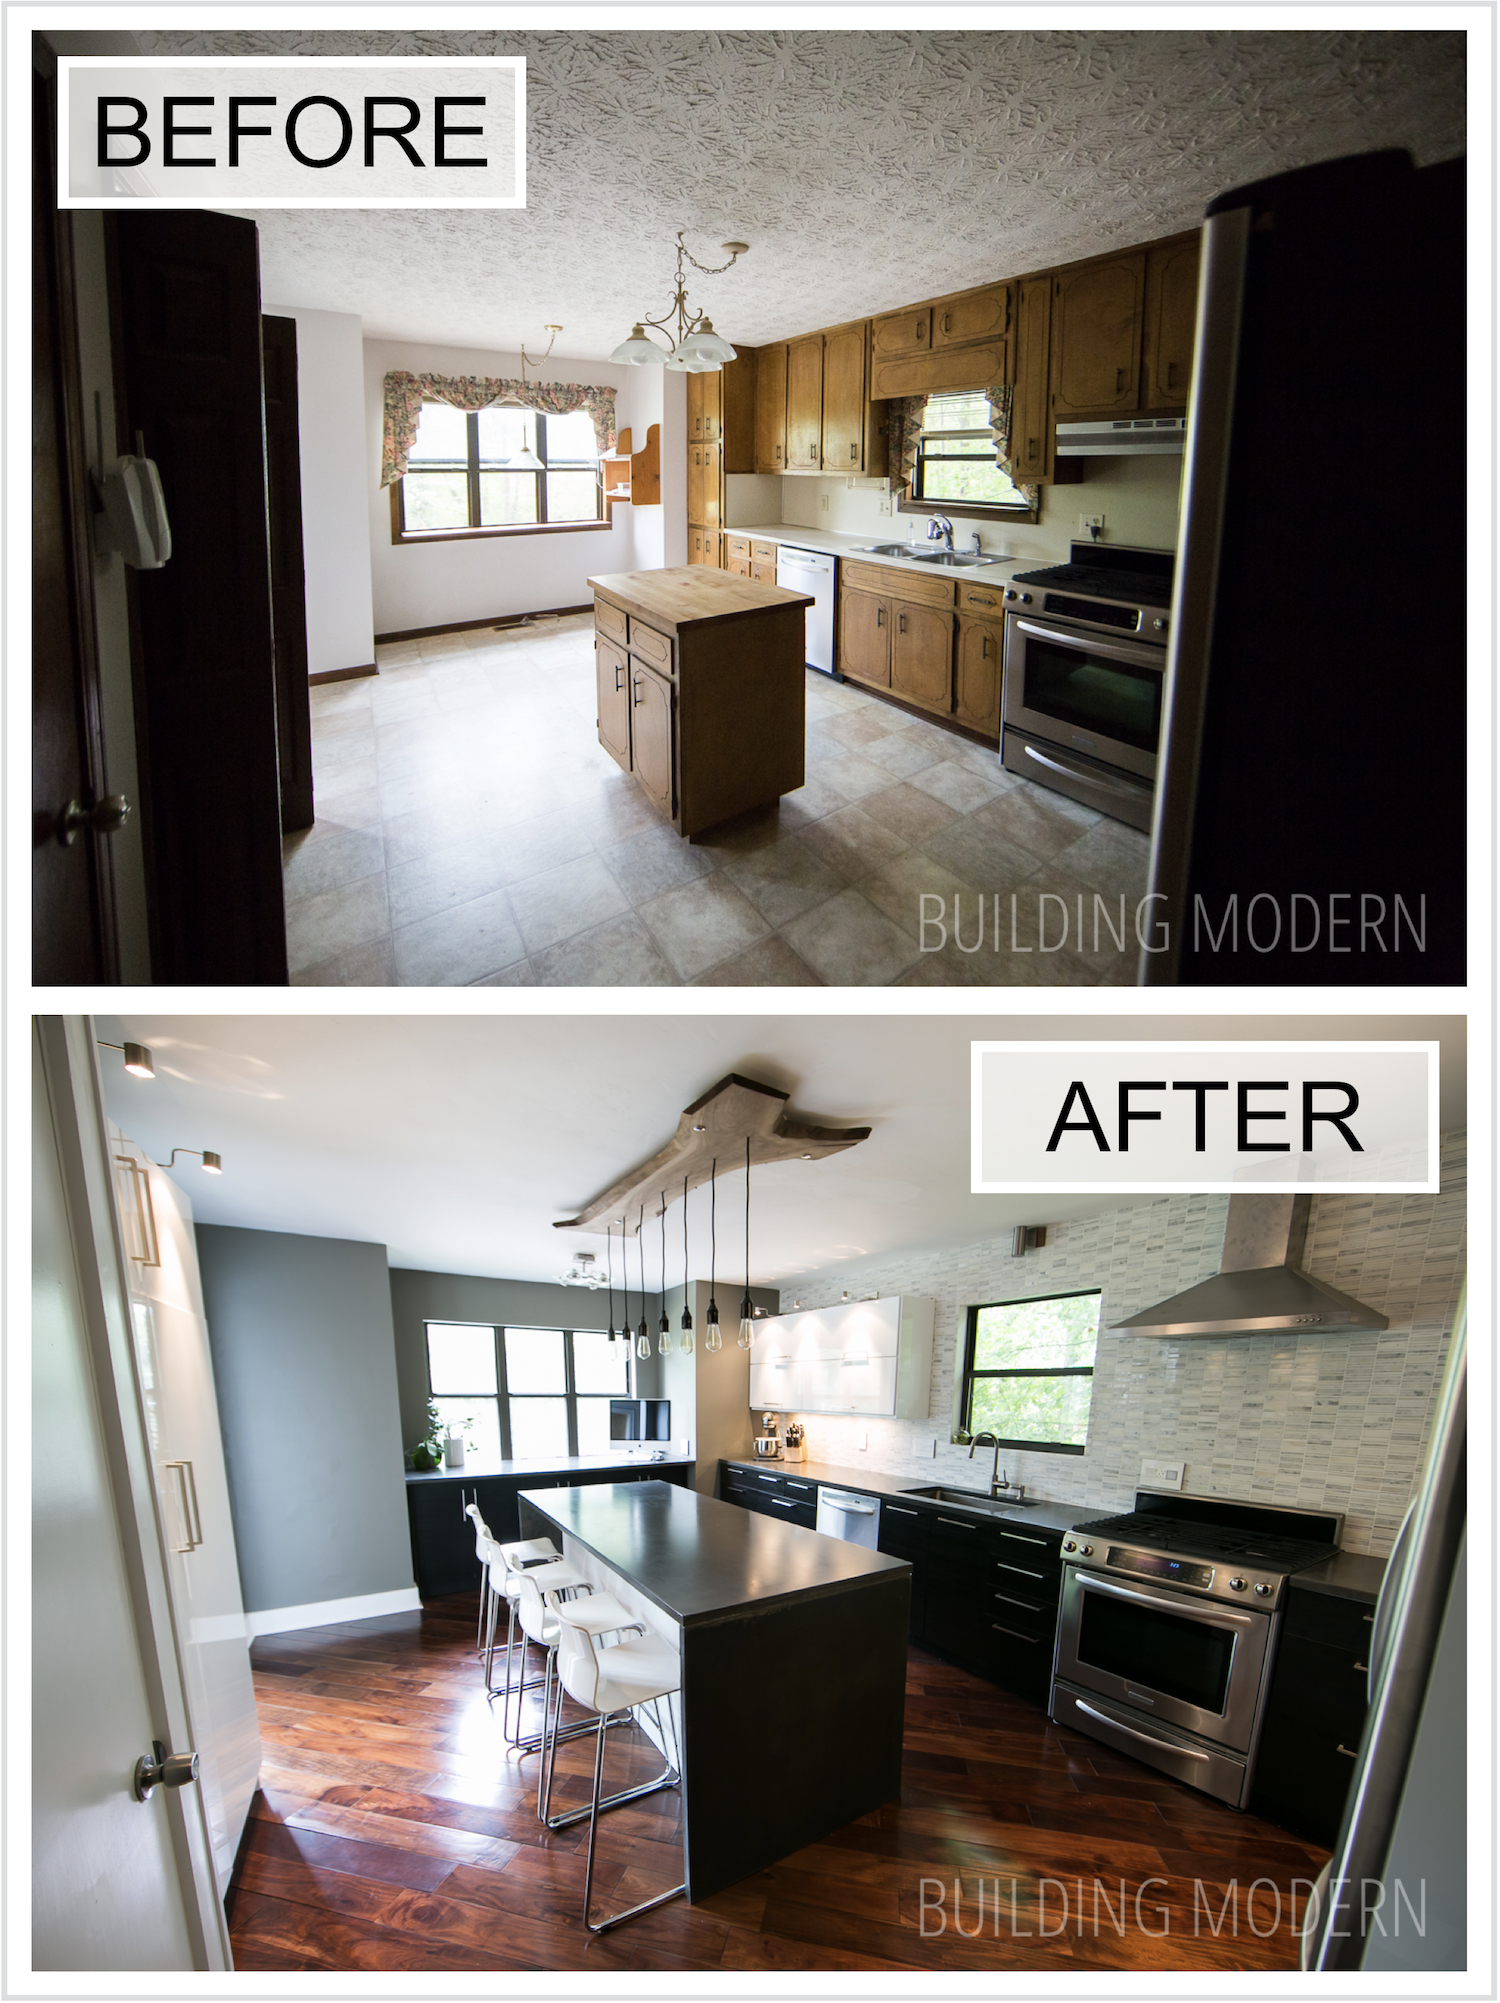
Our kitchen original 80’s finishes included: standard cabinets, linoleum sheet flooring (two layers!), stippled ceiling, laminate countertops, and stained baseboards. We renovated with: Ikea cabinets, solid walnut wood floors, skim coated ceiling with a live edge walnut light fixture, Legrand outlets, and added new wider trim. We left the appliances in place (the refrigerator moved a few inches) but we did expand both doorways and completely removed the pantry.

We updated to two-tone Ikea cabinets (the high gloss white were the most expensive, while the black/brown were the least – averaging out to a mid price point for Ikea doors.) We chose to do the uppers, side panels, and all of the tall pantry cabinets in white and all of the base cabinets (including the island) in black/brown. Our original thought was that if we ever wanted to upgrade and change the bottoms to match we could easily do so… however, one year after we installed our cabinets Ikea changed their kitchen offerings completely.

We made our own concrete countertops – reinforced with pva and glass fiber, colored with black oxide. We also made a live edge walnut light fixture with Edison bulbs.

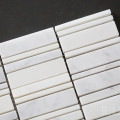
We got a great deal on clearance carrara marble mosaic tile at Floor and Decor – such a great price that we were able to tile the entire back wall. Tilting the entire backslash wall – from countertop to ceiling – was part of my original design, but having a bit of a price break was very welcome.

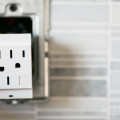
The outlets were upgraded to Legrand. One switch works wirelessly to activate the lights on top of all the upper cabinets. By using the wireless Legrand switch and receiver outlet, we didn’t have to rip up our ceiling and hardwire all of the lights around the room. (These were yet to be completely installed, that’s why they are a little askew.)


My mom found and KitchenAid at an estate sale: grey to match our kitchen.

The concrete countertops contrast nicely against the carrara marble backsplash.

We are happy with our Kraus faucet and sink. The soap dispenser is terrible however – it became rusty immediately – both on the outside and on the inside… we had rust colored soap – not a good thing.

Our little “appliance area” tucked over on the side with our microwave and convection toaster oven (a gift from my dad). I believe the microwave is from the early ’90’s. This is a fairly prominent view of this corner, normally it is a little less noticeable.

Ikea’s upper cabinet lights.

Our pop of yellow in our grey and white kitchen: I love the full extension drawers.

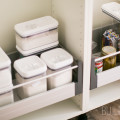
Ikea’s drawer organization system.


We added lower cabinets in the former eat-in table nook. We purposefully made the countertop the full depth of the nook and did not place the cabinets all the way at the front: this created a little lip – enough for someone to tuck their knees under to use the computer.

All of the other cabinets in the kitchen had drawers or doors with pull out drawers. I purposely left this bank of lower cabinets with doors and shelves to house infrequently used small appliances or for random storage. These three cabinets almost perfectly fit the space that was not designed for cabinets. We just had two thin filler strips on either side at the ends.

I believe that the Ikea tall cabinet has more “useful” storage than the “2×4 and drywall pantry” it replaced.


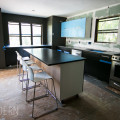
Here’s another Before & After from a different angle:

We’re in the middle of installing our Ikea cabinets. I found your blog after googling how to move out pantry and over fridge cabinet. PLUS I am happy to read about your vent box. Next I’ll read about the exhaust hood. Thank you thank you thank you! We can finish this project.