We have finished our Japanese-inspired DIY 2-Story Shed! We hope you enjoy the video!! 🙂


New House, New Videos!
Hey Everyone!
We’re so excited that you found our site!! We wanted to let you know that we’ve started making YouTube Videos again! We hope to see you there! We’re working on gardening, landscaping, and modern builds! We’ll be reviewing some of our older projects like a modern planter bed & modern primary bathroom renovation, as well as new projects!
We can’t wait to see you there! Please leave a comment and say hello on our YouTube Channel! Thanks!

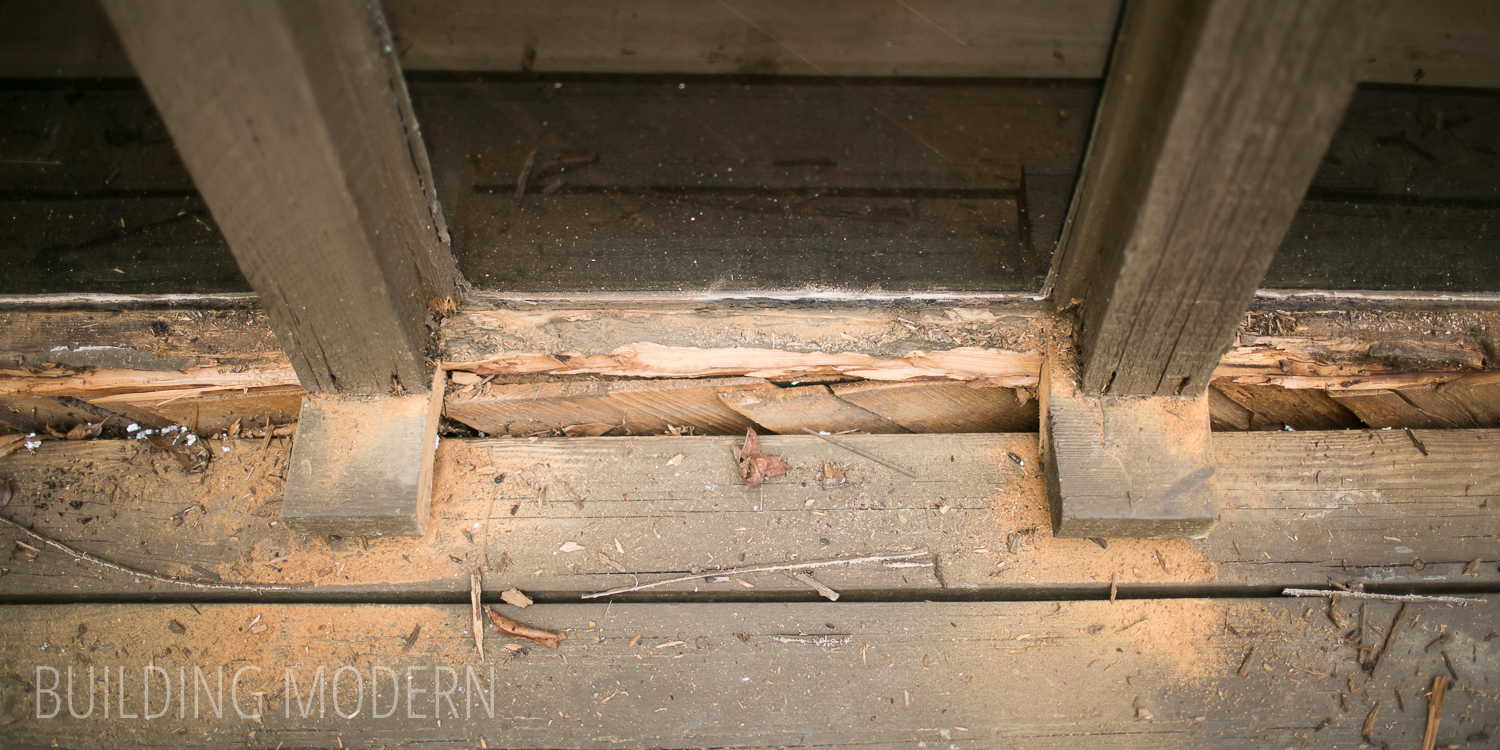
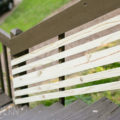
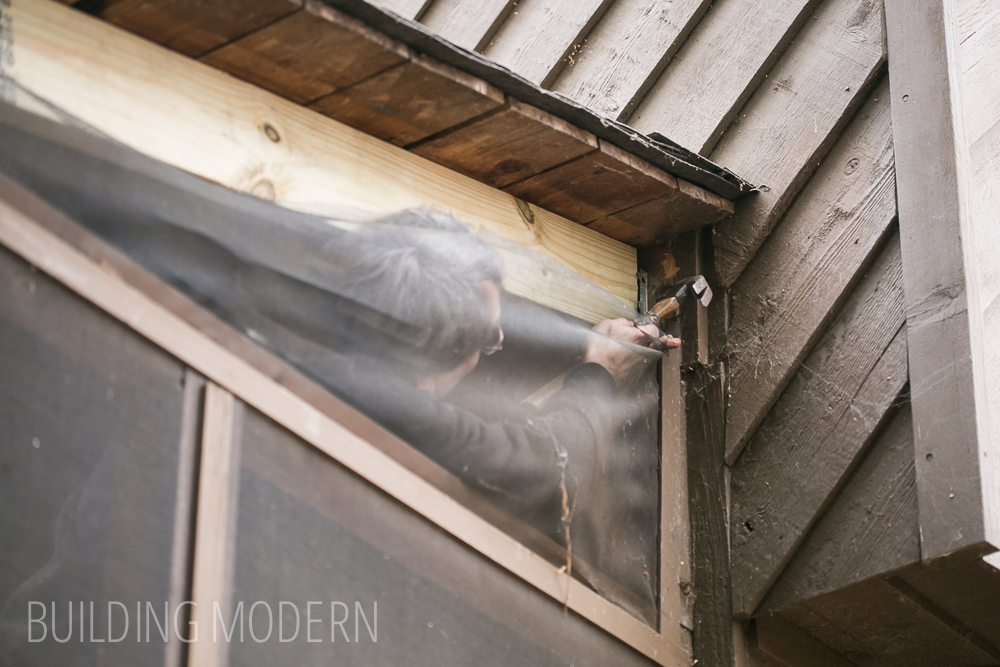
Storefront windowsill repair
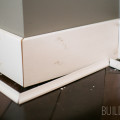
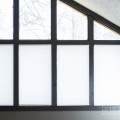
The front of our house has a rather unique feature: the foyer is a 12 ft. tall floor to ceiling cedar beam and glass wall. The glass had water penetration issues between the panes (the seals had broken) and were foggy and needed to be replaced. We scheduled a company to come and replace the glass, but first we needed to address some rotted areas at the bottom sill.

We had already dug out the rotted wood just to see how bad the damage was. (I had stained to area just to protect it in the meantime). All of the vertical beams and the bottom sill are pieces of wood that go beyond the glass and continue into the interior of the home.
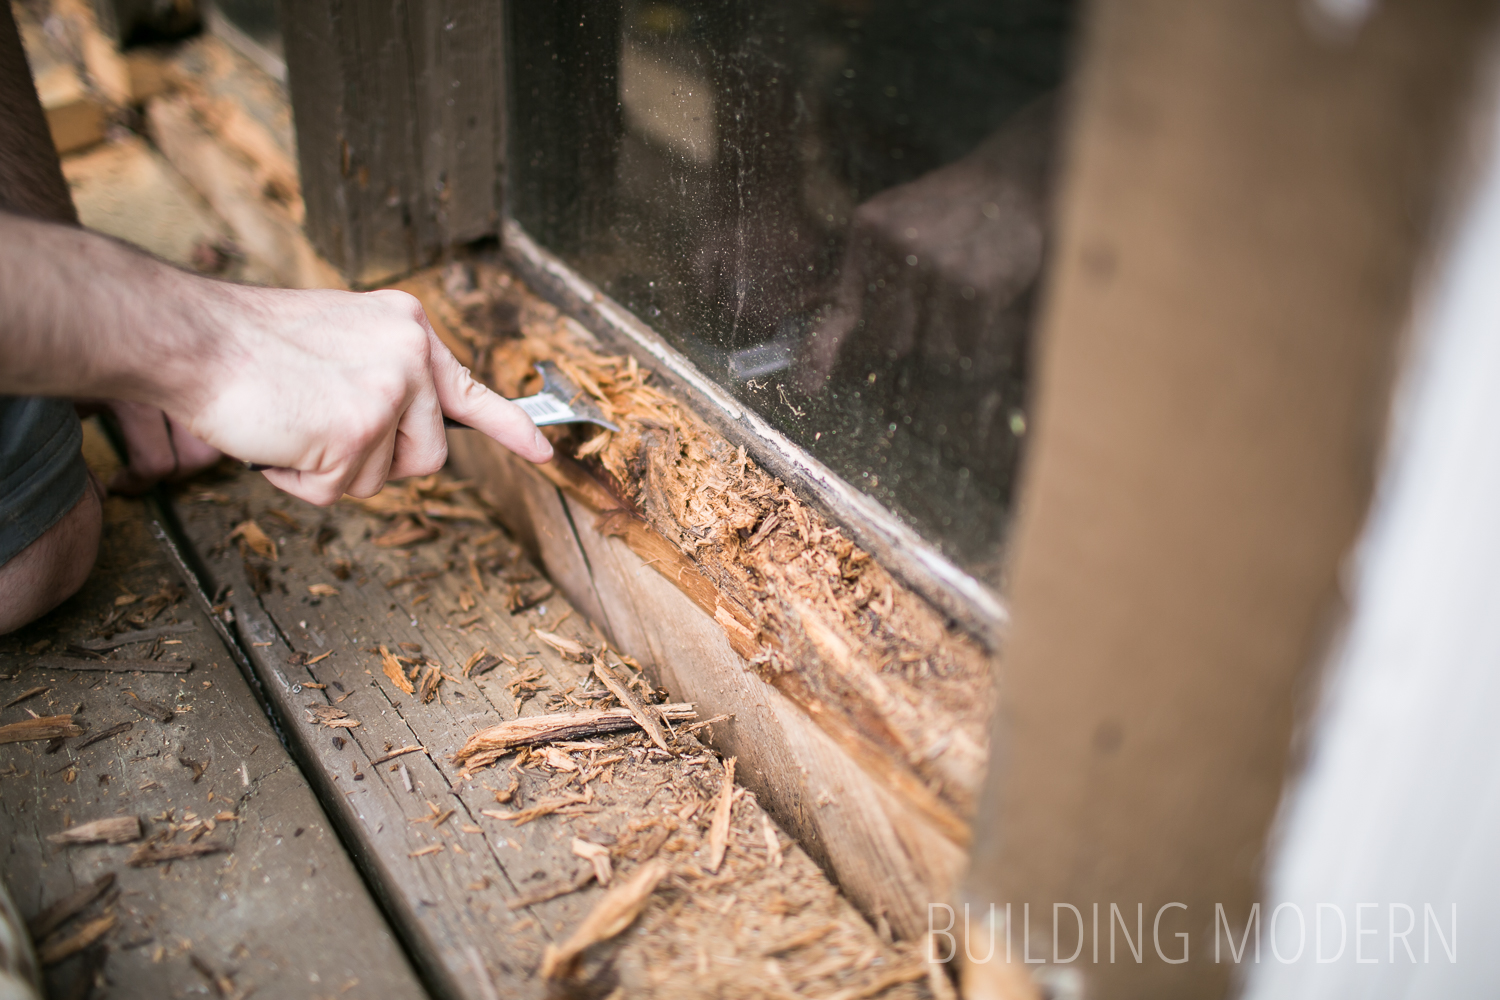
We had the glass guys scheduled for the next day, so the project needed to be finished by the next morning. Spencer started removing the old sill with the multi-tool.


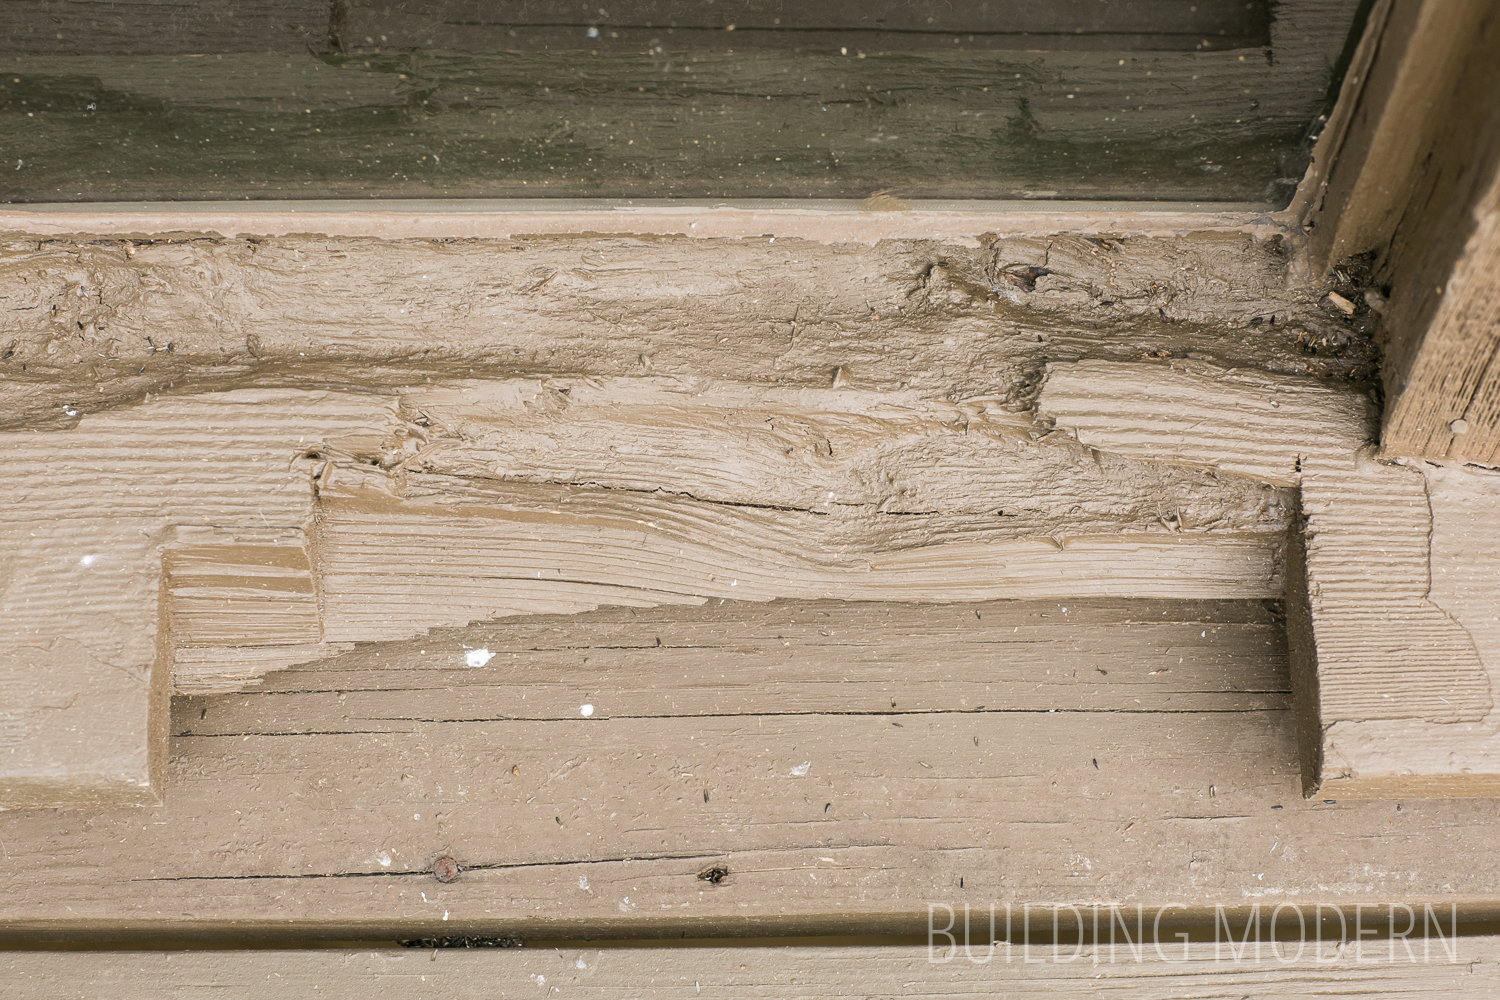
Slowly whittling away at the area to get an idea of what we were dealing with:


The very bottom of the cedar beams were starting to be compromised.


A better looks at the undersides of the discarded material:

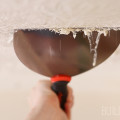
When you can’t find your chisels, get creative with a paint 5-in-1 tool!

Some off the nails we pulled out: pretty corroded by water:

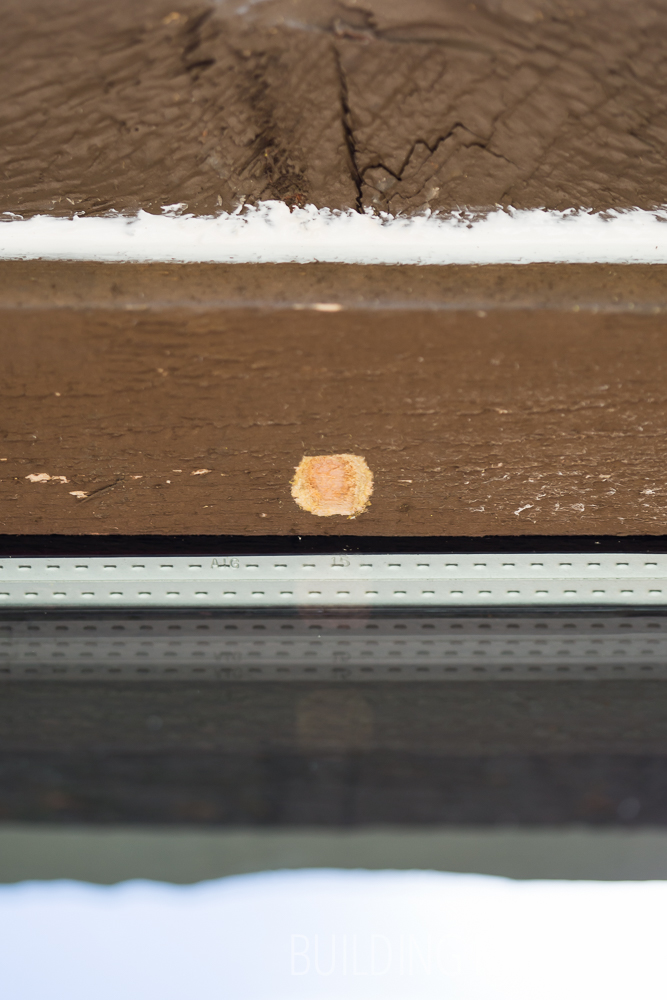
The rot getting close to the glass unfortunately.
Even though they look like they are floating in mid-air, the beams are still supported on the other side of the glass.

Down to good wood directly under the glass. The plan is to simply replace the old rotten portion of the sill. This would have been a bit complicated for a full replacement: the entire interior portion of the sill is structural: the vertical beams sit on it on the inside of the house. I don’t believe the portion that we removed was structural as it was dangling in the air at the very edge of the wall. Our best bet is to keep the good portions and add a new exterior sill that will be properly pitched to shed water… that and a lot of caulk.

Since the glass is still in the way and these are not traditional operable windows, we couldn’t nail from above. (There was nothing to nail into.) It may not be the proper solution, but it is a work-around: we used a Kreg jig to mend the two pieces together.

Izumi is a good construction kitty.

We cut the new pressure treated board at the proper angle to shed water, supported the board with shims and glued & screwed it to the old cedar.

Adding additional wood glue:

We then added exterior caulk to the seam and screw holes:

We will address the bottoms of the vertical posts at a later date… the next day was new glass installation!

I am not an expert and I am not saying that this is the perfect way to mend a rotted sill for a storefront window, but it is probably the best we could do given the situation. I am also definitely not a fan of relying on caulk as the only water barrier either. (However, this is how the entire window system is made to begin with: just framing, caulk, and glass). At least this is an area of the home that is easily accessible and we can keep an eye on the caulk to make sure it isn’t failing.
Short of removing the entire assembly and having to somehow support the roof – this is an exterior wall – I am not sure what else we could have done. Looking forward to the new glass and being able to finally see out of these giant windows!


The kitchen Floor is not level
Prior to purchasing our house, we could easily see with the naked eye that the floor in the foyer was not level…this was also the case for the area near/inside the pantry in the kitchen. In the foyer, the floor sloped down to the right toward the master bedroom wall. In the kitchen, it sloped down toward the foyer wall.
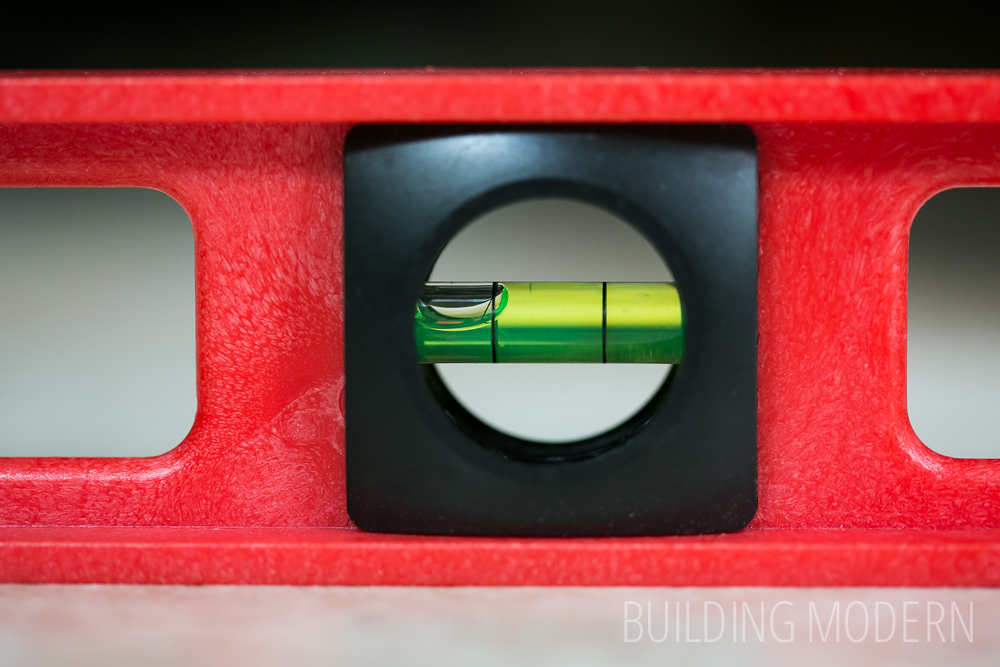
The slope in the floor over by the pantry – the level’s bubble maxed out to one side is probably not a good thing.
After we demolished the kitchen floor, we discovered that the area toward the center of the room was also not level. In this instance, the floor was not sloping or sagging… it was bowed up in the center.
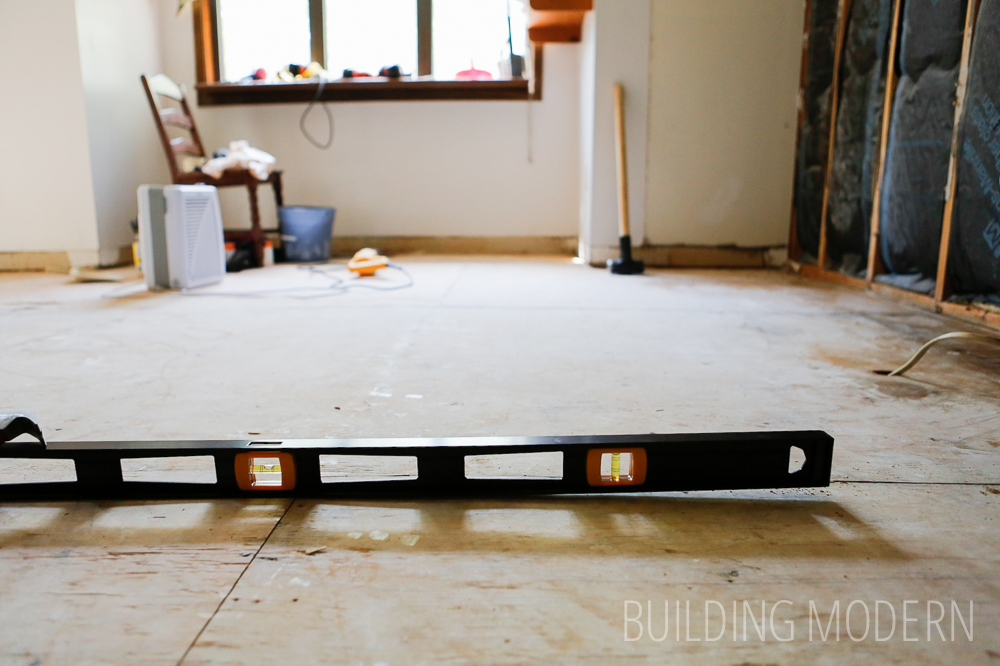
A high spot in the floor is a real problem: low joists you can jack up, but with high joists… there’s not much you can do.
We briefly looked into self-leveling-products, but quickly dismissed the idea. First off, we couldn’t find any information online about using a self-leveling-cement on a plywood subfloor. Every resource online was referring to leveling a concrete floor.
Here were our concerns:
•We were pretty sure that the product would seep into cracks and flow down into the basement without some sort of lining.
•We were also unsure about the added weight.
•We needed to be able to nail down real hardwood flooring, which you can’t do with concrete.
•We needed to maintain the current floor elevation to match up with the oak floor in the adjoining rooms.
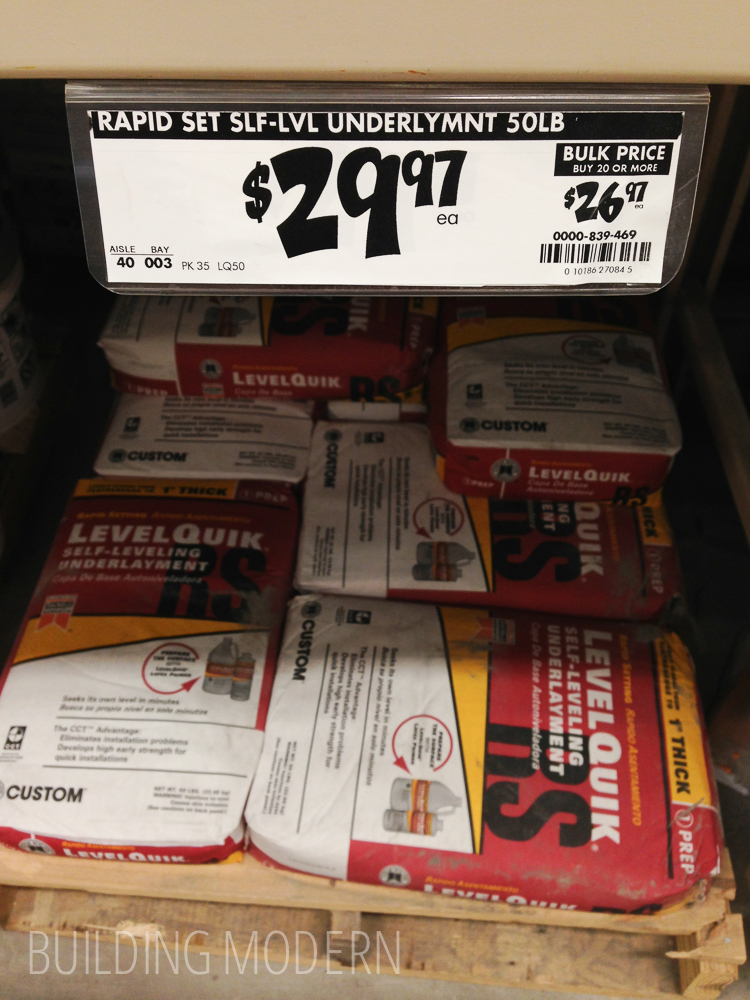

So, self leveling cement was out. What did we decide to do? Hide the problem with the kitchen island.
Yep. The “easy” way out – our solution was to do nothing. The bow in the center of the room was contained to the exact area we were thinking of placing our island. Boom. Done. (Well, not quite, we knew we needed to address the sloping floor on the other side of the kitchen and in the foyer, but that’s a project for another day.)


Carpenter bee trap
I’m going to divert attention away from the kitchen and move to the outside of the house for a bit. You know who loves our house? Well, spiders clearly do because of the webs all over the exterior… but you know who else? Carpenter bees.
Yep, carpenter bees love to nom on our cedar sided house.

This was a brand new piece of trim just maybe an hour old.
When you have carpenter bees, they not only make their own holes/ homes in your structure, they lay their eggs there – and then wood peckers start trying to get at the larvae and create even more damage.

They ate through the new trim (which was stained) and caulk in just a few hours before the end of the day. Just to add insult, they also poop or barf goop all over the windows as well.
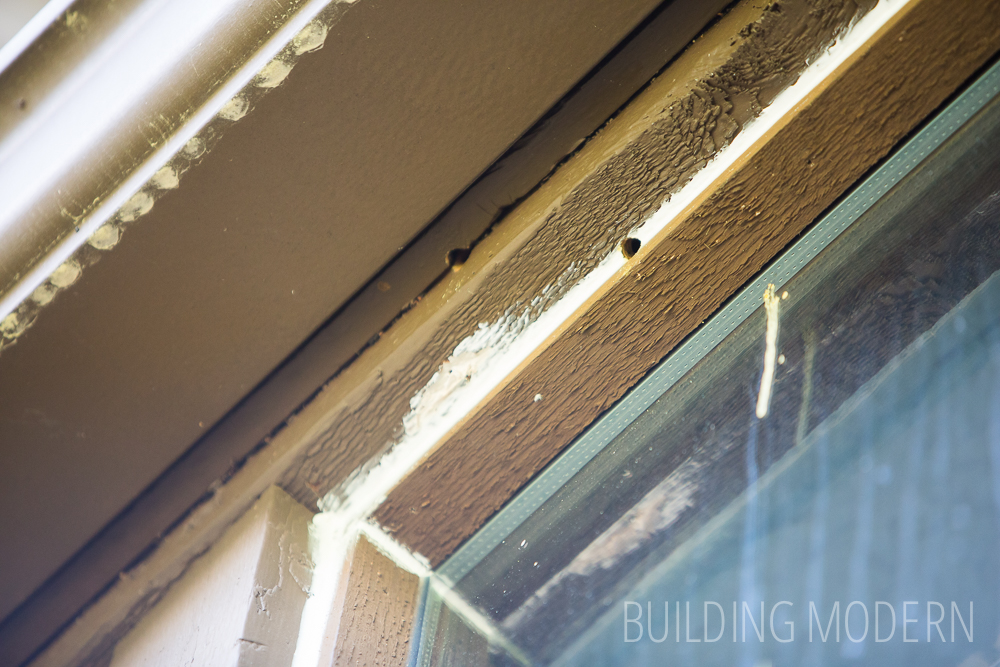
Evidence on the front porch of wood shavings. Fortunately, they eat though the underside of ledges, so their holes combined with rain usually isn’t an issue.

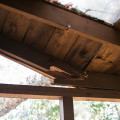
When we first moved in, Spencer got up on the roof with great-stuff foam filler that was infused with insecticide. Here’s a photo of the year old foam and brand new wood shavings from this spring. The foam did nothing – they ate right through it. (See what I said about the spiders? Spider webs + carpenter bee wood shavings = a lovely decorated home, don’t you think?) Fortunately, you can’t really see this mess unless you’re on the roof. I will clean it up… eventually.

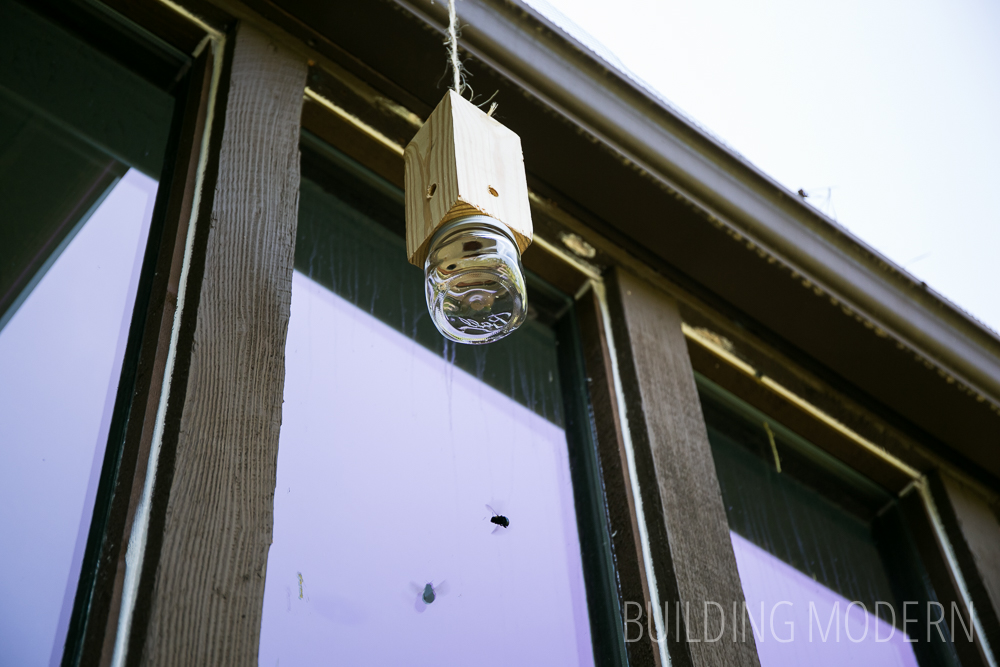
We were reluctant to kill the bees, but they were/are destroying the house and causing potential leaks or possible structural integrity issues around our windows. So, we made a very simple home-made carpenter bee trap. It’s not beautiful, but it’s functional.
Spencer made this with materials we already had around the house. He used scrap 4×4, a mason jar, twine, & we purchased a screw eye. We just made ours by drilling holes into the sides and bottom of the 4×4 and cutting a slant on the top to help rain drain off. Some people construct theirs by making a box and add a little roof. Also, we used a mason jar (with a hole drilled in the lid & screwed to the bottom of the 4×4), whereas another option is a plastic coke bottle (with or without an inverted bottle inside as well). By using these jars or bottles, you can easily screw off the container to clean out the trap.
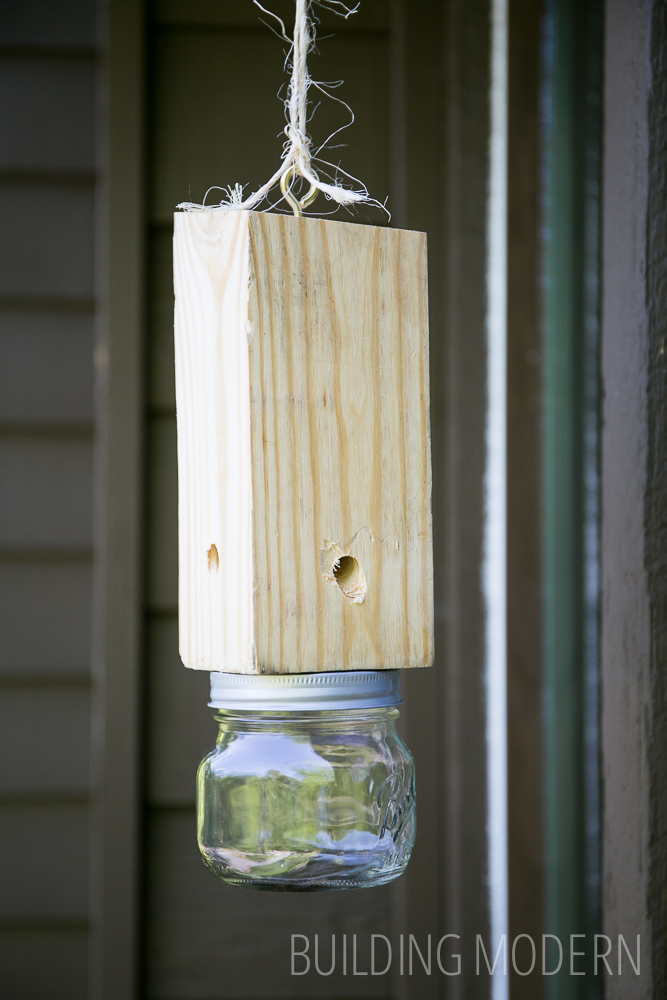
The idea behind the trap is that the bees are attracted to the angled holes in the wood. They climb up in there, see the light at the bottom of the trap, go down toward the light, & can’t figure out how to get out.
It was pretty effective, after a few days, we already had four trapped bees.
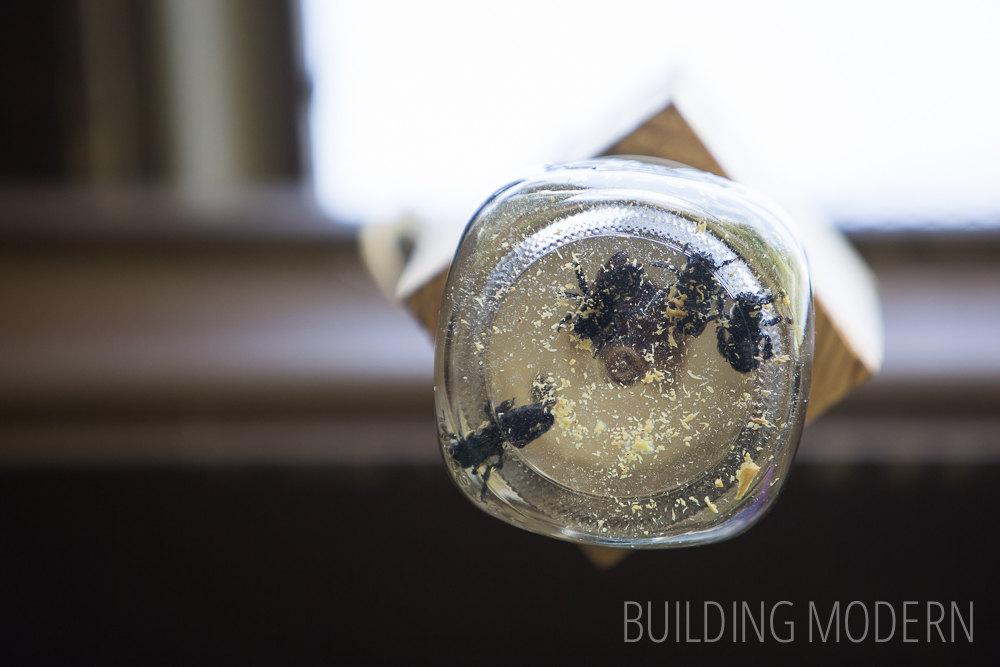
The trap didn’t get every bee, but something is better than nothing. Bug spray & spray foam insecticide didn’t work… we have heard that if you plug their holes, they just make new ones. (… and besides, when I plugged a few holes with steel wool, they just plucked it out.) I think this will be an ongoing battle as long as our house is sided and trimmed with wood, but at least the traps are pretty effective!


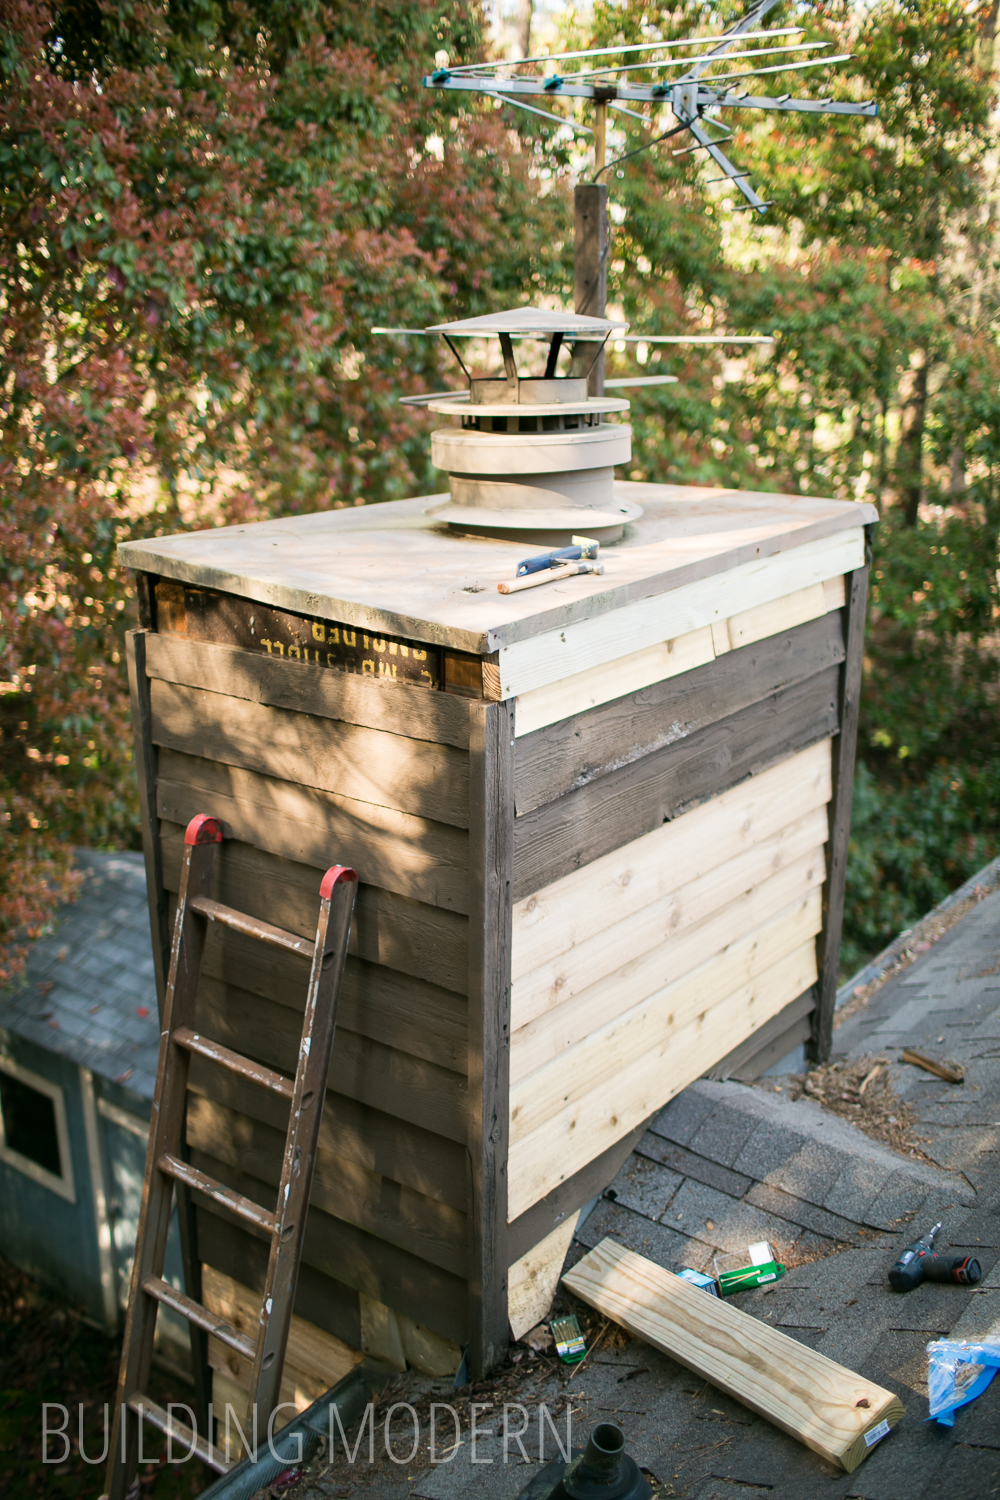
Patching cedar siding
Our next outdoor project for the house was replacing a few cedar boards on our chimney. I don’t have a before photo, but just imagine some siding boards in rough enough shape to justify replacement. Replacing boards in this small area is probably the simplest and most straight-forward siding replacement project for a beginner. The boards were very short and, because we were matching the cedar, very light weight.
Here we are almost done replacing the siding on the right side of the chimney. The bad boards were all at the gutter and lower… there was definitely a problem with water in this area – most likely overflow from the roof not making it all the way into the gutter.


For this project we needed cedar siding, nails and exterior caulk. It is suggested that plain galvanized nails will react with the cedar and create staining and that hot-dipped galvanized, stainless steel, or aluminum nails will not react.

On a side note, beveled cedar siding is stupid expensive: it is more expensive than fiber-cement board. Unfortunately, fiber-cement board (most people will recognize the brand name Hardee board) is not manufactured with a bevel… so both the angle and texture will not match when patching existing siding.

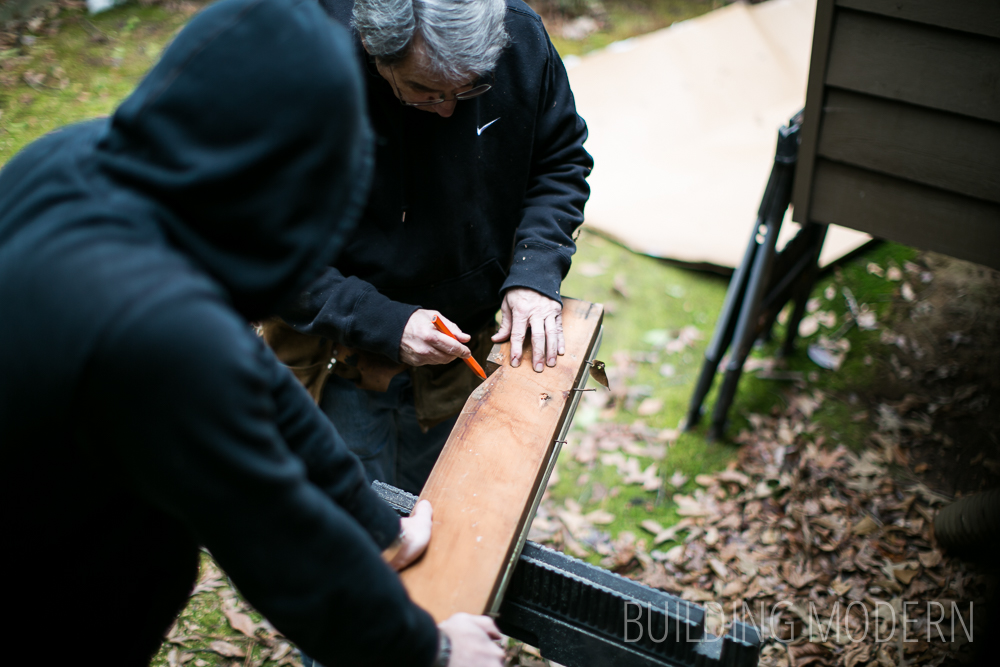
We replaced a few rotted boards at the top of the chimney as well. Water most likely splashes up onto the back of the chimney from the roof and leaves collect around the chimney cricket (the little pointed roof that diverts rain water around the chimney).

Spiral shank nails are sometimes difficult to remove because they sort-of twist like a screw when used. Apparently they should be used on hardwood and not softwood (they may split the softwood.) These nails were in the bigger boards and on our front porch not in the siding itself.

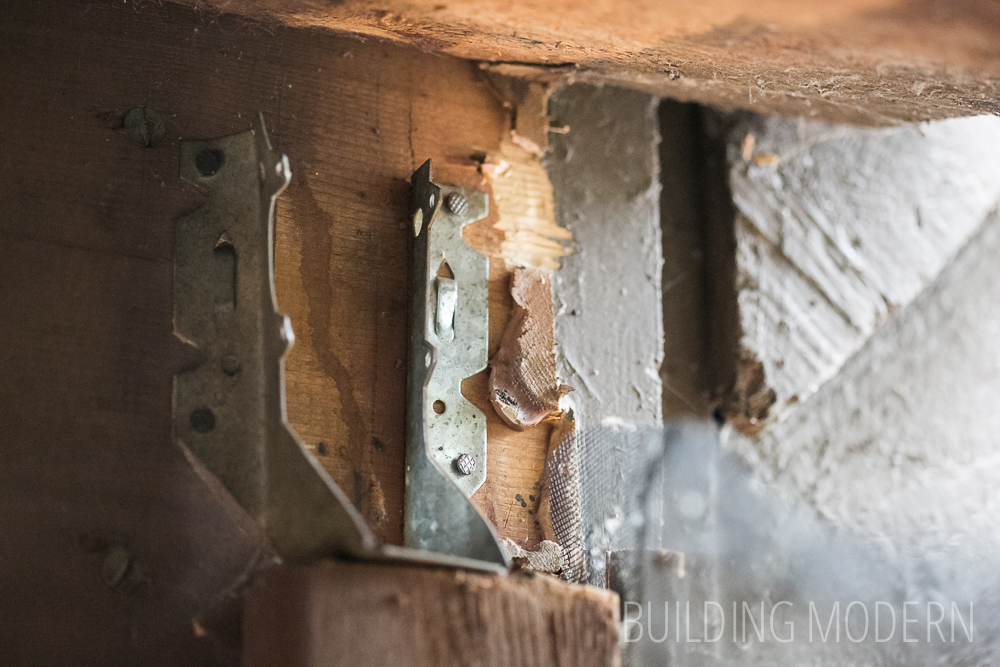
A closer look at the edge of the cricket/ side of the chimney/ gutter area. Clearly this has been a trouble spot for the previous owners. There is a bit of haphazard flashing and a home-made kick out flashing.

We decided to continue and replace a few more boards.


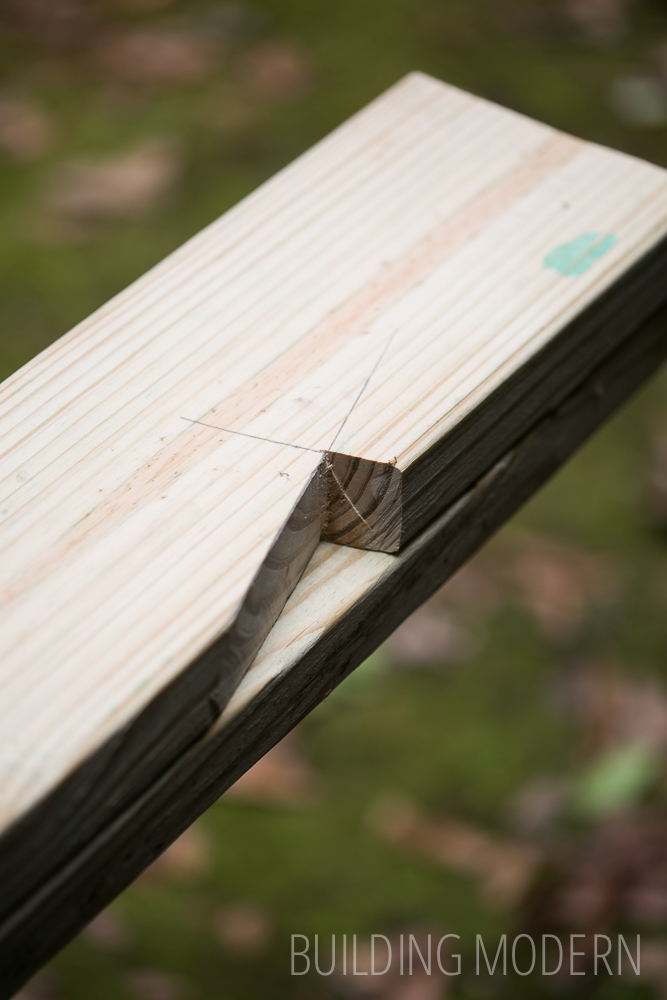
The top board against the metal cap was also in rough shape, so we decided to replace it as well.

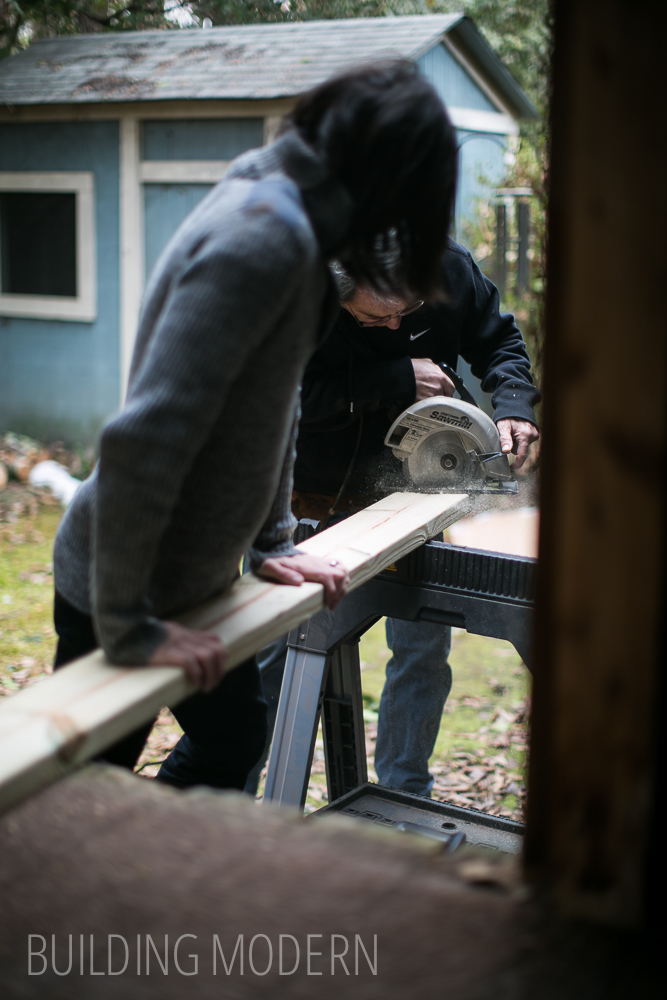
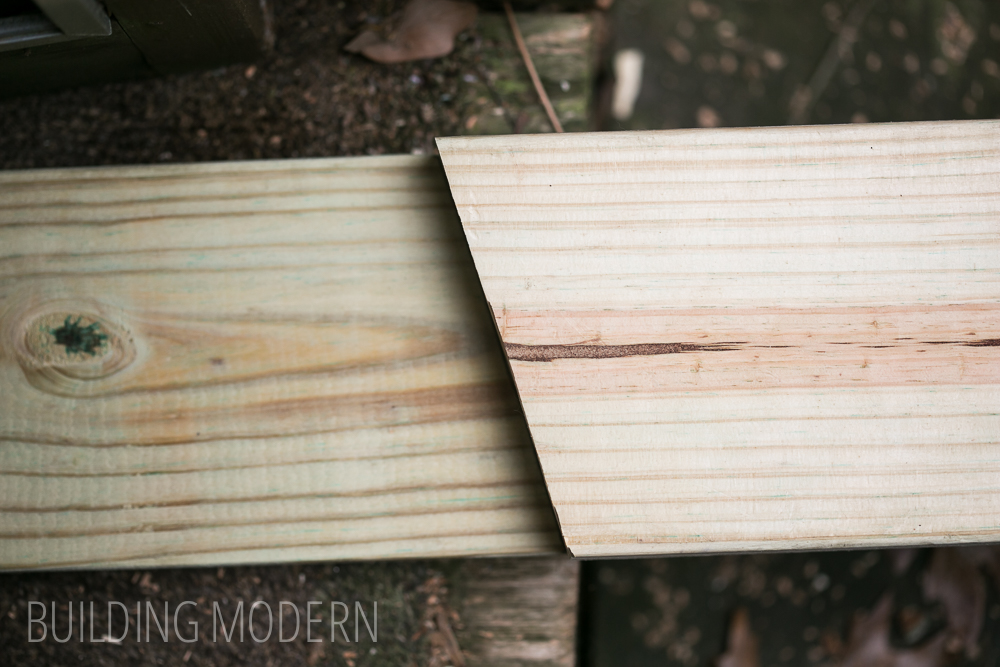
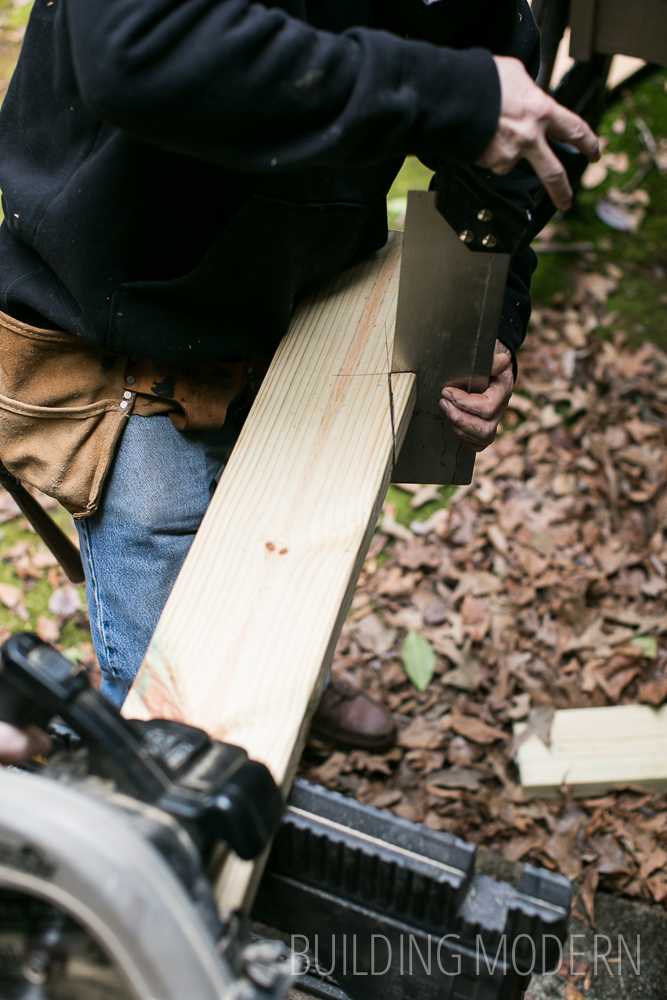
The top board will be replaced with 2×4 pressure treated lumber.

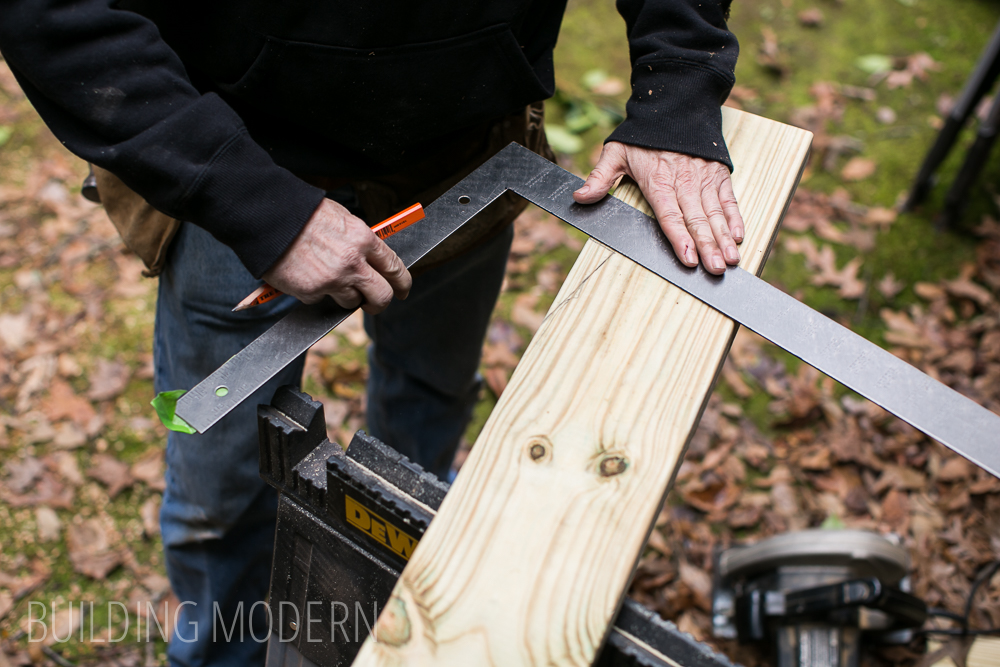
Marking the length:

Cutting the board to size. We moved the saw from the garage to the back porch for efficiency and, for me specifically, I found that it was easier to use on the floor. Previously, when the saw was set up on a table, there must have been something about the angle or reach of the saw’s arm compared to my height that made it awkward. I’m not short, I’m 5’6″ but suddenly with the saw on the floor, it was much easier to use. Moral of the story: try different table heights and it may make a difference. (Since this time we have replaced this saw and have also purchased a proper saw stand.)


I will also take an aside and say we decided it was about time to replace our 3M respirator filters. Here’s a photo comparing the new filter and the used.

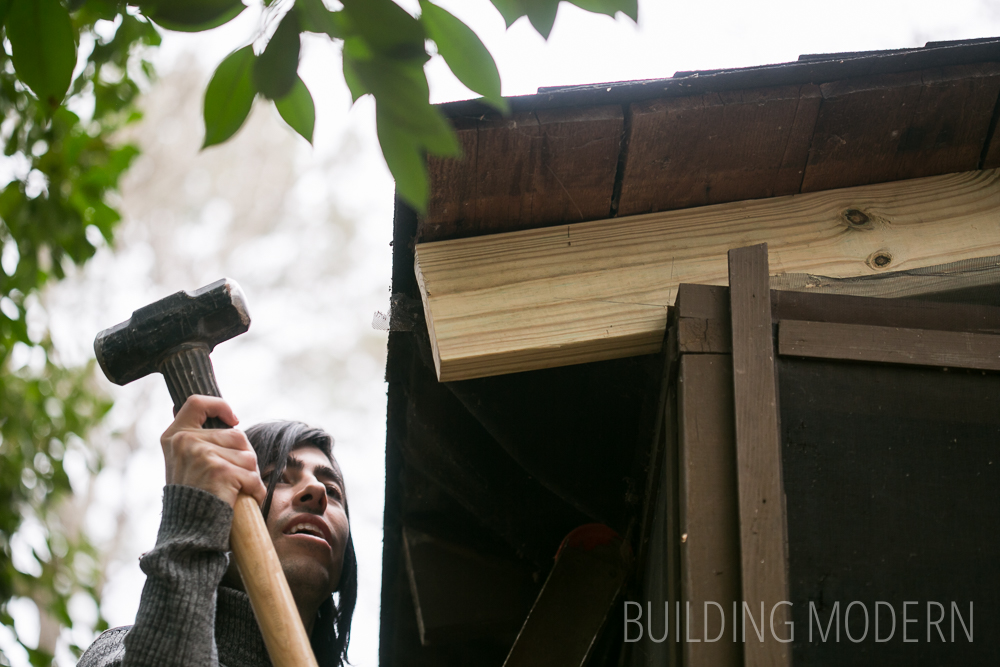
Back to the chimney: we removed the nails and it was easy to lift up the metal chimney cap and replace three sides of the upper boards.

The metal cap was easy to lift up and slide the new board underneath.

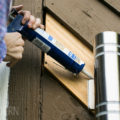
Next up: Quad exterior caulk.
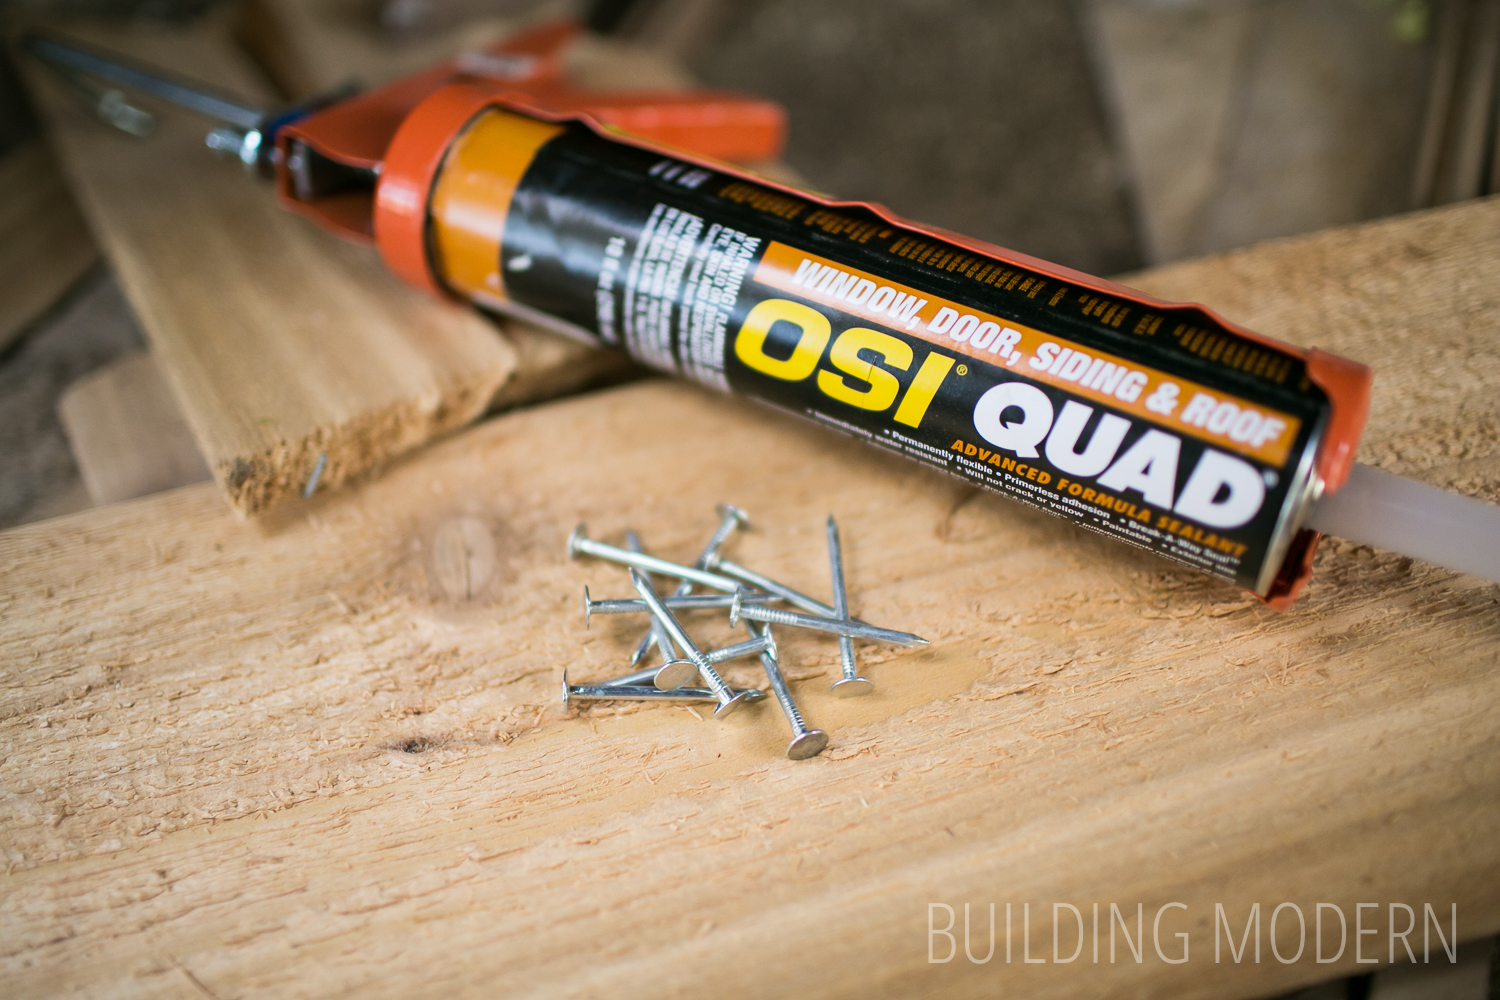
We caulked the new boards and refreshed the old caulk on the existing siding.

At the corner where the chimney meets the house, you couldn’t see it very well with the naked eye, but in this photo you can see plenty of old caulk and a miss match on the house stain color… clearly this has been a double spot.

This is far from a perfect repair, but it is progress. We will need to stain the new boards and investigate if there is indeed water coming down from the gutter and saturating the siding – but I’ll save that for a later date!
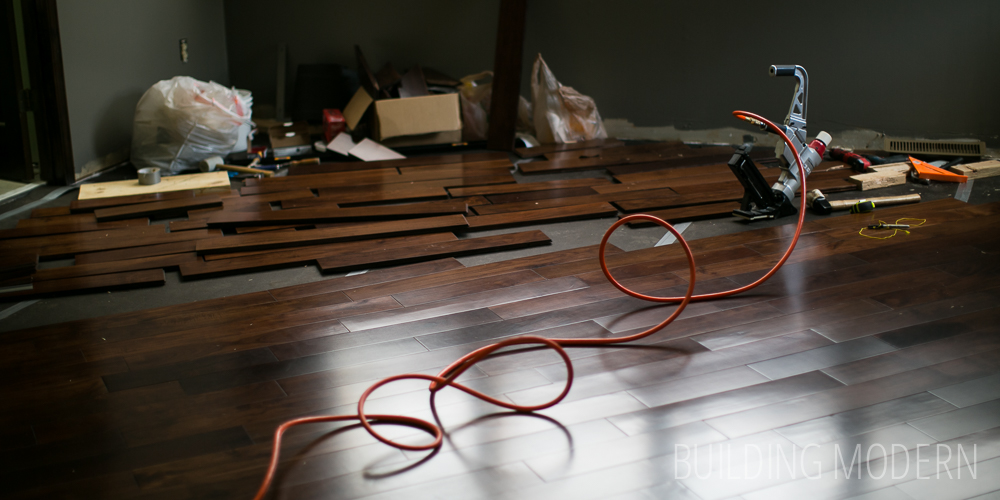
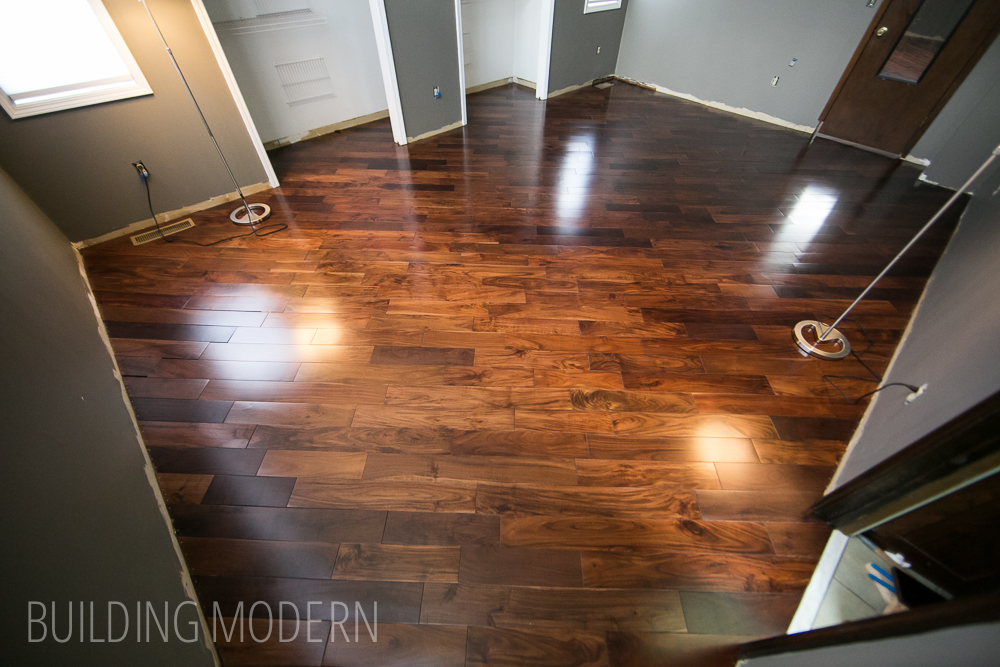
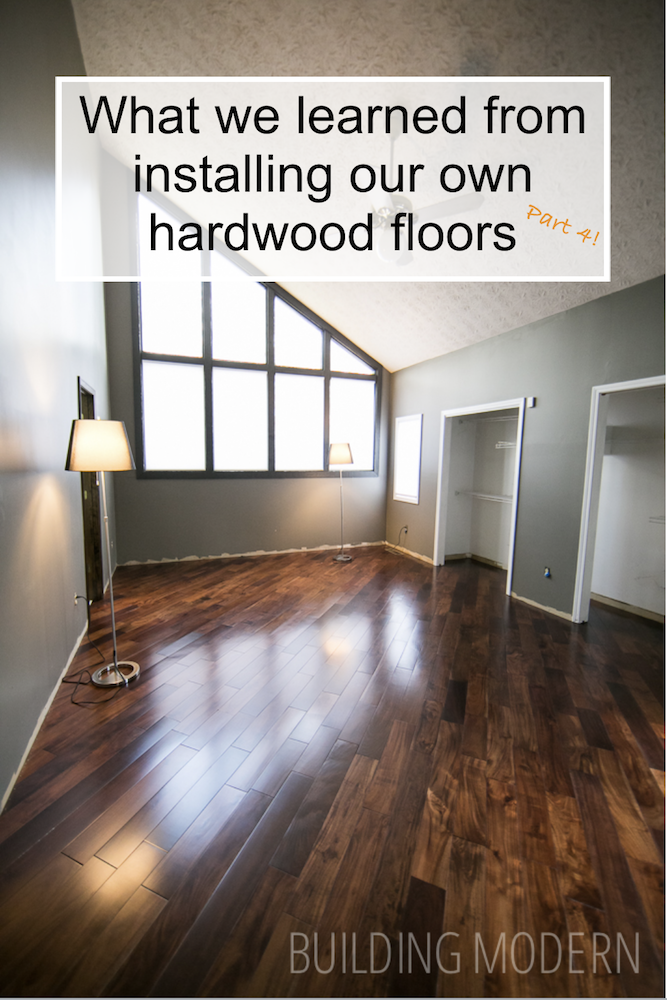
What we’ve learned from installing our hardwood floors
I went through a good number of points regarding flooring instillation in the last few posts, (like running the floor on the diagonal, getting around obstacles, and fixing bad nails) but there are a few more things that I should mention.
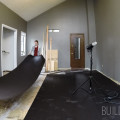
One point – because the flooring is on the diagonal, you might bang up your walls with the nail gun mallet:

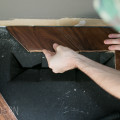
Second point – I mentioned in the last post about making sure the boards line up when going around obstacles (like our closet wall):

The biggest point I’d like to make about what we learned during the process of installing our floors – was the issue of the uneven subfloor. We made sure to level our subfloors as much as possible before laying down the new hardwood floors by jacking up the floor joists and routing down high points.
Flashback to Spencer routing down high spots:

We knew this was very important because of the following problem… any hump or depression in the sub floor will cause gaps between flooring planks. The gaps between planks will eventually magnify and cause major problems. The only way to terminate the gapping (if it does occur) is to stair-step the problem into the closest wall. Normally, we would try to avoid a stair/zig zag pattern in the floor, but this was the best way to get rid of the gaps caused by the hump still present in the subfloor.
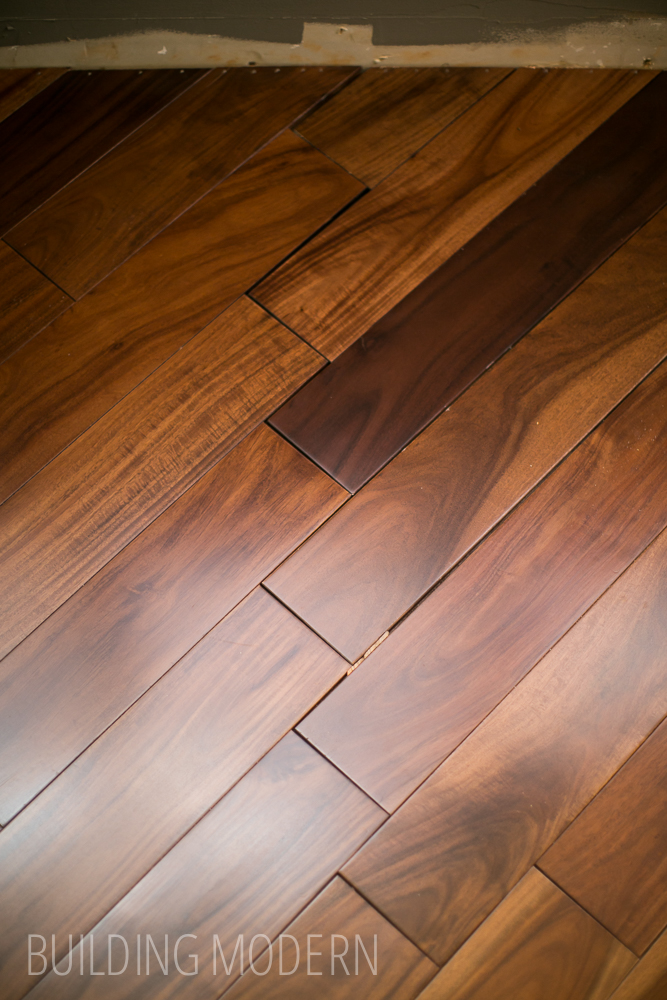
One fortunate thing is that the pattern will be hidden by the bed or dresser under the window.
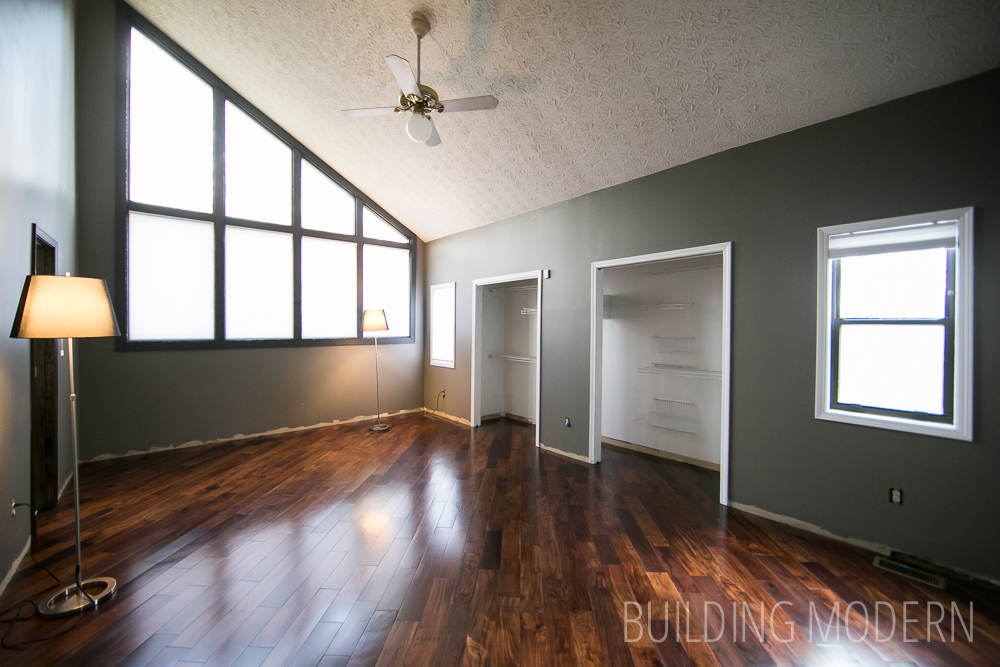
Another pretty photo of the finished floor where you can see the gaps/pattern over by the left window wall:
In case you missed it, here are the links for installing the floor:
Jacking up floor joists
Leveling out the subfloor
Part 1) How to prepare a floor for hardwood installation
Part 2) Installing hardwood floors
Part 3) Installing hardwood floors
Part 4) What we learned for installing our own hardwood floors

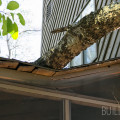
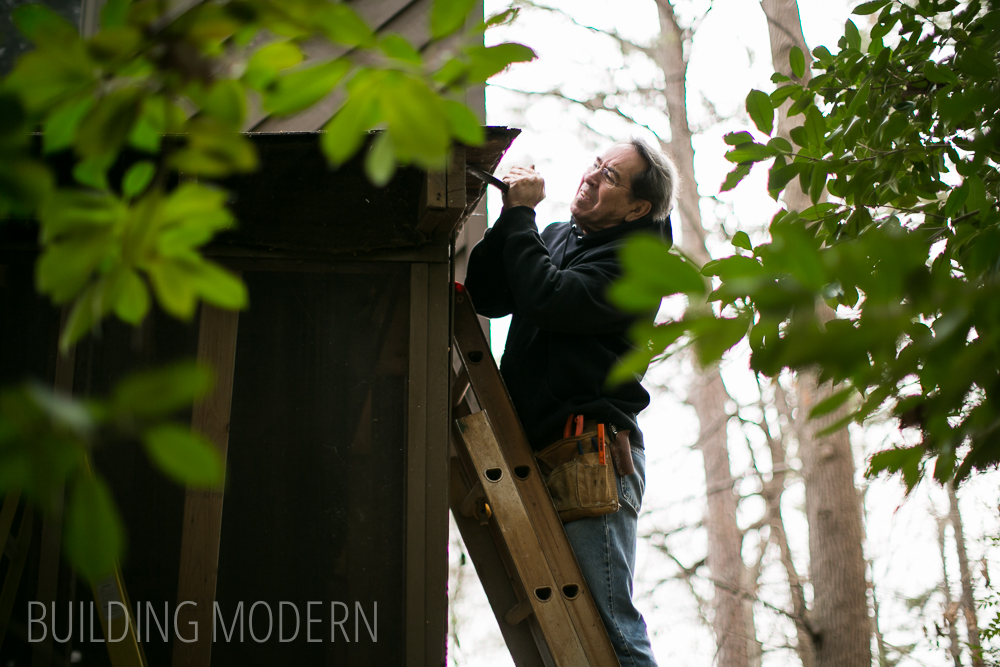
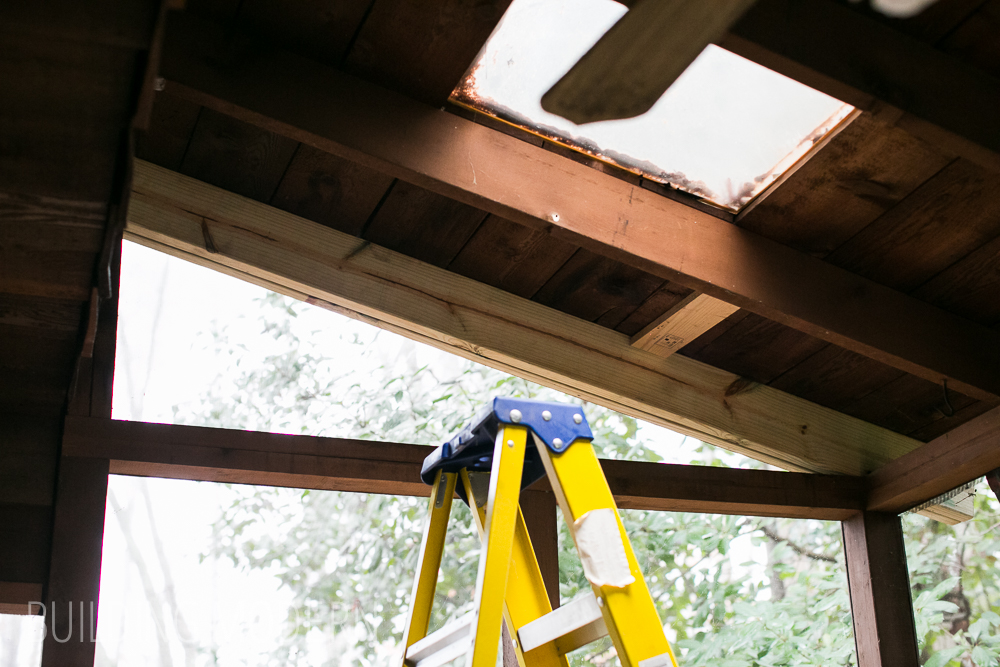
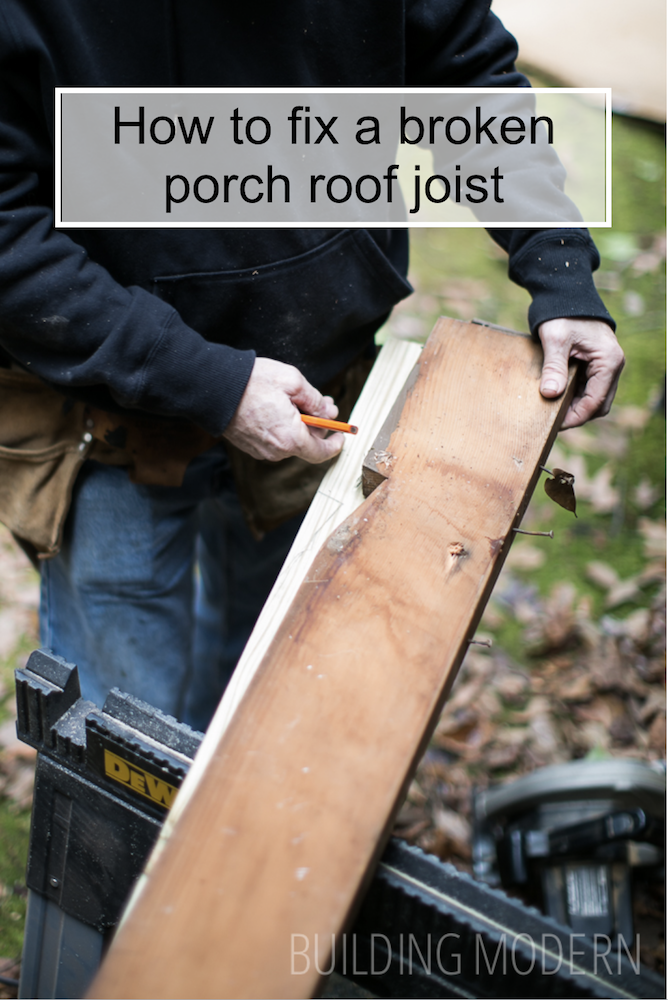
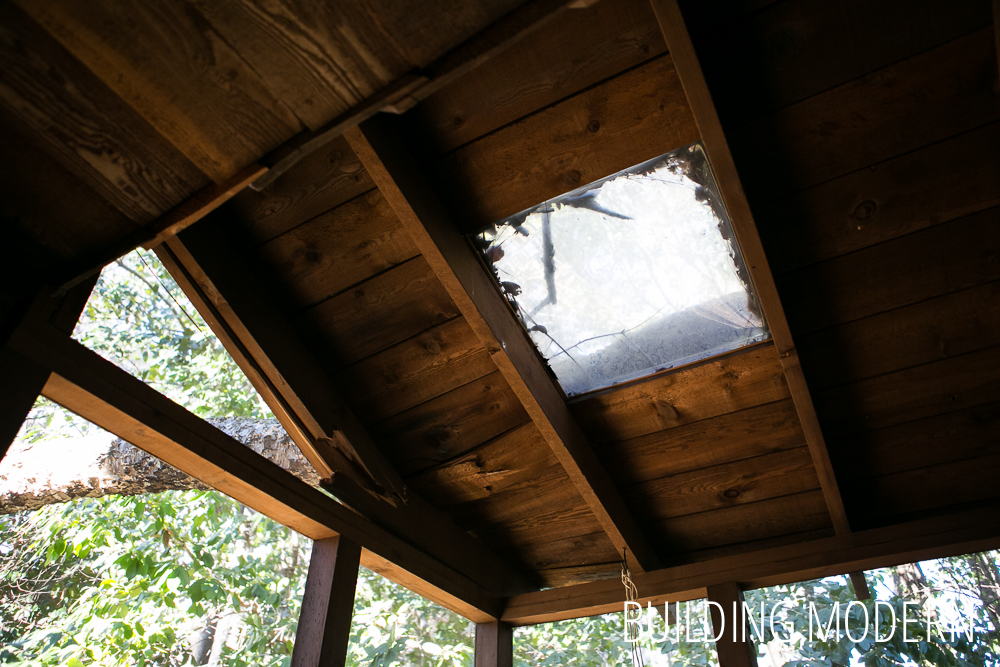
Repairing a broken porch roof joist
We had a cherry tree land on our back porch. The side joist was pretty smashed but it seamed to be the only substantial damage to the entire structure.
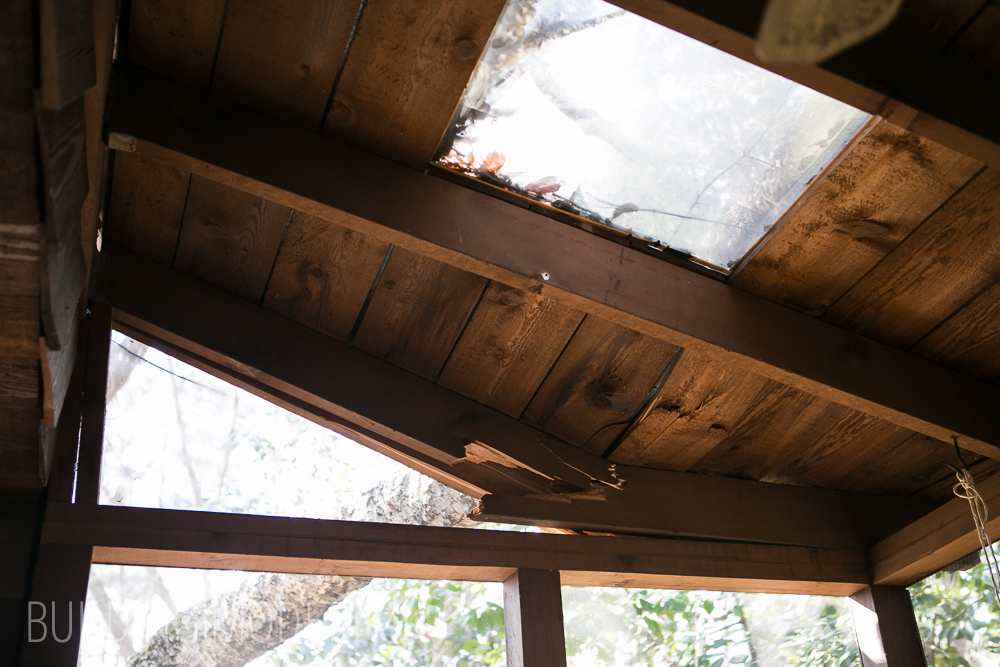
This should be a triangle:
We had a service come and remove the tree.
So now we needed to fix the broken roof joist.
Here’s Spencer’s dad helping by removing the old joist:

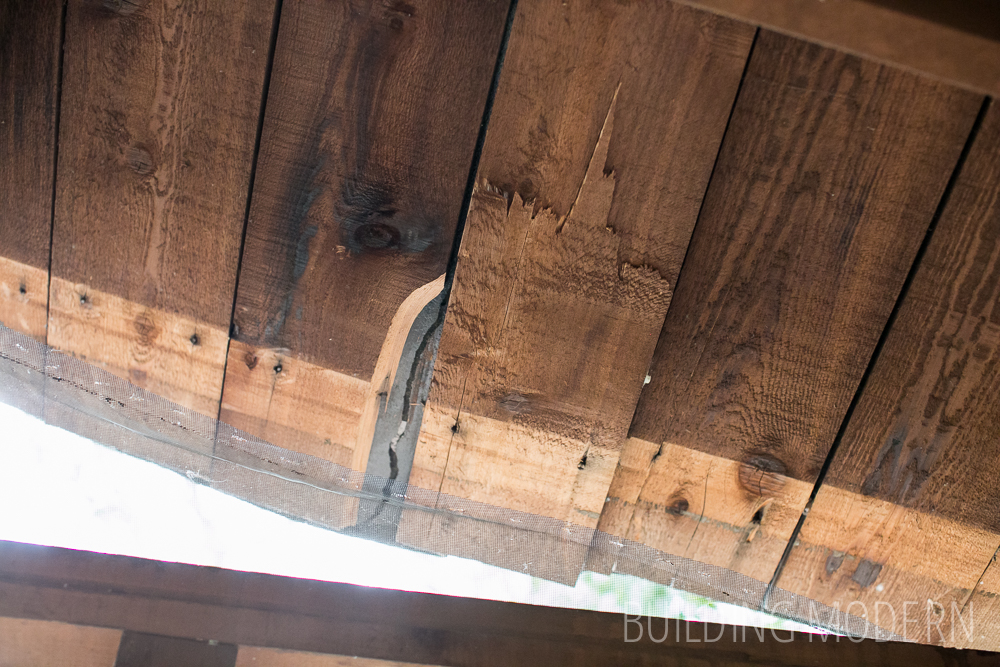
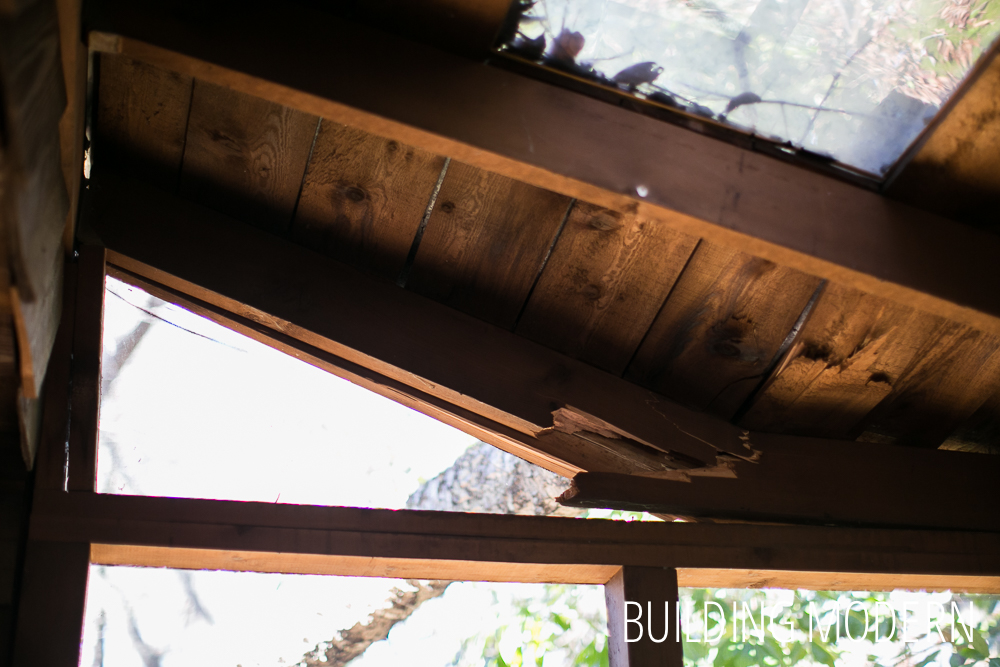
Already better without the broken joist pulling the roof ceiling boards down.
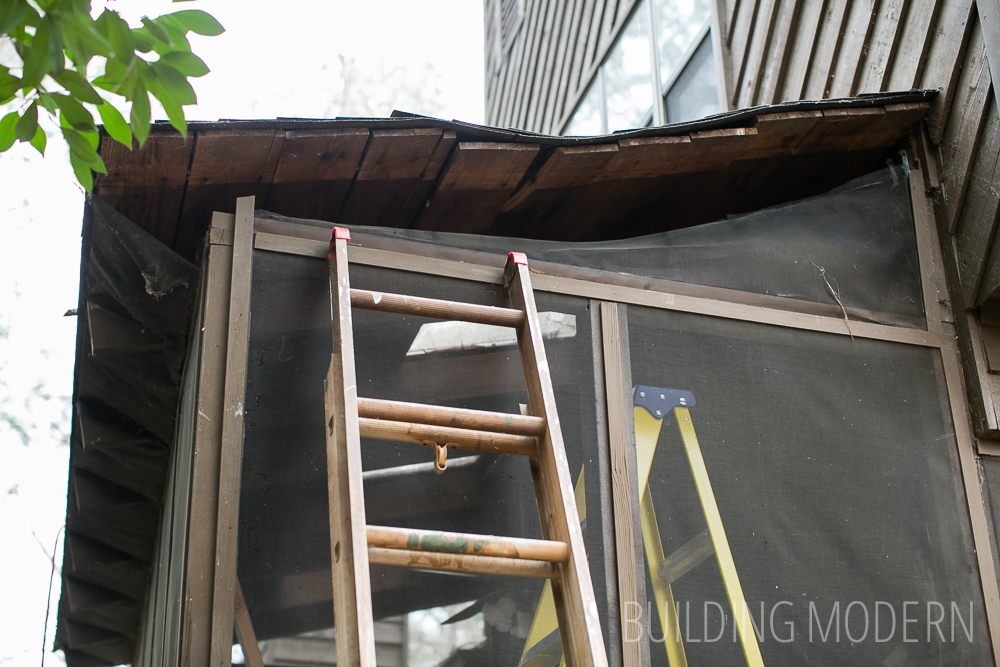
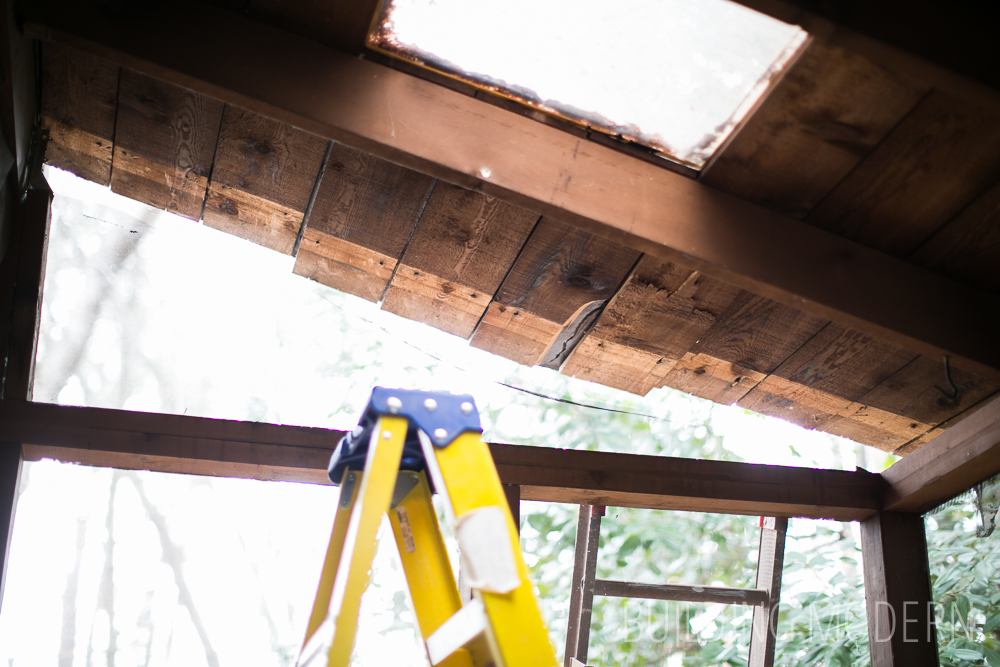
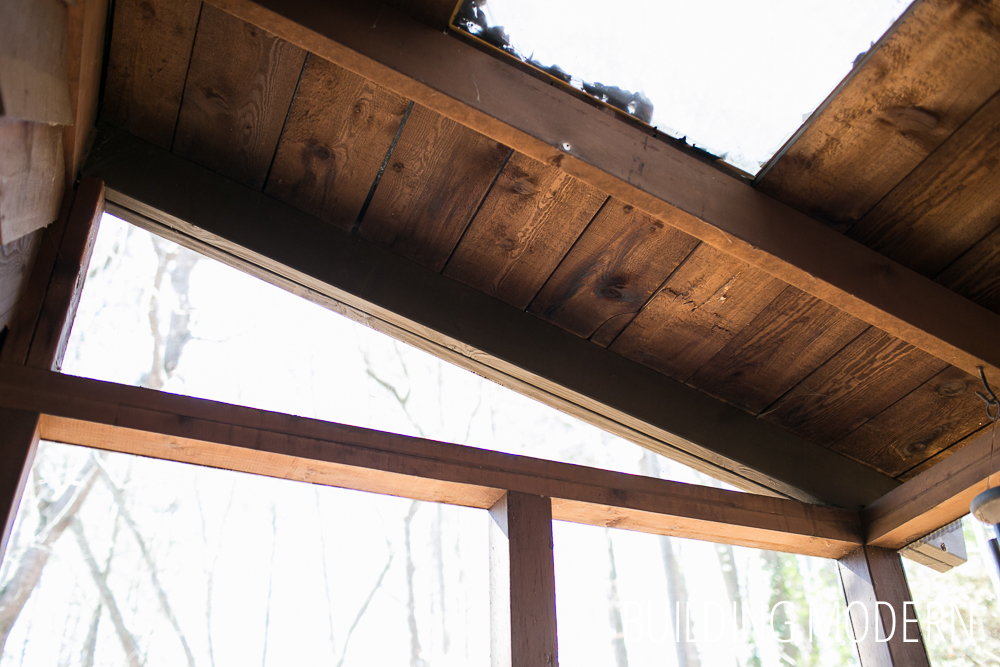
The roof boards looked to be in pretty good shape and the tar felt was only slightly ripped. Since this was a porch, we decided to go with the simple solution: just replace the end joists that were broken and glue the deck board back together. We were very lucky: the shingles were undamaged as well.
They go to work cutting a new end joist from pressure treated wood.
A birds mouth cut just like the old joist.

Using a framing square and hand saw:


Now, they just needed to make a duplicate cut in the second joist.
The joist hanger was already in place from the original.
Sliding the first joist in place:

Knocking it in. The birds mouth cut rests on the bottom wall of the porch:
Sliding the second joist in was a tight fit:

Securing the joists with nails:
We glued the cracked roof deck board back together, supported it with a temporary board, and reattached the screen (which was also somehow undamaged).
After it was dry, we removed the board & stained the joists to match the house. So far, no leaks!
In case you missed it, here’s the post about the cherry tree that landed on the back porch and the professionals that removed the tree.


Removing the tree from the back porch
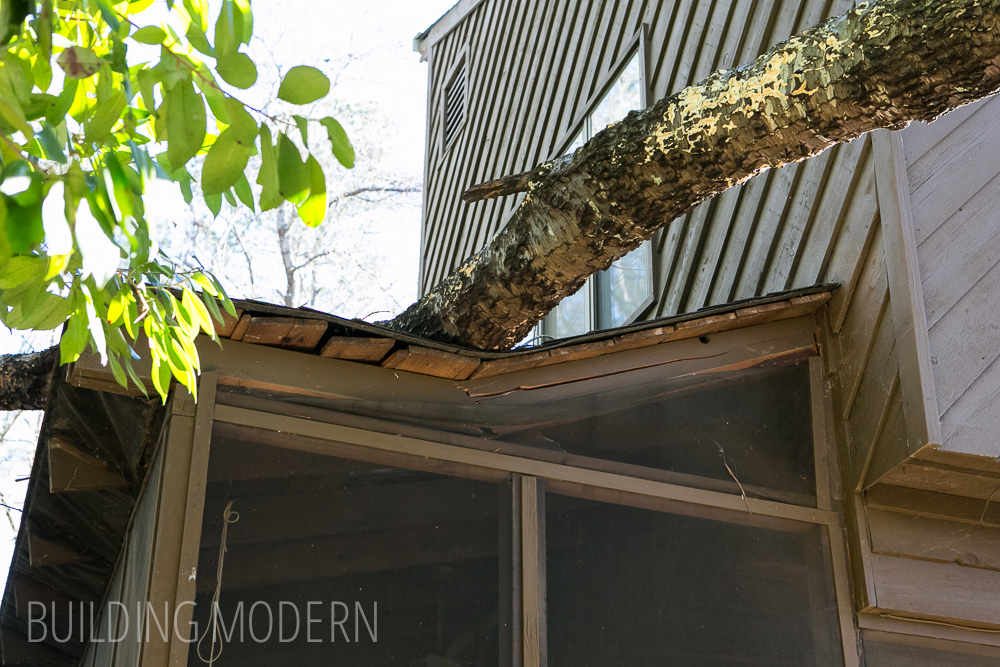
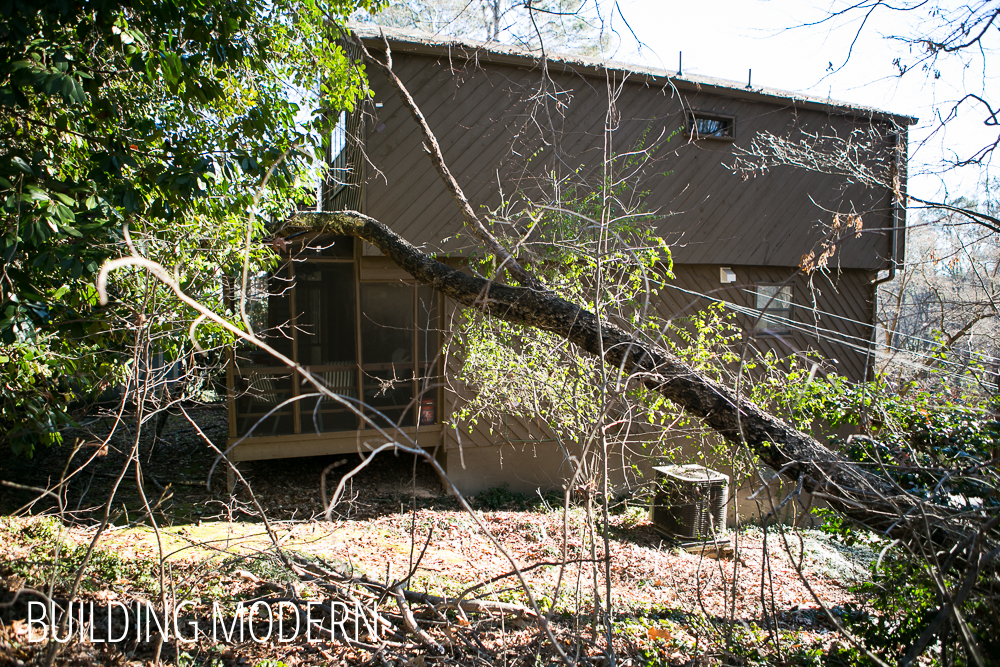
We have a cherry tree on our back porch.
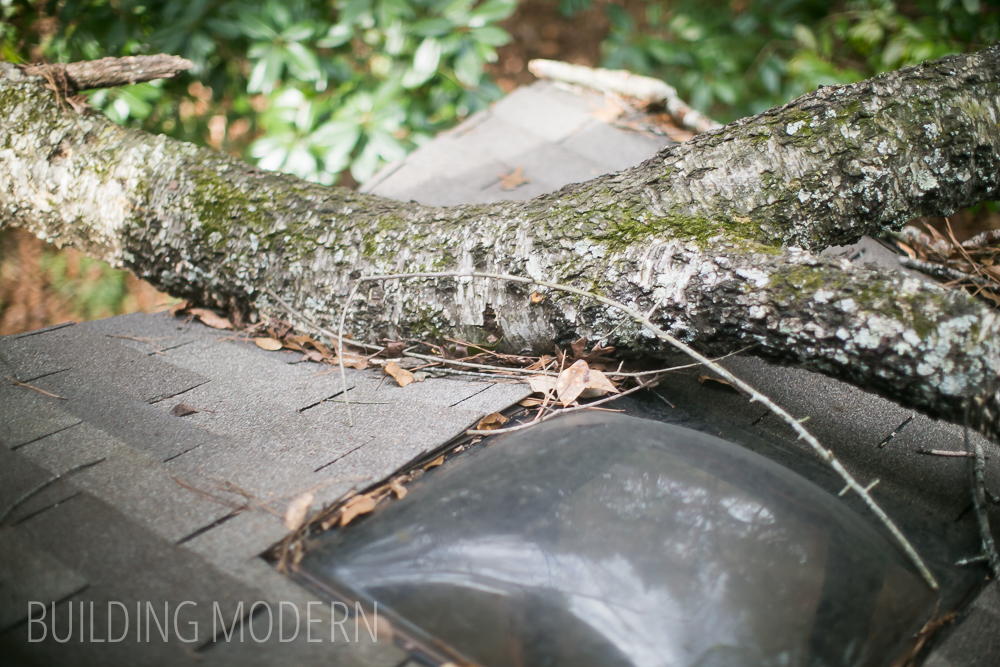
It came very close to the skylight but missed by an inch or so (the skylight is plastic by the way).
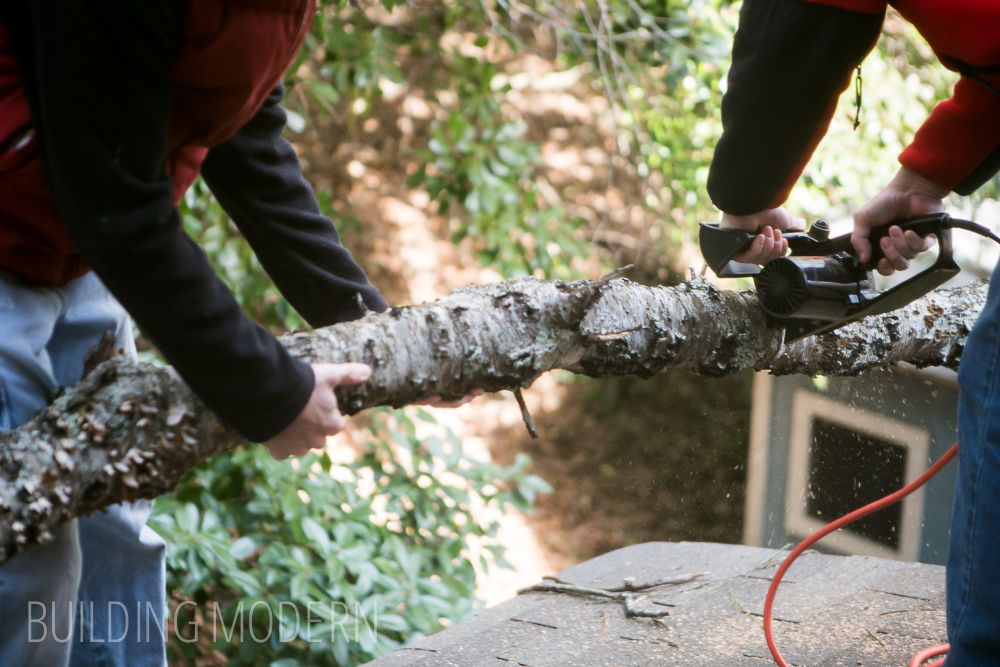
Spencer and his dad insisted that they could remove the tree. I thought otherwise. What do you wear for tree removal? I’m going to say 15 year old jeans.
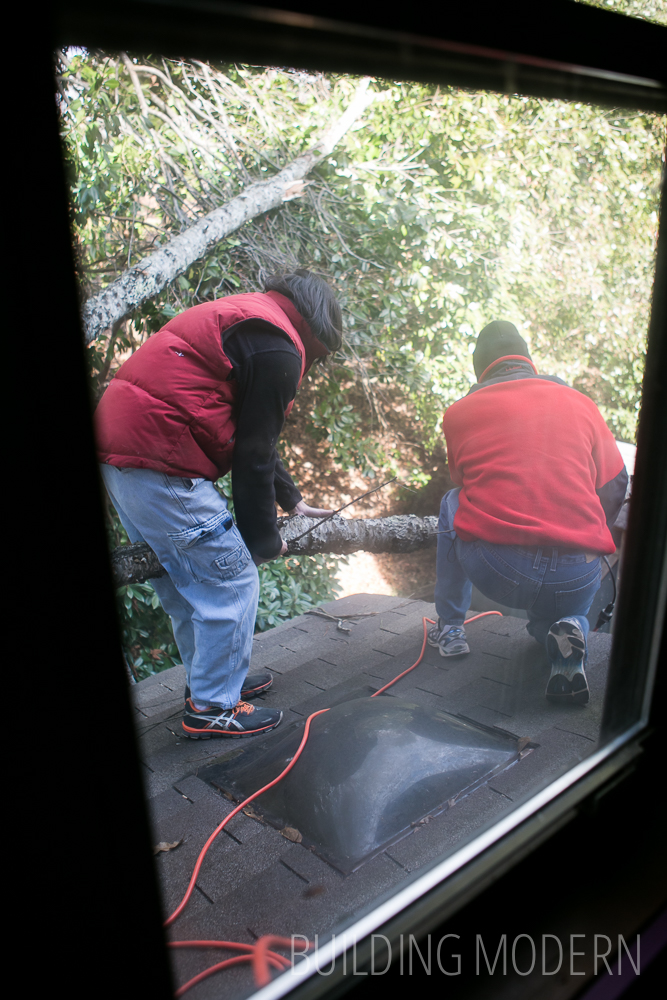
Their electric chainsaw couldn’t make it through the branch. They quickly gave up. Also, trees are surprisingly heavy.
So, here we are with a tree on the house while we received quotes from arborists.

We hired a tree service & they started by securing the trunk and cutting the few top branches.
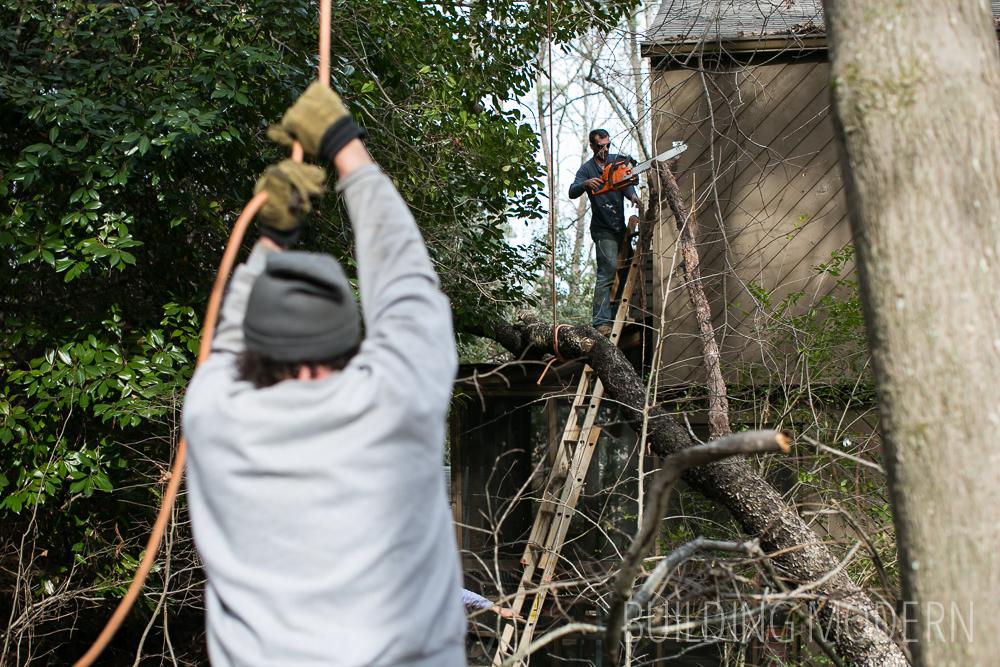
They used a nearby tree to support their rope in order to lower the cherry after it was cut apart.
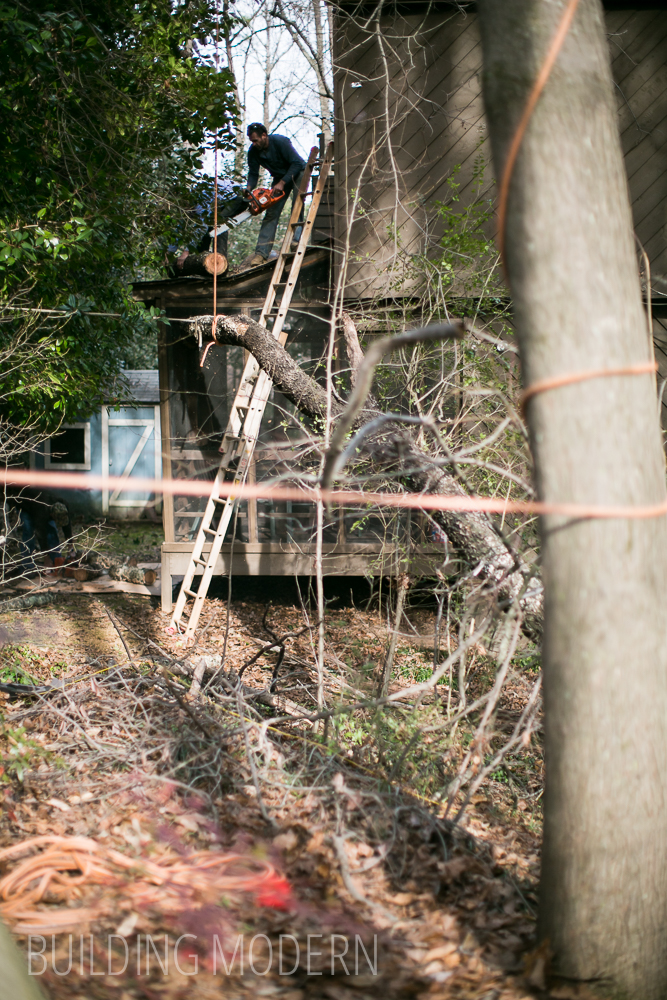
They proceeded to cut the trunk into manageable pieces.

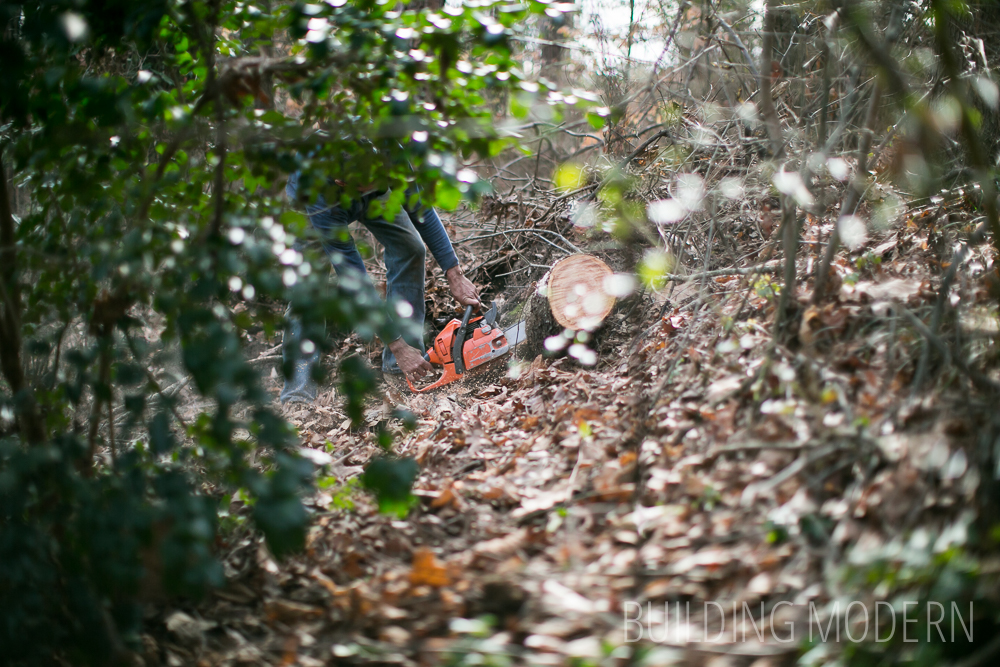
They left a portion for firewood

…and mulched the rest. They did roll the logs down our front slope though. It was mostly over the pine straw – I don’t think it damaged the grass.
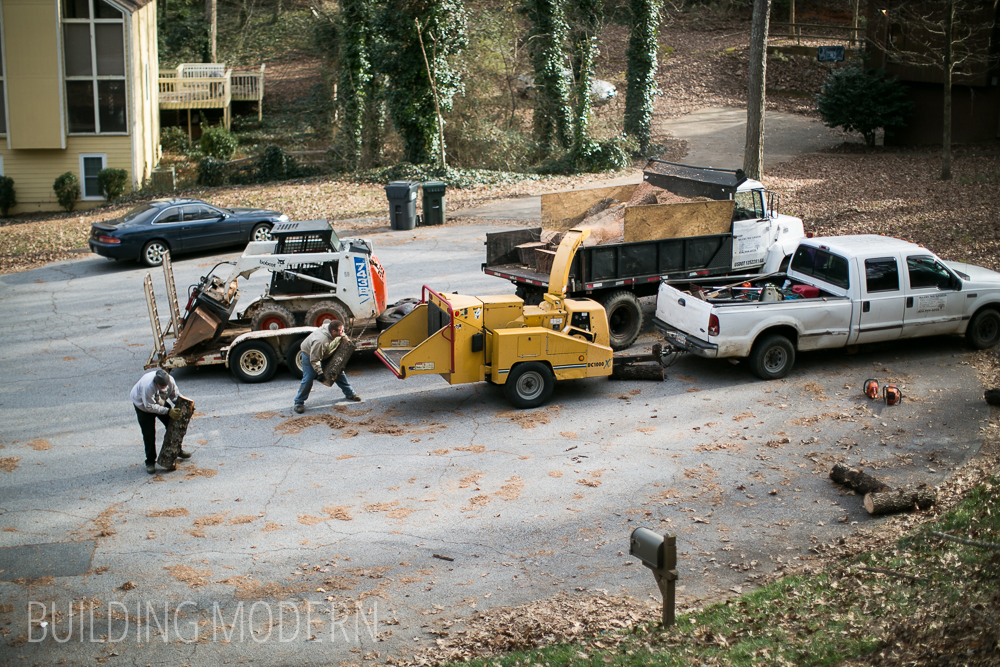
They cleaned up & no more tree on the house!

It was pretty straight forward. I’d say tree removal falls into the “hire a professional” category. Next up for the do it yourself area: fixing that broken porch joist.

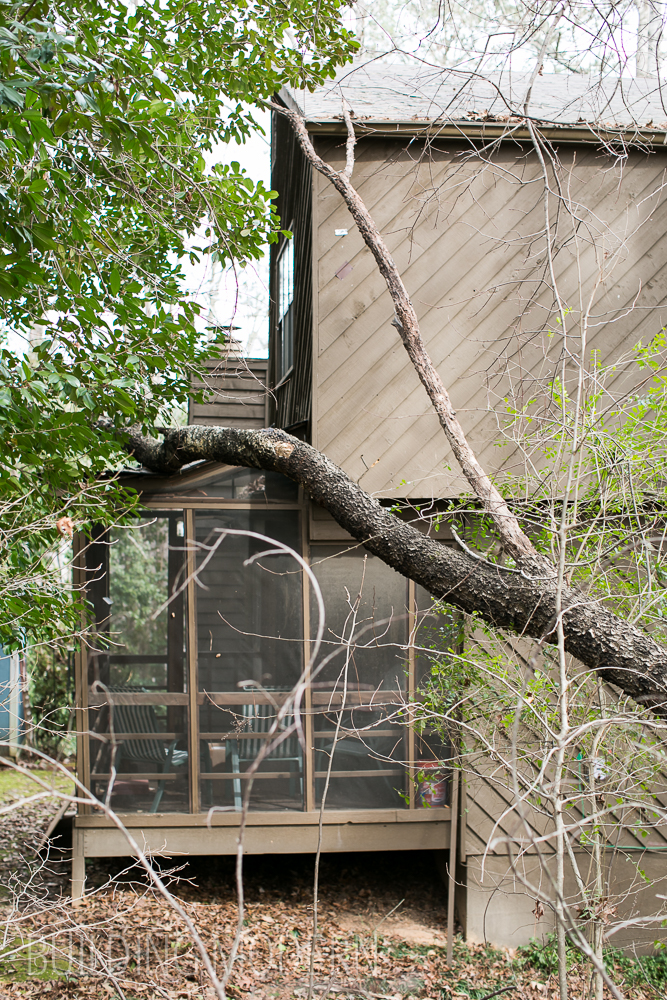
The cherry tree & burst pipe
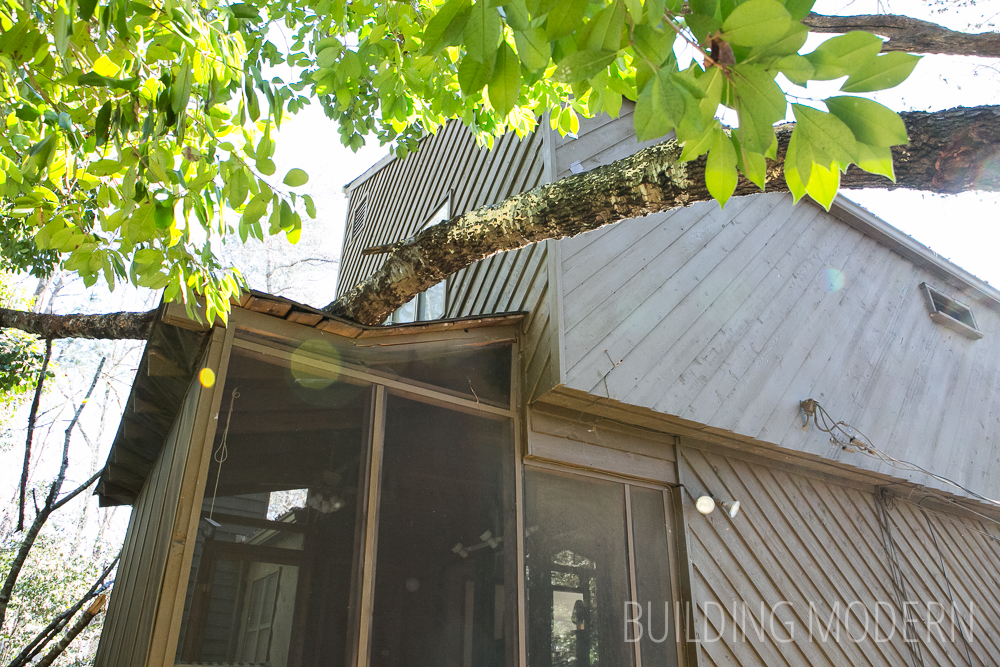
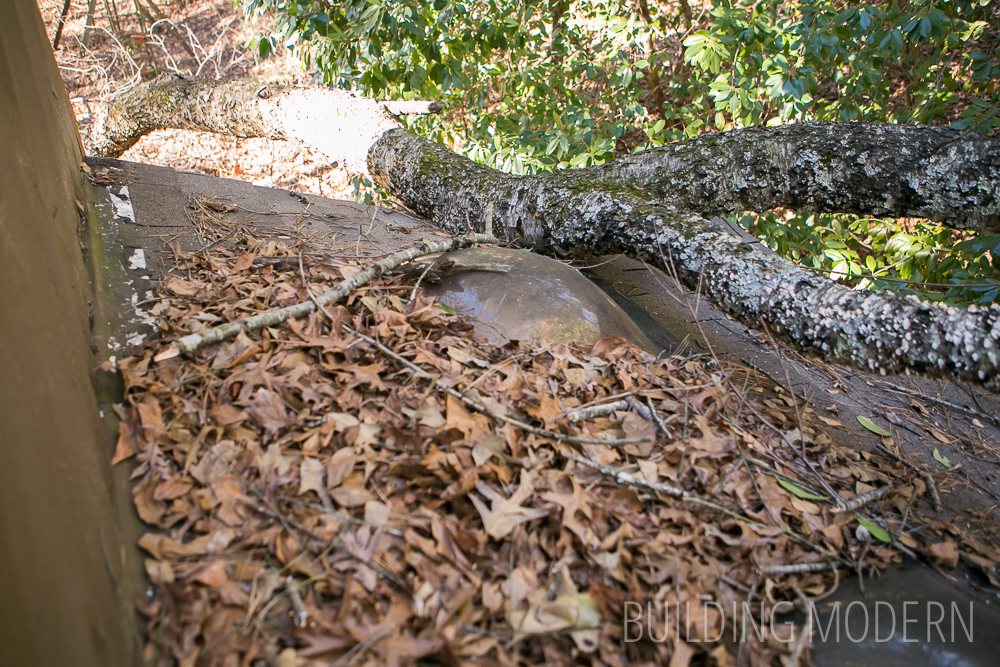
Upon returning from Belize, we discovered a cherry tree laying across our back porch roof. All things considered, it could have been worse – but having a tree fall on your house is still not fun.
Our neighbor said he herd what sounded like a “9 foot big-foot running through the woods” the day we returned from our trip – we initially didn’t see the tree because we arrived at night, hit the hay as soon as we returned, and it was located on the back of the house where we couldn’t easily see it.
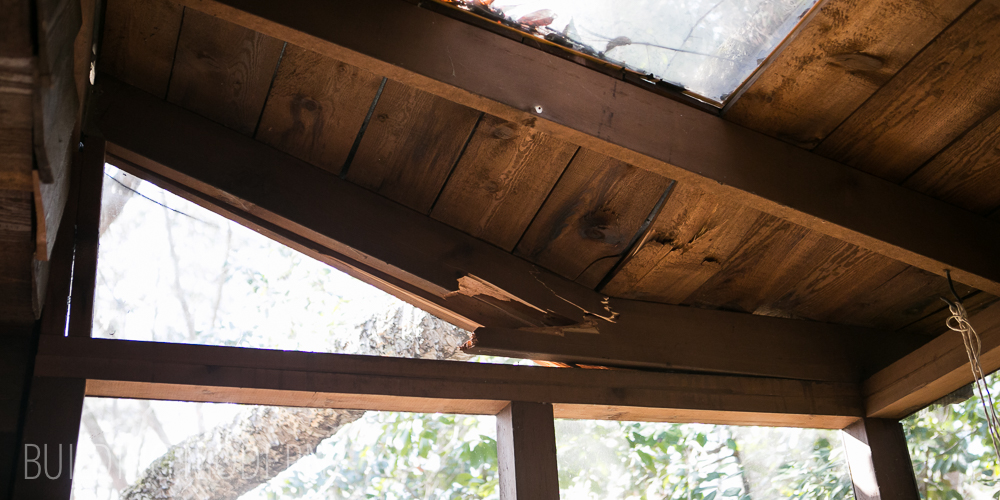
In the morning I sat down at the computer and saw limbs propped against the screened porch and thought “oh no” and then i looked up and saw the split roof structure. Amazingly, the skylight seemed fine.
This double joist, however, was not fine.
The roof is supposed to be a triangle.
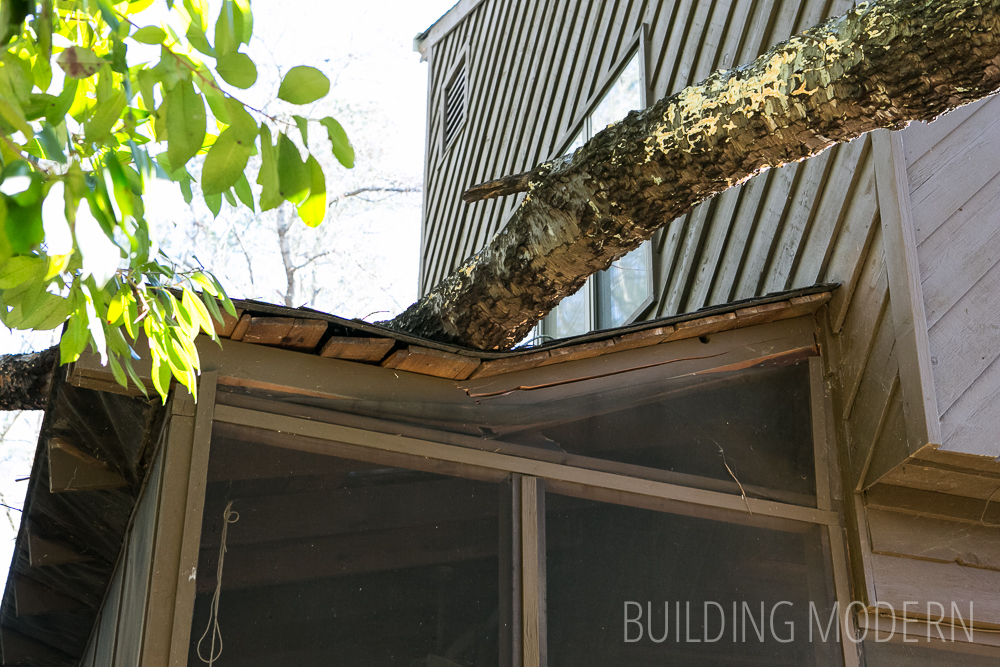
Look how close this was to hitting the main structure of the house.

As I was taking photos of this wider view, I noticed a suspicious mist floating by down in our front yard.
And I discovered this:
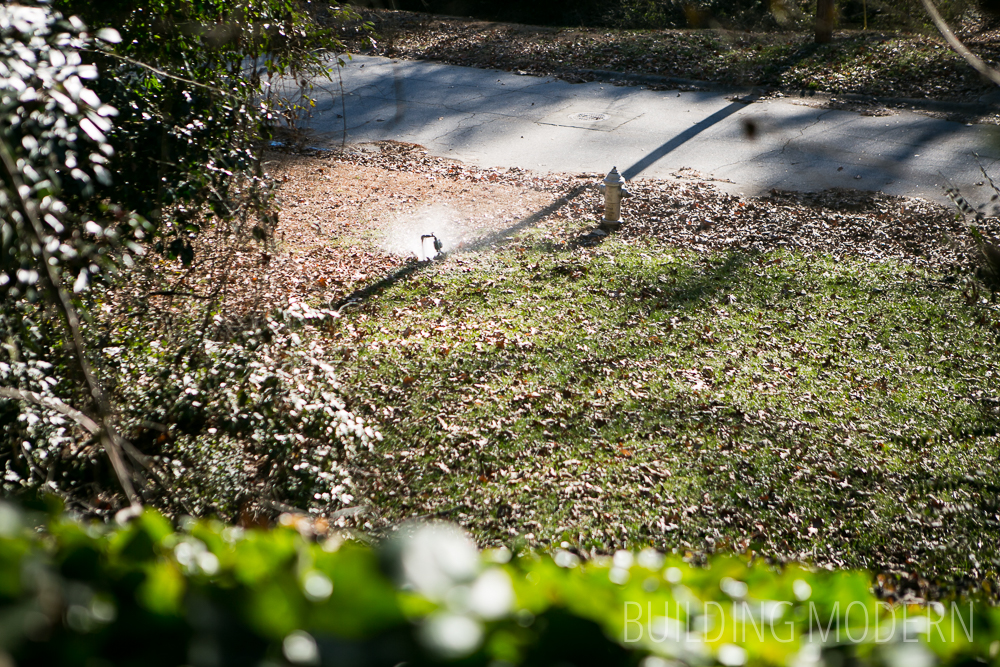
A burst pipe.

I have no idea how long this had been going on for, a small section of the lawn between the pipe and road was a soggy mess. I like how Spencer tired to makeshift divert the water.
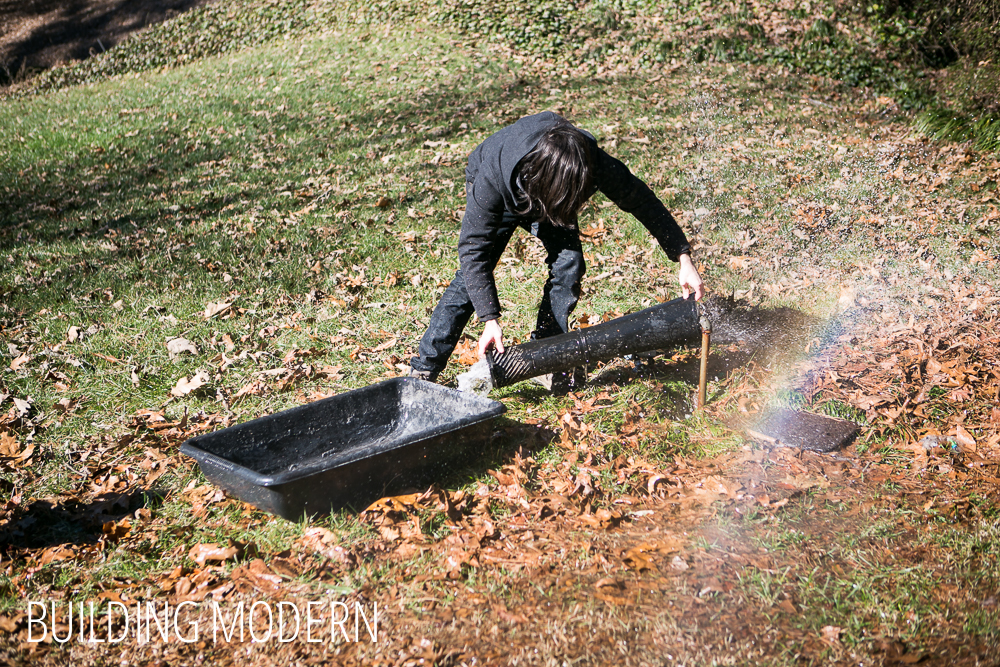
Yay for county water guy! We called the county, because our shutoff was in a hole next to the pipe and was folded – we didn’t have the experience to know what to feel around for with the shut off bar tool thing. That is our shut off tool, and we did know where it was located in our garage in case of emergency.
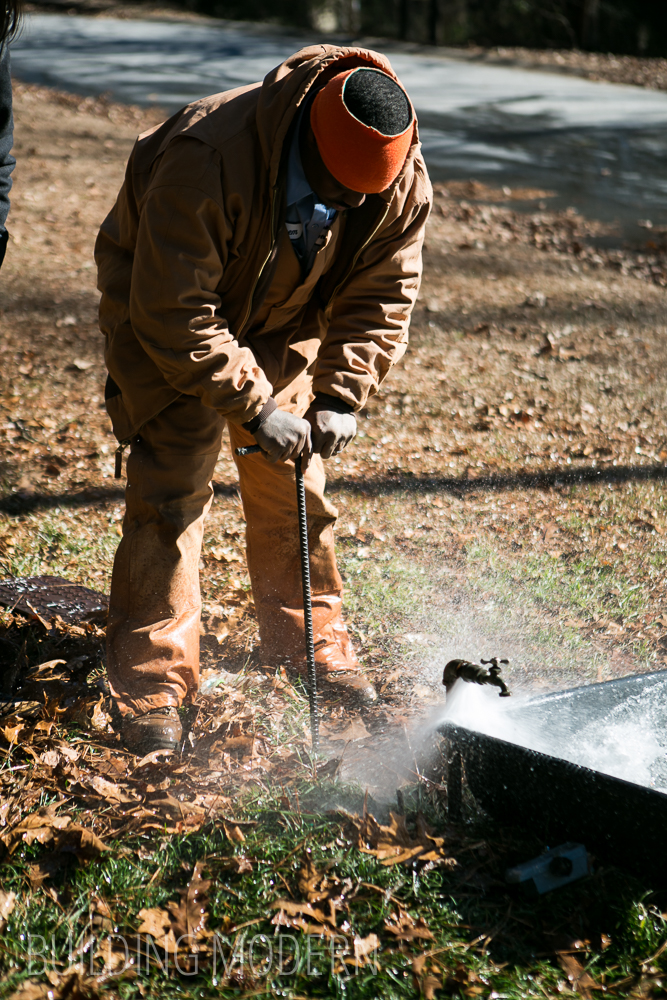
He got it shut off and pumped the water out of the access hole for us.
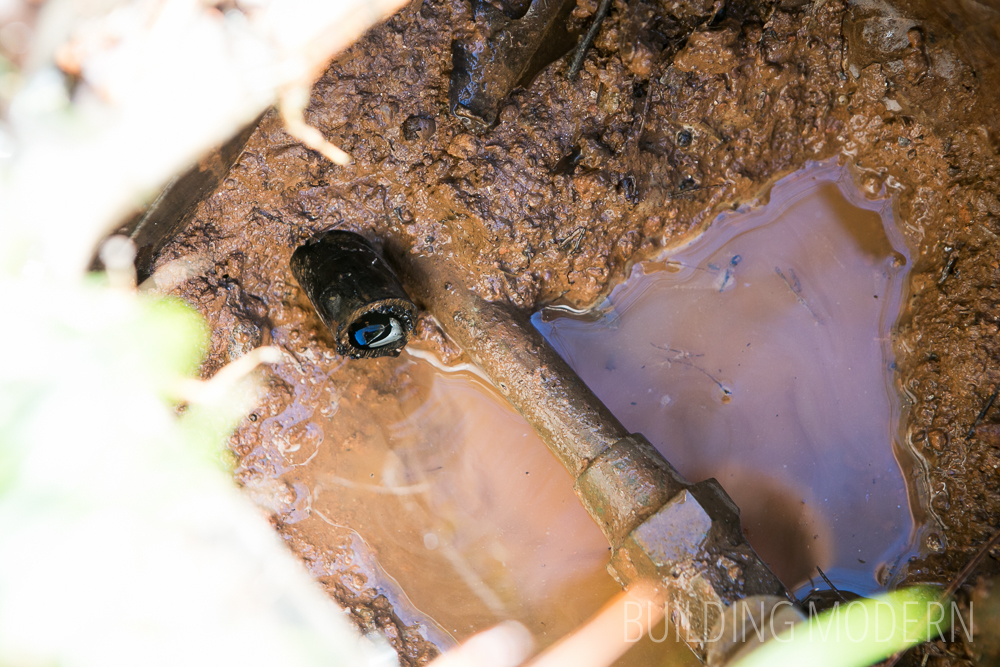
We were concerned about this black pipe – but it turns out it was just a random scrap sitting in there.
After that immediate fiasco was addressed, I went upstairs to check out the tree on the roof again. From this perspective the skylight still looks good. So our next task is to get the tree off of the house and fix the structure.
Back to the burst pipe: this was the piece that failed – specifically, the threaded area had rusted out – but the freezing temperatures probably helped the process along a little bit.

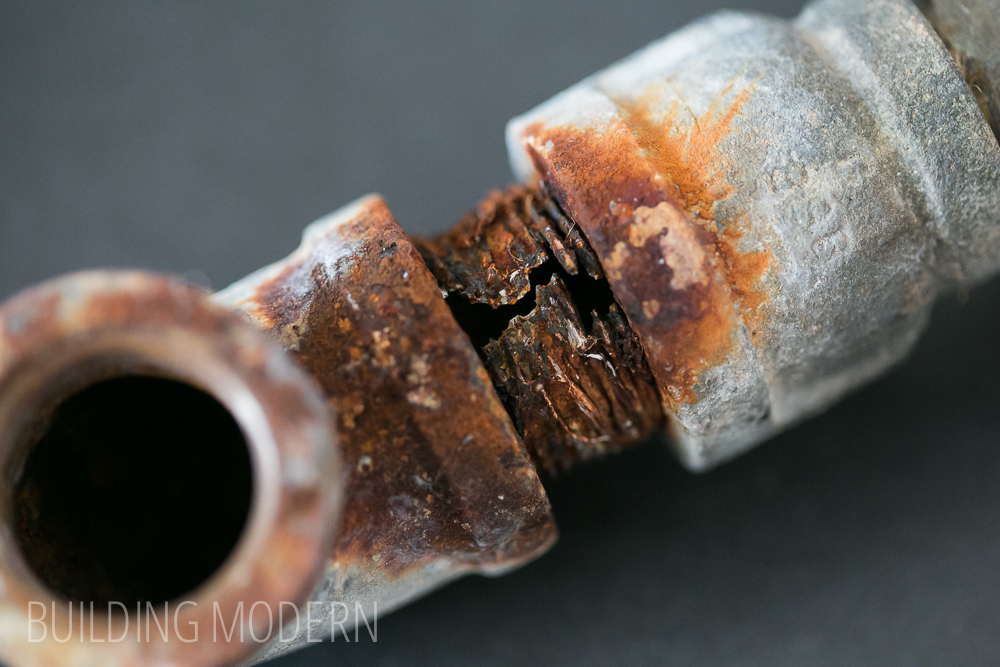
We simply just replaced the entire faucet because the location is very useful for watering the lawn. (The fixture just screwed on to the pipe). The pipe itself is a concern because it is just galvanized and will eventually rust and fail.

When our neighbors moved in, a mowing service person hit their pipe and broke it off. They ended up eliminating it all together – but it cost them $600. Actually, I have never seen pipes like these out in lawns and sticking so far out of the ground before. There is no way to keep the water out of the pipe in freezing temperatures – but Georgia usually doesn’t have sustained amounts of cold like more northern states have, so I suppose it isn’t too much of a concern. Again, we’ll just keep ours and see how it goes.
It is kind of crazy how we had two house things happen back to back! I’m just happy we were home when the pipe burst!

- 1
- 2
- 3
- …
- 11
- Next Page »