
We currently have a pair of beautiful live edge walnut desks… that were originally going to be a dining table.
We purchased two walnut live edge slabs from the same local shop where we bought the slab for our kitchen light fixture. The slabs were thin compared to a typical finished table you would see at someplace like Room & Board… but, as long as they didn’t warp, we liked the more sleek/modern look of the low profile table tops. Spencer and I knew that these walnut slabs wouldn’t ever really fit together properly as a single dining table, but perhaps we could use them as sort of a “modular” table – arranging them as a single square-ish piece or as a long rectangle… or as even as two separate sideboards when needed.
It was a fun idea, but not practical and a little cumbersome in reality. We still liked how thin the slabs were, but it turned out that they were just too thin for a dining table. We had one big dinner using the tables and found out that guests were not always the most delicate. I’m not pointing fingers and can’t blame anyone, “we” (as a society) are accustomed to sometimes really using furniture & not thinking about being gentle. We expect to be able to lean and put weight on a commercially produced piece. These tables that we made weren’t fragile, but they just weren’t as substantial as something that could potentially have a little kid climbing up and standing on it. (Not that that would necessarily happen.)
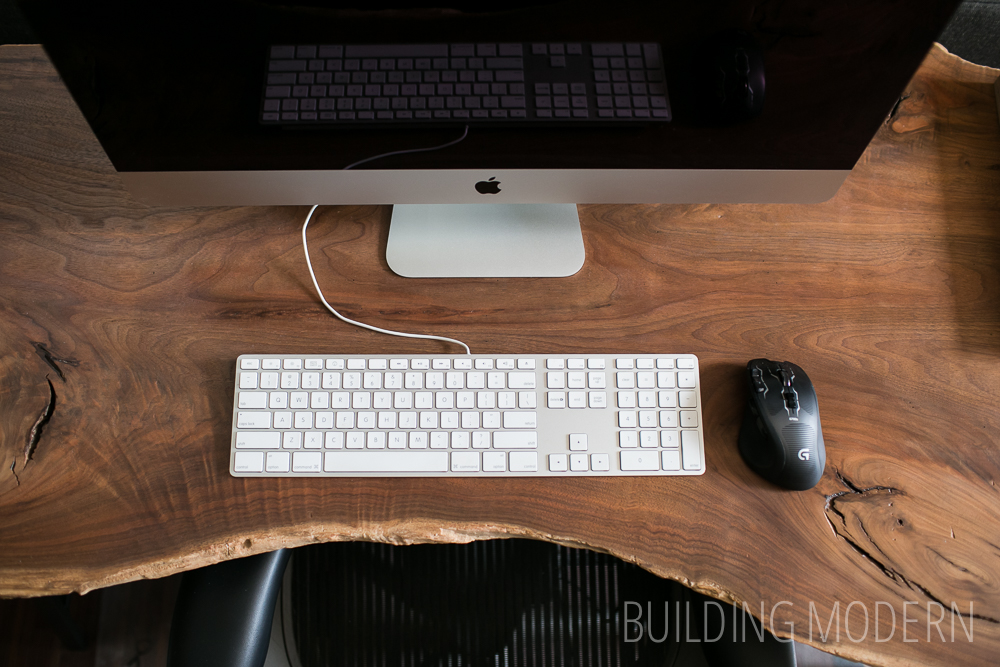
So, we gave up on the idea of their life as a dining room table and moved on to a better idea. The tables are great (and more suited for) life as desks. The thinness of the table is not an issue if a single person is using it, and actually, the size and shape of each individual slab lends itself to this purpose. One slab even curves in at the middle – a perfect place for a keyboard.
Anyway, here’s how Spencer “made” the table tops.
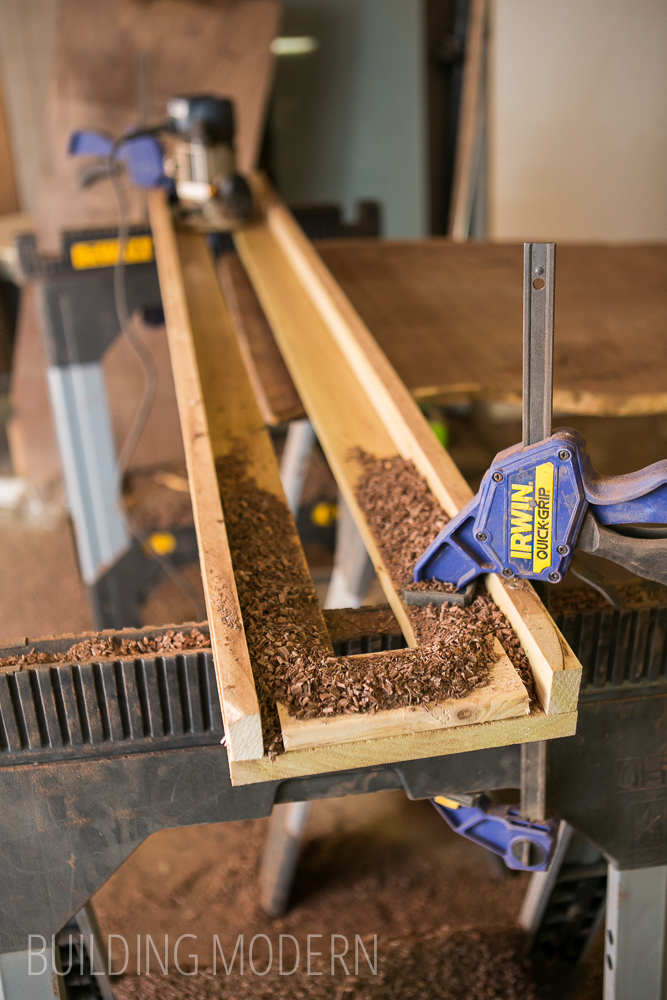
He first made a jig for his router so he could pass back and forth over the slab to make it level. He supported both the piece and the router jig with two pairs of sawhorses.

There was a lot of sawdust from a good amount of material being removed. Always wear a respirator when working with walnut.

The jig and router – you can see the pass lines on the table top. The walnut slabs won against the router bit – by end of this project it was chipped. So, that’s an expense exclusively for this project… but, even though it’s chipped, it could be used again to remove rough masses of material for a similar project. (Just not for precise finished work.)
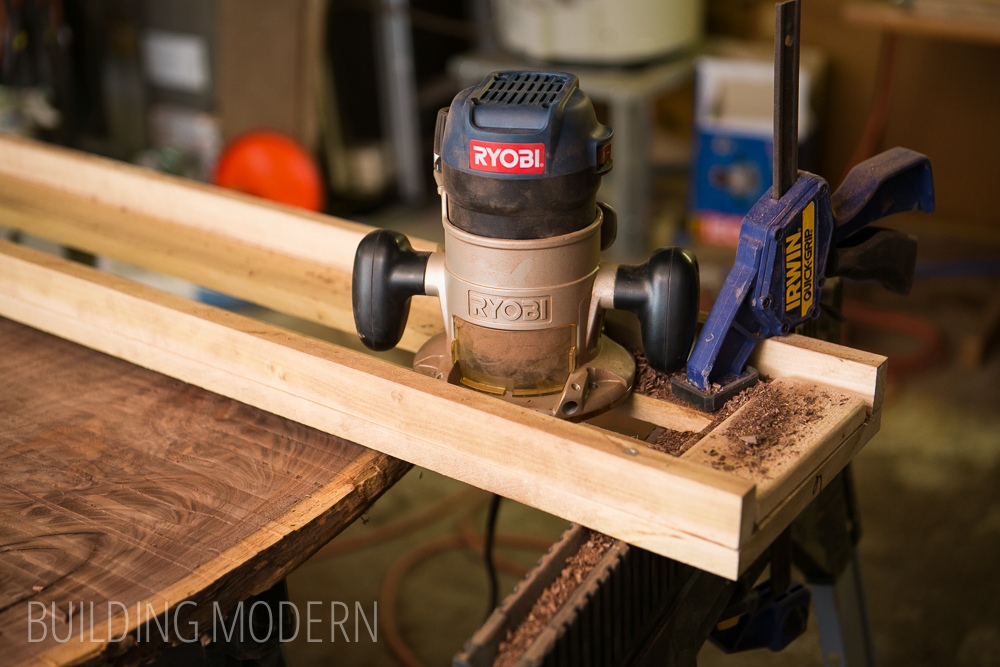
Spencer made the jig from poplar and waxed the surface – it functioned as a sled for the router to slide across. If he were to make this jig again, he would probably make it out of a harder wood like oak.
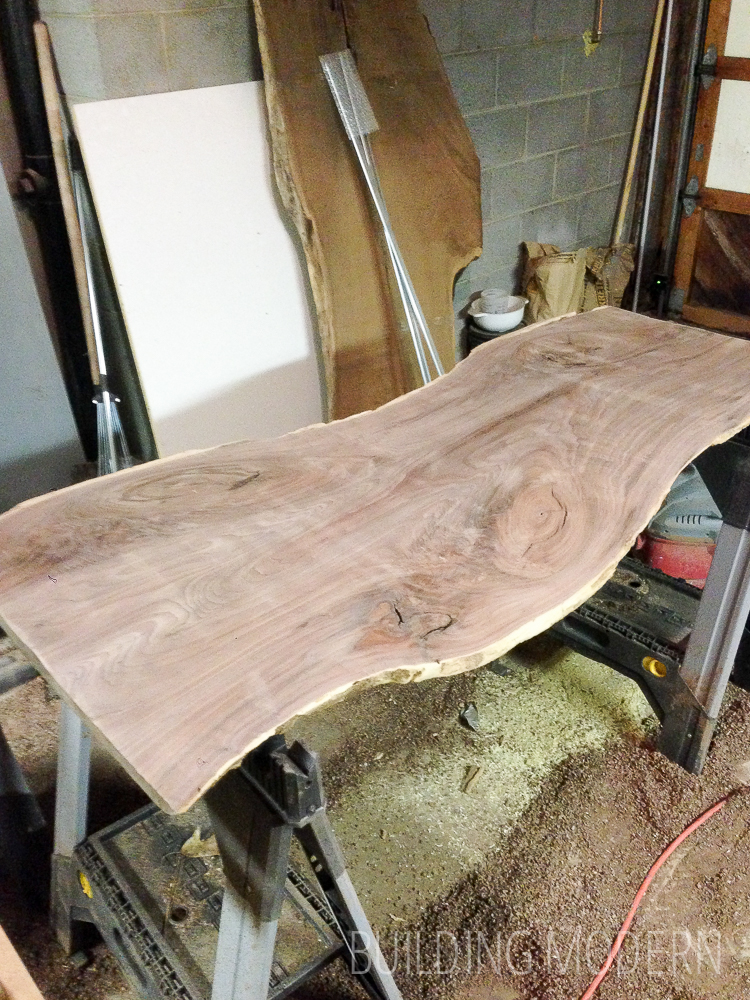
(Sorry about the iPhone photo) The sanded table top (with progressively finer paper: 60, 120, 240) with the second slab in the background:
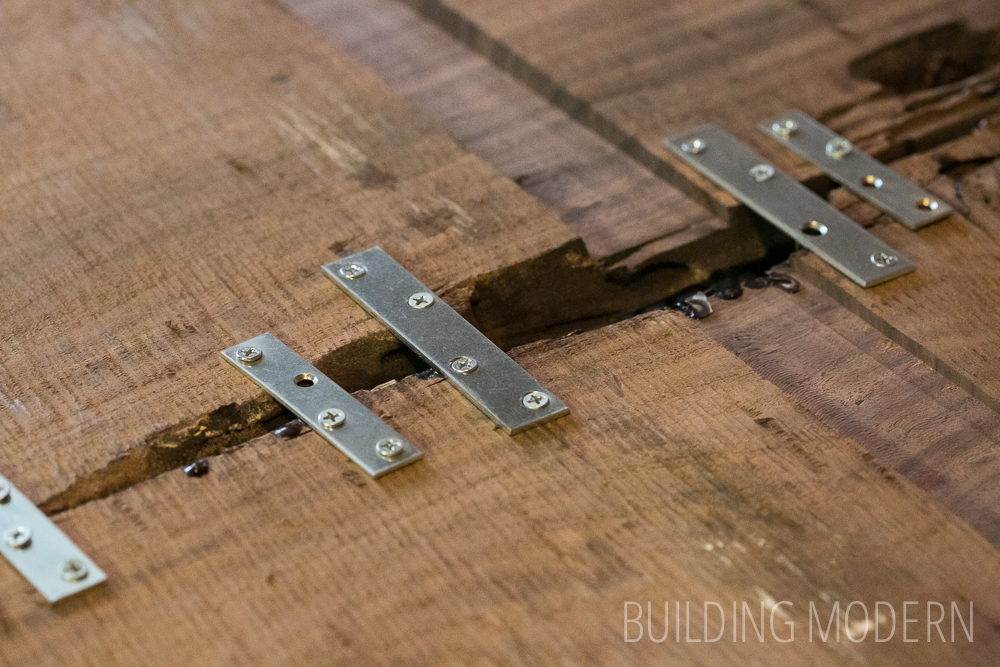
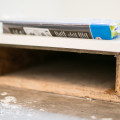
The second slab had a split in the wood so we attached simple braces to keep it from expanding. Normally in this situation, a woodworker would integrate dovetails in a contrasting wood, but we just don’t care for the look. I know this looks a bit crude, but it was simple & will be hidden on the underside of the table. Oh, and here you can also see one of the “troughs” routed out to receive a table leg. The underside of the table was not level, but he trough would make the legs sit evenly.
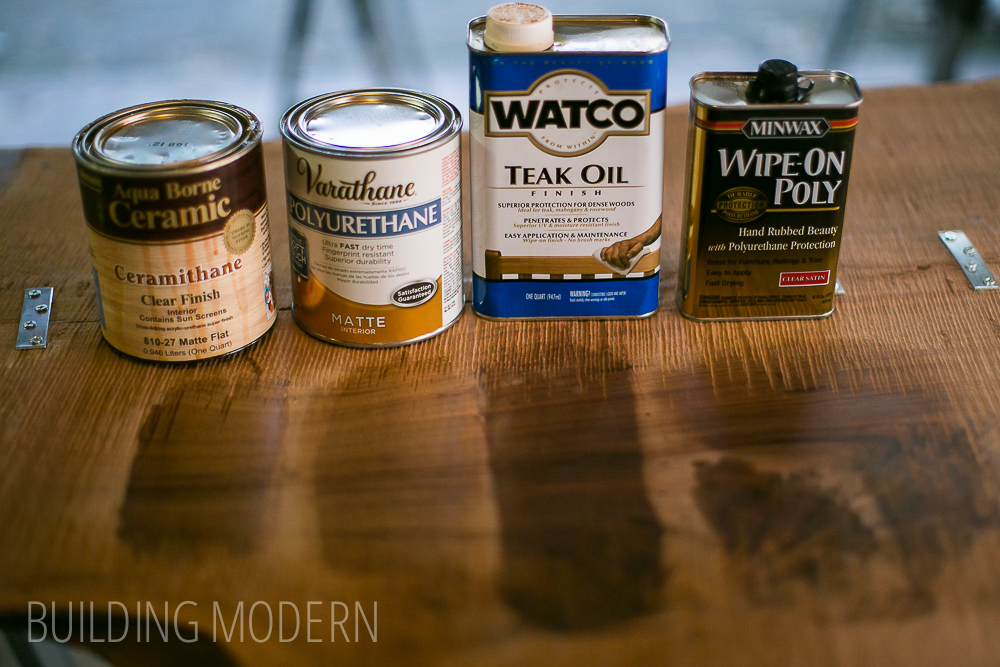
On the underside of the table, we tested possible finishes. We wanted the most natural looking, colorless, matte finish we could find. We asked around and tested different suggestions – and found pretty dramatically different results for “clear finishes”. (We did know that the finish might change a bit with time, but we needed to make a decision first!) If you have glanced at our blog, you may be thinking “wait, didn’t you already make a live edge walnut light fixture and have figured this out?” The answer is, well, no. We purposefully left the light fixture without a finish and natural – since it wasn’t going to be touched up on the ceiling, we decided to not finish the piece.
The options:
– “Matte Flat Ceramithane”
– “Varathane Matte Polyurethane”
– “Teak Oil”
– “Minwax Clear Satin Polyurethane”
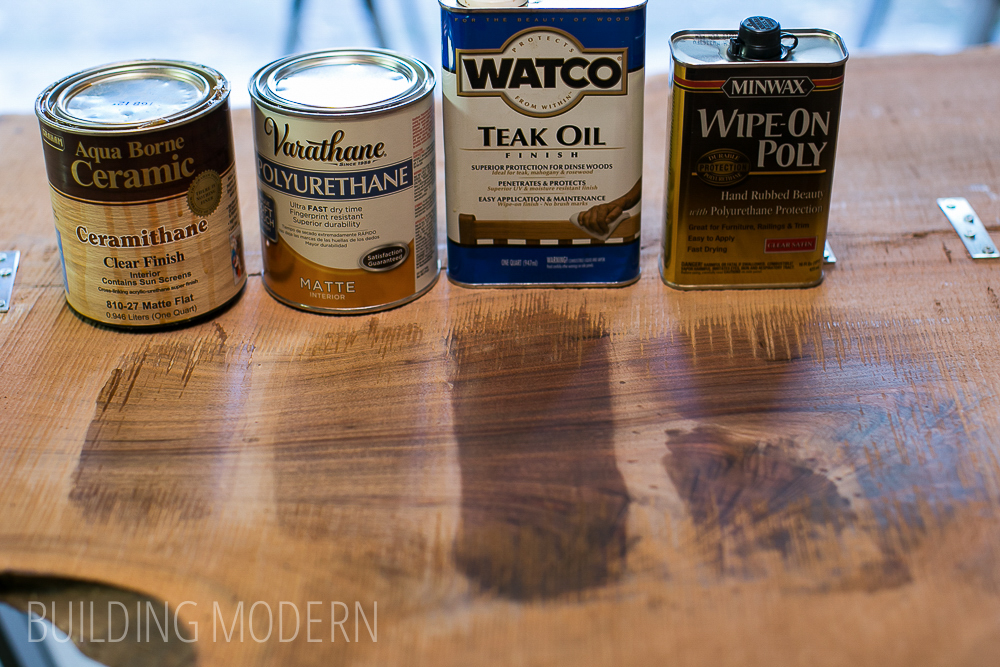
This photo was exposed for the containers, the next will better reflect the test patches on the table. Spencer sanded down an area for a better comparison.
So, the teak oil & minwax poly were way darker than we wanted. Pretty in their own way, but not what we were looking for. Of the two remaining options, it was a pretty close tie between the Ceramithane and the Varathane. We went with the Verathane due to price.
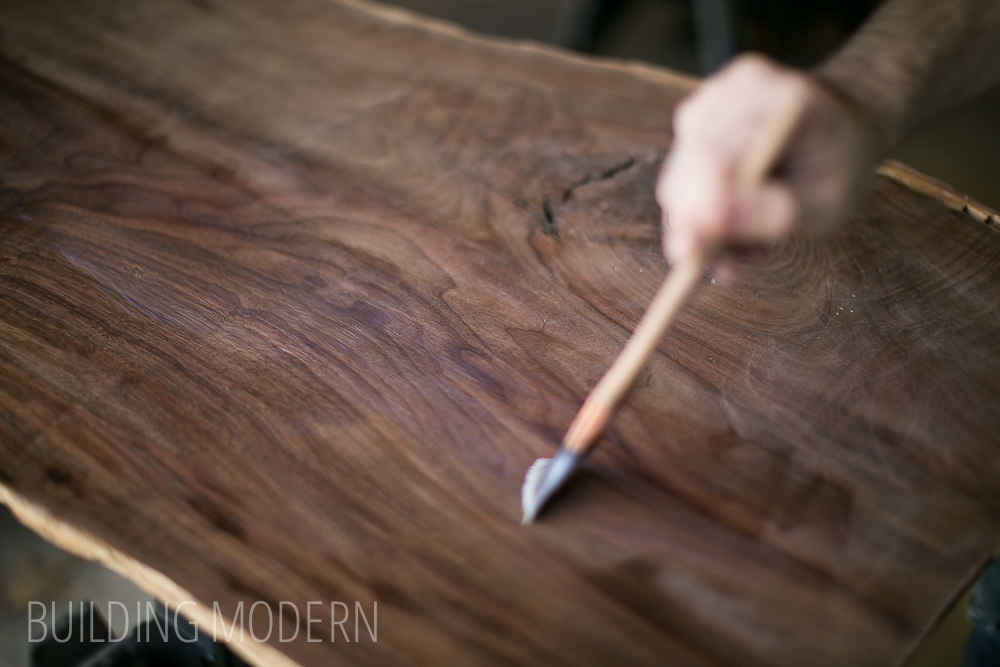
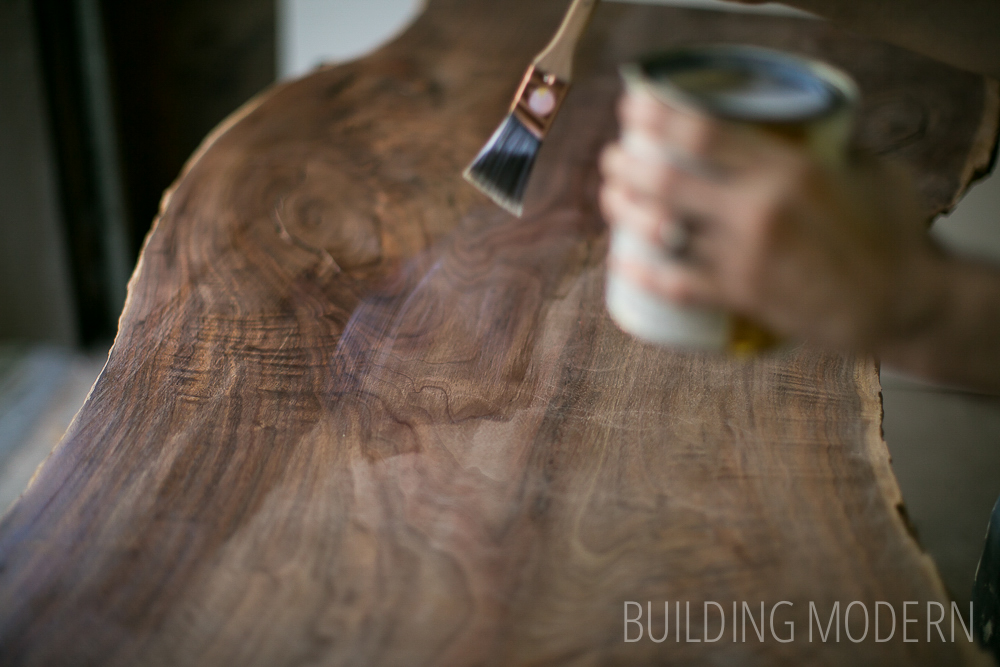
When applying the finish it is important to use a nice brush. It seems silly, but this matters. A good brush will help distribute the finish more evenly.
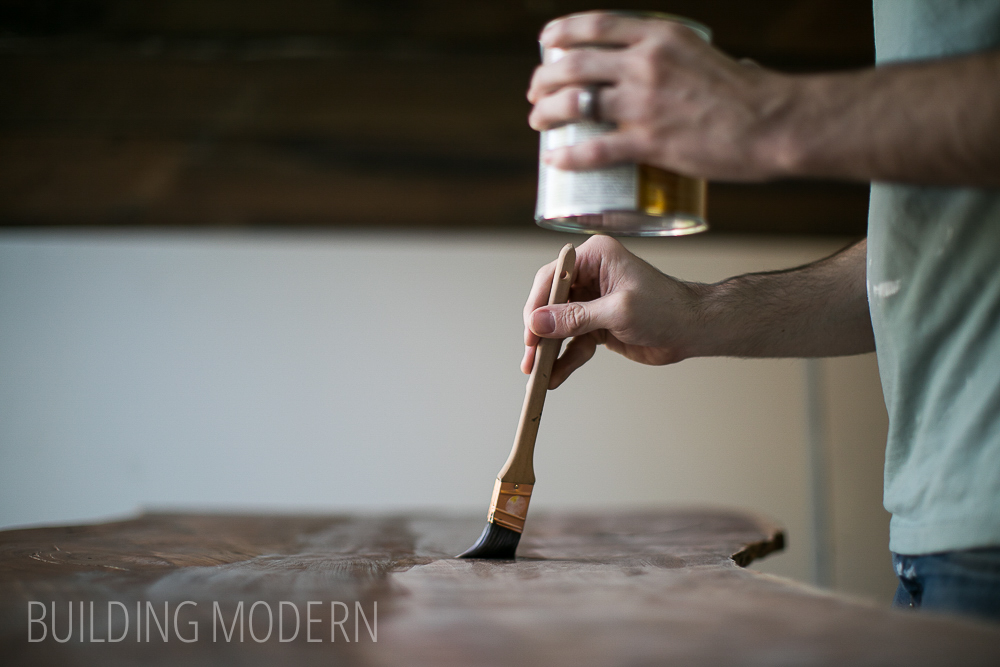
We sort of had practice in this department… it was similar to finishing the concrete countertops – steady, smooth strokes from one end to the other.
Its unfortunate, but after the project is done, the brush is pretty much trashed and unusable for a second time. It’s just one of those things you calculate into the cost of a project.
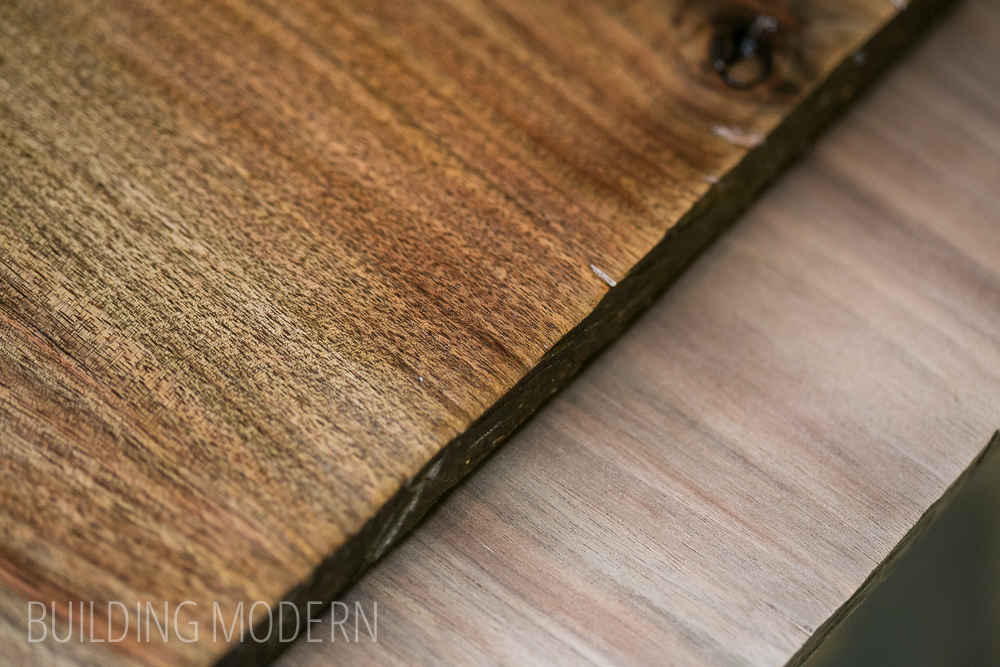
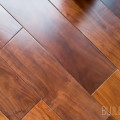
A finished piece of wood against an unfinished piece. The table looks a bit too yellow in this photo – I think it was the florescent light in the garage.

The underside of the table: here, you can see the trough Spencer routed for the Ikea Lerberg legs.

The finished desk! (We actually have two of them!)
Project breakdown:
Materials:
– two live edge walnut slabs – $150 each
– two sets of Ikea Lerberg legs – $15
– Varathane Matte Polyurethane 1 qt. – $11
– 3 in. mending plates (x12) – $3.59/2 pack – $21.54?
– 4 in. mending plates (x2) – $4.49/2 pack – $4.49?
(I don’t remember spending this much on the plates.)
——–
$202.03 total
Tools:
– router (previously owned) – $60
– router bit – ~$20?
– poplar wood & screws for jig:
(1x8x5 – $2.72/ linear foot = $13.60, 1x2x5 – $.75/ linear foot = $3.75) – $17.35
– SC Johnson fine pass wood wax – $6
– Purdy paint brush – $11
– saw horses x4 (previously owned) – $37/each – $148
– clamps (previously owned) – $20/each – $40
——–
$302.25 total
Project specific costs would be the materials ($202) plus the consumed items like the router bit that broke (~$20) and the paint brush ($11) ….so it’s more like $233 for this project.
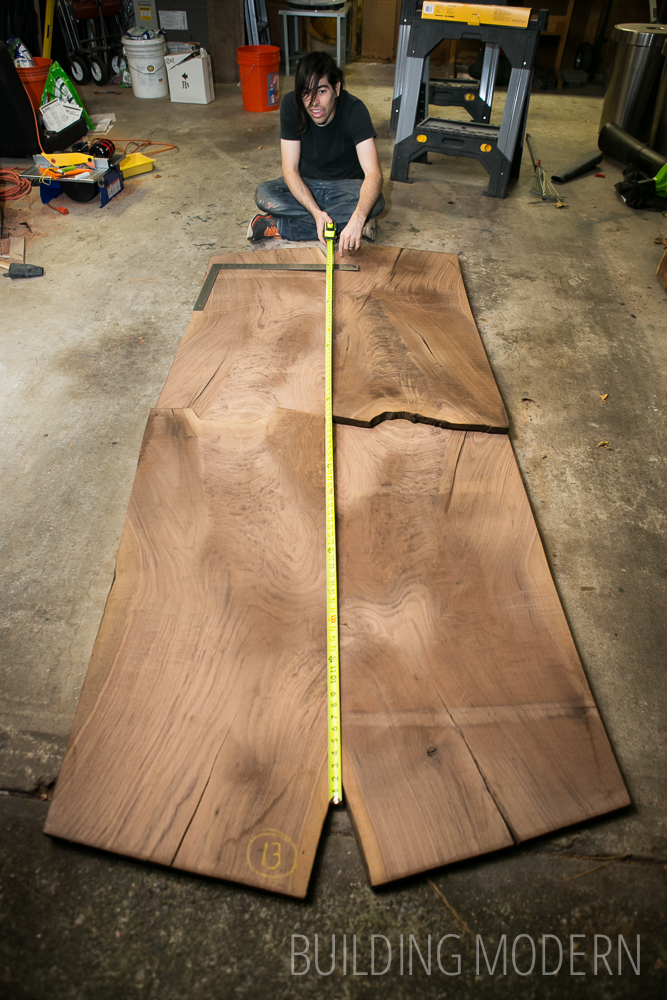
Oh, and remember that dining table we wanted to make? Well, we found six book matched slabs that were better suited for the project. We haven’t even come close to start working on this project (with all the other things going on in the renovation) but I thought I’d mention it anyway. We had to figure out which of the pieces worked well together, but I think it will work out nicely. It’ll be a long time before we start this one.
Look how pretty these pieces are unfinished!
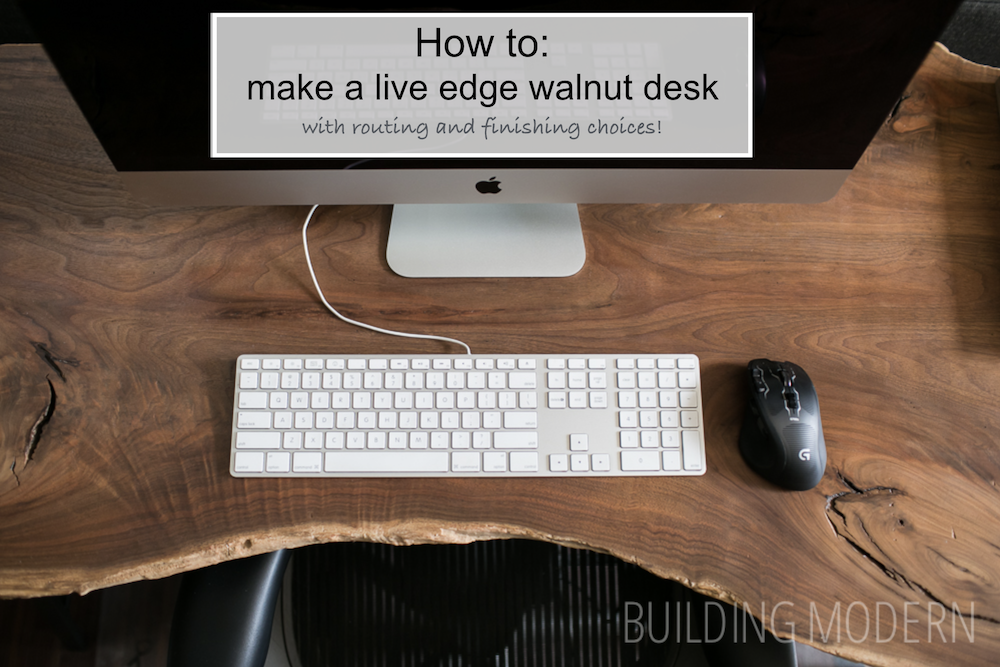

I love live edge dining tables, but I think these worked out perfectly as desks. Gorgeous!
Thanks Erin!