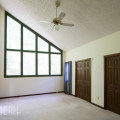
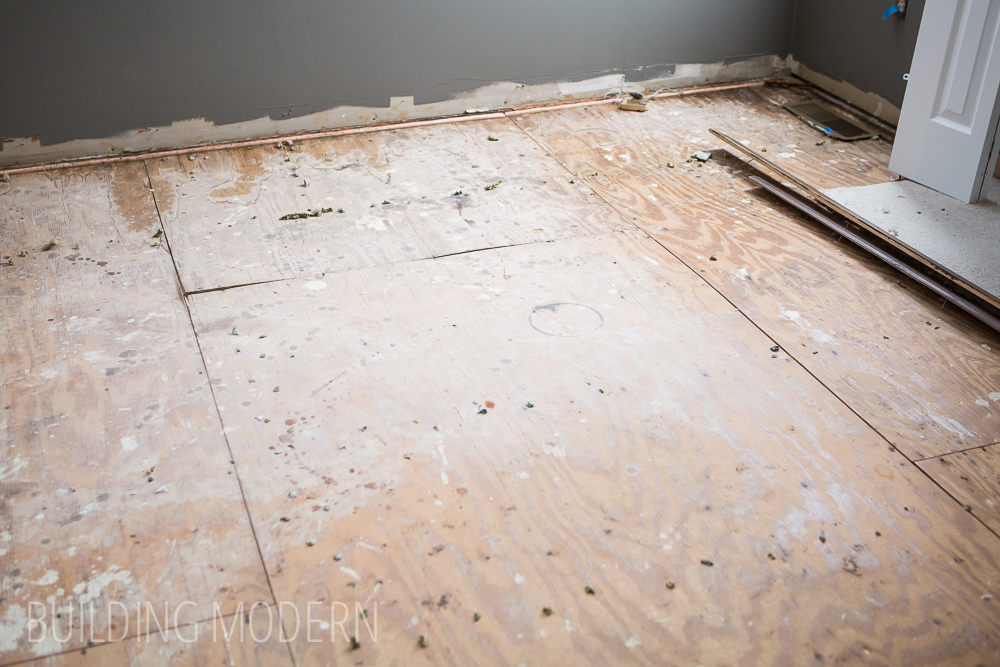
Here is our freshly painted master bedroom. When we painted the bedroom, we decided to leave the carpet in place to catch drips and act as better grip for the ladders. When we removed the carpet in order to install hardwood flooring, we could then tell that we had a massive dip/slope at the far end of the bedroom near the windows. We also had a smaller slope over on the opposite side of the room. The middle? Nice and level – at least there’s that. This was a big issue because we knew (from or kitchen floor installation experience) that a slope in the subfloor will cause big issues with gaping between planks that will just get magnified and worse as the floor is installed. We were mentally ready (and had time dedicated) to hit the ground running with the hardwood floor installation, but we had to hit the breaks in order to fix this problem first.
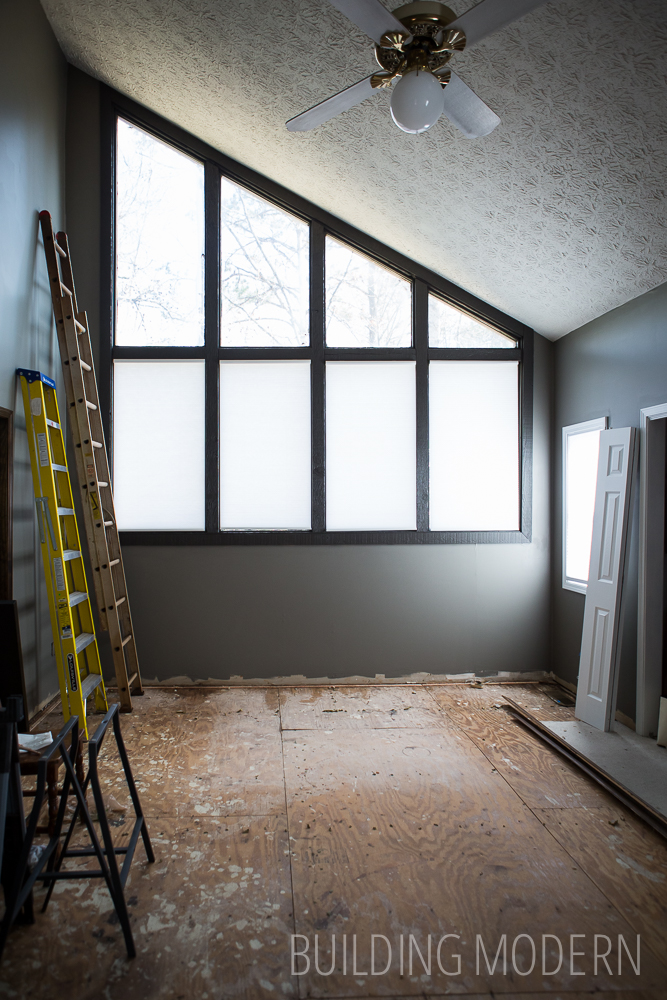
Here’s the major slope/dip in the floor. I could just see it with the naked eye it was so bad. Strangely, carpet does a lot to hide imperfections such as this.
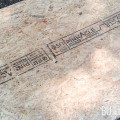
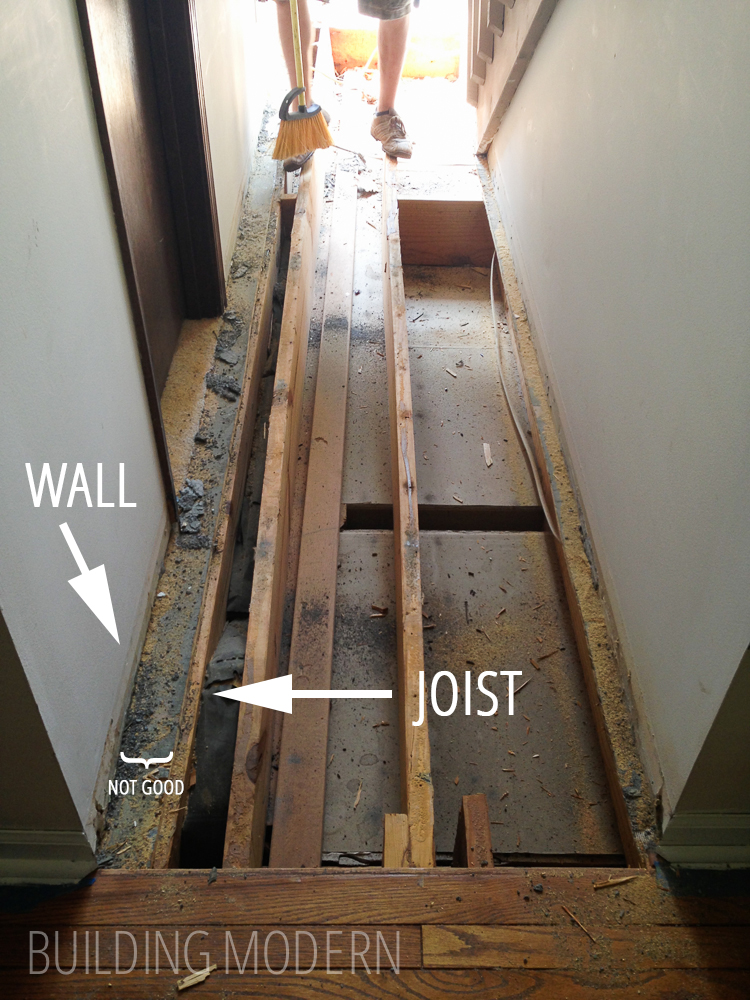
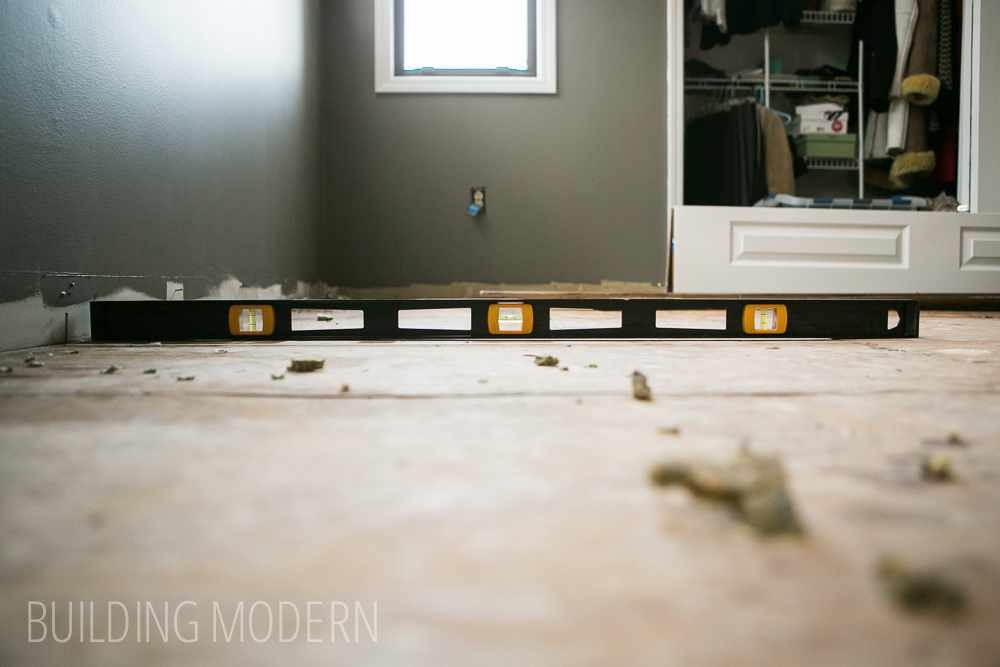
Here’s a level to help more accurately visualize the problem:

Level, but not good:
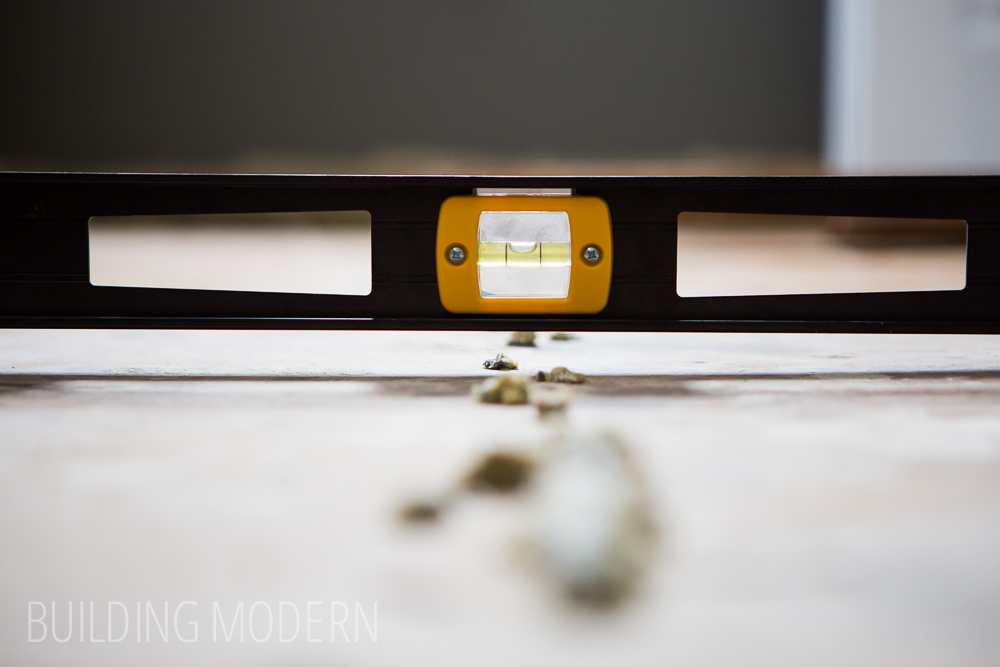
It’s like a 3/4 of an inch dip in the floor:

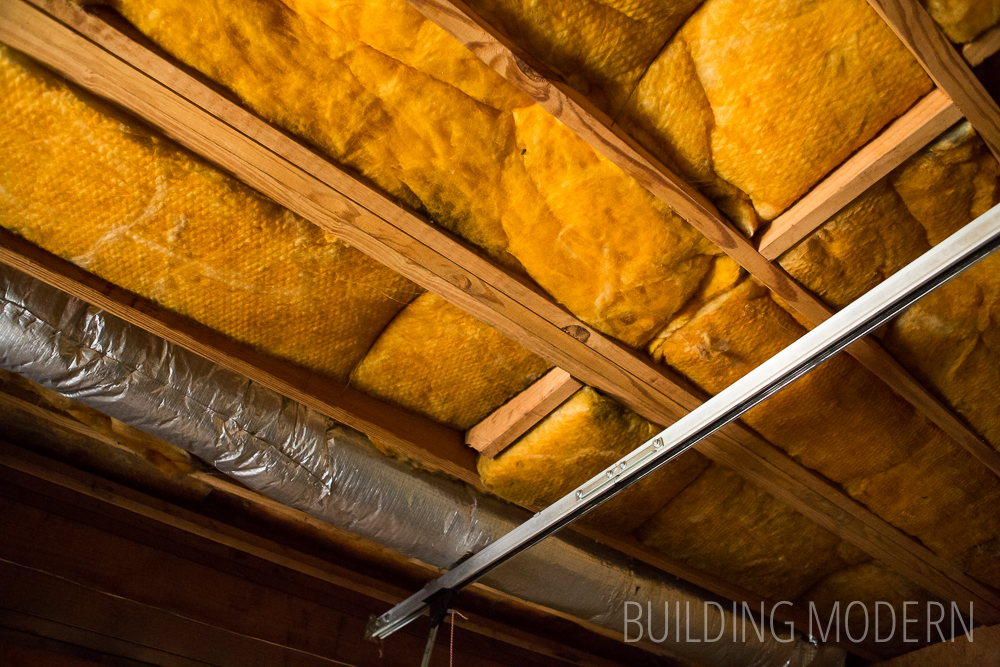
Now down to the garage below!
…which, has no drywall: so at least that makes things easier for investigation purposes. Sealing up a garage to protect occupants of the home from carbon monoxide wasn’t required by code in the 1980’s…. but totally is now… but this house is grandfathered in… but it’s still a good idea… but we have an electric car… so take that! It’s still ugly though, but great for renovations!
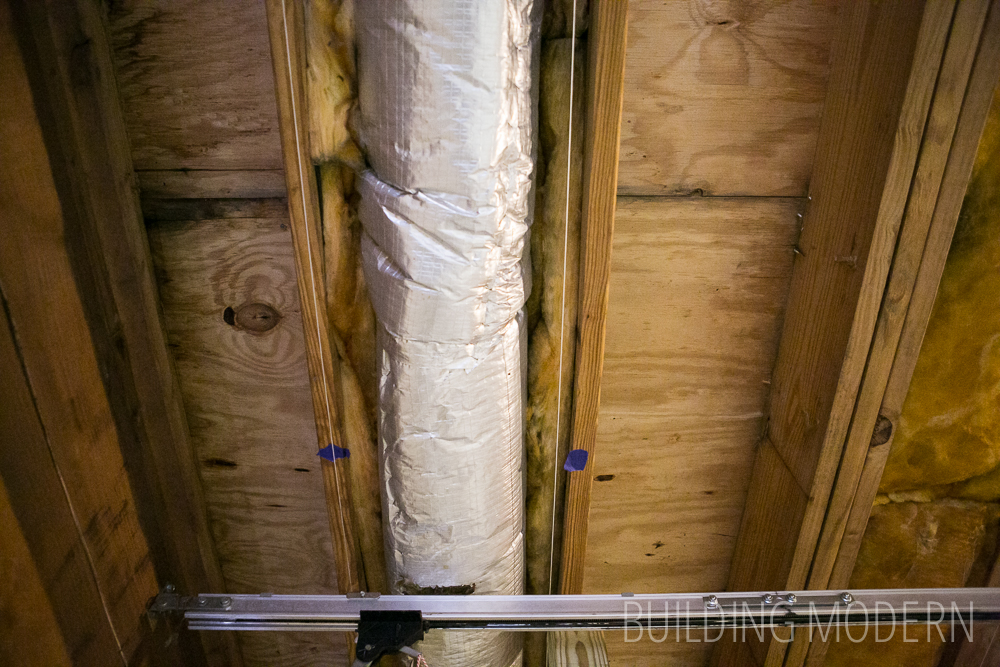
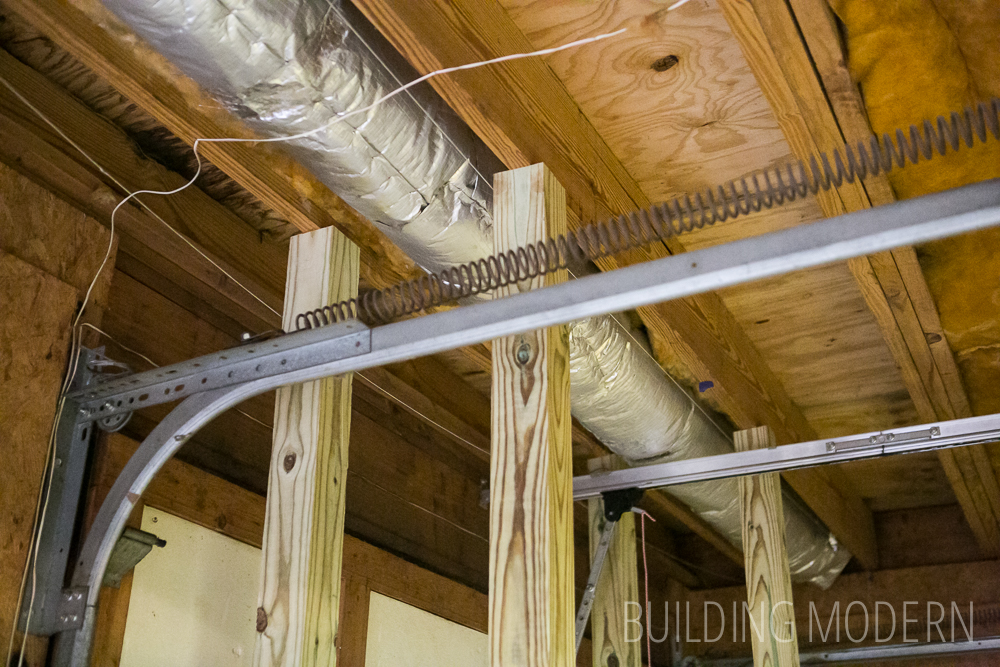
These are the two low joists: the ones on either side of the silver air duct.

Part of the issue in this house, we suspect, is partly due to the joists sagging over time (which they may do naturally) and partly due to the exterior wall and triple joists not sagging. (These triple joists are what supports the canterlieverd portions of the home… the master bedroom closet, and I am assuming the nooks in the kitchen, and parts of the two upstairs bedrooms, and perhaps the chimney.) Another possibility is that these homes were just not built with much care and the builders thought that the carpet would hide problems.
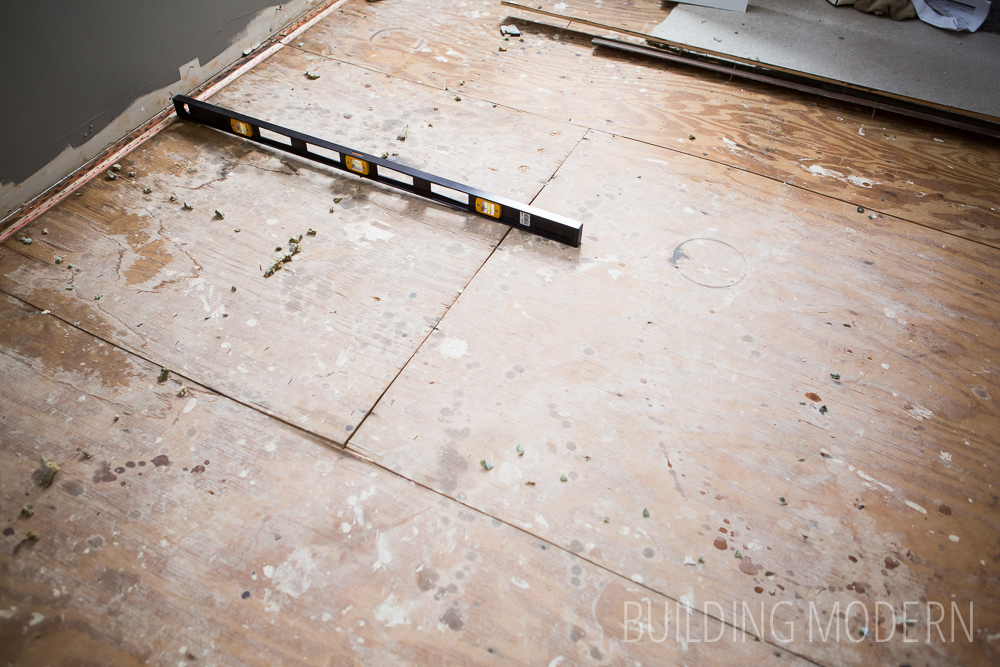
The floor was also sloping toward the wall between the master bedroom and the foyer. Here’s a photo swiveling around and looking in that direction.

And here’s a photo from when we pulled out the tile (and subsequently the subfloor) in the foyer. We found that the master bedroom/foyer wall was not exactly sitting on a joist at all (unless there is an extra one that’s closer than 16″ – the floor joists were kind of randomly spaced in this area). There was also an extra weirdly-spaced joist in there that was contributing to heaving the floor up in the foyer – the hired guys knocked that over since it wasn’t really doing anything support-wise.
Again, the higher triple joist was a contributing factor, but more importantly, the original havc guys decided to cut a a joist. This must have been like this since the house was built… unless it was done when the new system was installed a few years ago (before we owned the home) I really have no way to tell. See the metal I beam on the right? Yeah, all the other joists tie into that and this one should too. So, we had those same guys (who worked on our foyer and a bit in our kitchen) jack up two joists under the foyer (pictured here in the garage) and in the kitchen (a similar situation & support was created in the basement). They only jacked the joists up as much as they dared without shifting or cracking things up above, so they weren’t raised fully… but now the load is supported… but we still have a slope.

Anyway back to the other end of the room.
We decided to jack up & sister join the two low joists ourselves.
We interviewed some people about the job, but felt we could probably do it ourselves. We received some quotes that seamed a bit high and a more reasonable estimate. Unfortunately, when we asked the person to sign a contract – mainly stating that we were not liable if he hurt himself on our property – he ran for the hills. (I mean, stumbling over his own words on the phone – it was ridiculous.) Fortunately, we had ordered bottle jacks as a backup just incase none of the contractors worked out. (We were on our own time line, so things technically could wait, but wanted to get this portion of the job done quickly in order to start installing the hardwood floors in the master.)
The supplies we needed were:

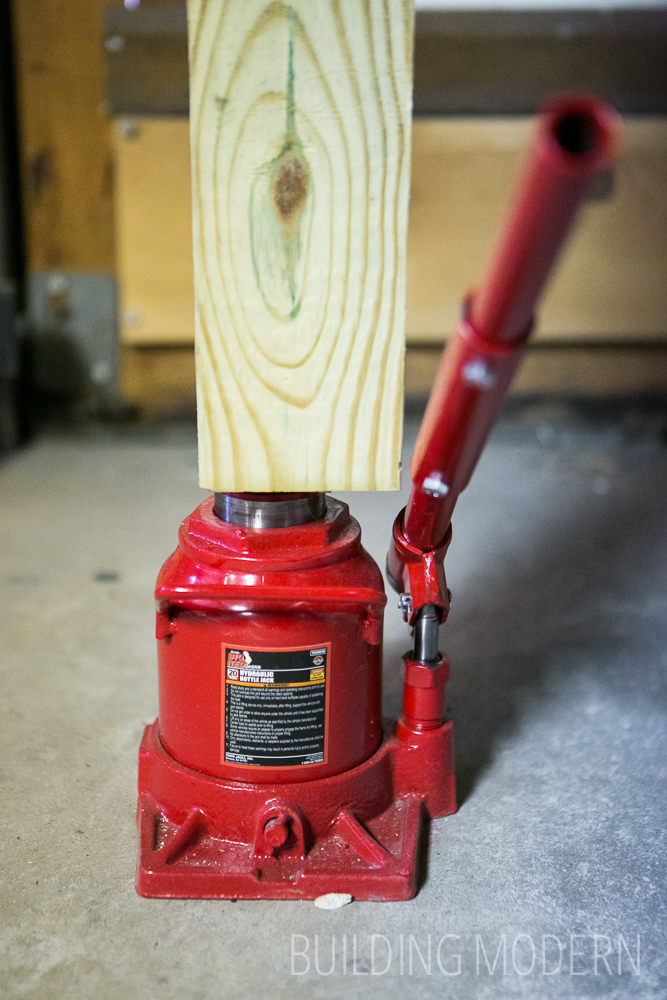
Bottle jacks:

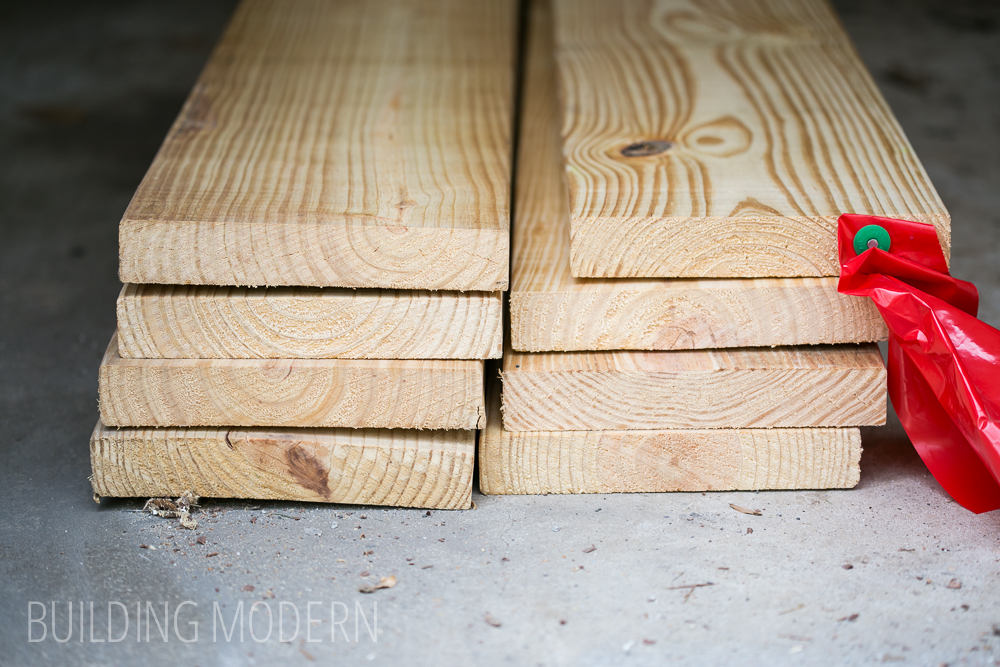
4×4’s (we could only find pressure treated):

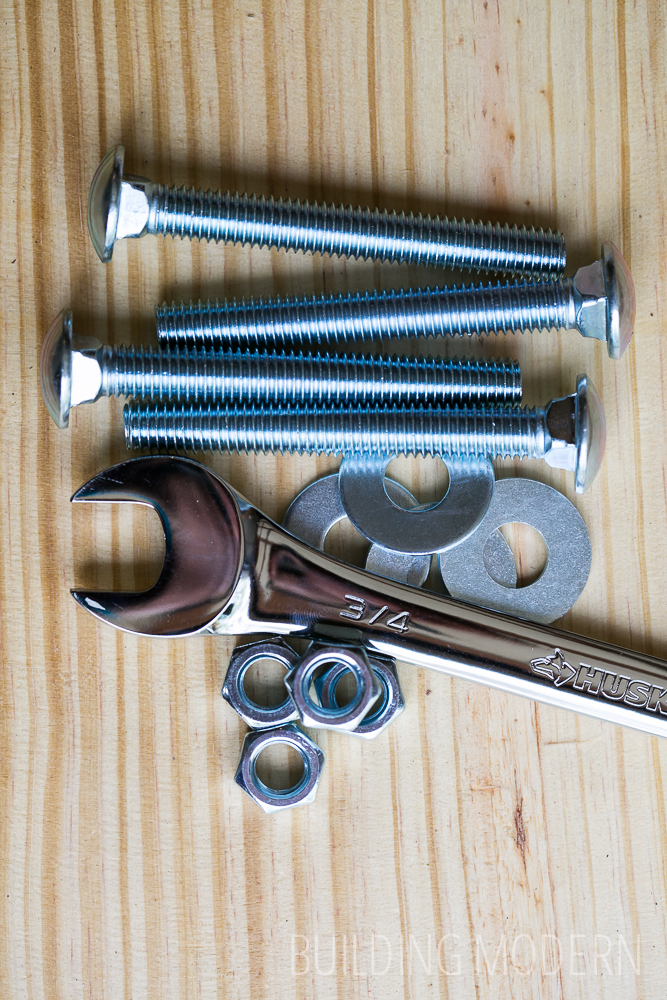
carriage bolts, washers, hex bolts, and a shiny new wrench:

construction adhesive, screws:

The new joists:- (we only ended up using two of these, but we bought extra just in case):
We also had to clean out our garage and make room for this project.

Now, the term “bottle jack” is an important one. I have no construction background and therefore I am learning terms as we go along. Back when we needed the joists raised in the kitchen and foyer – we couldn’t do it ourselves because we couldn’t figure out the proper jack to use. I knew it wasn’t a car jack, but I had seen – what I know now is called a “bottle jack” – on This Old House… but they never called it by name. I asked multiple people at Home Depot and Lowe’s and none of them knew what I was talking about… I even showed them the photo I took of the jack from the TV. They kept sending me over to the metal Jack Posts… which I knew couldn’t be right – they were too short and intended for permanent installation. Goggleing somehow also came up with nada since I didn’t have the correct term. Finally, sometime just before this project a different episode of This Old House aired and they said the magic words: “bottle jack”. And you know what? As soon as I went to Home Depot and asked for a “bottle jack” they pointed me to the correct aisle and there they were. We ordered them online as they were cheaper and I was slightly miffed.

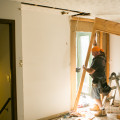
Back up in the master bedroom, we first we screwed the old plywood down to the joists (to make sure it was secure and prevent squeaks).

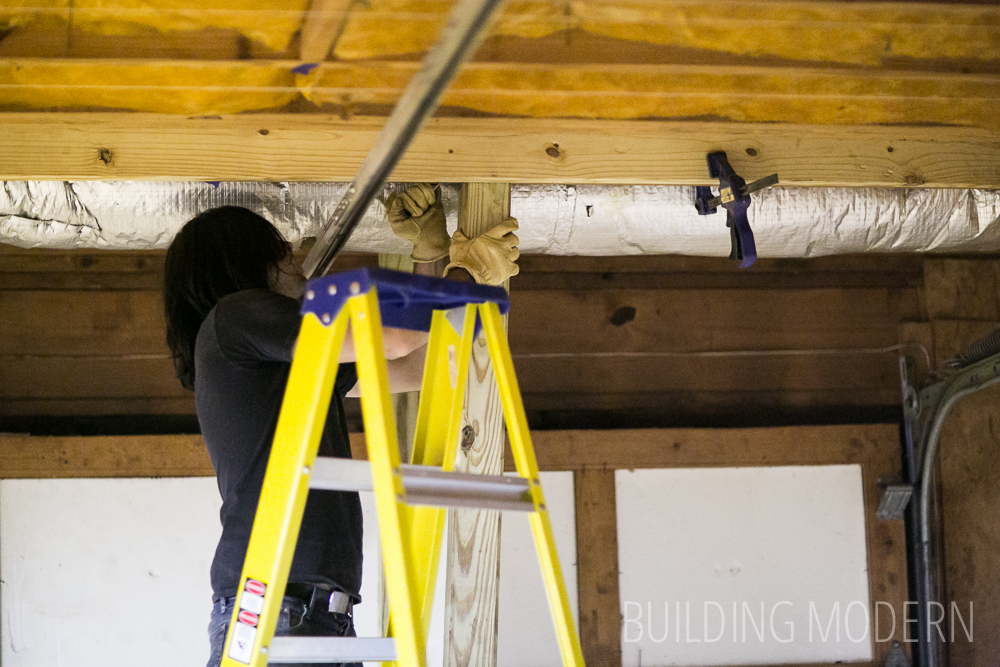
In the garage, we then removed the insulation from our work area:

We removed the perpendicular cross pieces in order to allow room for the new joists – we will cut them to length and replace them later.
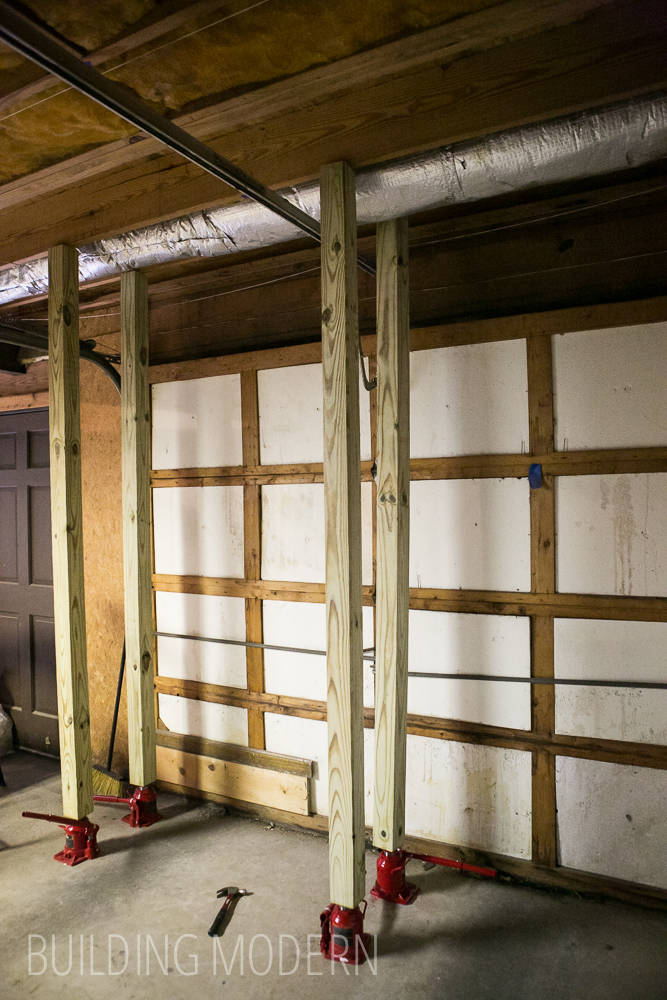
Positioning the jack and 4×4:

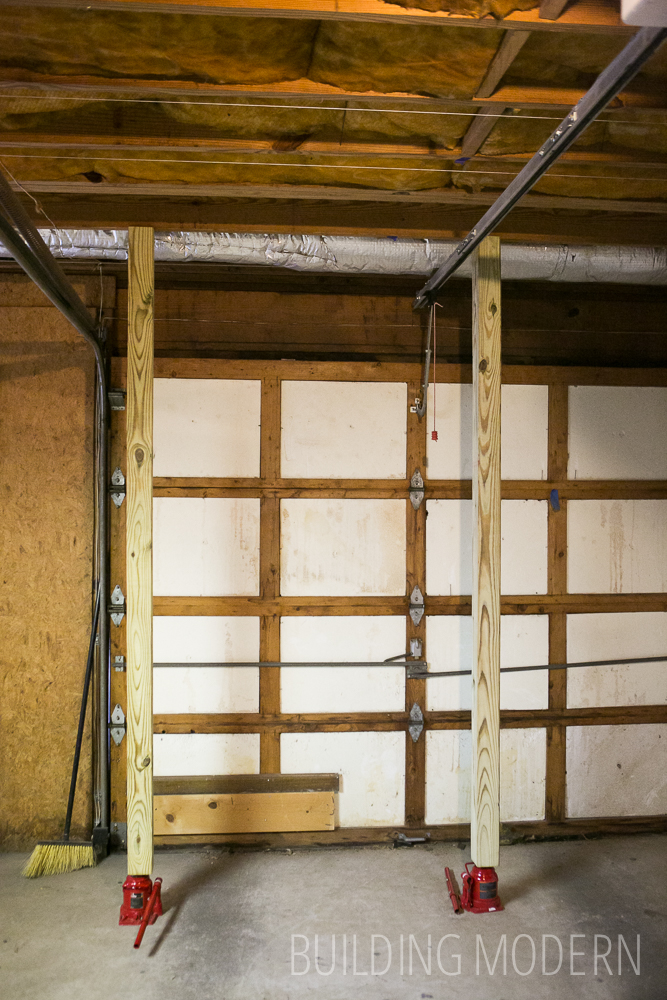
All four in position:
The idea behind sistering joists is that you jack up the sagging original joists, add the new ones next to the old, and join them together. After the old joist is lifted by the jacks, the new joist will now sit on the supporting walls (or wall and I beam in our case) while the old is lifted off of the structure. When they are joined with glue and bolts, the new joist keeps the old one lifted up into position after the jacks are removed.
Spencer pumped the jack handles while I was upstairs. I watched the floor rise and let him know when to stop. It was a little freaky seeing the floor move.
No more space under the middle of the level:
At this time, this became very much a two person job and I have no photos. We had to lift the new joist up… figured out that it wouldn’t fit with our original approach… and reassessed the situation.
We lifted it again, up and over the metal I beam from the other side of the garage, slid it across and finagled it into the space so that it sat on top of the far supporting exterior wall and the I beam. Once both of the two new joists were in place, we tried to hammer them in – so that they were snuggled up close to the original joists. Hammering got us absolutely nowhere so we used clamps: they worked like a charm. (Before we completely drew them together we used some construction adhesive between the old and new joists and on top to help prevent squeaks.)
Here, you can see the 4×4 still supporting the old joist behind the new sistered joist. We drilled a hole and added the carnage bolts and screws for good measure.

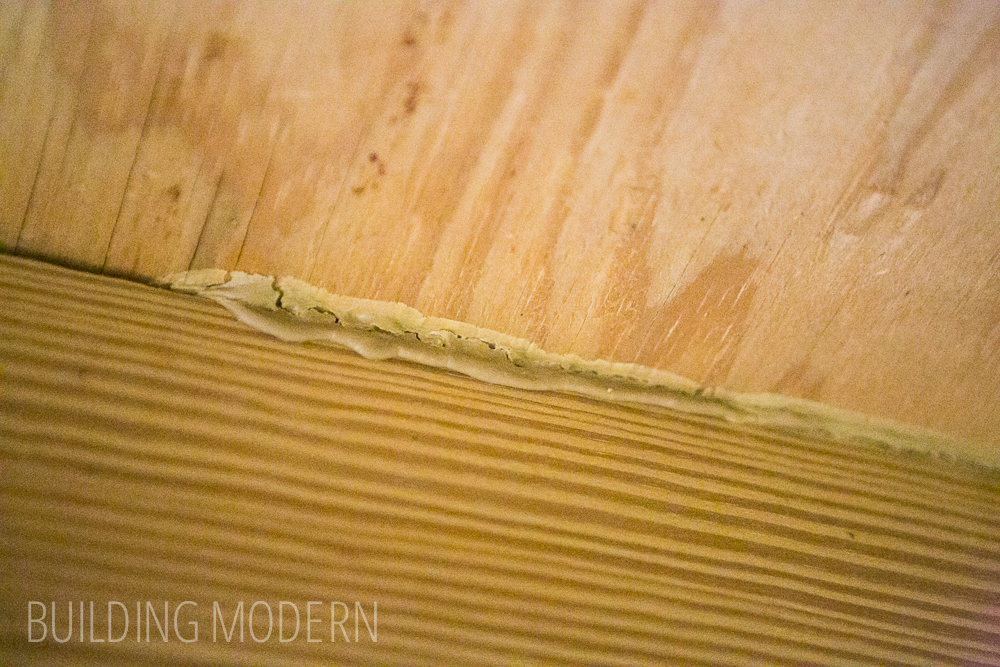
Some of the glue squishing out from between the joist and plywood subfloor:
At the end, we removed the jacks and 4×4’s. We also replaced the perpendicular support pieces and put the insulation back in place. Over all, this wasn’t a very hard project. The most difficult part was lifting the new joists into a very tight and awkward space above our heads. Next, we prepare the floor in the master bedroom further by routing down the remaining high spots.