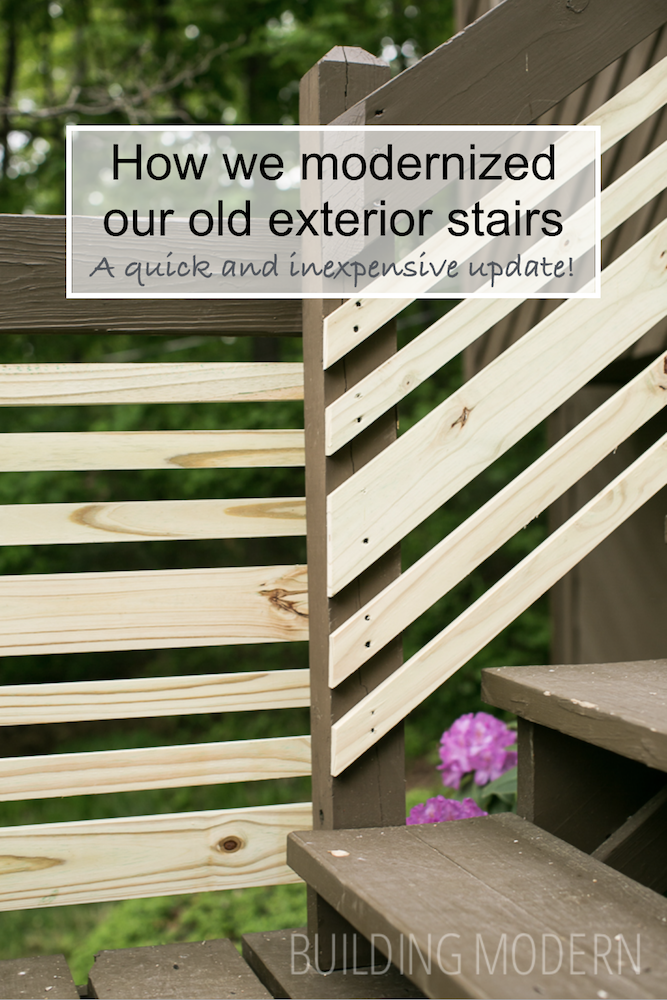
While we were working on the interior stairs, we were simultaneously working on the exterior stairs as well. Truthfully, this exterior project only took a day, while the interior project was several. It was nice to start and complete a project in one day for once!
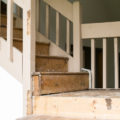
When we purchased the house, our inspector stated that the balusters on the outside stairs were too far apart (and some were also loose). He told us that it wasn’t a pressing matter (knowing that we din’t have any little kids) – but it was something we needed to get around to addressing at some point. This was more of an inspector suggestion rather than a “you must do this in order to buy the house” kind of situation. The railings were not to current code but it seems that this was just one of those “grandfathered in” sort of things.
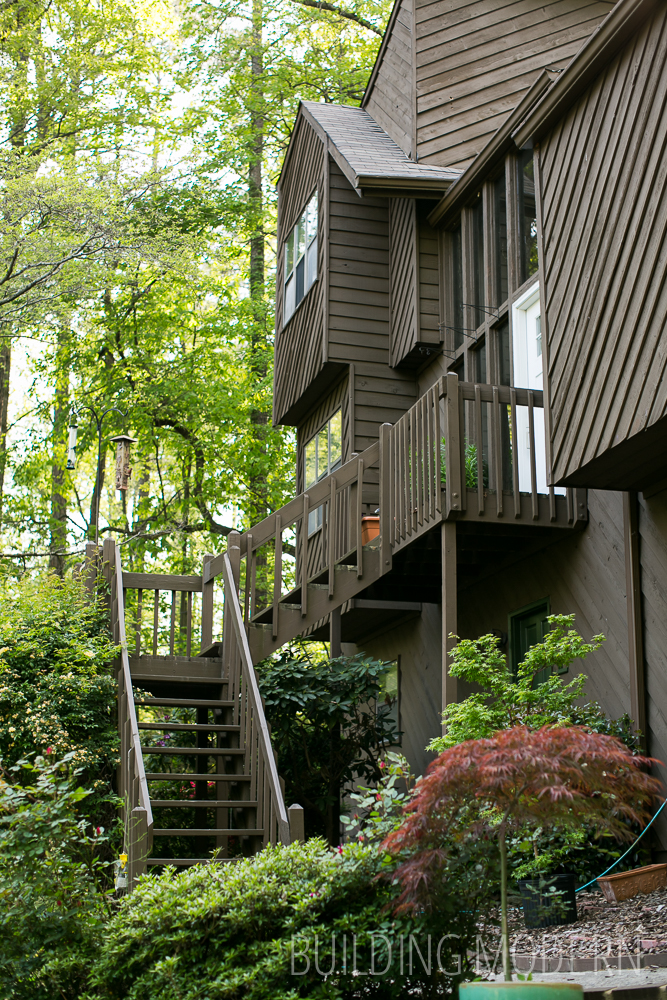
Here’s our situation: One baluster for every stair tread. Code states that there should be no more than four inches between the railings. Now, we could have just purchased more 2×2 balusters and install them between the spaces and secure the old railings, but that just wasn’t our style.
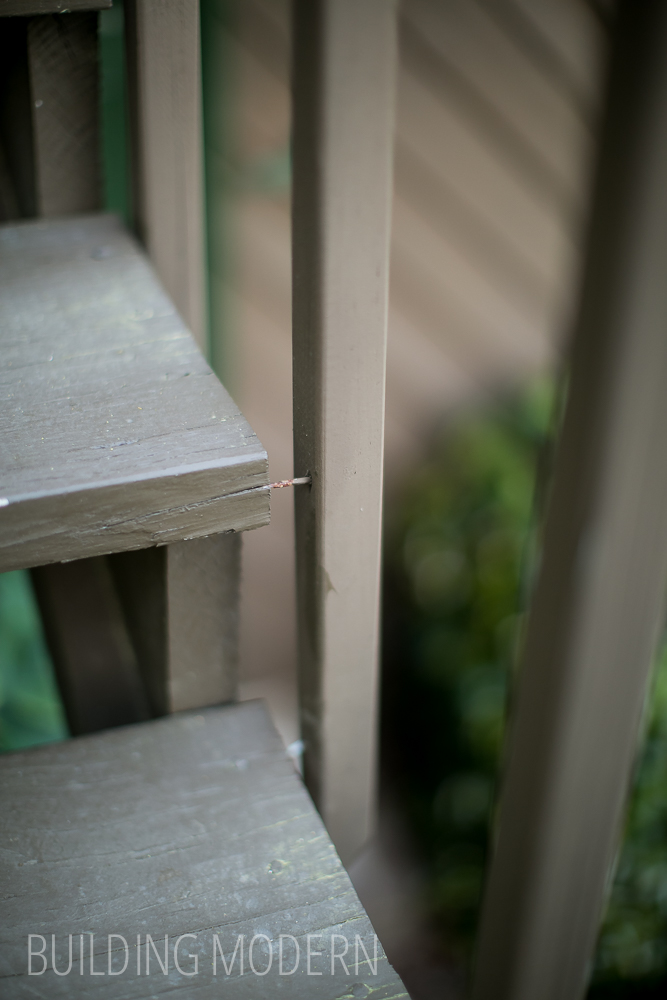
Some of the nails just weren’t doing their job anymore:
At least the hand rails were screwed in place:
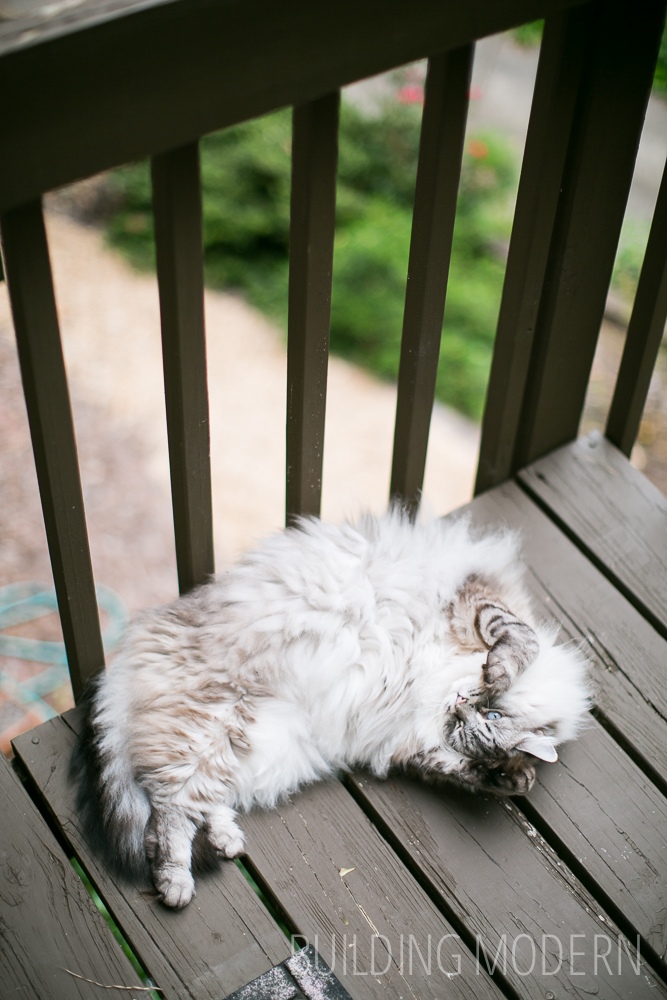
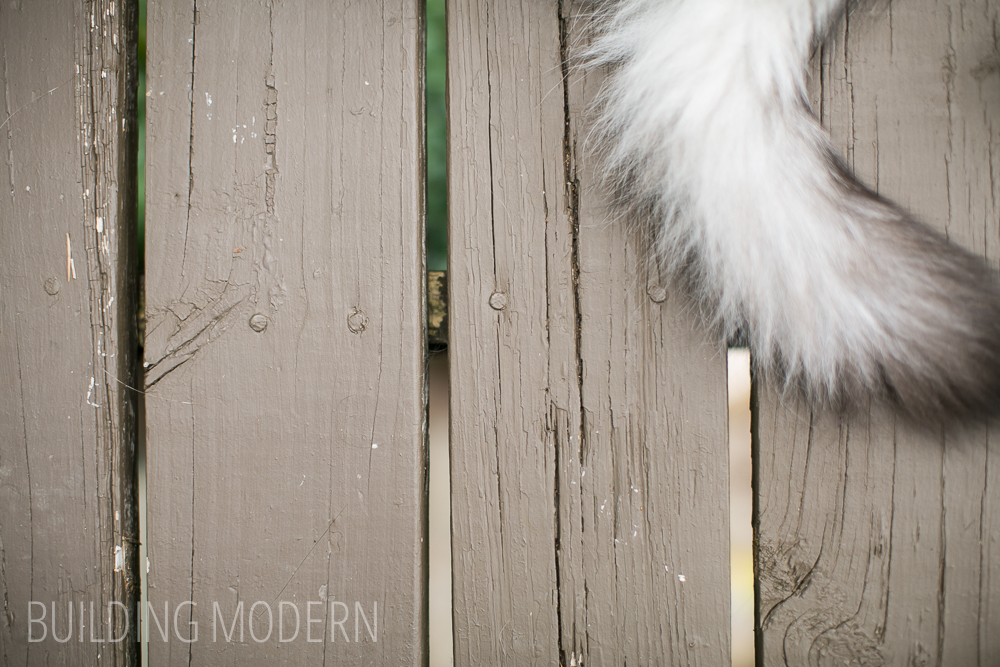
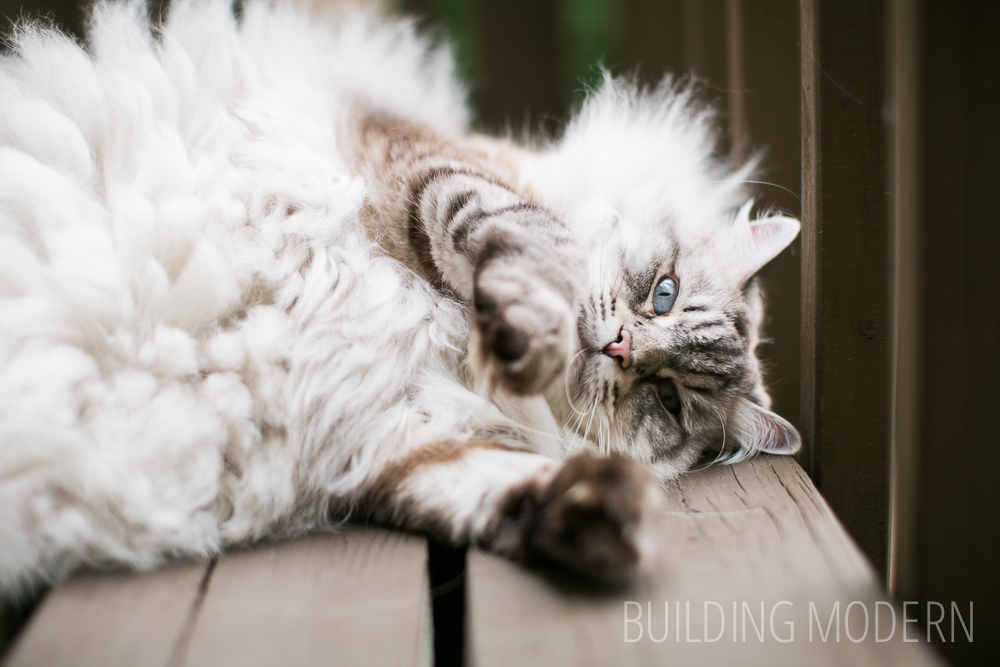
Here’s a distraction for a moment: Izumi says she’s adorable. We have a giant cat.
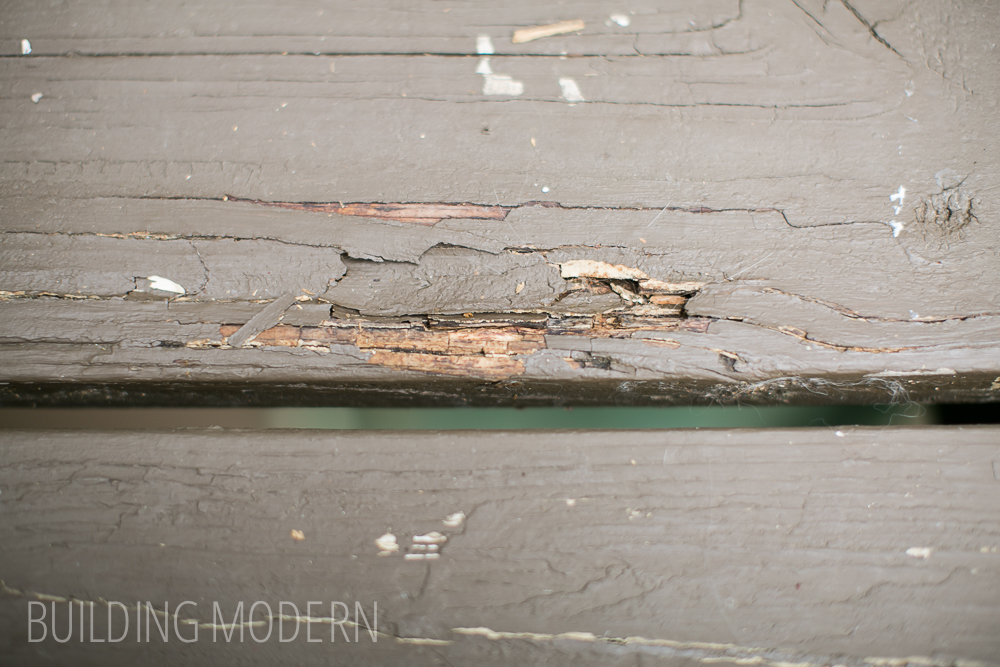
Izumi also let us know that we need to replace a few deck boards at some point:
Not very urgent, some were just starting to rot:
Someone was very happy to be outside – supervised, but happy.
This is one of those spin-off projects that happened because we rented a moving truck to move materials for the interior stair tread/risers project. So, while we had the truck, we went to the lumber yard. Another reason to get this project going was to see if we liked the railing design enough to make it a possibility for the interior stairs. (We didn’t want to do the same exterior railings for the interior, but it never hurts to have options.) We anticipated that the design would be fine for the exterior, but not “finished-looking” enough for the interior.
If we were just going to augment the existing railings with more of the same here were our options:
– A 16 pack of 2x2x32 wood pressure treated mitered 1-End Balusters are $15.60 a package. We would have needed 26 total… so two packages = a $31.20 investment (+screws). Not a bad safety update cost.
– Square end 2x2x36 wood pressure treated Balusters are sold individually for .89 cents each, so that would be $23.14 (+screws).
– Surprisingly, it would have been more expensive to purchase a 2x2x12 and cut 4 balusters from that length – 7 boards at $5.97 each = $41.79.
Now, we would had to done a miter cut to match the ends if we wanted to use any of these options… but around a dollar a piece is a pretty cheap solution. Again, this isn’t the route we were going to take, but its nice to know all of the options – we could have technically fixed the problem for $23.14. (I actually did this research in retrospect, because we weren’t ever entertaining the idea of just fixing & adding these type of balusters, oh, and all pricing is Home Depot.)

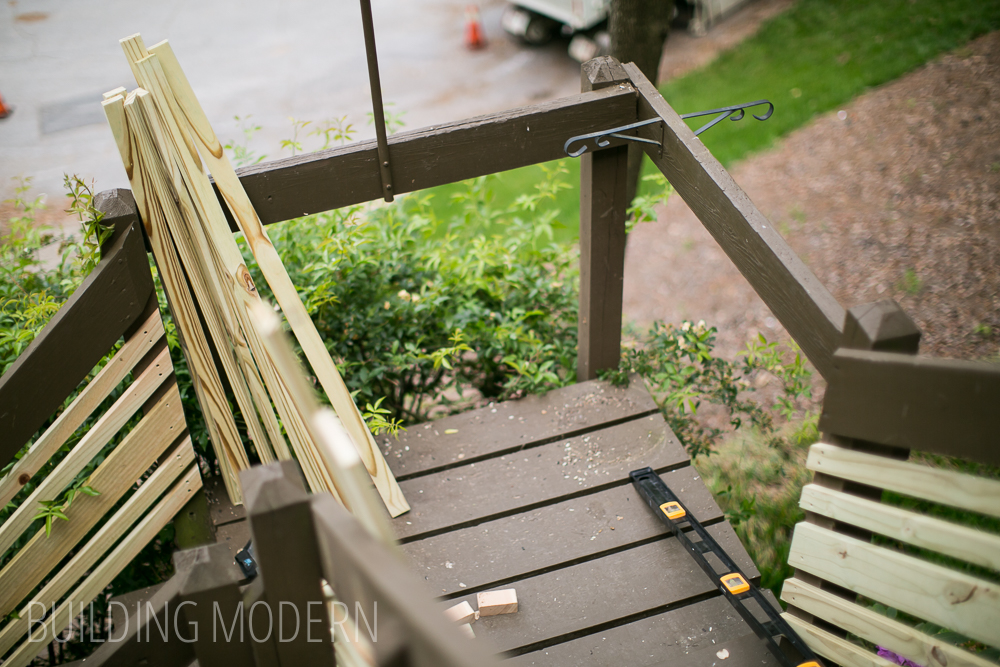
Now, a preview of the materials we actually used:
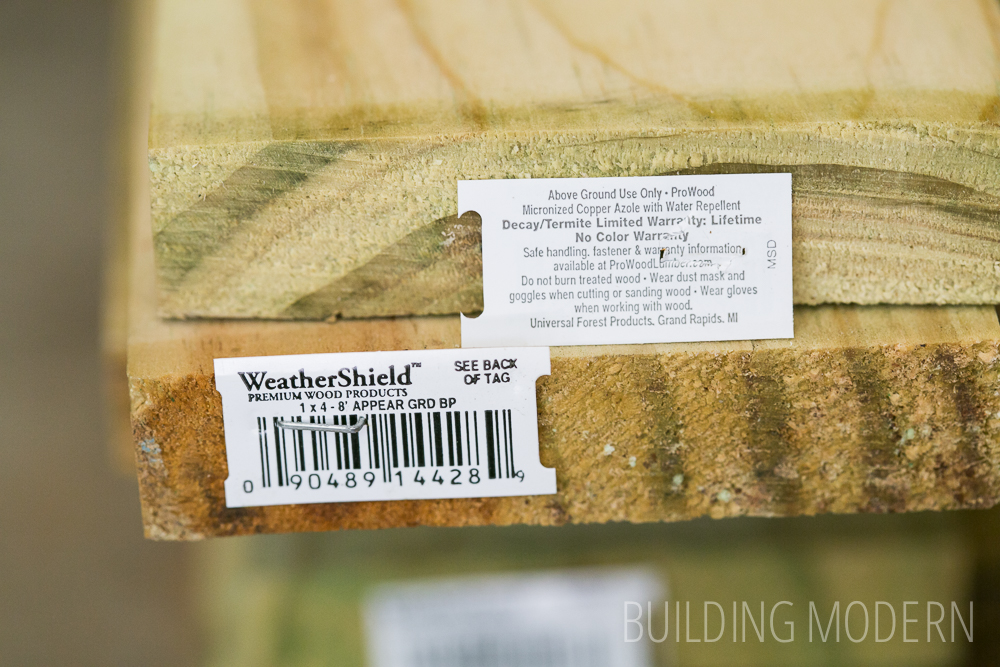
We purchased 1x4x8 and 1x4x12 pressure treated pine lumber and “exterior” screws for this job.
– 1x4x8 – 15 @ $3.57 each = $53.55
– 1x4x12 – 11 @ $5.57 each = $61.27
– exterior screws 1-5/8 x 8 – 3 packages @ $2.97 each = $8.91
That’s $123.73 in materials (not including stain)
So, that’s a little over five times the cost to change the look of the railings rather than just satisfy the minimum safety requirements. Of course, we didn’t know exactly how much material we were going to need, so we over bought slightly.
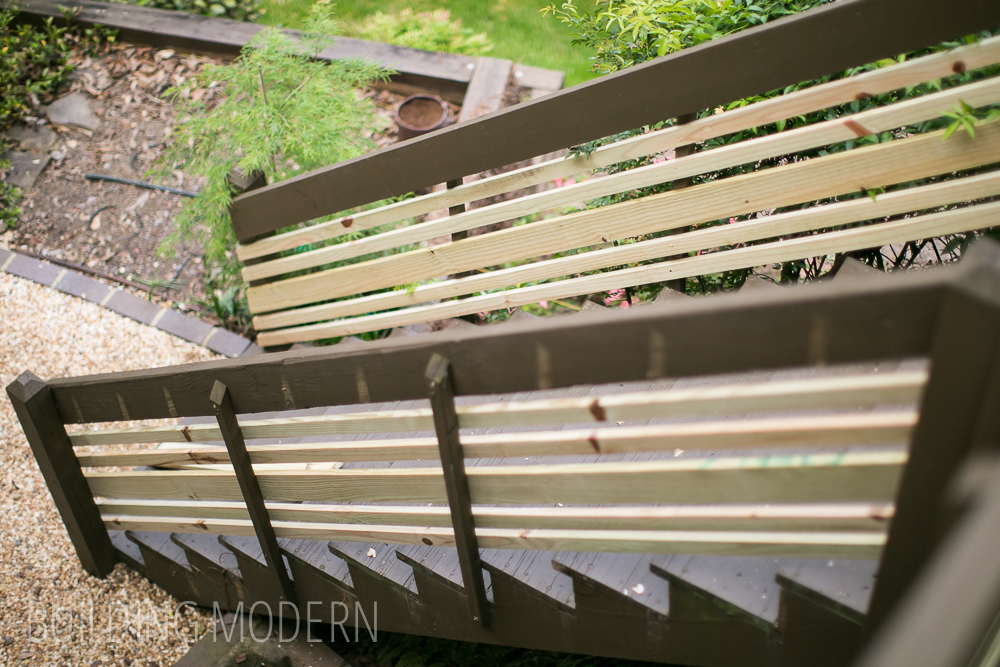
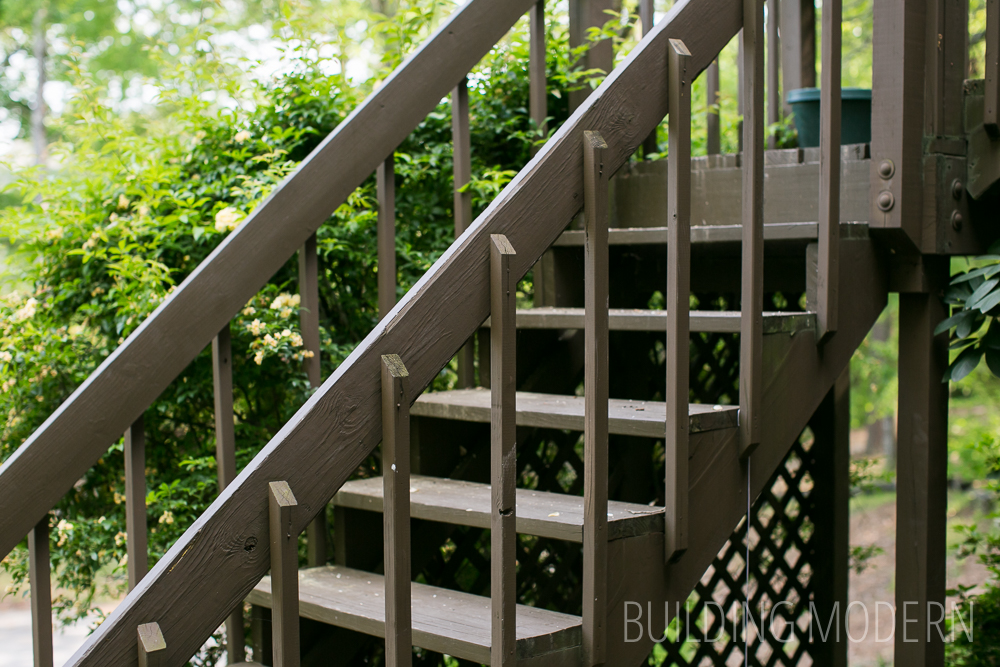
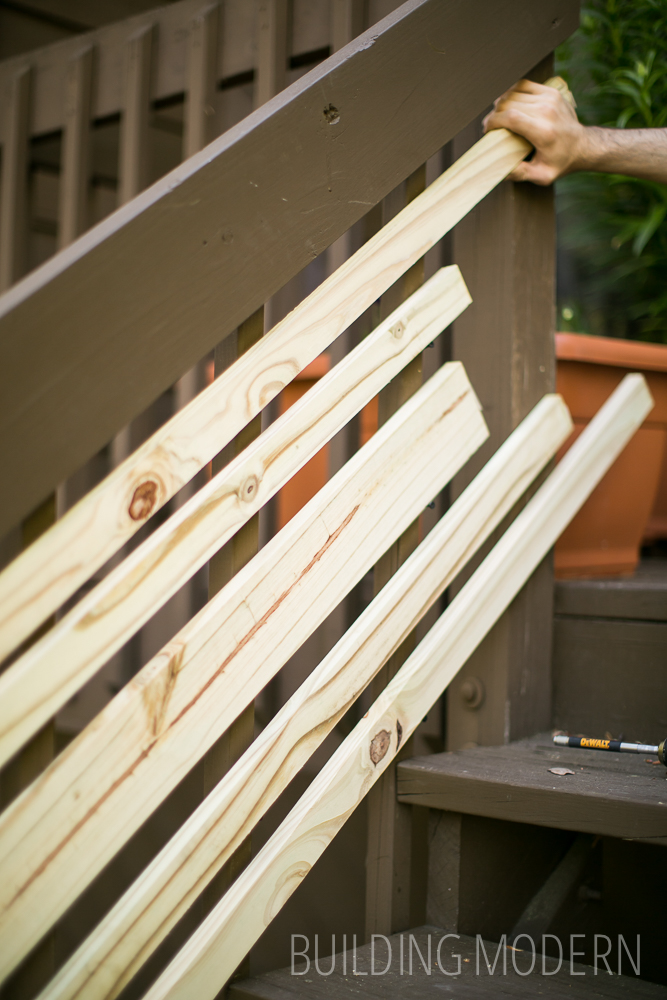
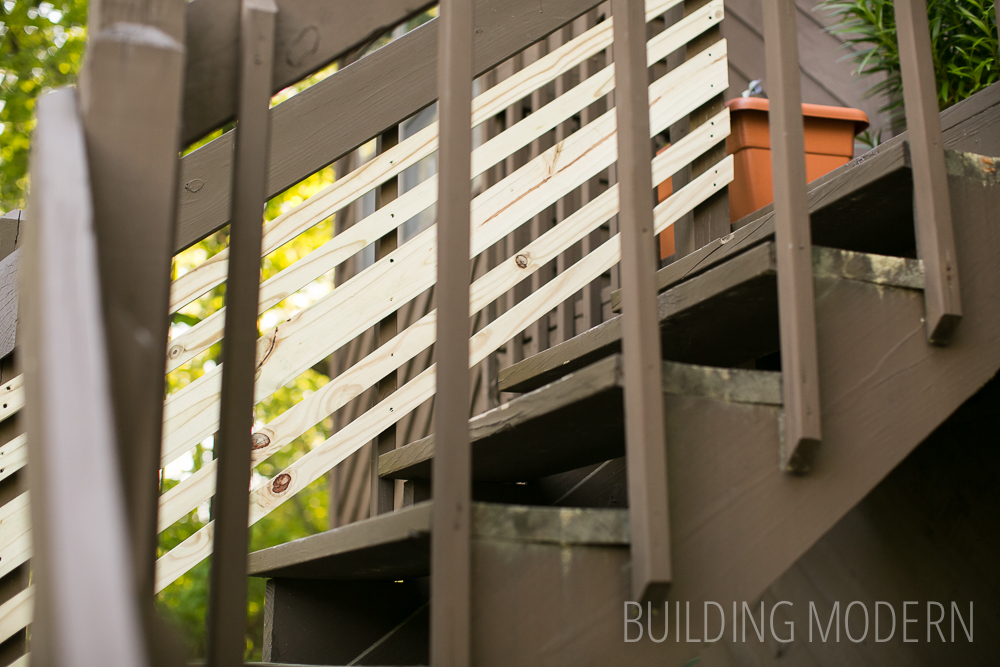
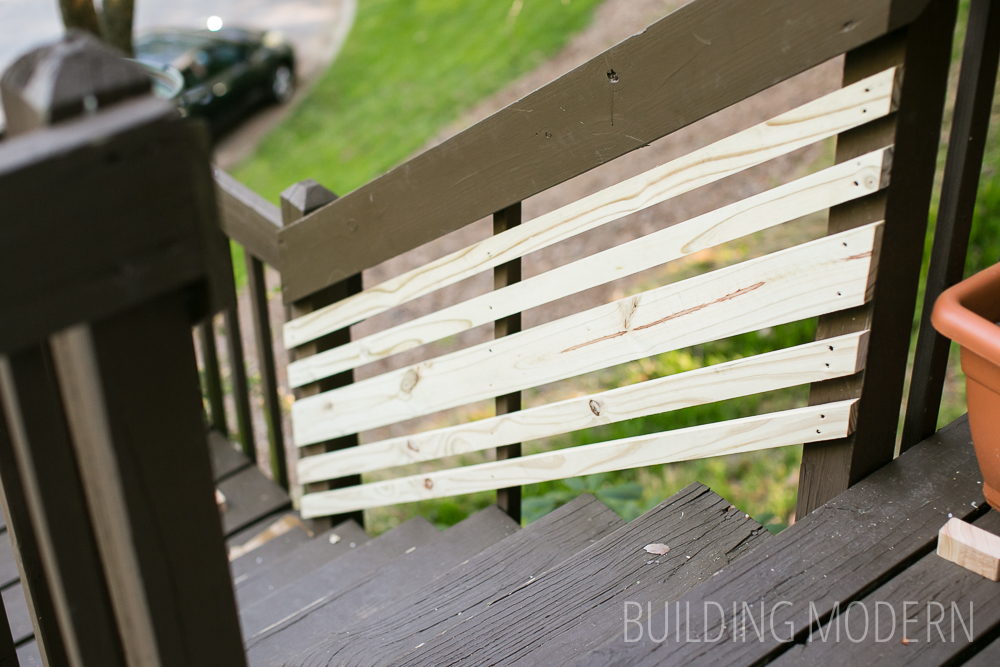
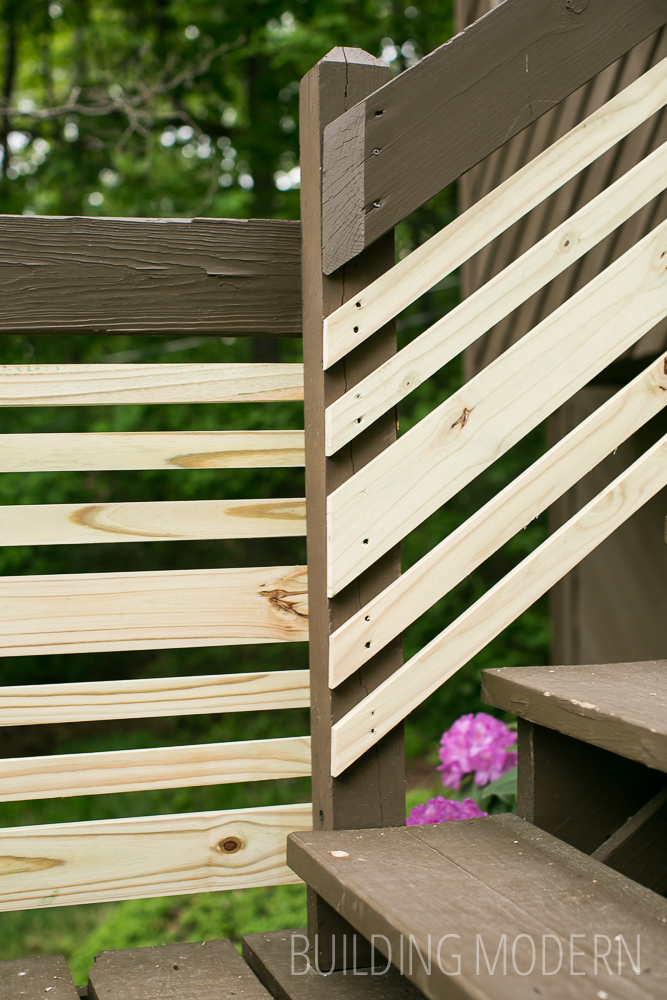
We decided to keep the original top piece, which is a 2×6, and create a pattern off of that. We could have picked anything from 1×2, 1×4, 1×6, or 1×8’s for the stair railings. The 1×4’s ended up being the most economical and anything larger than a 1×4 looked to bulky. So, we decided to buy all 1×4’s and cut some of them down to 1×2’s to create the pattern we were looking for. Also, the pre-cut 1×2’s were pretty warped in the store. This made purchasing materials a lot simpler as well – just two different lengths of the same board.
The stair incline proportions – combined with the minimum rail spacing – required three 1×4’s for each side. That’s six 8ft. and six 12ft. boards for the inclined sections of the stairs.
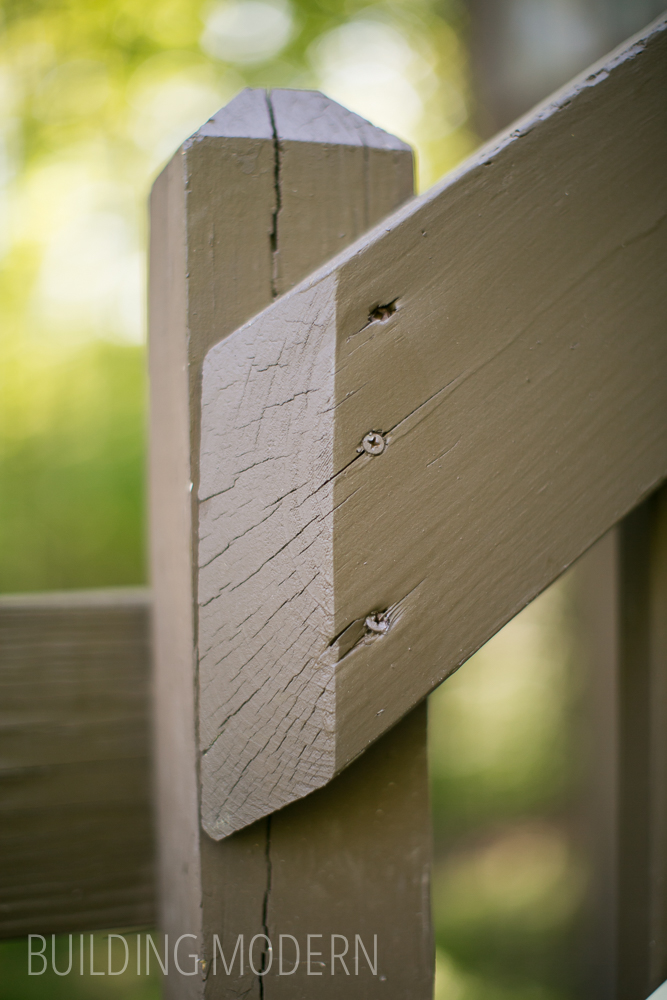
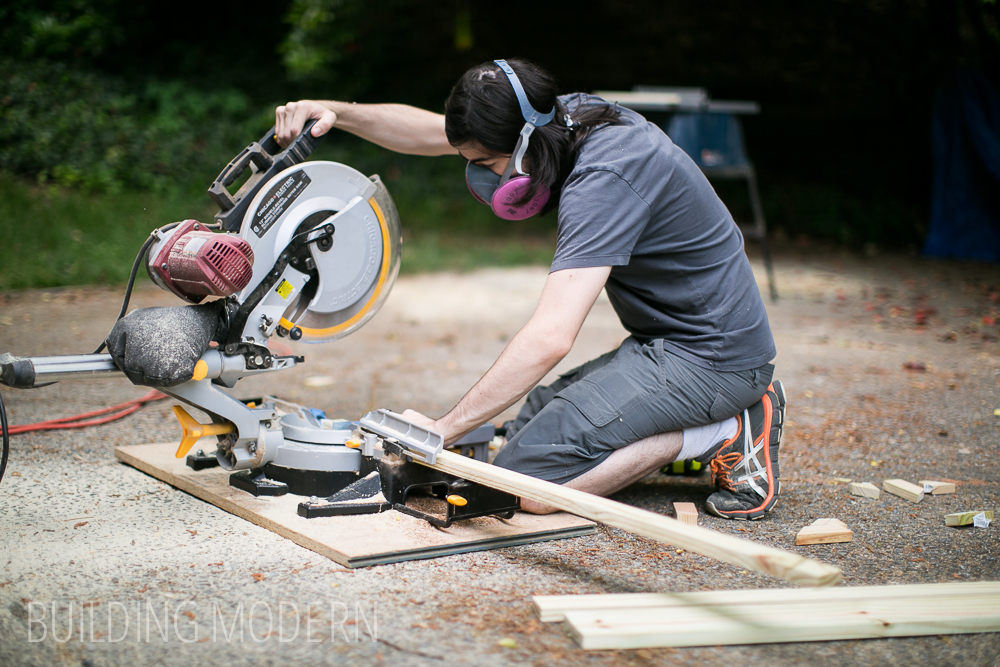
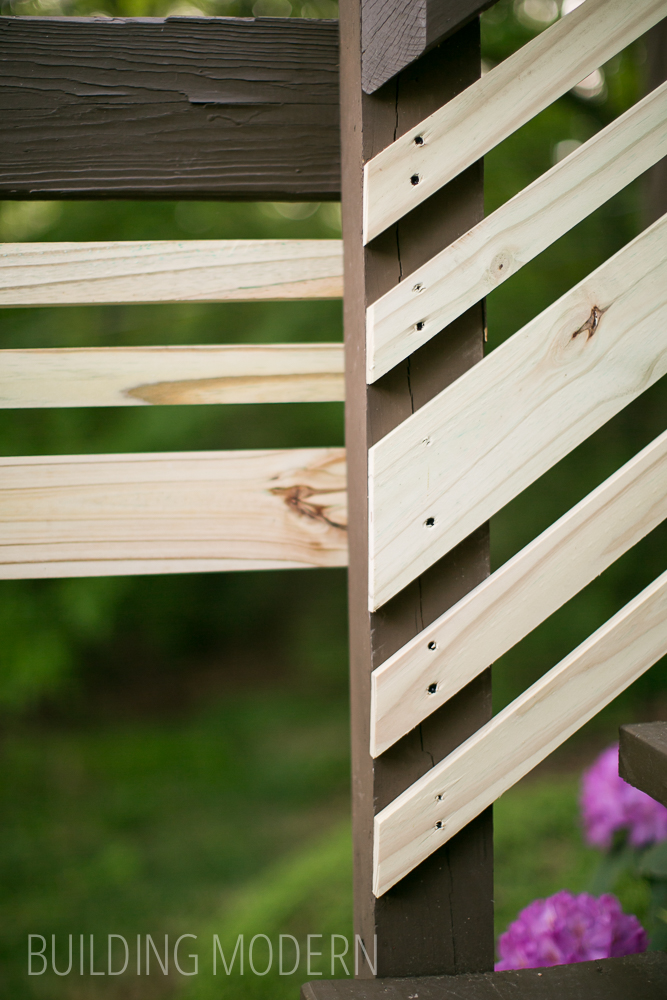
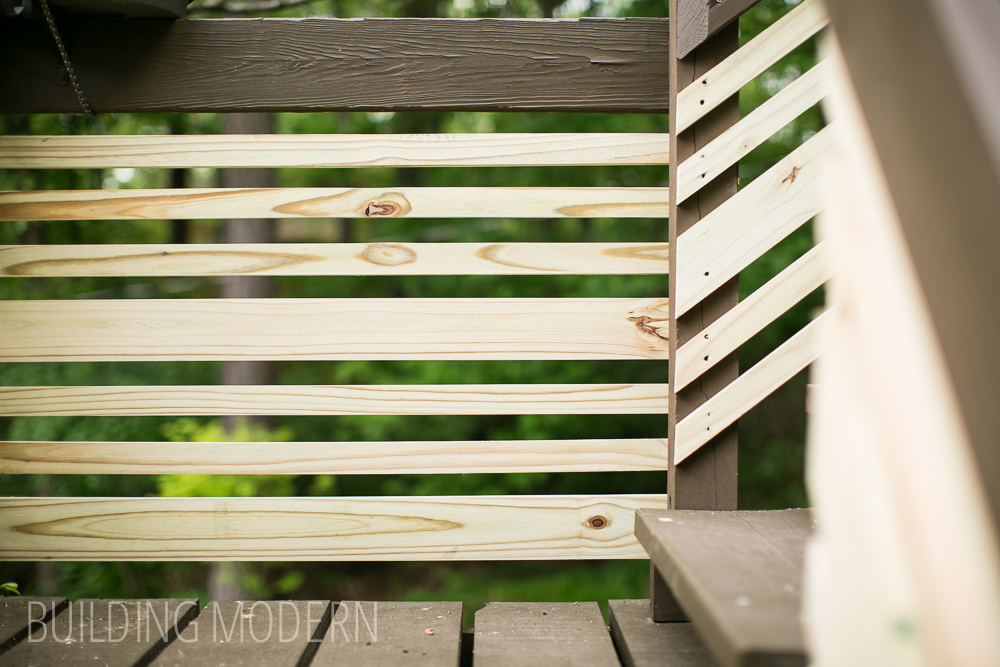
We decided on a pattern of two 1×2’s, one 1×4, two 1×2’s. I wasn’t that trilled with the pattern being symmetrical, but other arrangements looked weird. We placed and marked each board individually – just to make sure the ends were flush against the newel posts (I doubt that the existing newel posts were plumb) and cut the appropriate angle (which was not 45 degrees).
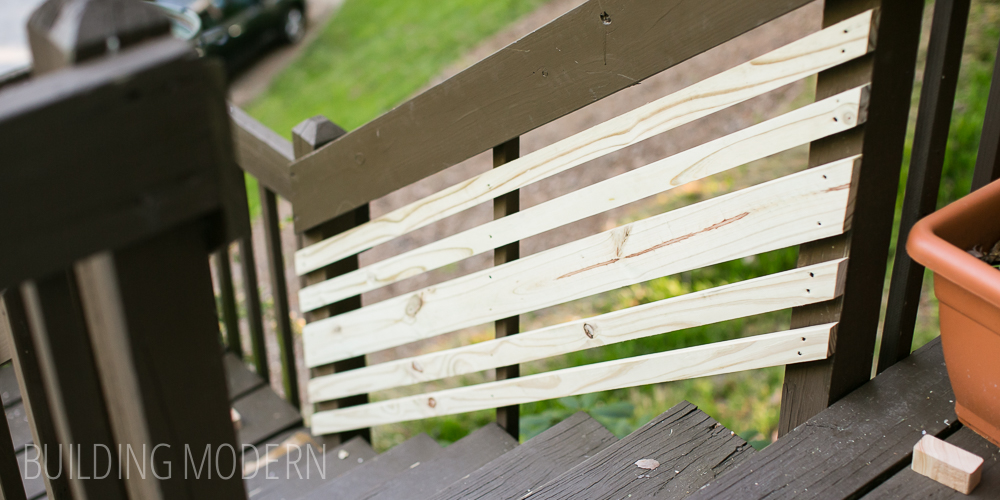
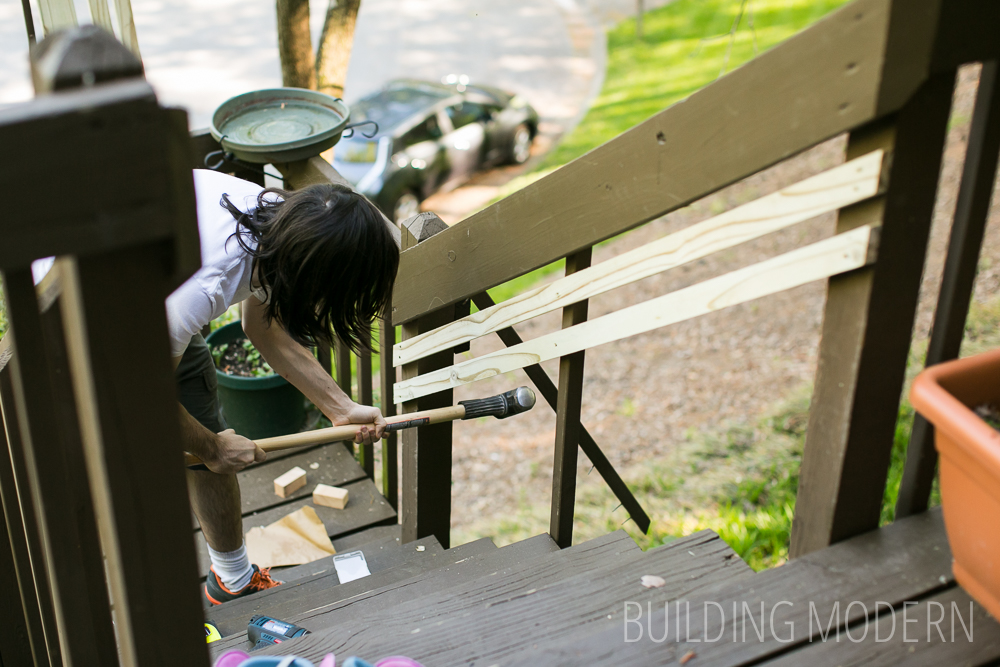
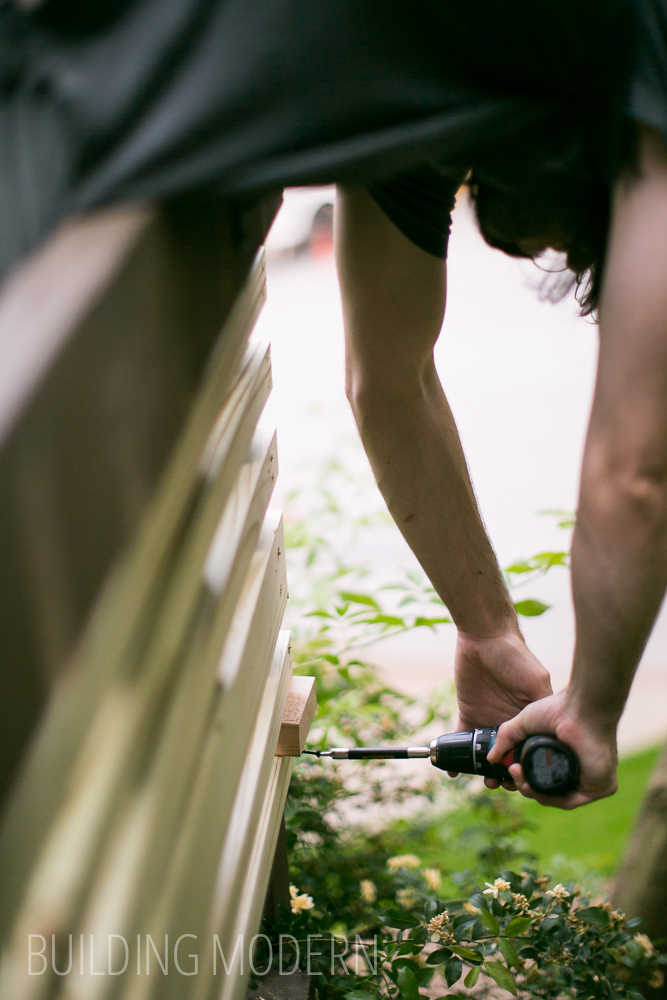
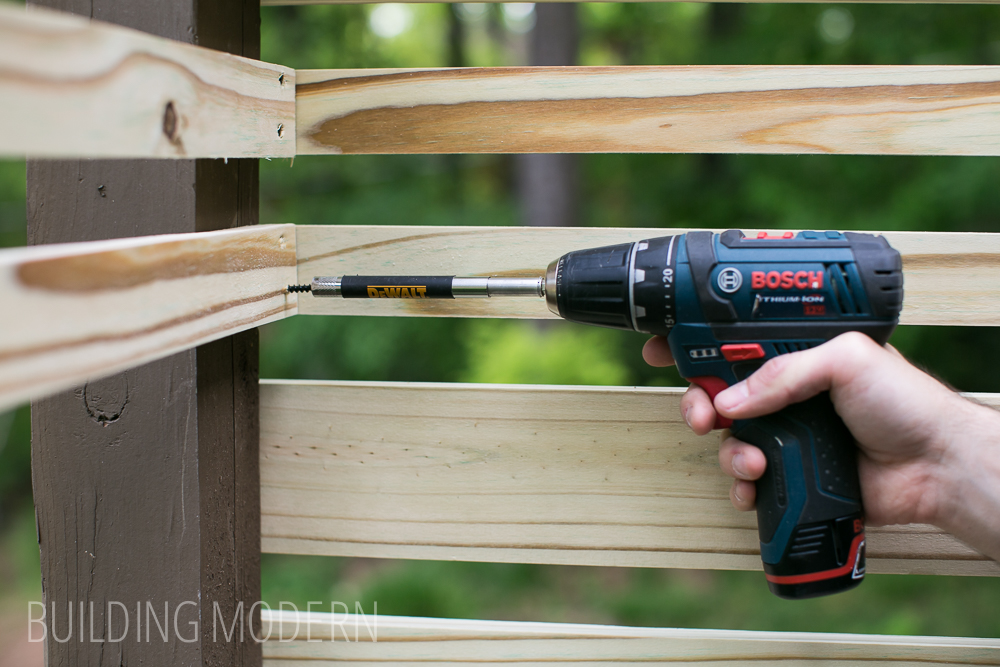
We used a 2×4 block as a spacer:
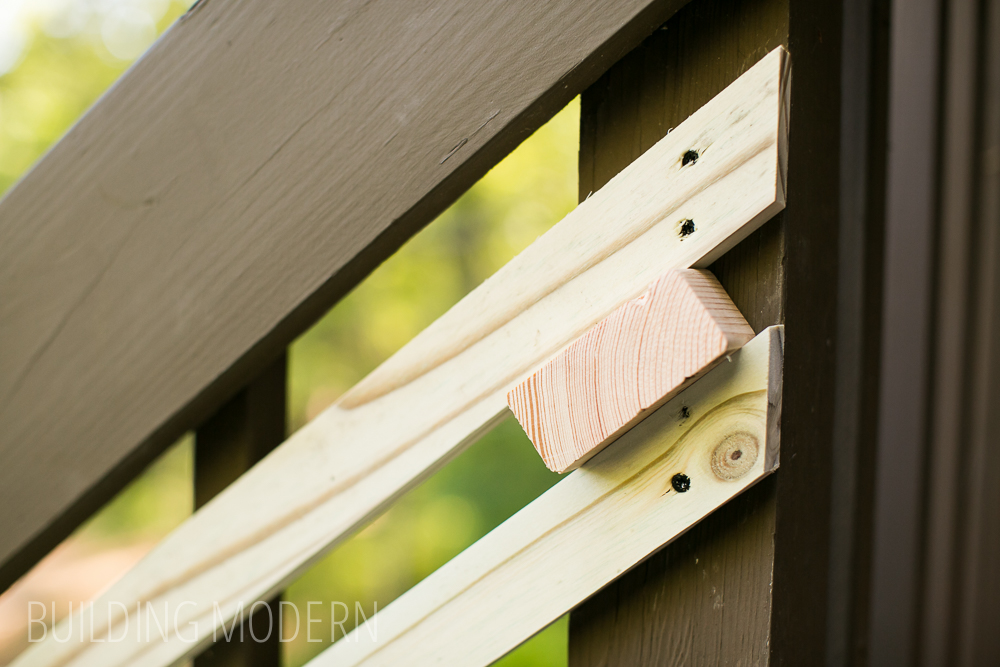
We left the center picket to add support across the longer spans. (We also made sure the remaining piece was secure.)
Along the way we discovered that the angle of the existing 2×6 top rail was not the same as the stair angle, so we decided to match the angle of the railing. As a result, the different angle made the new bottom 1×2 closer to the stair tread at the bottom of each group of stairs. The lower set of stairs was a longer distance – and, as a result, the diminishing gap became more pronounced. We had to adjust the boards spacing to accommodate the problem. We used a smaller block to space the bottom 1×2 above the treads and removed the second to last 1×2 and moved it up a bit to compensate. The result was a different spacing for the bottom two boards, but I don’t think it’s noticeable.
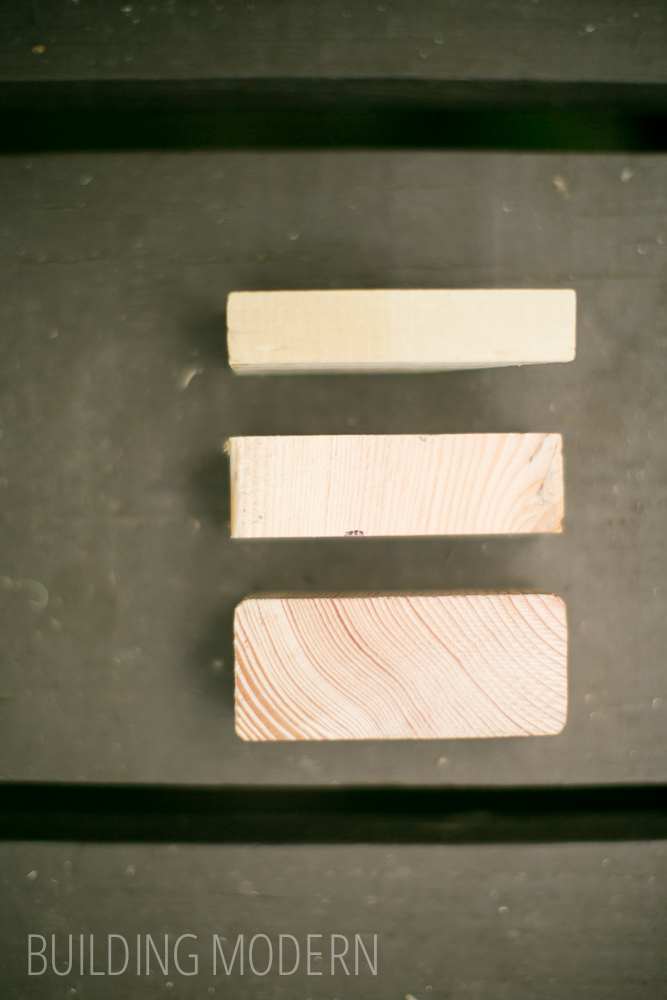
The different sizes of spacers used:
The bottom railing just barely scraping by the second-to-last stair tread:
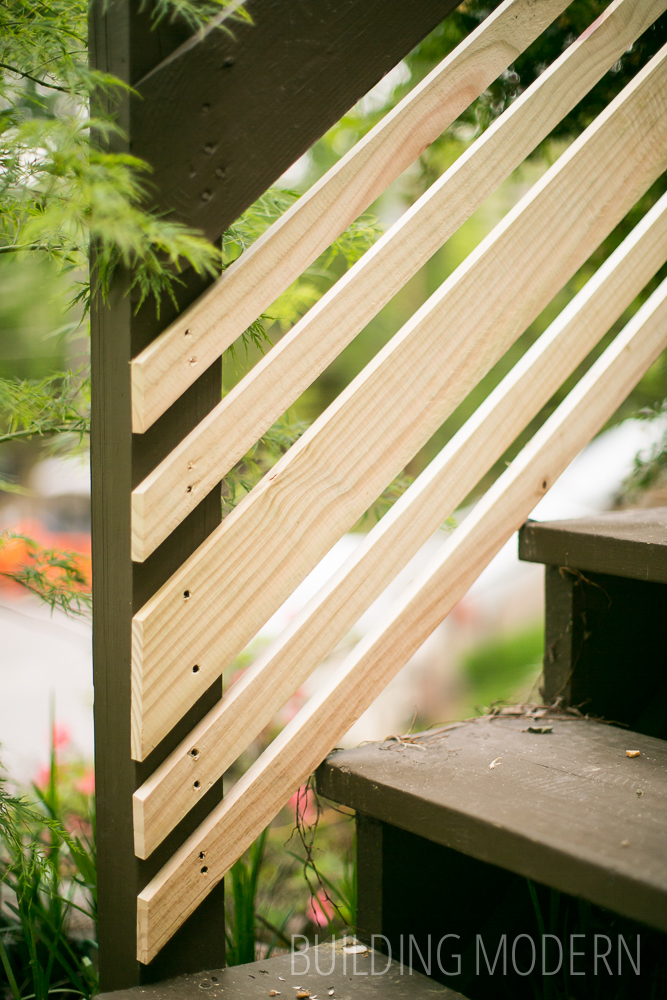
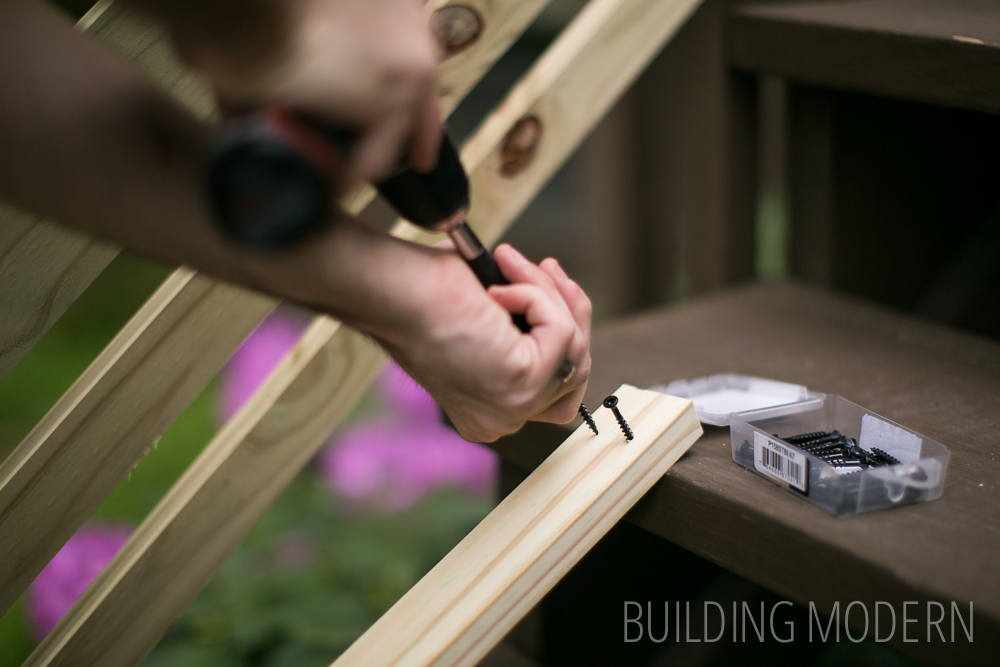
The new boards were secured in place with exterior screws.
The “platform portions/deck areas” required more boards because their height was greater than the incline portions. For the first platform, we could get both sections from one 8ft. board – that’s 4.5 boards.
We initially decided on mimicking the same pattern that we had on the incline and just add one more 1×2 & 1×4 to fill the extra space at the bottom. The platform 1×4 board lined up perfectly with the other inclined 1×4, but then the spacing would get all wonky and not line up for the other boards after that point. I would much rather the design look random rather than looking like we tried and failed to match the other pattern. Besides, I wanted a grouping of three in there somewhere. We decided to place the new railings on the interior of the old newel posts and the “platform sections” screwed to the exterior – to match the existing top hand rails.
Spencer pre-drilled the screws so we wouldn’t drop them.
I was a bit of a reach over the railings:
For the platform, we settled on three 1×2’s, one 1×4, two 1×2’s, & one 1×4 as our pattern.
On the “inside corner” of the platform, the two sections were already separated by support posts. This made it so that we didn’t have to bother lining up these boards.

I don’t have a photo, but we repeated the same pattern for the upper deck platform by the front door. (three, one, two, one). We had two “almost 4 ft.” and two “almost 5 ft.” sections up there. Resulting in 4.5 more 8 ft. and 4.5 more 12 ft. boards for the project.
We will wait and let the pressure treated wood dry out the appropriate amount before I stain the stairs…. but I have no idea how long that will take in our Georgia humidity. I’ve read that you can use a drop of water as a test: if it puddles up, its still too wet. If it is absorbed, then it’s time to paint!