Like the hardwood flooring, Our next project is a bridge between the kitchen renovation and the foyer. Just as the flooring flowed from one room to the next, the kitchen/foyer “door” does as well. (I put “door” in quotes because it is more of just an opening now – especially since it has been expanded and is no longer the dimensions of a typical door.)
Now, we had already finished the kitchen-side of the opening in order to move on with painting, what I will cover here is pretty much the same thing we did on the other side. This is a tutorial on mudding a doorframe!
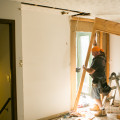
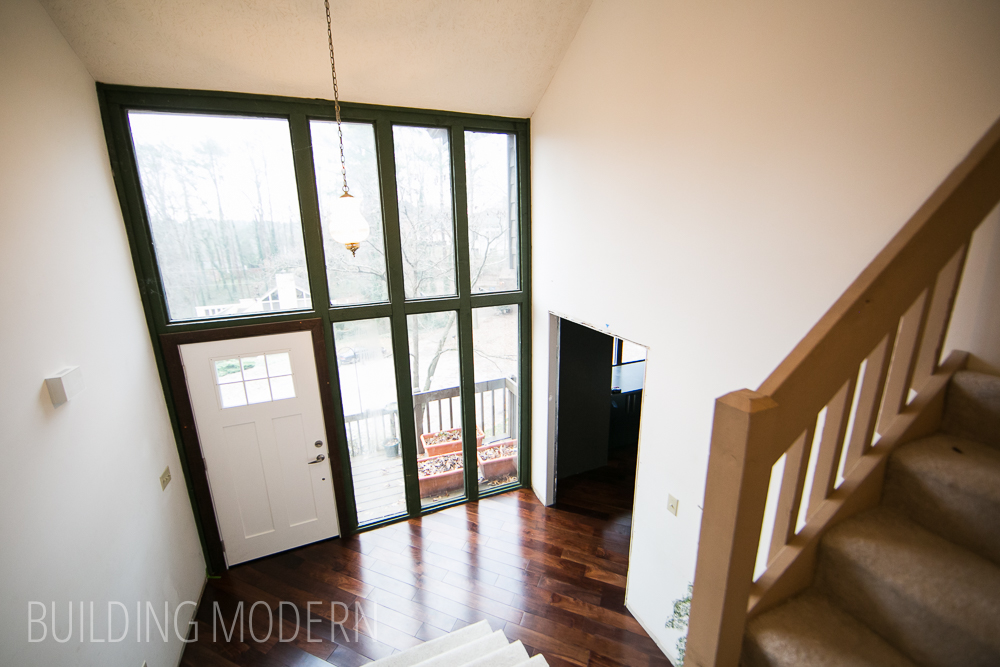
Here is our foyer, by the way. The only thing we have touched in here is the floor, new front door, and expanded doorway. Oh, we did pull off the baseboard & bottom part of the stair hand rails in order to install the flooring. You can see the unfinished opening to the kitchen on the right.
Going with the theme of modern in our home, we decided to eliminate the wooden door frames (where practical) and instead have unframed openings. We feel eliminating the frames will be a more minimal look – which, to us, is more modern. The places where we are creating plain openings (without doors) are the kitchen/foyer, kitchen/dining room, and dining room/living room. All the other passageways have doors… you know: bathrooms, bedrooms, exterior doors, et cetera. Now, I do understand the reasoning for wooden frames… for one, (obviously) you need a door jamb and casing in order to have a door… and two, the wood will just take wear better than drywall. We intend on being gentle on our house, so I’m not too worried about dinging up the drywall corners.
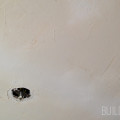
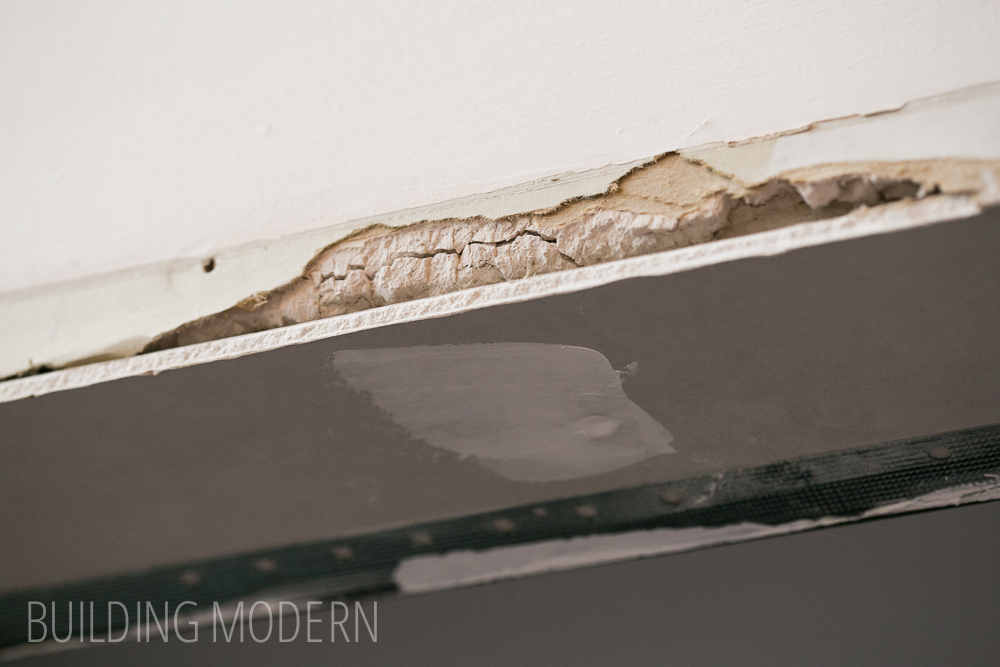
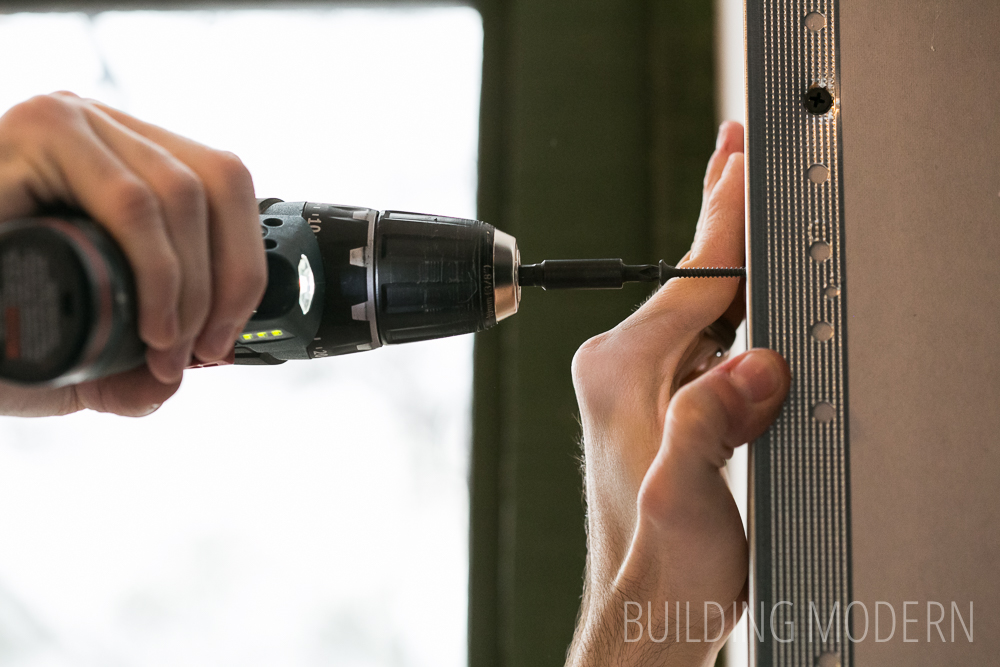
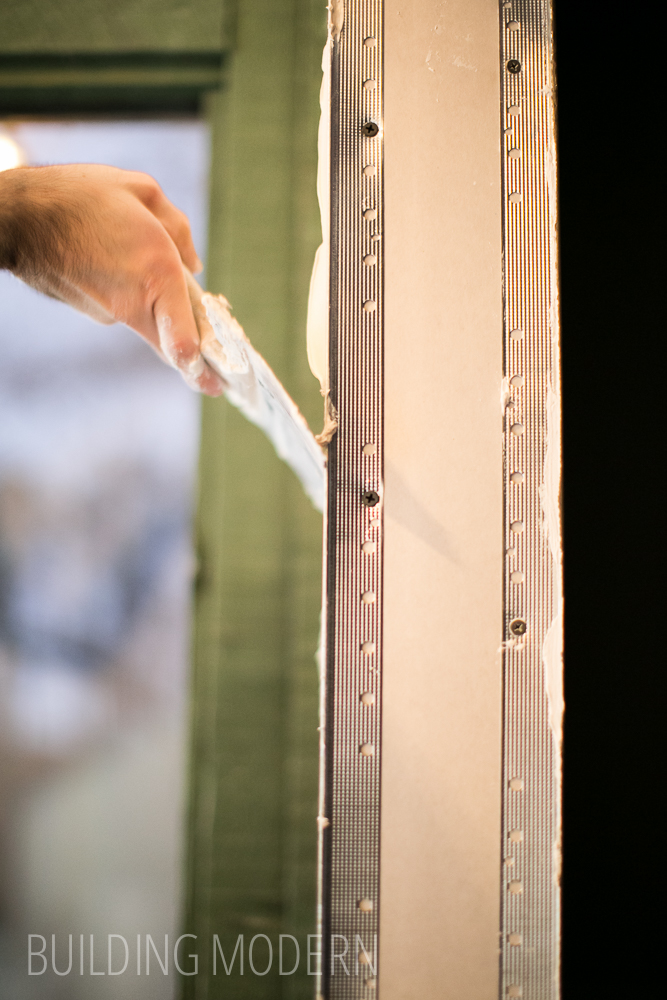
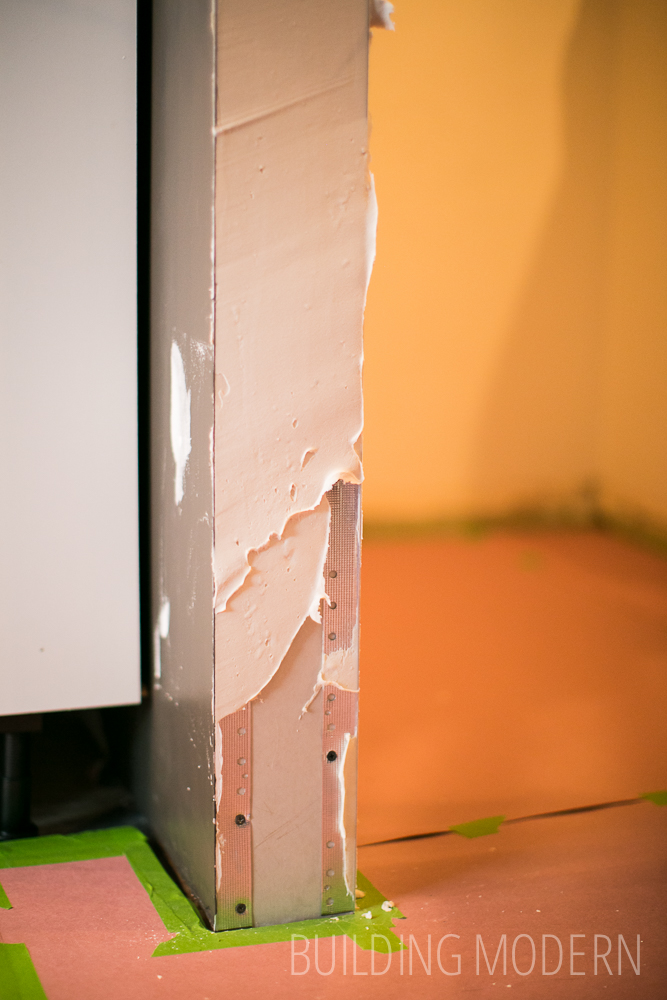
So, mudding a doorframe is a bit different than patching a hole or mudding bare drywall. Instead of smoothing a flat surface, you are dealing with corners. In this photo, the edge of the original drywall is a bit ripped up because some of the paper stuck when the wooden casing was removed. The original door jamb covered the bare opening, so we needed to add a thin strip of drywall to the space. Here, we have already covered the drywall screws with an initial smear of mud.
The next step is to add corner bead to the openings. Corner bead does two things: not only does it help cover the seam or junction of the drywalled corners, but it also helps protect those same corners from getting damaged from bumps.
There are both metal and vinyl corner bead martial: we used metal because it just didn’t really matter… we weren’t installing it in a wet or salty/wet area where it could potentially rust. (Like exterior stucco in Florida.) Oh, and there are also other cool options like pre-taped inside corner bead, bullnose versions, and bendy kinds meant for curved surfaces too.
Anyway, back to the corner bead: cut corner bead the appropriate length – you can do this with a pair of metal snips or just scissors. Be sure to cut certain ends to a point (where they will come together at a right angle – at the top corners of the door opening). It’s important that the corner bead doesn’t overlap and I suppose the 45 degree cut just helps the mud transition later.
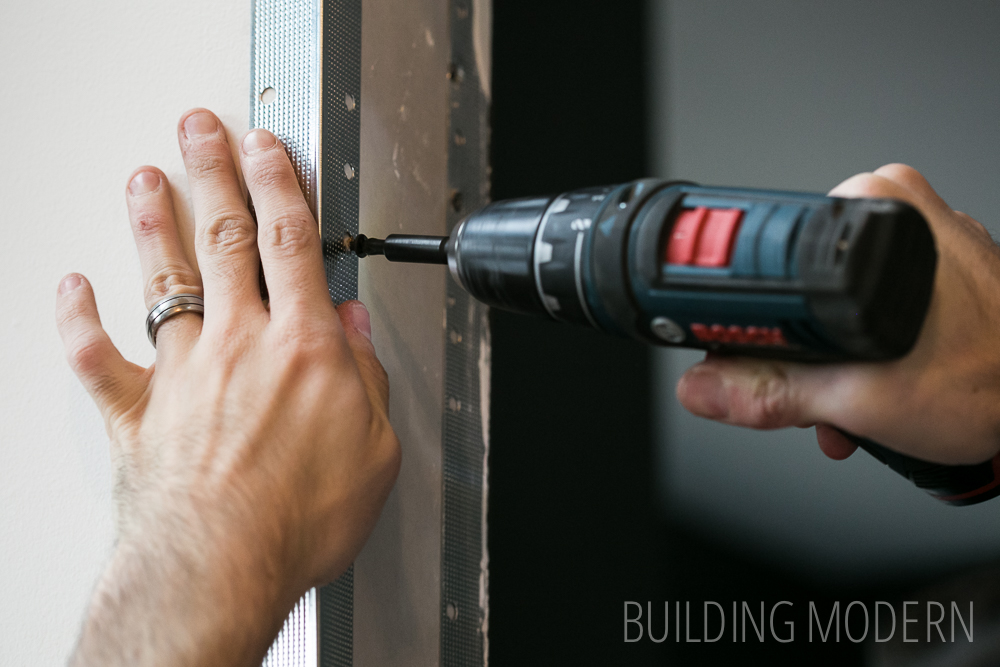
Screw the bead to the corner with drywall screws, through the prepunched holes, alternating back and forth on both sides in a zigzag pattern.
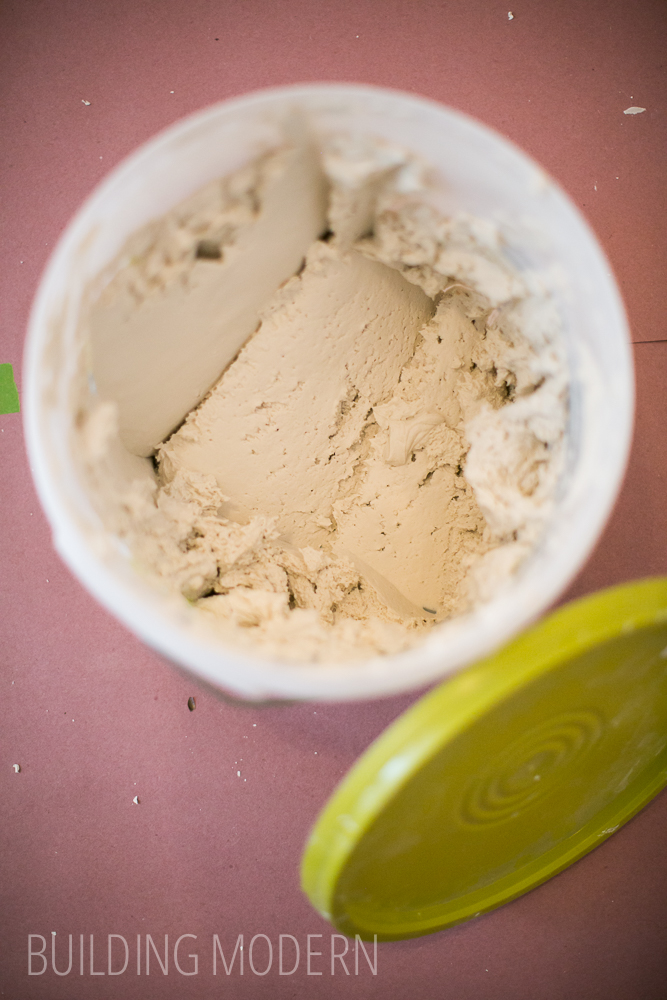
Just as we used for skim coating our kitchen ceiling, we used lightweight joint compound for this project.

The mud in the bucket has a bit of air in it and is kind of fluffy. We added a drop of dish soap to help reduce air bubbles. It doesn’t really have literal bubbles, per se, but it just needs to be worked to make it a bit smother.
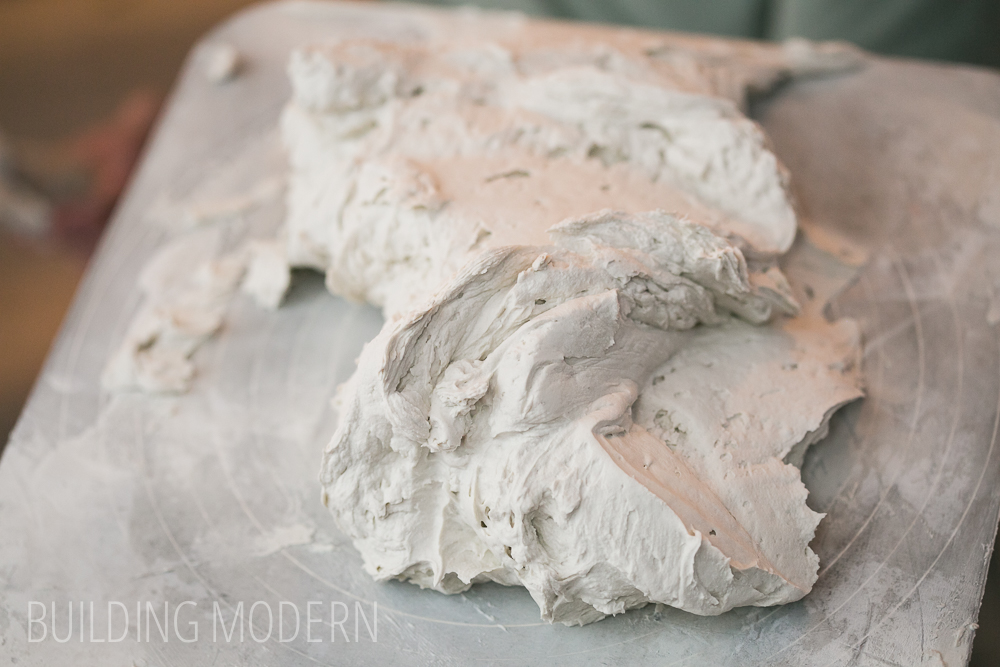
Professionals use a mud hawk – so if it works for them, it’s probably the best tool for the job. Glop a bit of mud on the flat surface of the hawk and work it around to make the mud more smooth – its kind of amazing how the texture really does change.
Since we are not the most skilled mudders ever, we learned that, for us, it was best to do one wall side first, let it dry, and then go back and mud the interior surface. I am terrible with joint compound – the worst thing you can do is try to fix little imperfections – you just end up making it worse… I am also not very skilled at icing a cake either. So the mud work became Spencer’s job.
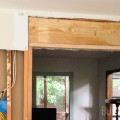
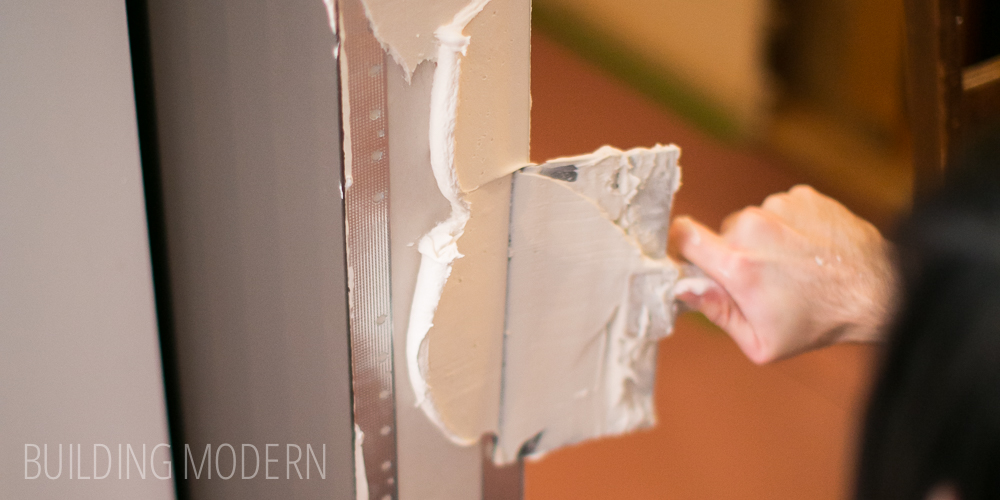
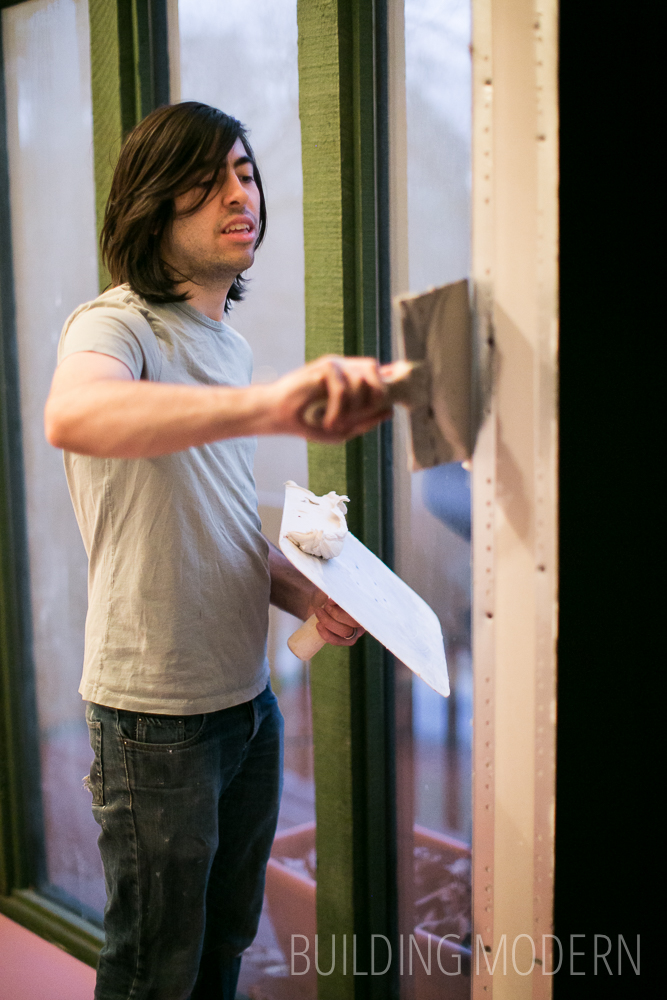
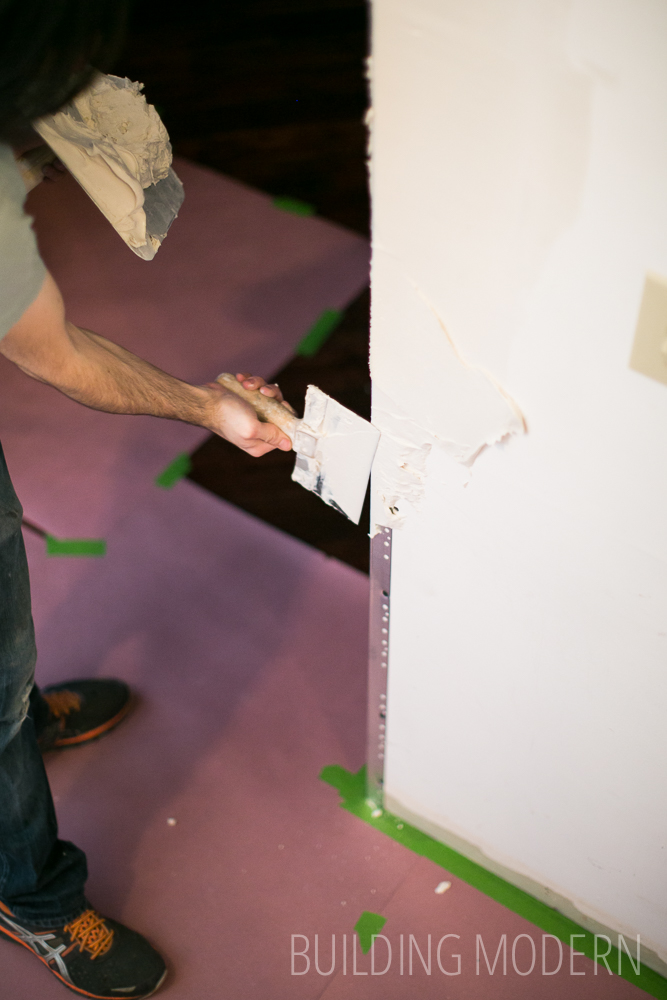
Here is Spencer applying the first coat to the foyer wall.
You can sort-of see here how the “bead” part of the metal on the corner protrudes out and the rest of the strip sinks into the drywall. There is a level difference. Your goal is to fill and hide the edges of the metal strip with joint compound – from the bead feathering it out onto the drywall.
You just kind-of get the mud on the wall and try your best to feather it out into nothingness.
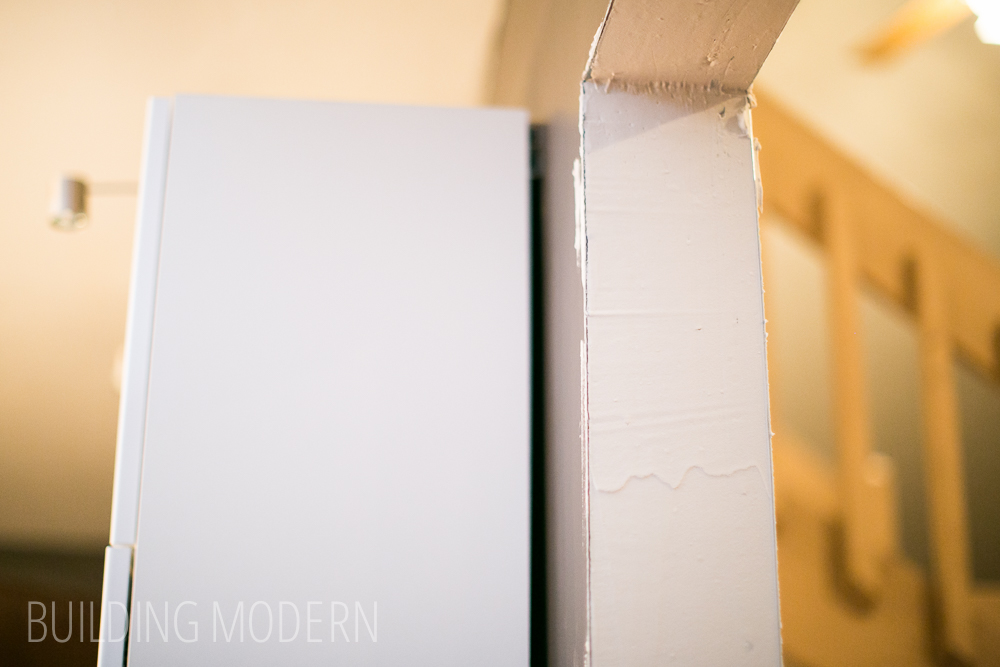
As smooth as Spencer could get on the first pass:

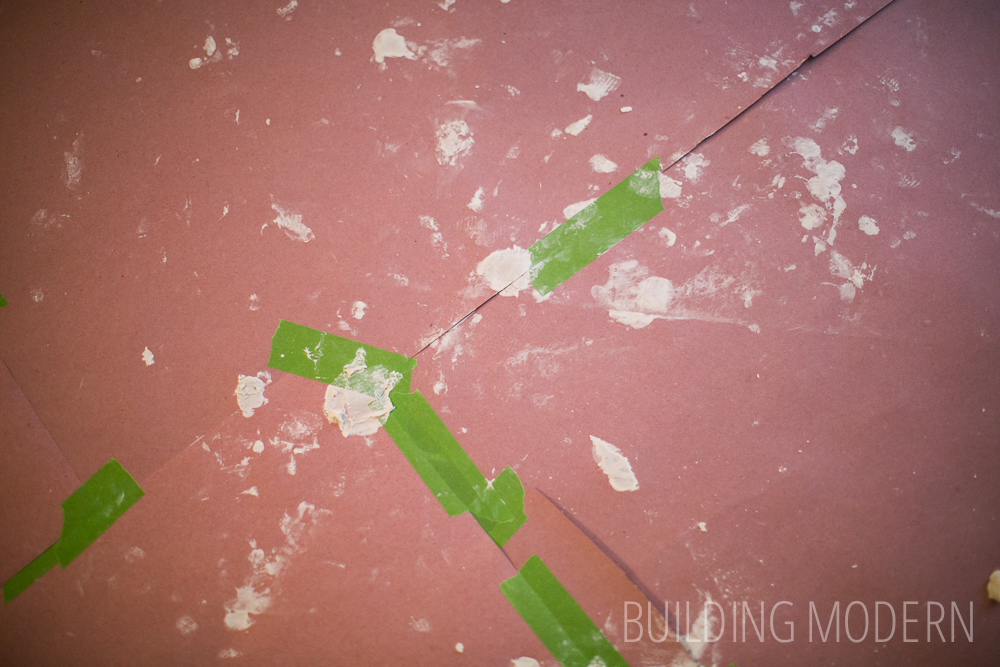
Oh, and even if you think you can be careful – still use a drop cloth of some sort! And then take off your shoes afterward so you don’t track mud around the house!
After the foyer wall was dry enough, Spencer filled the door jamb area with joint compound – starting with the top…

…and continuing down the sides.
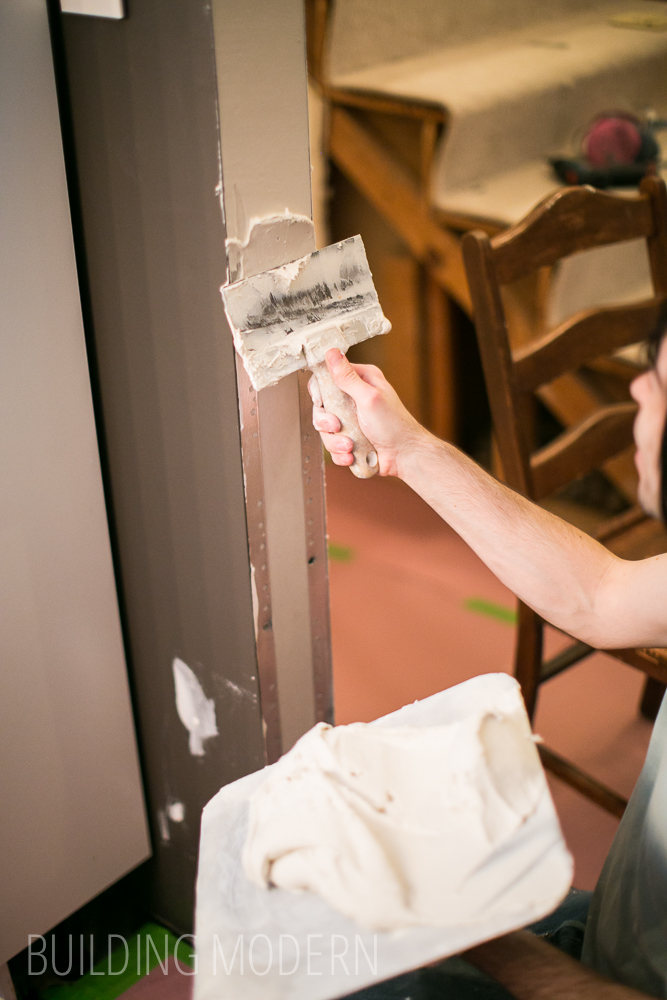

He just spread it on and then smoothed it out with one pass with a clean putty knife.
I then sanded the first coat and we added a few more coats as needed. The wall side needed a bit more attention to feathering out the mud-wall transition than the interior of the door.
In the end, it’s an interesting balance between putting too much material on the wall and not enough. You don’t want to end up sanding down a ridiculous amount of joint compound… but you need enough mud on the wall to cover what needs to be covered. I’ve seen a video of an experienced individual doing drywall work on “This Old House” and a skilled person is pretty amazing.