Here’s a little look back at the hallway before I finished painting the trim – just so you have an idea of what the doors in our house looked like: stained hollow core doors.

In order to paint these doors, I needed to remove all the hardware, which included the knobs.
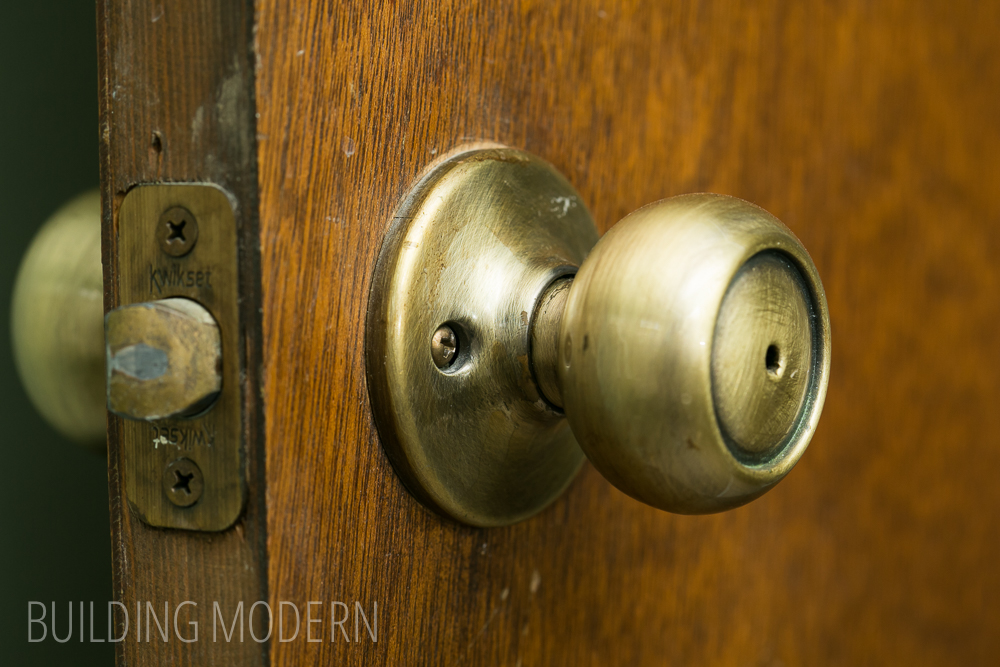

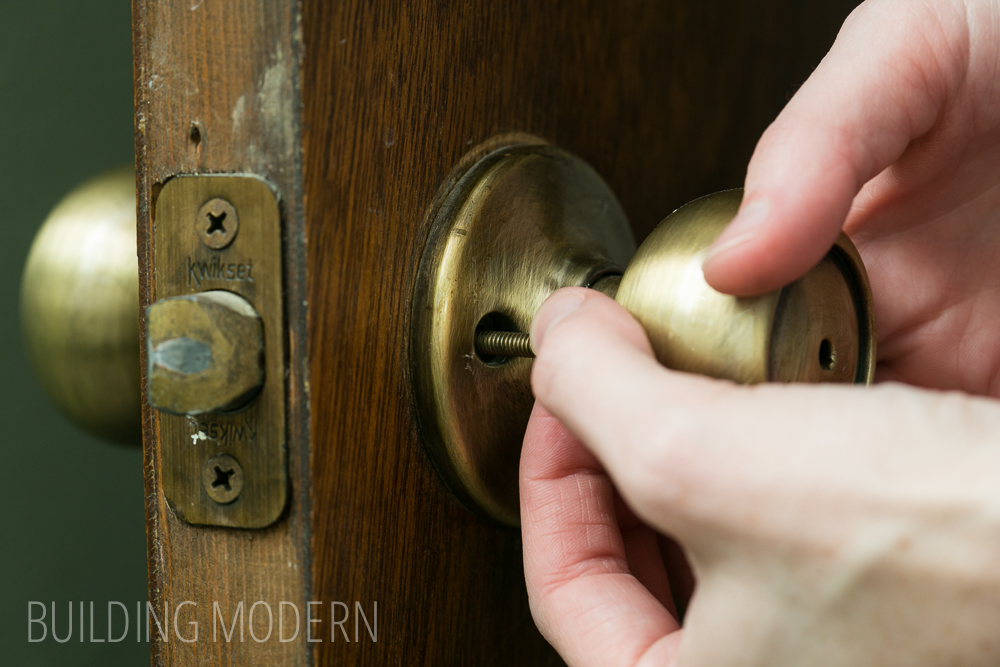
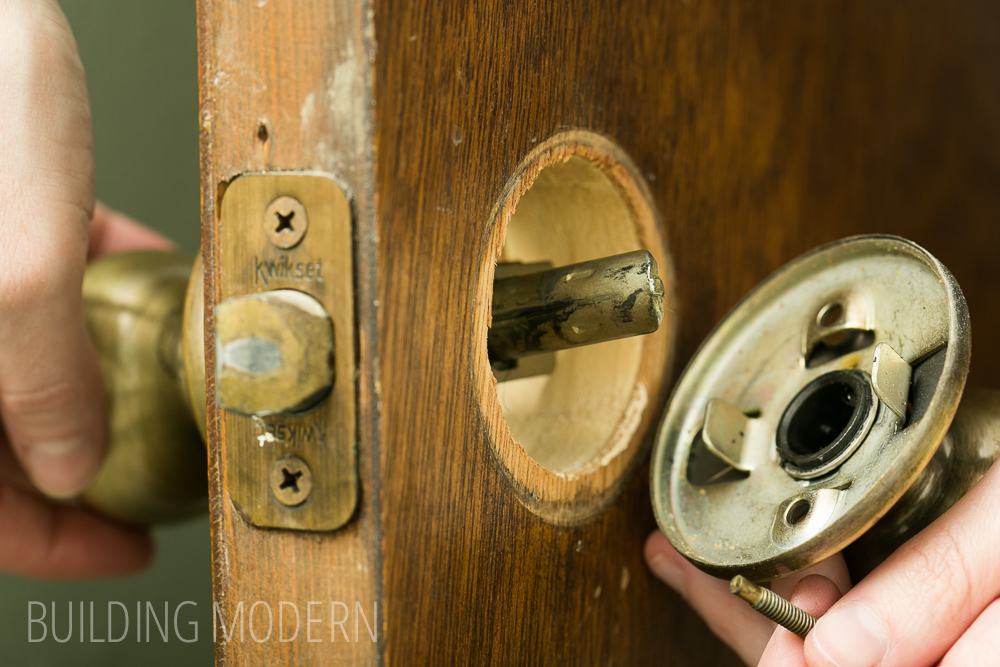
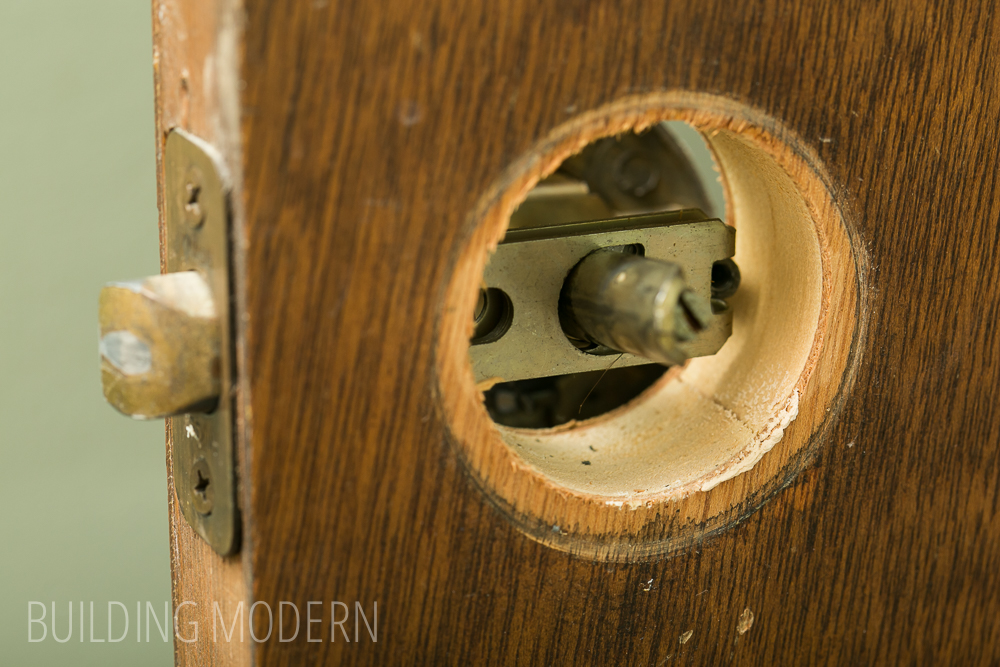
Just a quick view (& reminder for me) of how the knob mechanism fits together:
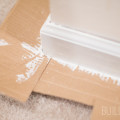
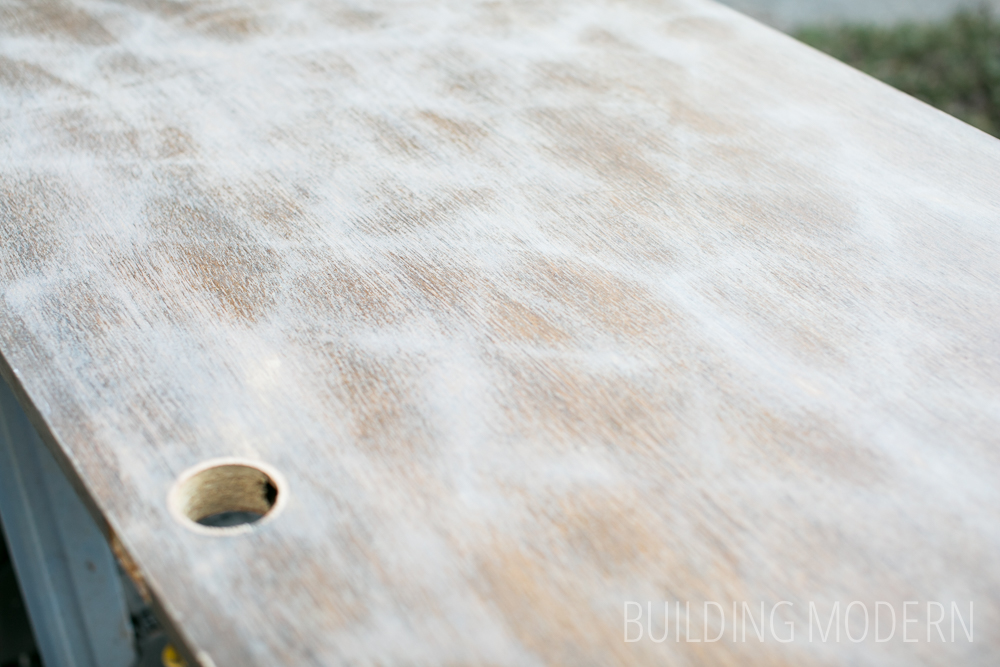
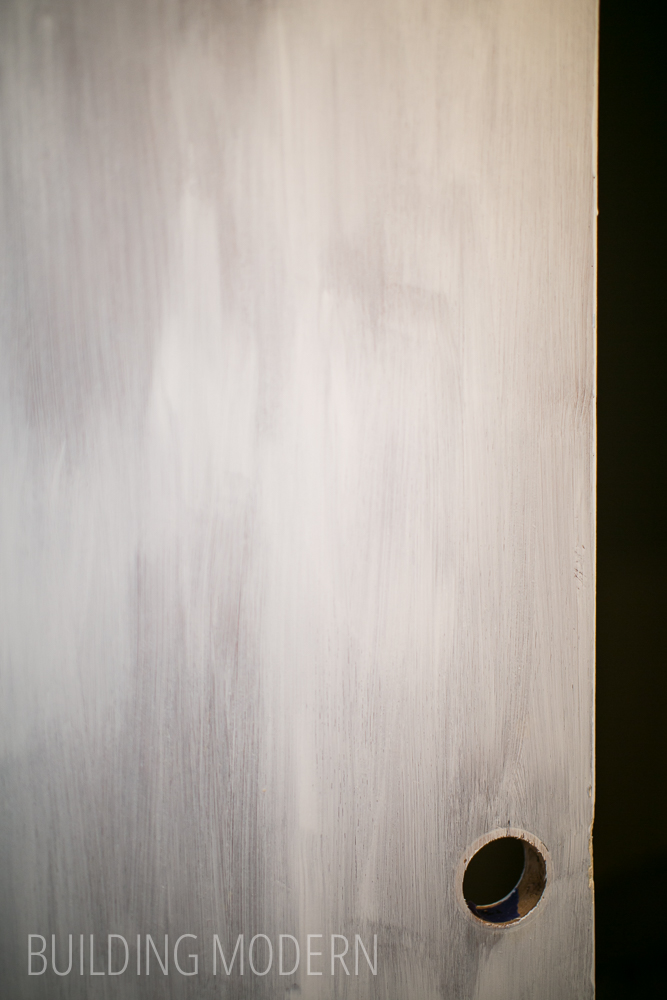
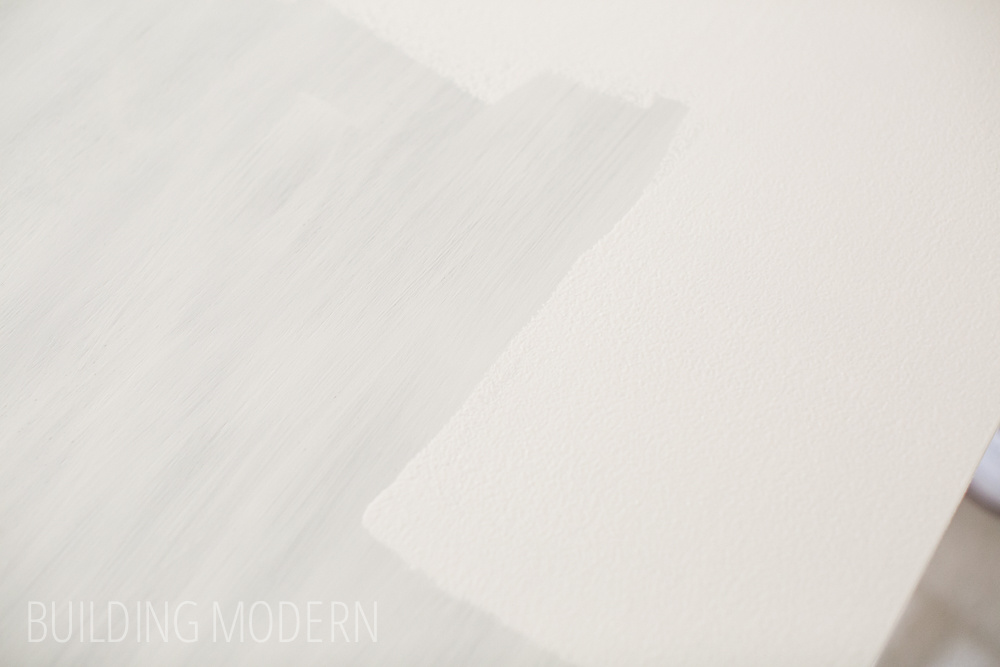
For one door, I decided to experiment a little. I wanted to see if sanding the door before painting would make any difference.

So I lightly sanded. The white is the dust & you can also see the diamond pattern form the honeycomb pattern inside the door.
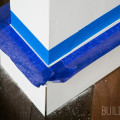
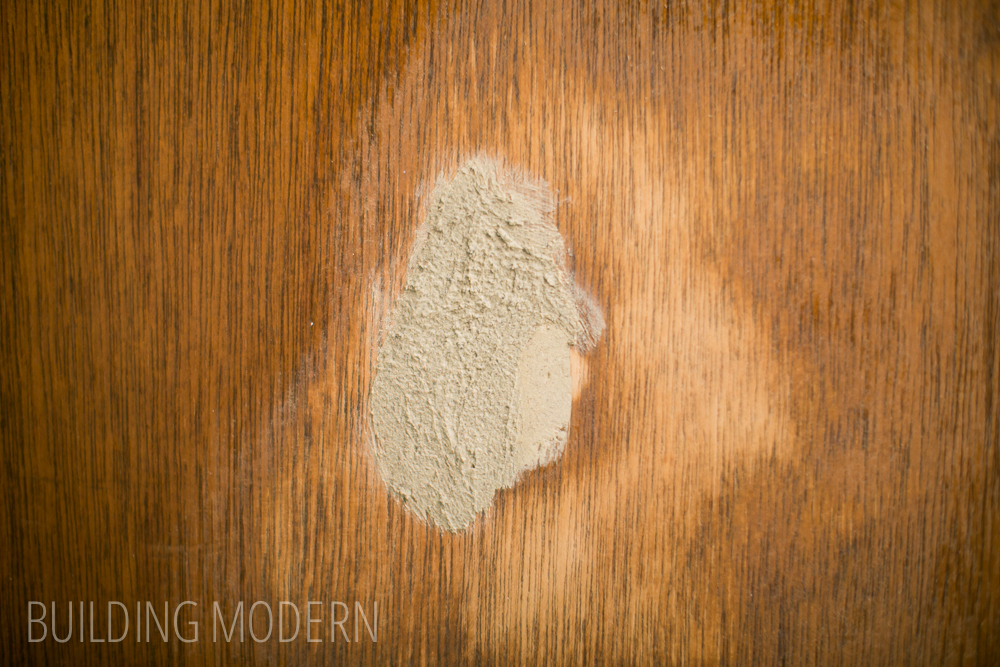
One door had some damage, so I gave it a couple of layers of wood filler & then sanded.
I started painting the doors with a primer – I used a paint brush at first because I was lazy & didn’t want to clean a roller.
Coat two, looking better:

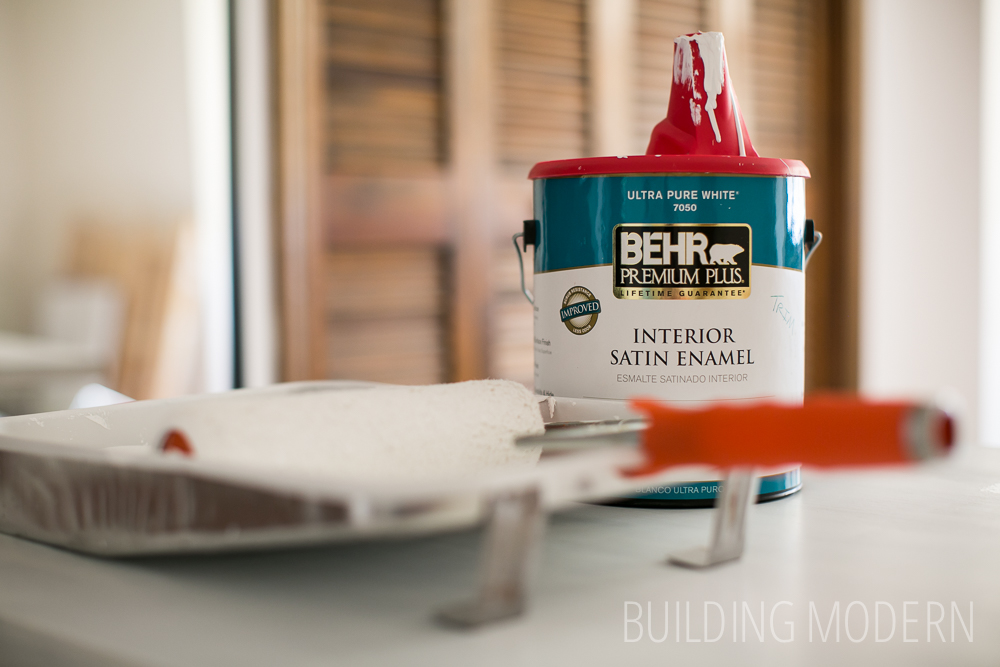
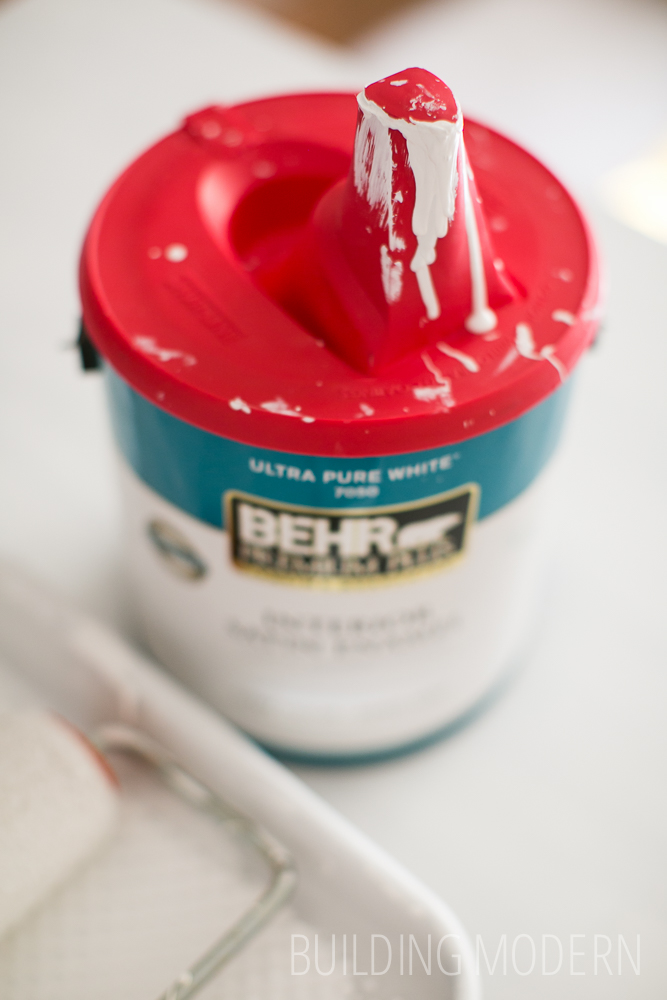
Here’s the paint I was using: Behr Premium Plus Interior Satin Enamel. Since I painted the doors, Behr has replaced this product with a paint & primer in one version which, I will say, is a superior product.
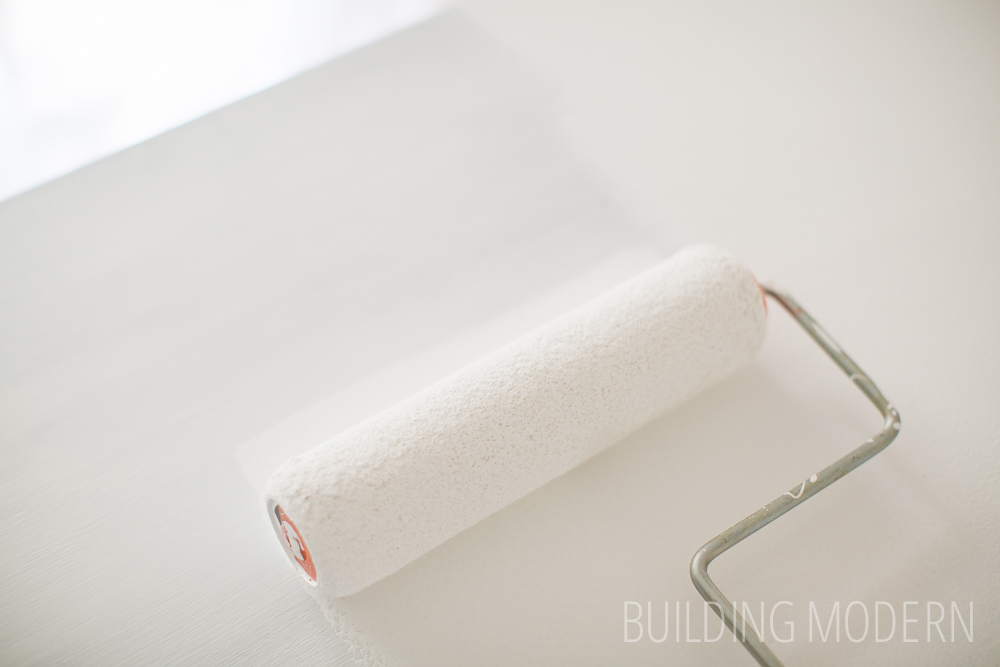
I decided to break out the roller for the paint:
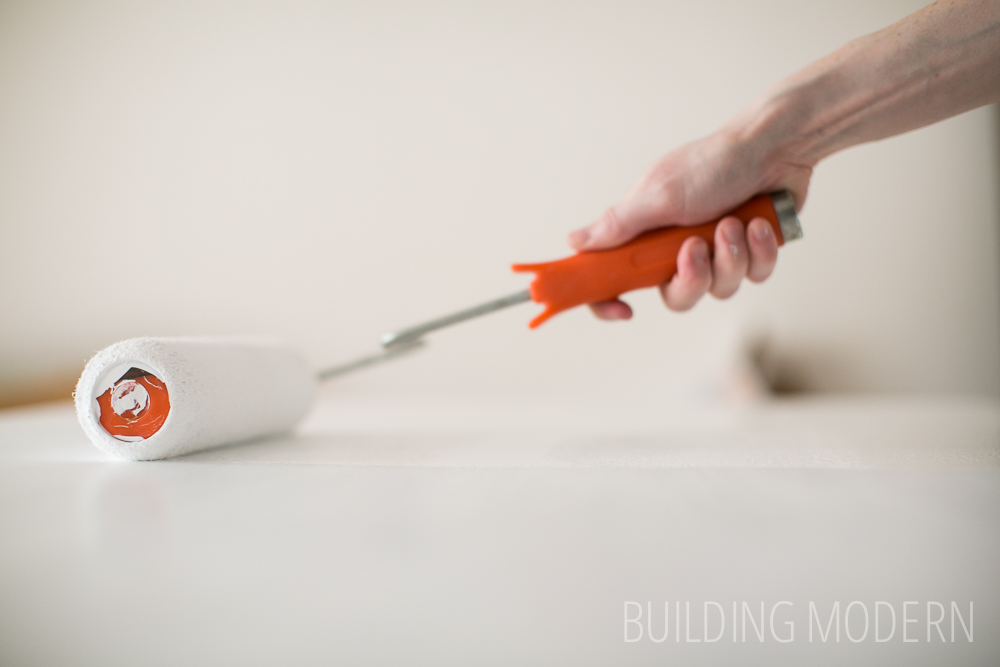
The rolled paint made a huge difference over the brushed primer.
These paint can lids really do help control pouring the paint, and as a bonus, you don’t have to keep pulling the metal lid on and off.
Another coat of paint:
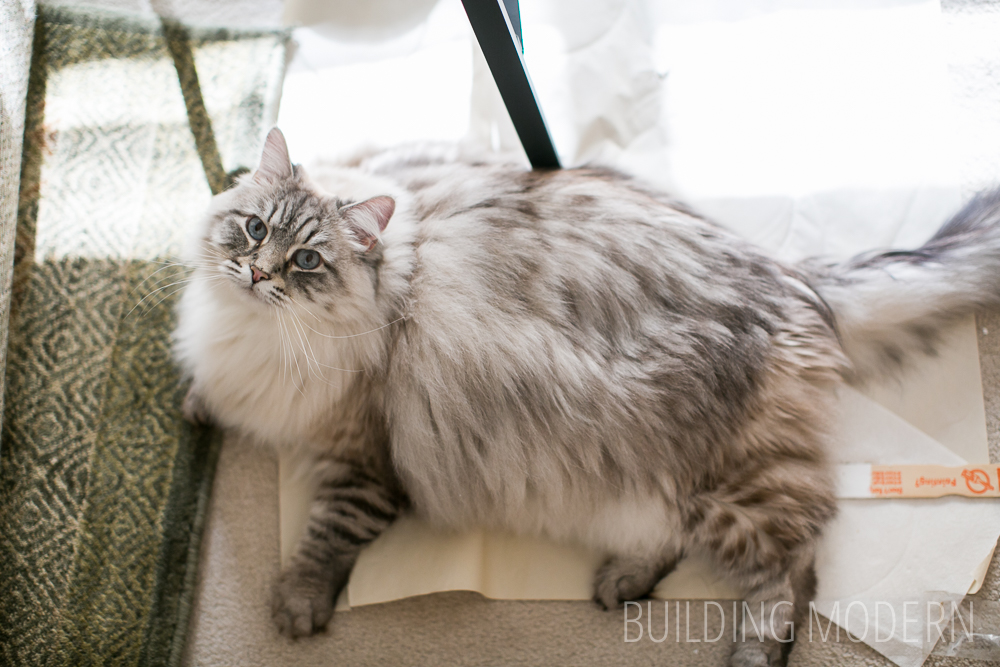
Izumi is a good helper kitty:
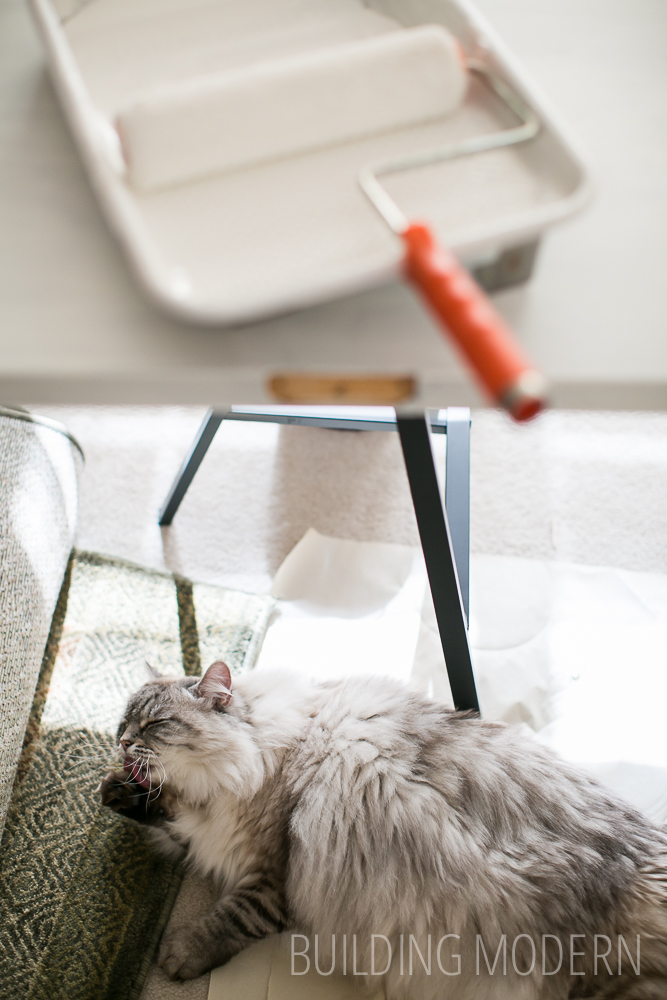
Izumi says: sanding the door made no difference in the results. The primer worked just fine keeping the paint in place.
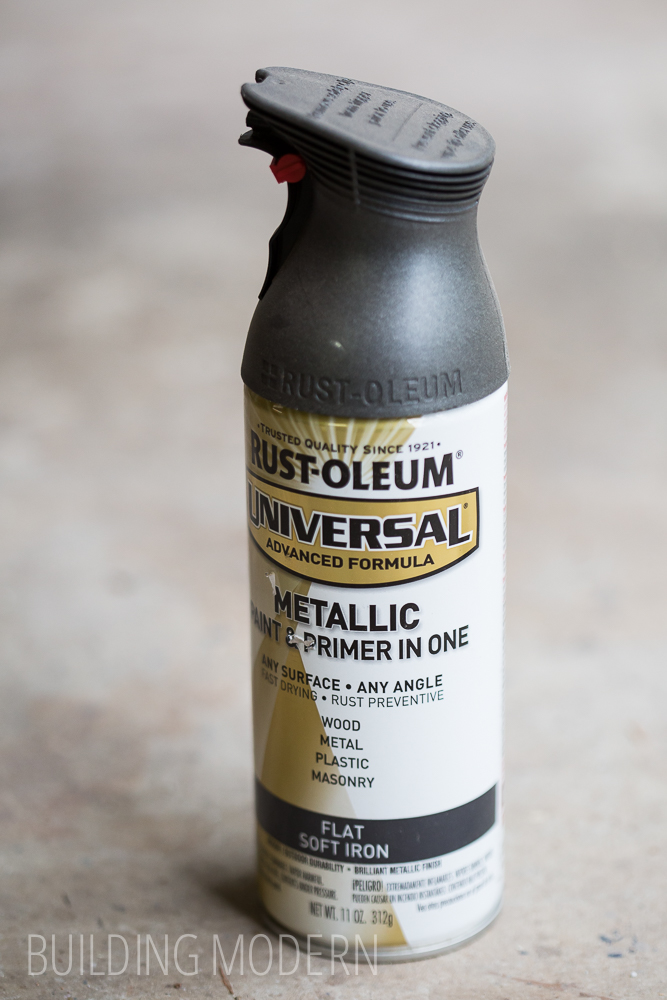
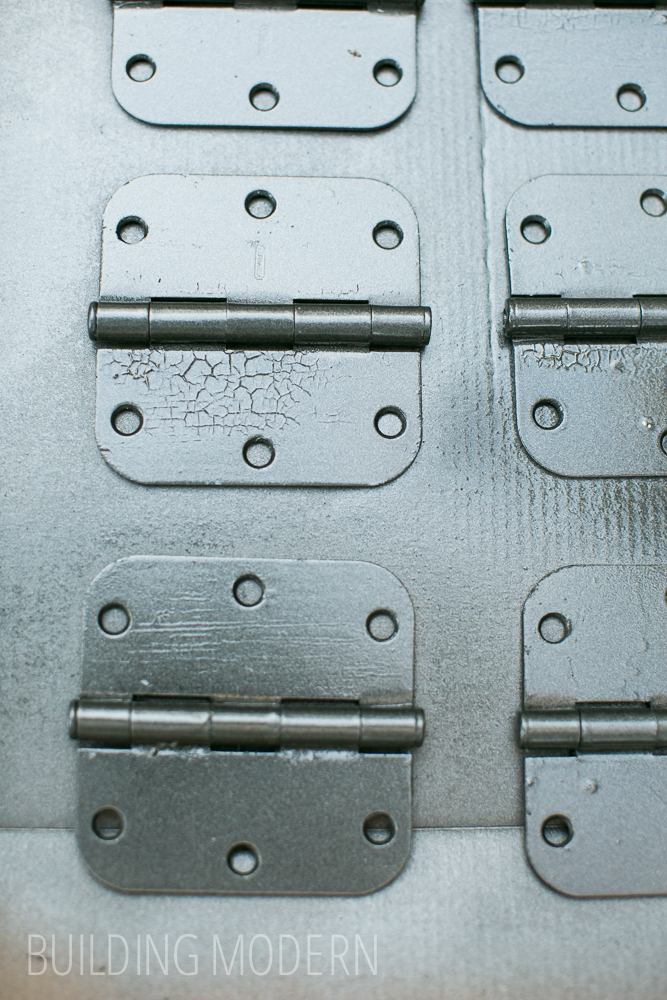
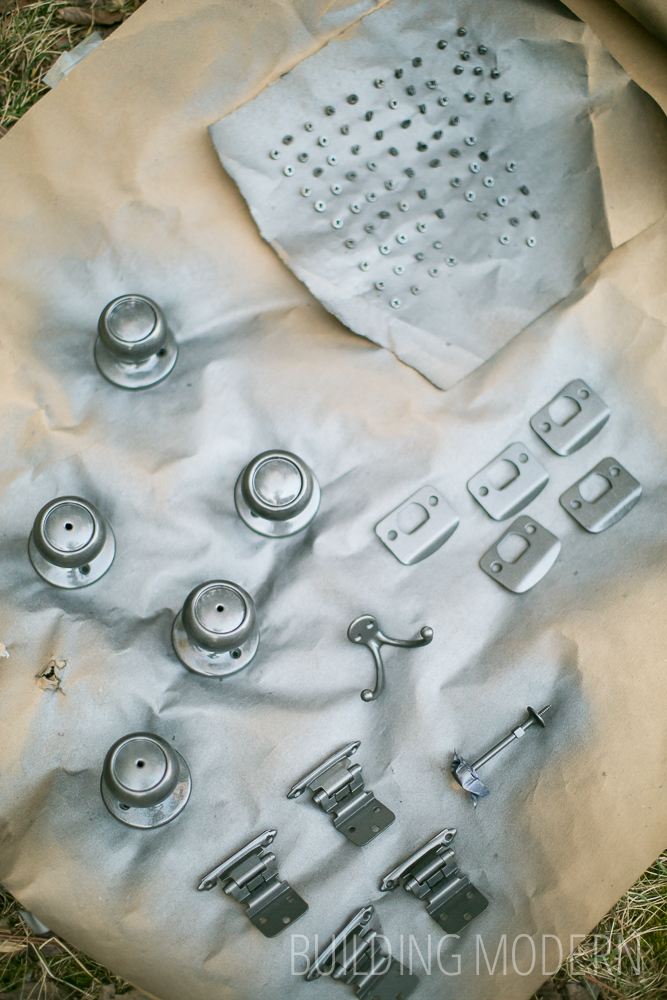
While we are talking door updates, I decided to spray paint the hinges to the doors & vanity doors…

…& handles.

We like grey and slightly sparkly grey fits the bill. I know “Oil Rubbed Bronze” is super popular right now, but our neutral color in our home is grey and I think that this color is super pretty.
No priming or de glossing for our hardware. Some of the door hinges seem to be protesting with a crackle finish.
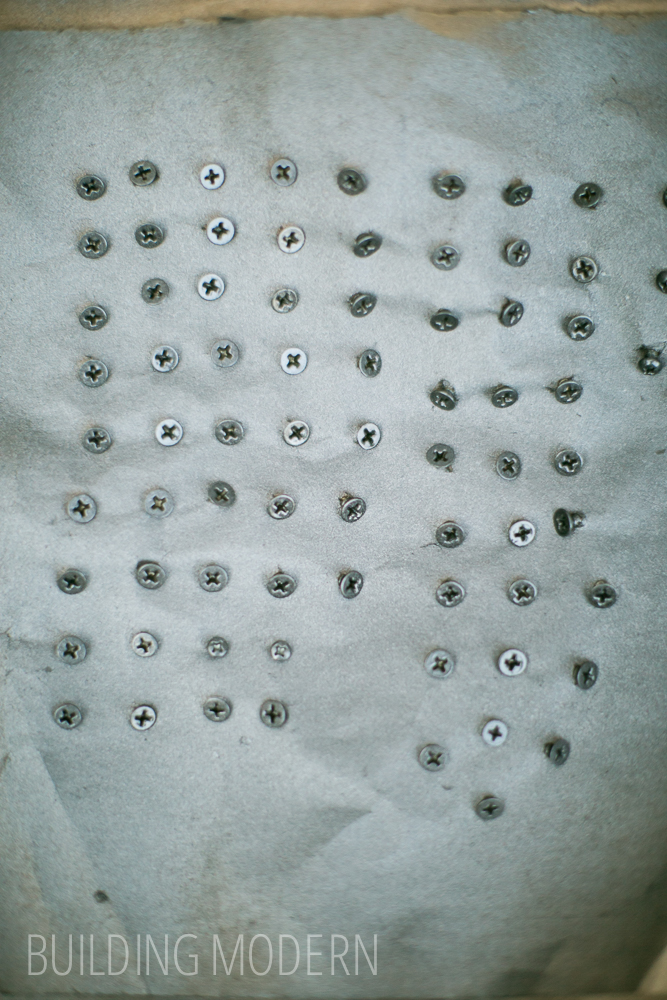
I didn’t forget the screws!
The vanity handles look so much nicer: I tried cleaning the oxidized looking one, but it didn’t seem to get better – the spray paint covered everything up. (Of course, I followed directions, using light bursts of paint and waiting a little between coats).

More pieces: door knobs, hook, stopper, strike plates, and vanity hinges. I was browsing our Home Depot and the only vanity hinge replacement they had was this exact same hinge from the 80’s. The new ones were silver, but otherwise, they haven’t changed in 35 years. I was already spraying the other hardware, so it didn’t make any sense to buy the same hinge in silver.
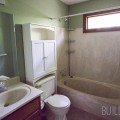
And voila! A tiny-bit-better guest bathroom. (Also in the hall, the other doors were painted as well.) The only things done in this room were painting the base board & door moulding, painting the door, filling the vanity door detail with wood filler & painting, and spray painting all of the hardware.

This is where I stop the light updates for the guest bathroom. I will paint the walls and the window trim, but not just yet – we have a destination wedding to photograph!
In case you haven’t seen the other posts about the bathroom’s temporary updates, here they are:
The guest bathroom before
Part 1) The gust bathroom & hall get a coat of paint
Part 2) Updating old cabinets with wood filler
Part 3) Painting hollow core doors & spray painting hardware