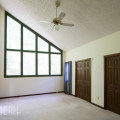
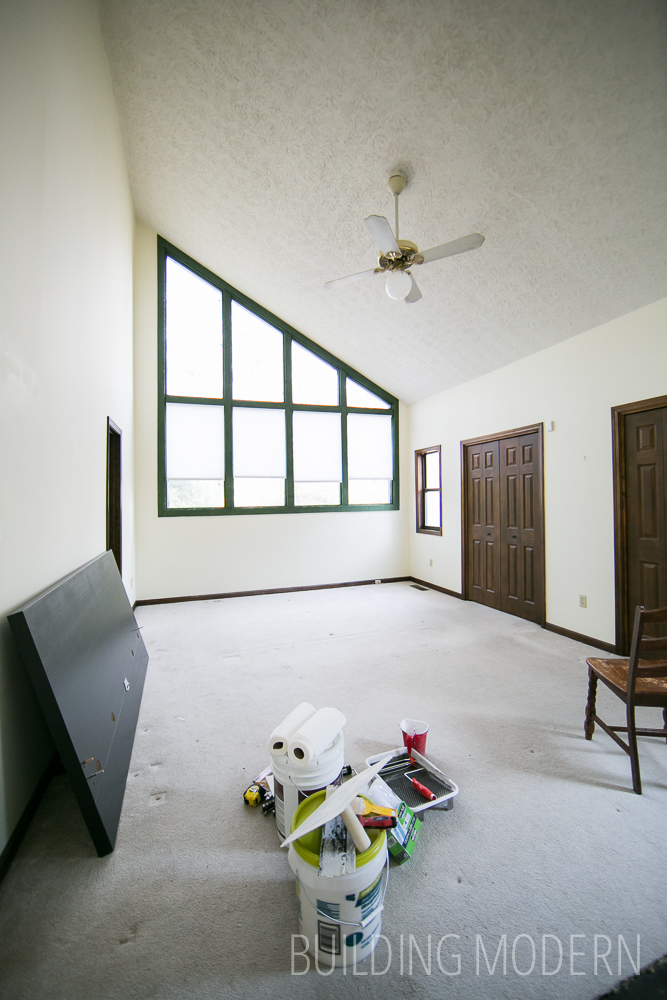
Again, here is our master bedroom ready for a fresh coat of paint.
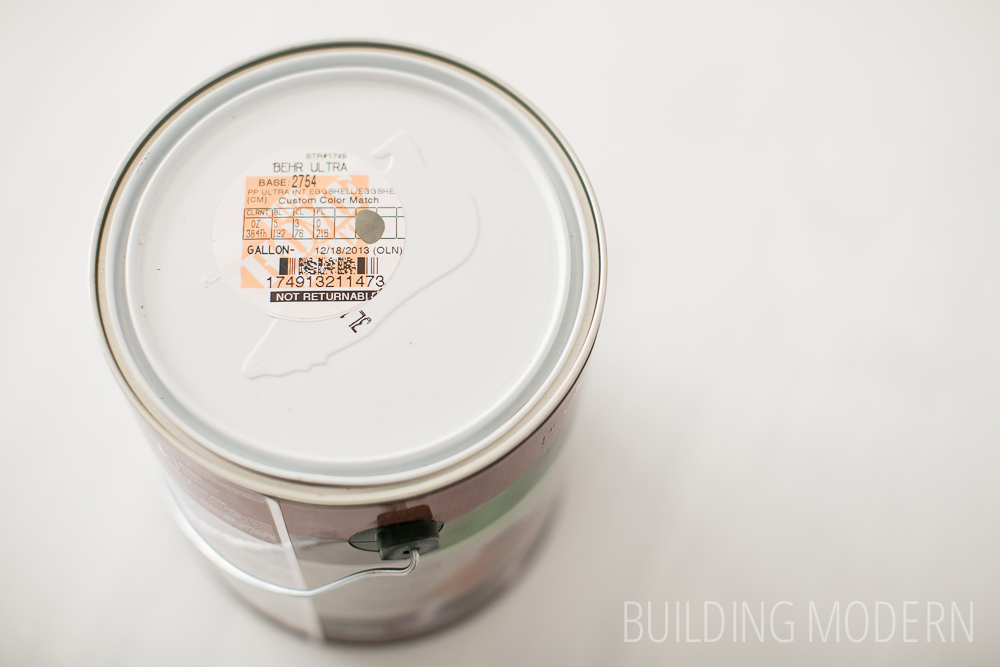
We used Behr premium plus ultra, interior eggshell, paint and primer in one. We used a medium base because our color was a bit dark.
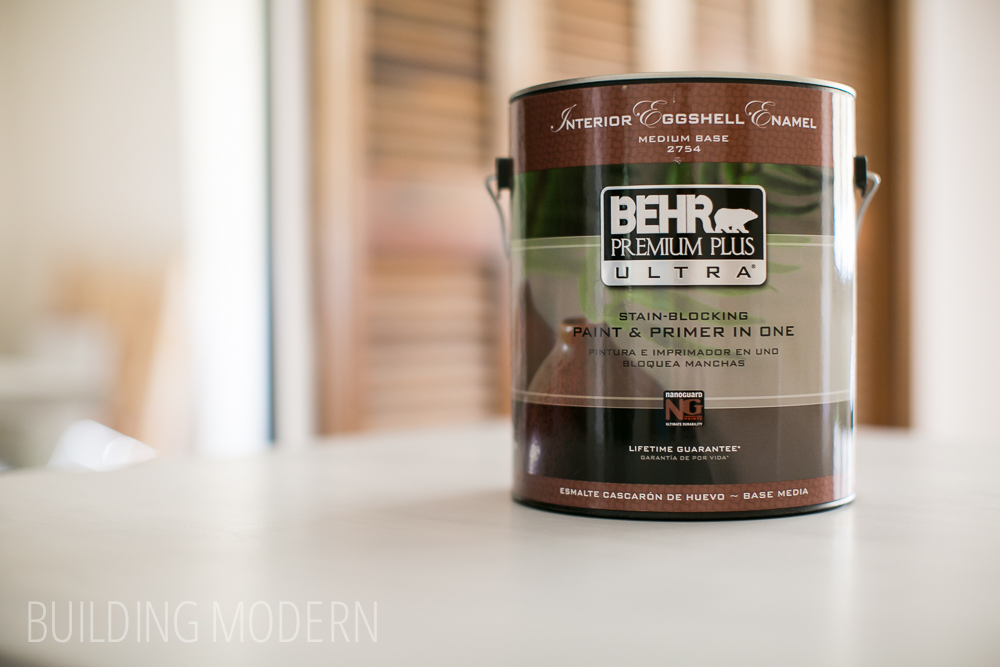
We did a color match to Restoration Hardware’s “Slate”: I think it’s a perfect warm grey.
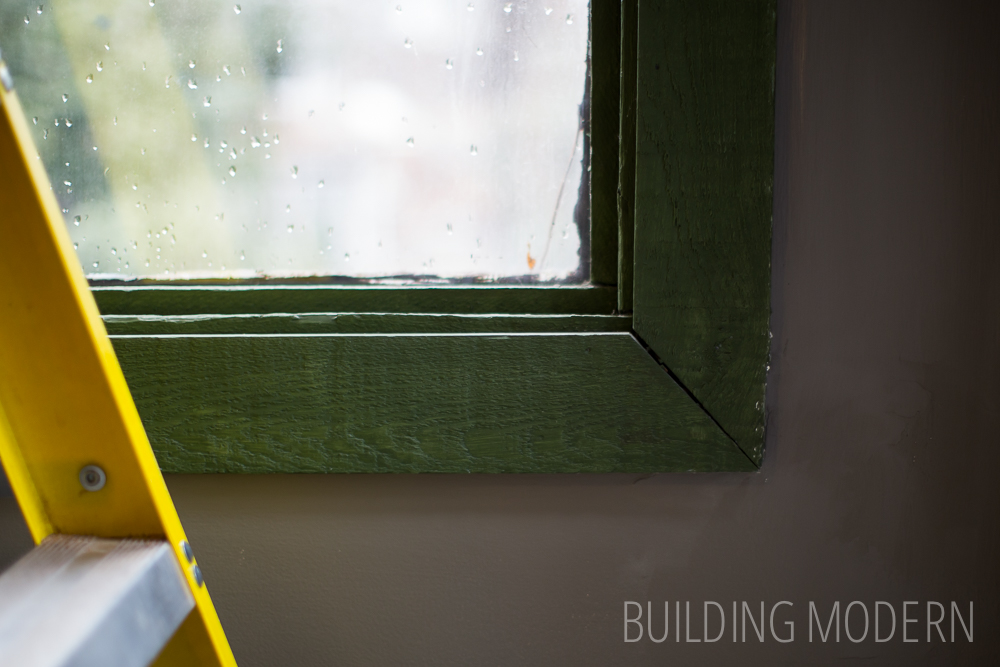
We painted all the walls starting with cutting in against the ceiling. We were able to reach the 16′ 10″ maximum height with our exterior extension ladder. I don’t have photos of this but you can imagine. I do have a photo of the old hunter green cedar trim against the newly painted grey wall… which makes the grey look terrible. The color looks way better than this I promise. I also had to pump up my flash a bit because the green trim was so dark (and backlit) that it was hard to see the color.
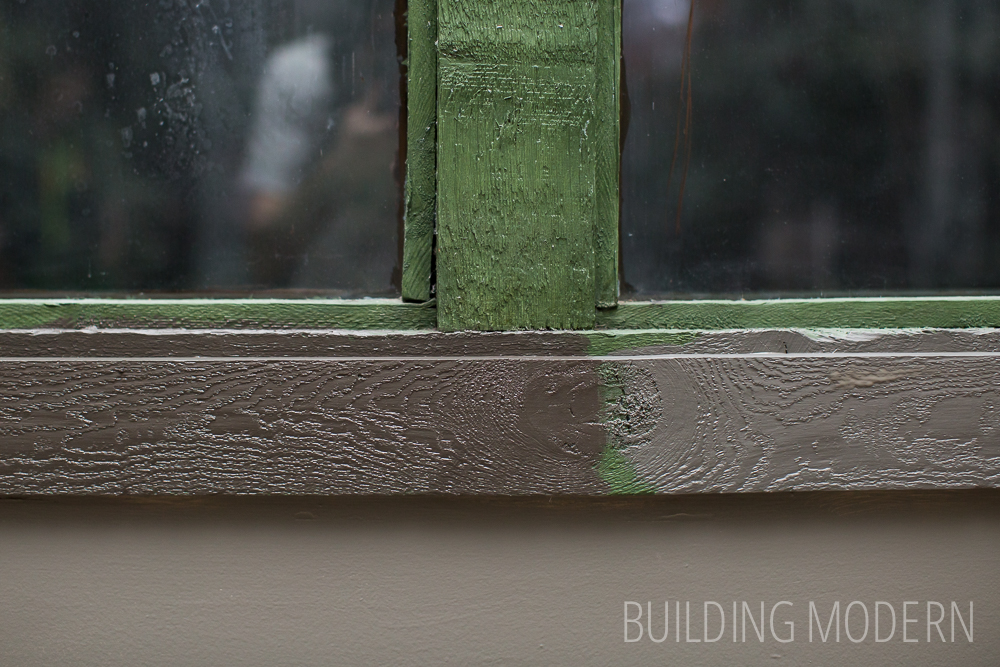
So, I knew I liked the look of crisp white against the medium grey wall color. I had seen it before and it looked great. I tried the white on the rough-hewen cedar and… nope. The texture with the white looked awful.
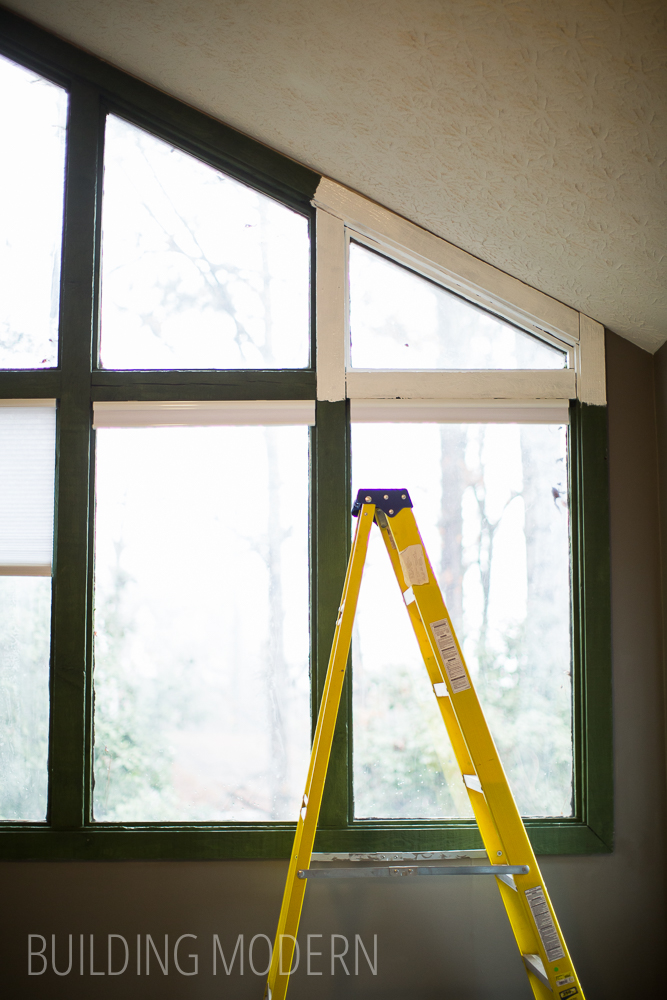
Just awful. The white highlighted all the gaps between the boards and imperfections.
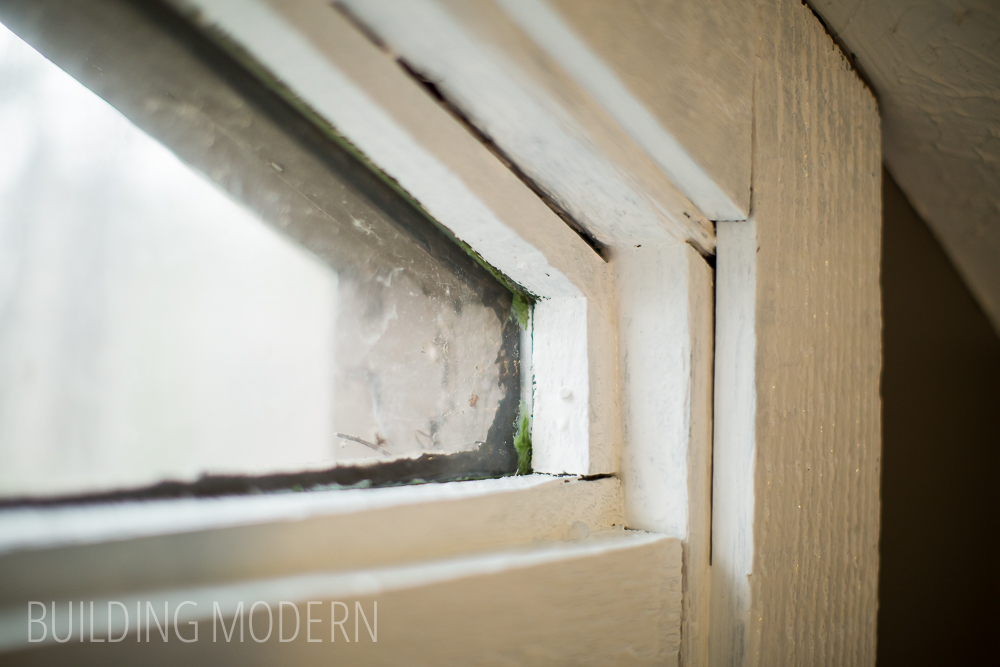
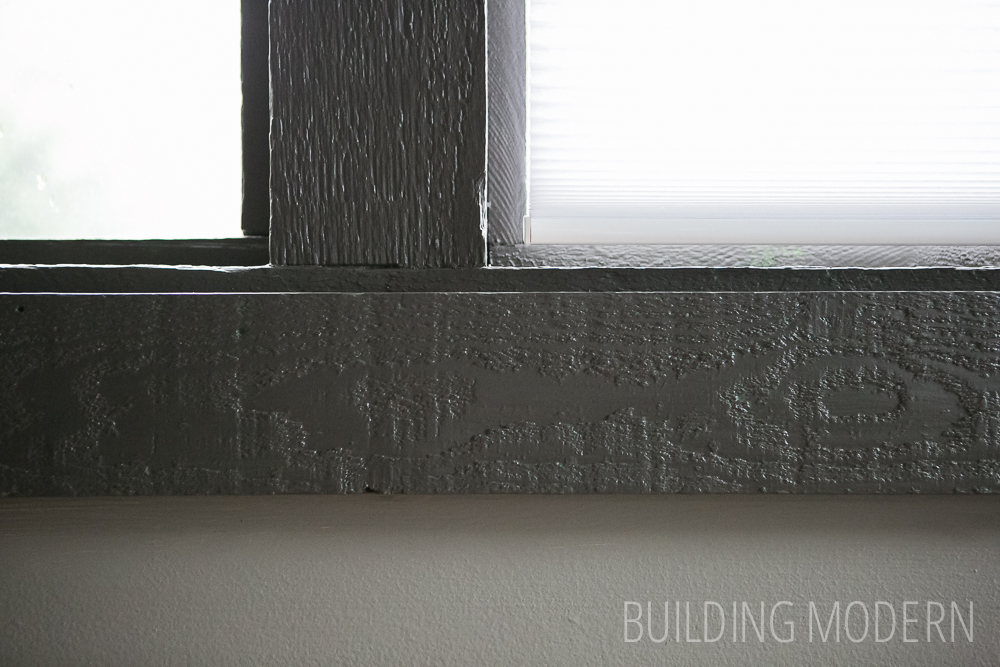
We waited until night to take a photo of darker trim options. During the day, we had the same backlit issue obscuring the color. The paint is still a little wet in this photo, so it looks a bit shiny. We decided on using the darker charcoal color sample (on the left) which was a color match to Sherwin-Williams “Sealskin”. In person, the “Sealskin” sample card can look a bit brown, but when compared to RH “Slate” they actually work well together. (I would rather have a warm grey than tipping in the blue direction.) The rough cedar went from unfortunate 90’s hunter green to looking pretty interesting and textural in charcoal. I was surprised how much I now liked the roughhewn timbers when painted dark grey.
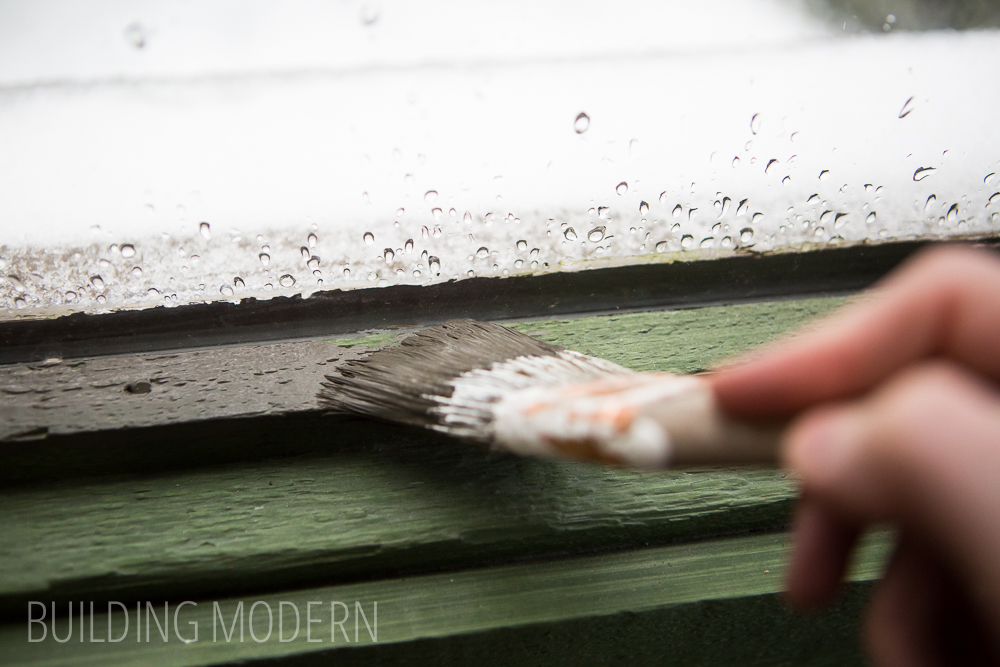
The next day: painting the cedar. Contrary to everyone advice that the best time to paint is during the day time… I’d say for these windows, I would have been better off painting at night with a work light behind me. It was hard to tell what I was doing on the face of this trim and later, at night, I found little spots that I missed.
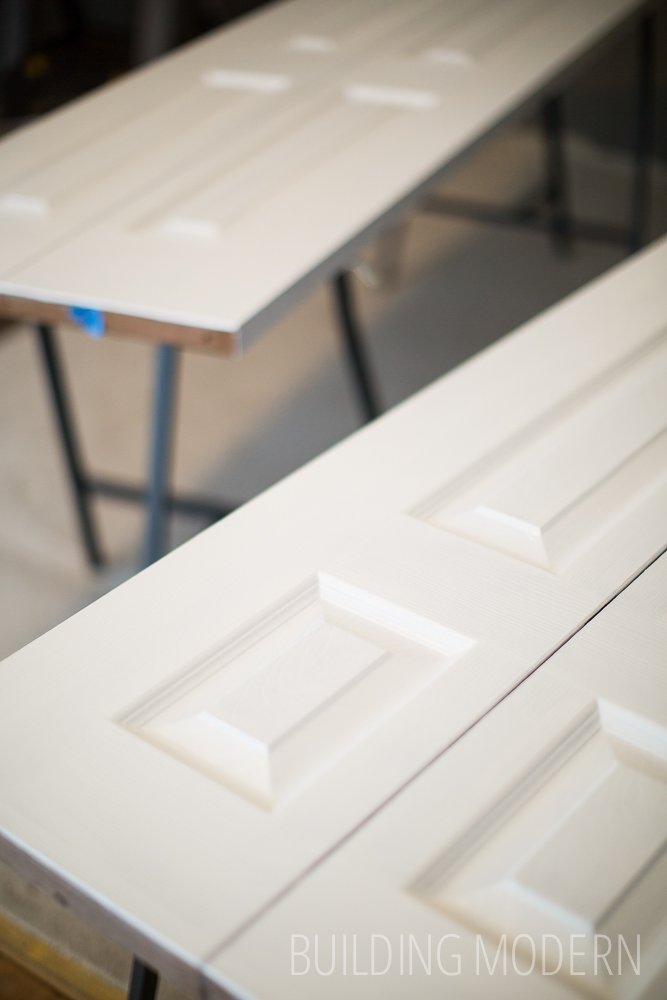
After the cedar trim was done, we utilized the big empty room. We removed the closet doors and painted them white. I color balanced this photo for the doors (the daylight makes the room look overly blue.)

These doors were not real wood, but they were painted with what looks like watered down brown paint to simulate stain.
The painted doors look a good bit better I think:
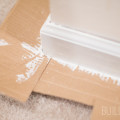
After we finished painting everything, we removed the baseboards and pulled up the carpet. We found both probably original water-damaged and an extra layer of tackstrip.
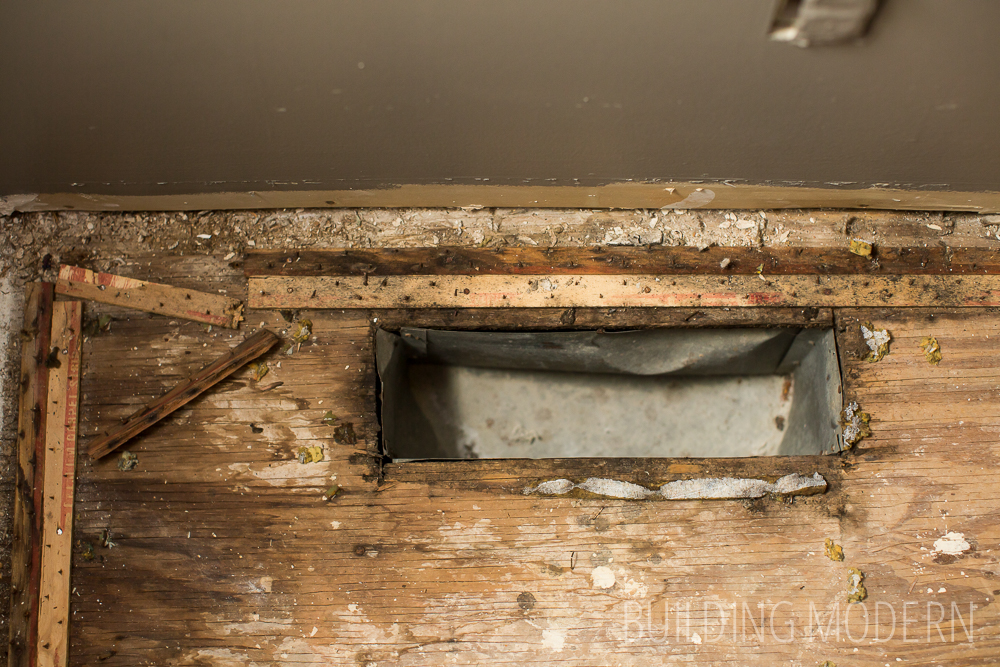
The carpet from around the vent… I think this is just dirt.
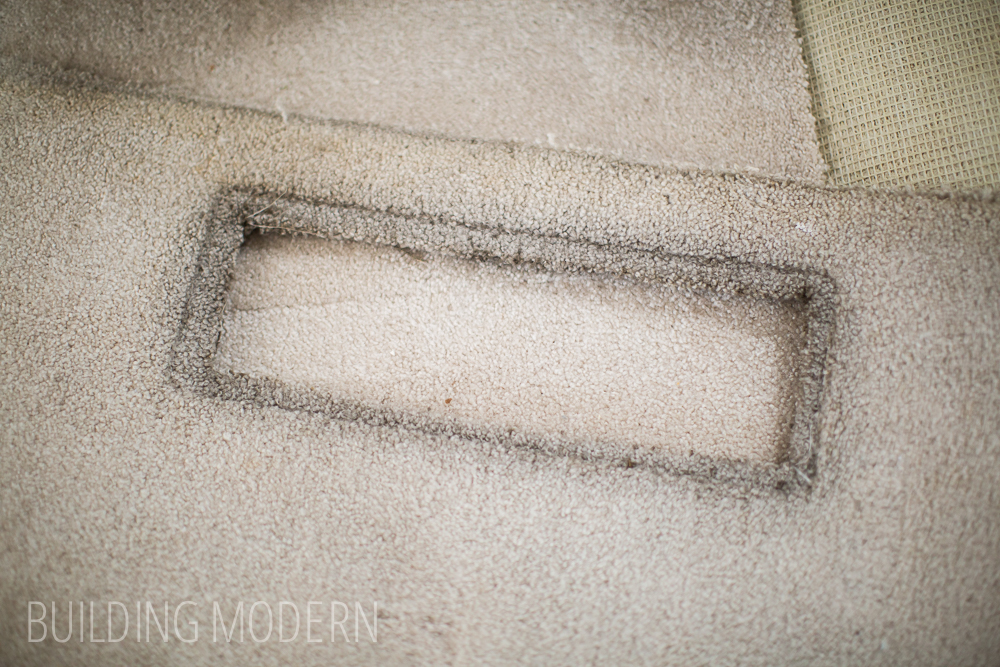
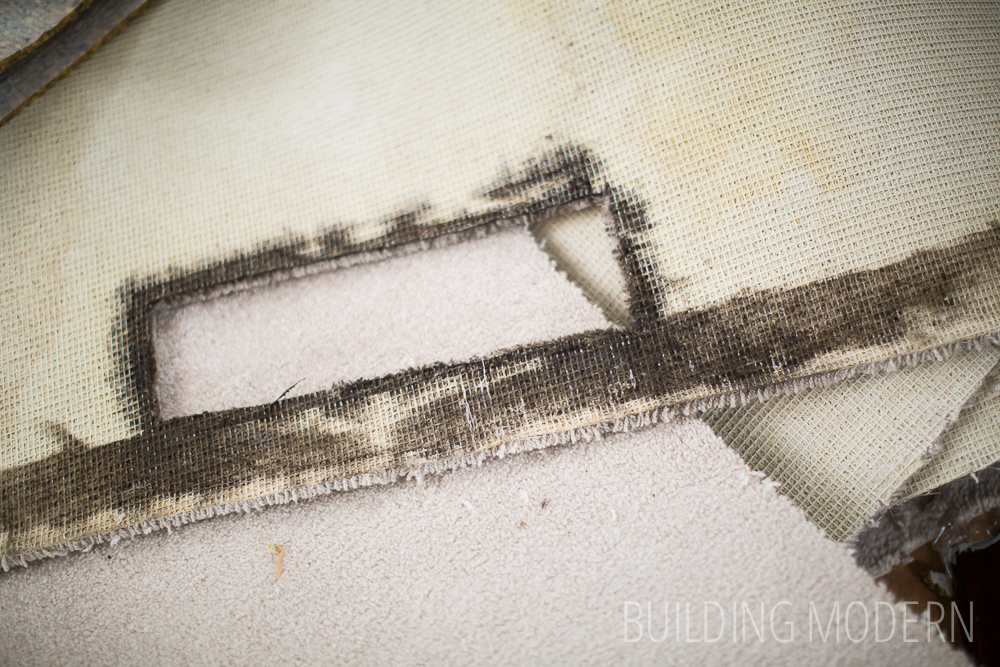
The other side. I hope this is just dirt.
The painted room without carpet! I still am amazed how much of an update just painting can make.

The charcoal trim aka “Sealskin” color against the medium “Slate” gray.
The white doors and the rest of the trim painted in an un-tinted white base.

We will be replacing the baseboards with a more clean line, simple version… but for now, I just painted the door and window trim. I’m not sure if we will replace it, but in the meantime, the white is a nice improvement.

Our original plan was to paint, then directly go into installing the hardwood floor… but we hit a snag. More about that next time!