
The next step for installing our kitchen cabinets was to create a cleat for the cabinet above the refrigerator. We needed/wanted to bump out the fridge cabinet for two reasons: one, aesthetically we wanted the cabinet to be more flush with the front of the refrigerator… and two, the side cover panel wouldn’t work if we didn’t.
The plan from the beginning, was to use an Ikea large white glossy cover panel to conceal the side of the fridge (which is black). The cabinet, if installed without a cleat, would be set back from the front of the refrigerator. I’ve noticed that this is a common occurrence with other cabinet manufacturers as well (not just Ikea) – I suppose they aren’t made deeper to match the refrigerator depth because they need to match other standard-depth wall cabinets. Anyway, the “normal” depth of the refrigerator cabinet would mean that the side panel would stick out farther than the cabinet… not a good thing.
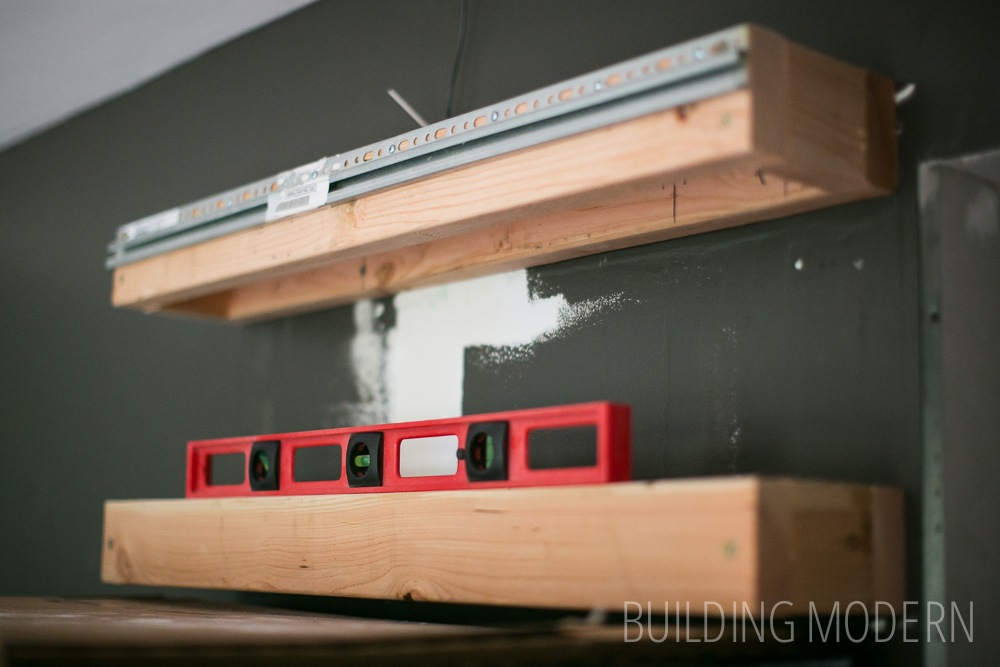
We measured and created a cleat from 2×4’s – they are basically just two rectangular boxes. Spencer then attached the bracket from Ikea to the cleat in order to hang the cabinet.

We needed to make sure the top cleat was positioned on the wall so that it corresponded with the height of the tall cabinet that would be installed next to the refrigerator. This position just barely gave us clearance above the fridge.

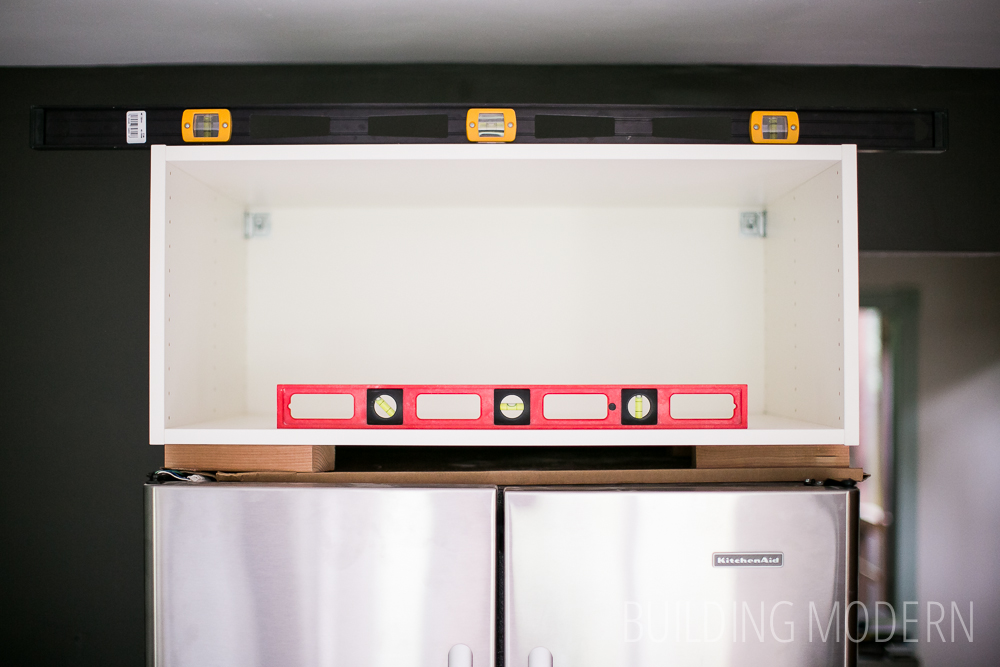
Making sure everything is level:
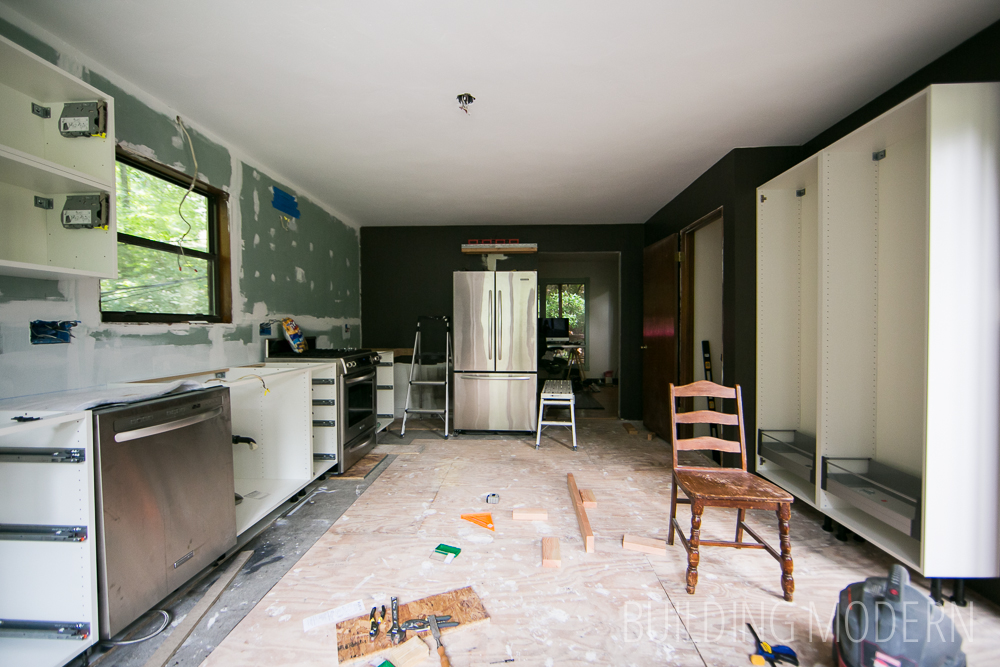
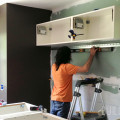
A wider view of the room. The other tall cabinet will be located to the left of the refrigerator.
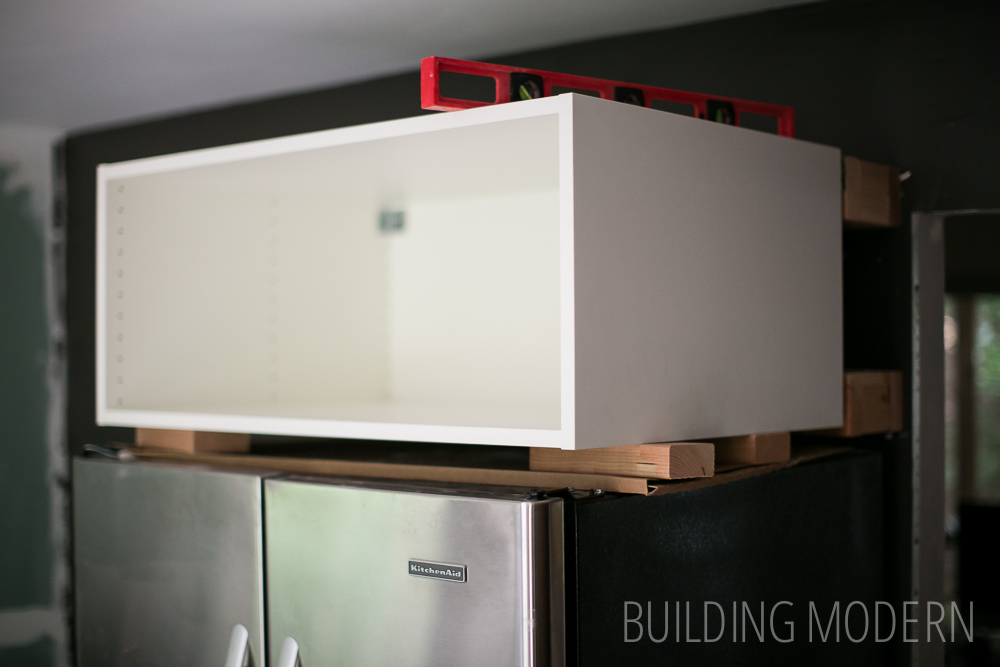
Adding the actual cabinet was a bit tricky because we had to work around the refrigerator. The 2×4 scraps were there just to help keep things in place as we secured the cabinet.
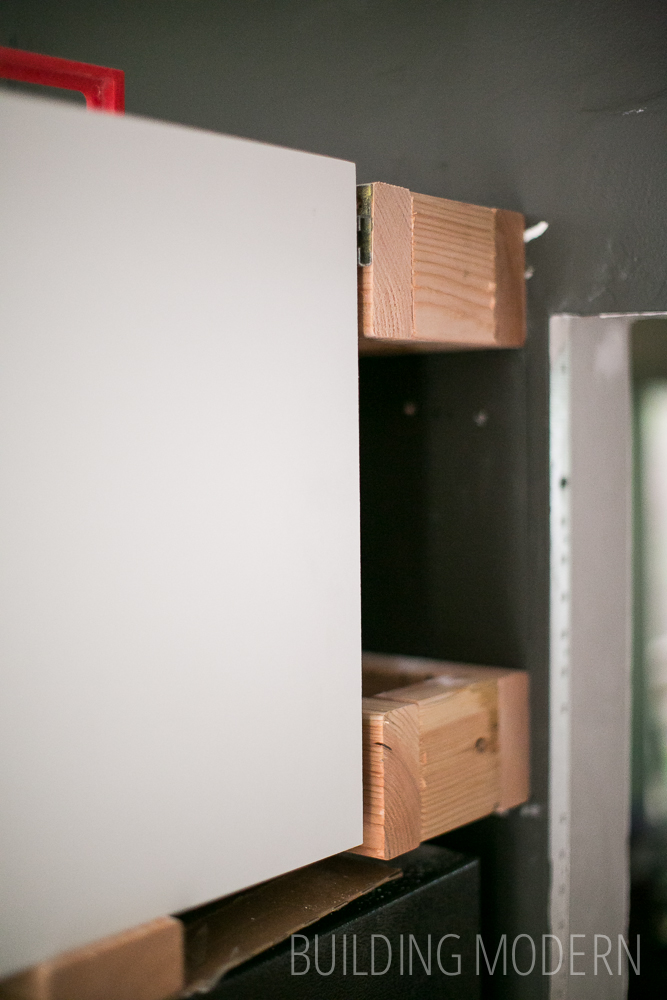
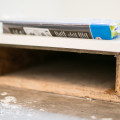
A tight shot of the cleat in place. You can’t see it, but the bottom side of the cabinet actually sticks out and touches the bottom cleat.
The semi finished cabinet – all nice and level:
 We waited to add the doors and side panels until after the countertops were installed. No reason to risk scratching the finished kitchen with giant slabs of concrete… especially when we were planning on installing them ourselves (with help from friends.)
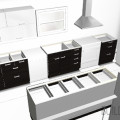
Oh, and while we’re on the topic of cleats…. here’s the “cleat” we made for the range hood. We installed this piece of osb to fit behind the vent – we made the board a smidge smaller than the actual hood. The board’s depth is the same as the mosaic tile that we will install – no sense in wasting tile that will just be hidden behind the vent.


It’s going to be amazing!! Great job!!
It’s coming together nicely!
Did you have to add cleats behind the cabinets to left of the refrigerator?