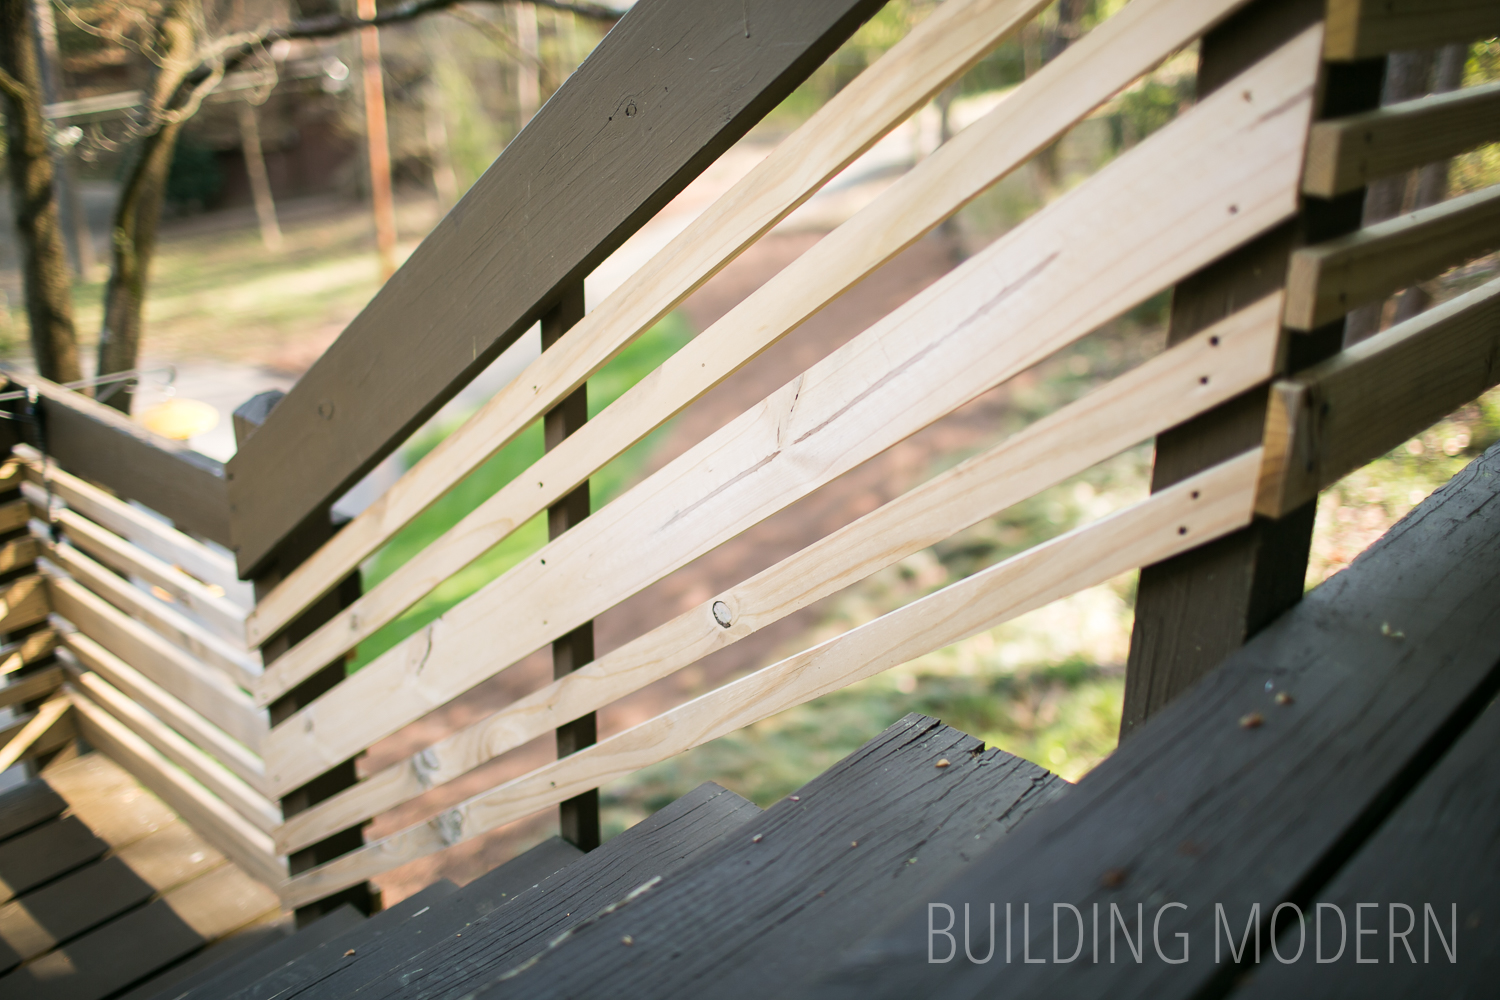
Continuing with our exterior railing project! We left off with our railings completely constructed, but left unstained. In order to stain our updated exterior railings, we needed to wait and allow time for the pressure treated lumber to dry out. Sometimes I have purchased PT lumber where it is decently dry (and comparatively light) and sometimes it is absolutely wet to the touch (and pretty darn heavy.) To be safe, I wanted to wait and give the wood plenty of dry time. I would periodically go out and do a “water absorption test” where I would drip some water on the wood. If it puddled, it wasn’t ready to be stained. If the water was absorbed in less than ten minutes, it was ready.

I intended to wait just a few months before I stained the new railings… but we had a rainy spring… which lead to a busy and hot summer… which lead to fall/winter where the temperature wasn’t conducive to staining… which lead to basically finishing up this project almost a full year later. Awesome. But that’s sometimes the reality of home diy projects. The silly thing is that this wasn’t intimidating or difficult: it was just dependent on weather.
So, after a year of the elements, our new railings were a bit moldy.

We purchased some All-in-one wood deck cleaner (which cleans and removes mold and mildew).

Per the instructions, I hosed off the plants below the deck and wet the stirs before mixing and scrubbing both the new railings and the deck boards.

The instructions made it clear that the cleaner shouldn’t touch your skin, so safety gear is always a priority: gloves, glasses (you never know when something will splash), respirator mask (because I’m never messing with fumes, even outside). I also had a generic pump sprayer, different types of stiff bristle scrub brushes and a high-power-nossel on our hose.
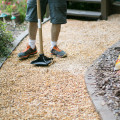
It’s Georgia, so the wacky climate and temperature says shorts and a T-shirt in March is appropriate. (Yes, those are plastic shopping bags on my shoes. No, I have not seen the movie my free T-shirt is advertising.)

After soaking, scrubbing, and rinsing most of the mildew was gone.

Some of the wood, no mater how much I scrubbed, wasn’t ever going to be spotless.

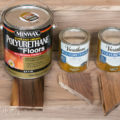
Our cedar sided house has the original siding and that cedar siding is stained with a solid color stain. Basically, the solid color stain looks exactly like paint – you can’t see any of the wood grain through the product (unlike typical semi-transparent stain). Anyway, we needed to be consistent with the rest of the house so – solid color wood stain it is!

We had a can of “house color” stain left in the garage from the previous owners (thank you!) so we knew the name and formula for a color match. If anyone cares, it’s called “New Bark” – I think this is fun since the philosophy of these ’70/80’s cedar houses was for them to “blend in to nature” or “blend into the woods”. “New Bark” seems like an appropriate name for a wood sided house.

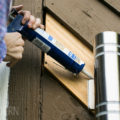
For the entire cleaning and staining process, I had to wait for a window in time where we were sure not to have any rain in the forecast. After the stairs/railings/porch was cleaned, I waited for it to be completely dry. Oh, and we also replaced two questionable floor boards on the upper deck: the old ones were a beast to remove – they were attached with some serious nails.

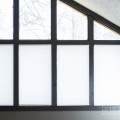
Clean and dry!
So this part is basically what you’d expect: just staining. I did purchase a cheap paint brush for the job – in no way did this exterior railing need a beautiful/expensive paint brush. It worked just fine.

Georgia weather again: shorts and a jacket? Perfectly appropriate.

It actually took longer to paint all of the individual railings than I anticipated. I broke up the project into sections when I realized how long it was taking. I’m sure a paint sprayer would have made quick work of this project, but we did not own one (I wasn’t going to buy one) and I didn’t want to deal with overspray.

I think it was two days of painting and it took the entire gallon of stain.

The finished railings! Initially, the color seemed to not be a perfect match, but it just needed more time to fully dry. Also, I couldn’t reach/ran out of stain to paint the bottom front boards (where you can still see where the original pickets were.)
This is actually a photo of the newly painted stars along with a second not-so-obvious project also completed on the exterior of the house. This project took place nearly at the same time: more on that “mystery project” later!

Overall, the exterior is looking pretty nice: it’s spring – which means fresh pine straw in the front, happy fescue, and railings that finally (color-wise) match the siding. There is a bit of landscaping still to do, but for now I think it looks alright.

We intend to stain the house a dark charcoal grey in the future – when it becomes apparent that new stain is needed for maintenance. Yay for new (and safe) railings and a fairly simple project!