The last thing I accomplished in the bathroom & adjoining hallway was painting all the trim. I also painted the bathroom vanity and decided that I should probably eliminate the little detail on the doors. We are going for modern (or as close as we can get without a complete bathroom overhaul) and little flourishes that scream 1980 isn’t a good look for modern. Plain, simple, and clean is what we are after.
The not-completly-finished painted vanity:

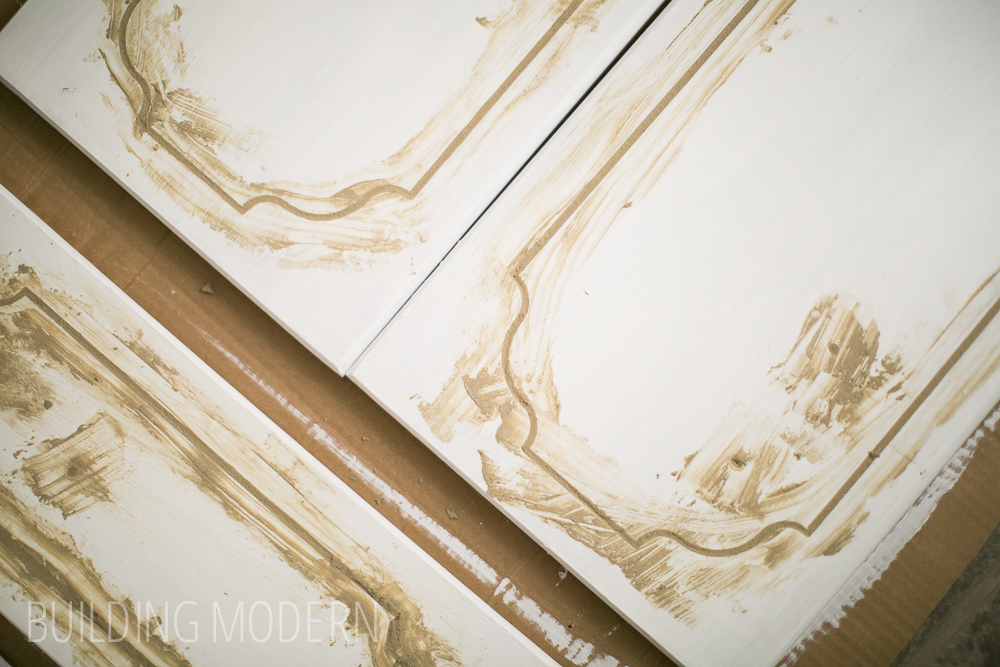
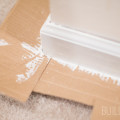
Wood filler to the rescue! Other than filling nail holes this was my first experience trying to disguise a detail like this on wood doors.

My first “coat” of wood filler – I was being dainty – I din’t want to have too much excess to sand off. I filled the handle holes thinking I would purchase new hardware, but ultimately decided for this small update that I could just spray paint the existing handles.
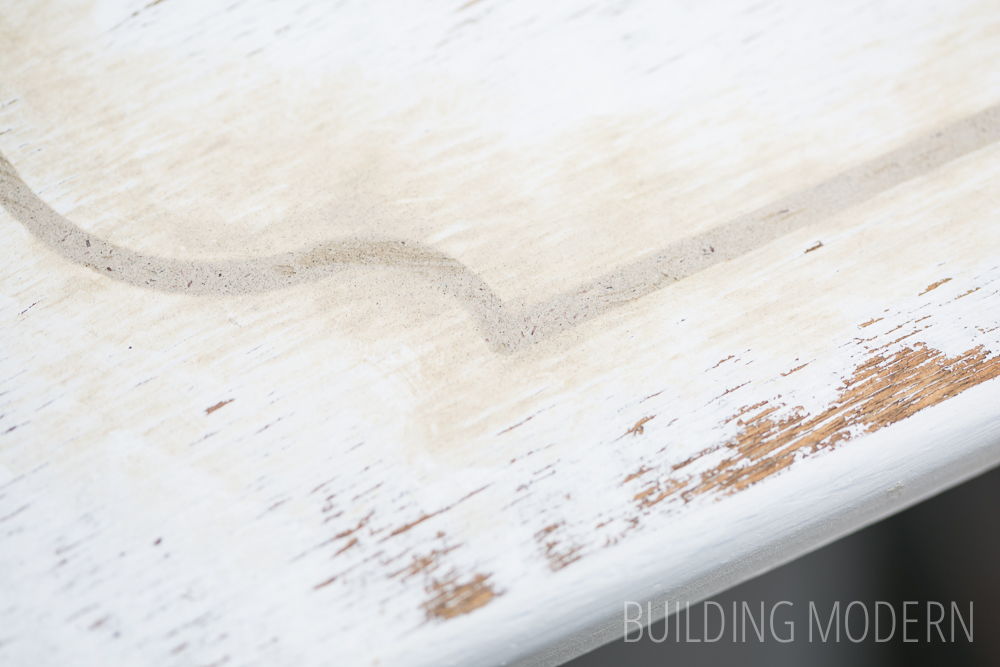
A closer look reveals that I didn’t get wood filler flush with the door’s flat surface.
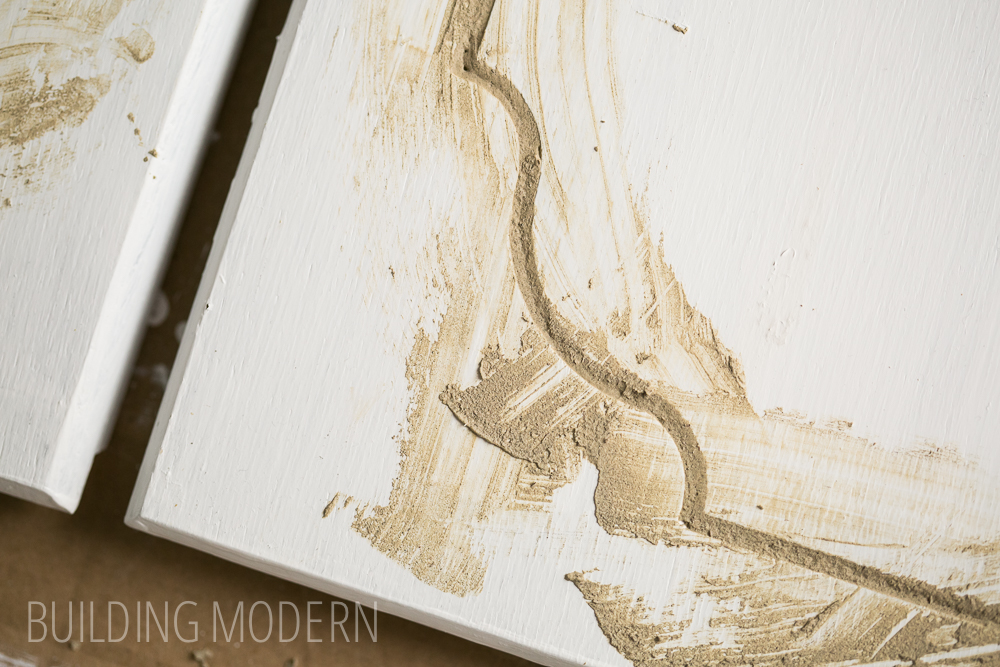
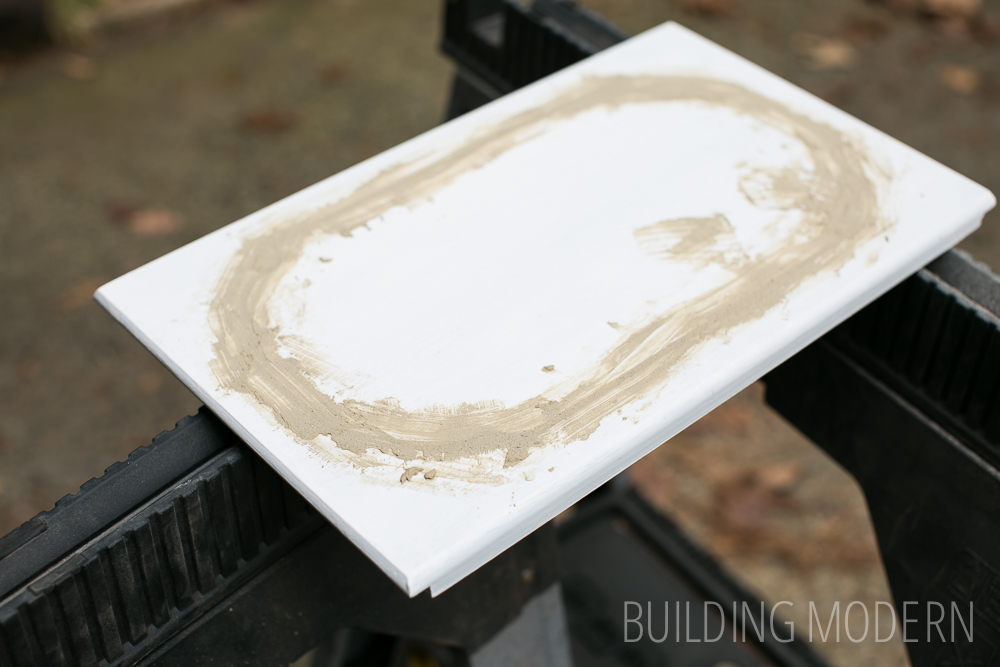
So I smeared more in there after the first bit had dried enough. (It’s important to let the first amount dry or else the second batch will just pull the first off of the surface.) Also, notice the corner of the door where the paint chipped off – that means it wasn’t adhering properly. I’m going to need to sand the doors down to rough up the entire surface.
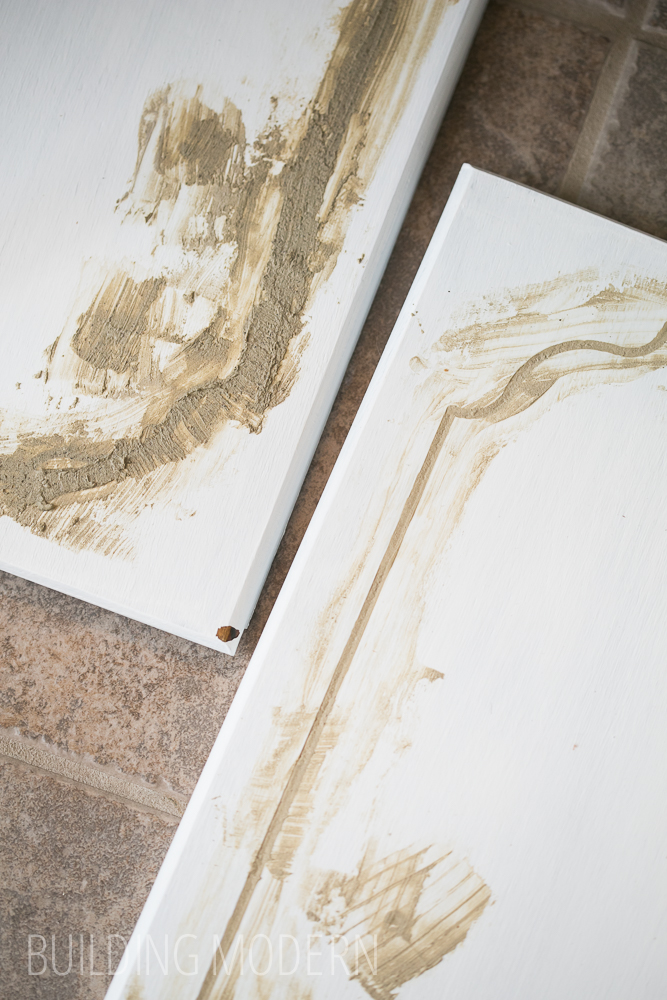
Moving outdoors with a fully smeared surface.
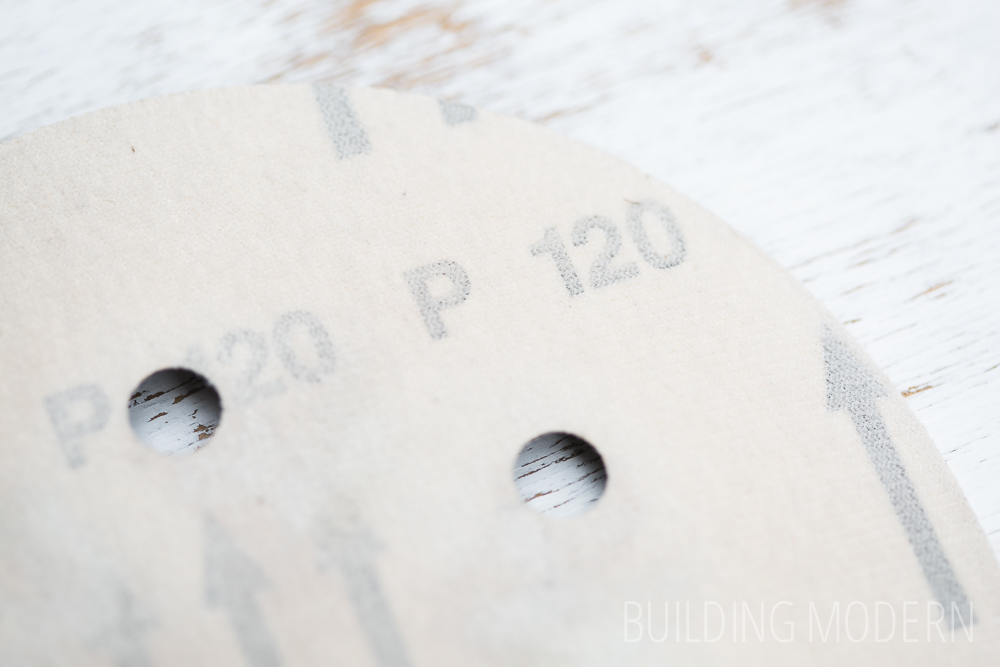
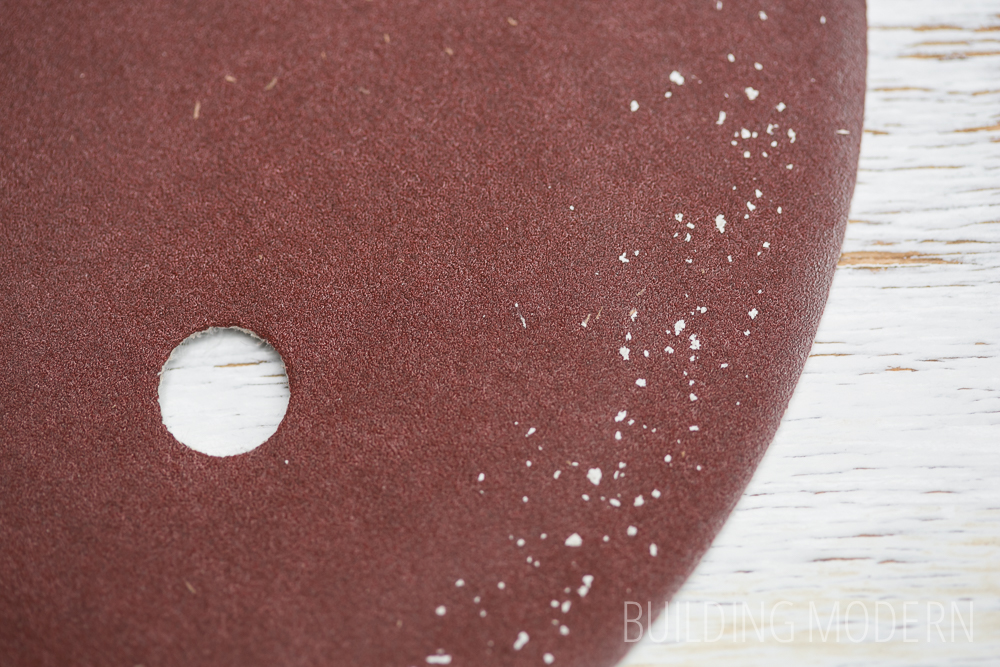
I first used 120 grit sand paper…
…a more corse grit.
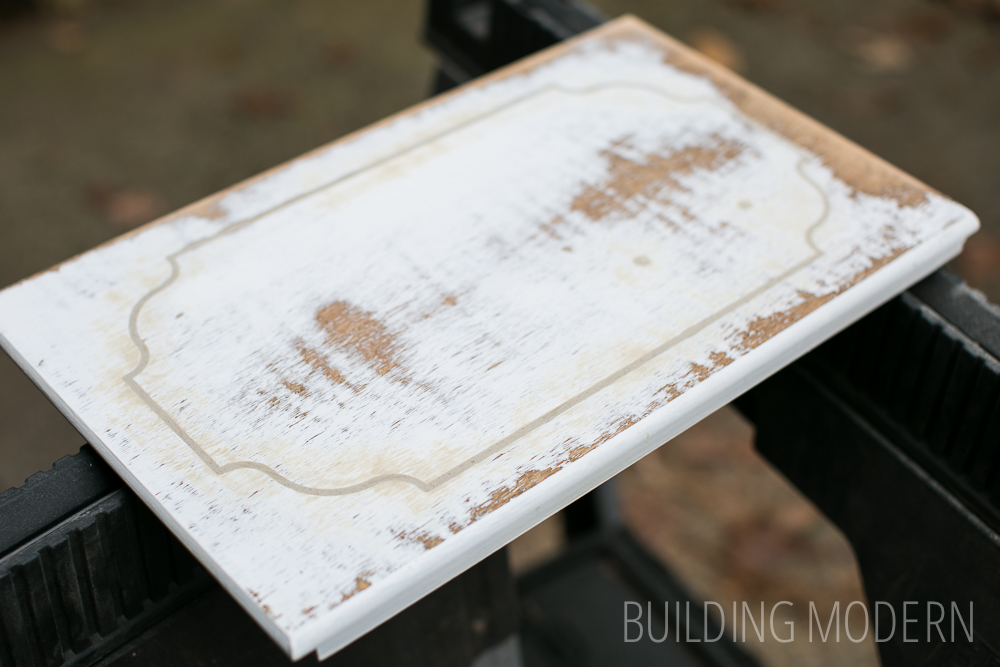
Sanded with 120 grit: the wood filler was knocked down and the door’s primed surface was also roughed up.
A closer look:
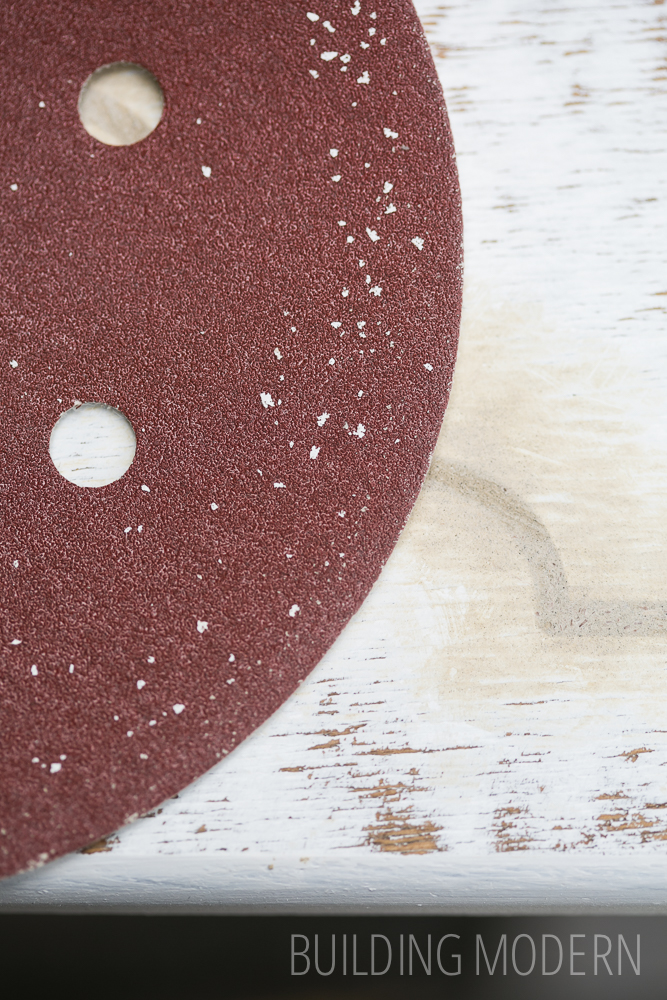
Next, 240 grit:
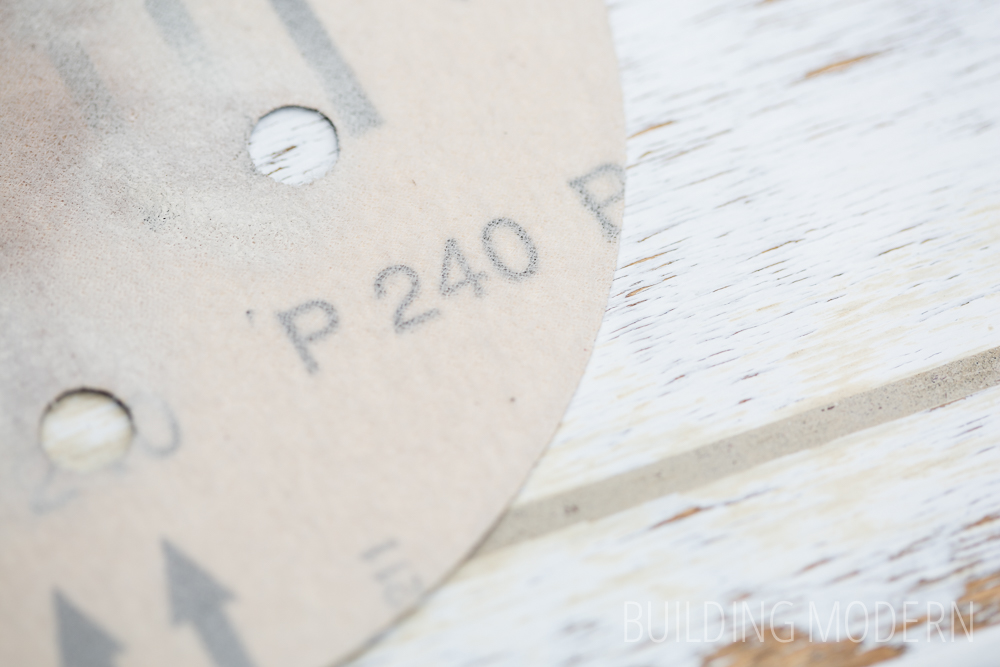
A finer texture sand paper:
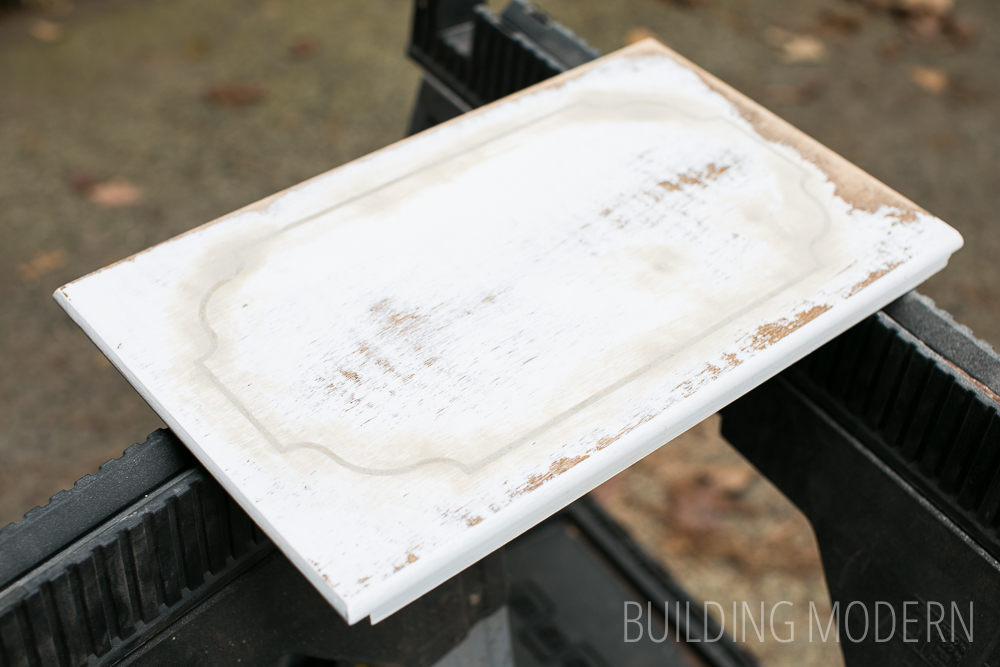
Just to ensure a smooth surface:
A comparison between the results from the 120 & 240 grit sandpapers:

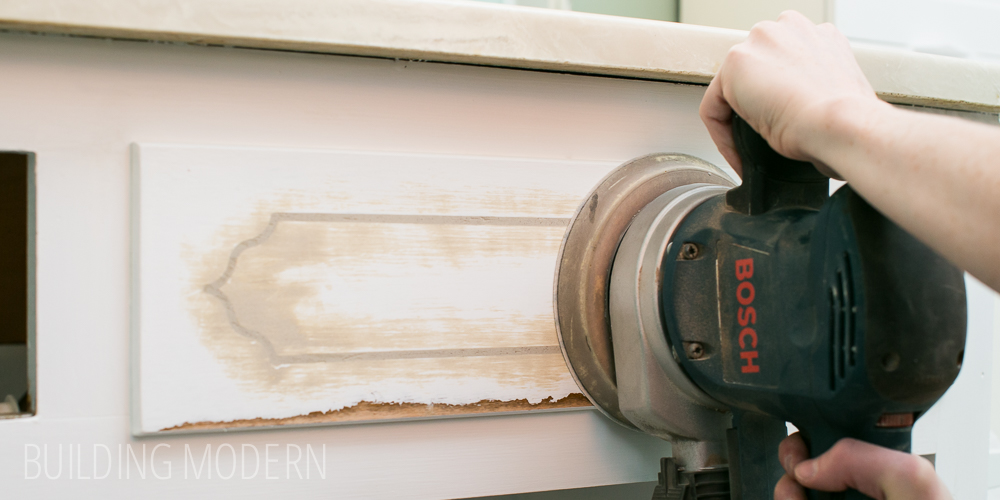
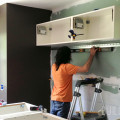
The false panel was attached to the vanity, so I had to bring the sander inside. The sander has a filter, so the dust was fairly minimal.
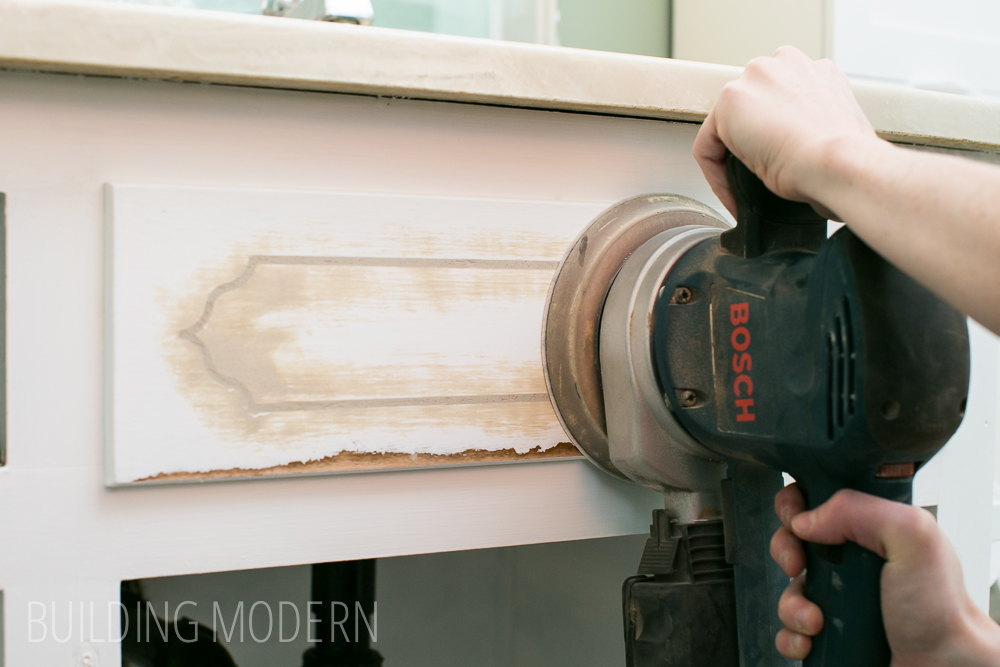
And that’s basically it: fill sections with wood filler, enough to completely fill the void & sand. An electric sander makes this job waaaay easier and less time consuming than if you were to do it by hand.
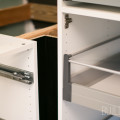
I’ll show how the cabinets turned out (after more coats of paint) when I reveal the temporary updates to the entire room.
In case you haven’t seen the other posts about the bathroom’s temporary updates, here they are:
The guest bathroom before
Part 1) The gust bathroom & hall get a coat of paint
Part 2) Updating old cabinets with wood filler
Part 3) Painting hollow core doors & spray painting hardware

Damn! I do not comment on blogs very often but I felt compelled to commend you guys on the hard work. LOT of manual labor! Great Blog too!
Ha, thanks, John!