I went through a good number of points regarding flooring instillation in the last few posts, (like running the floor on the diagonal, getting around obstacles, and fixing bad nails) but there are a few more things that I should mention.
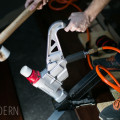
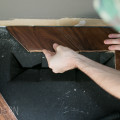
One point – because the flooring is on the diagonal, you might bang up your walls with the nail gun mallet:

Second point – I mentioned in the last post about making sure the boards line up when going around obstacles (like our closet wall):

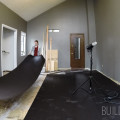
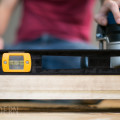
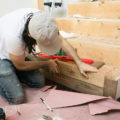
The biggest point I’d like to make about what we learned during the process of installing our floors – was the issue of the uneven subfloor. We made sure to level our subfloors as much as possible before laying down the new hardwood floors by jacking up the floor joists and routing down high points.
Flashback to Spencer routing down high spots:

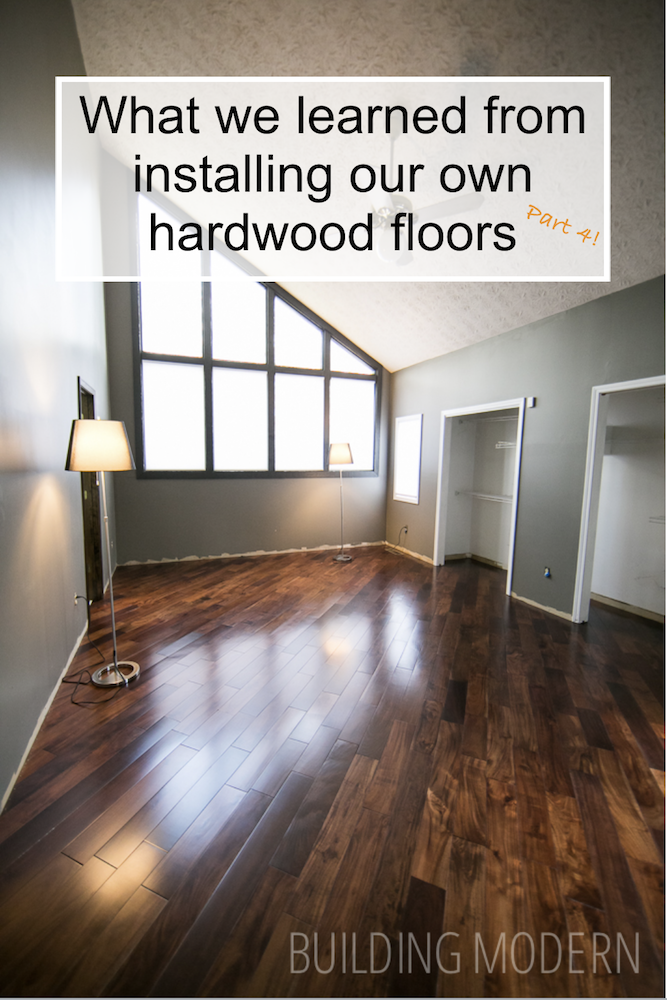
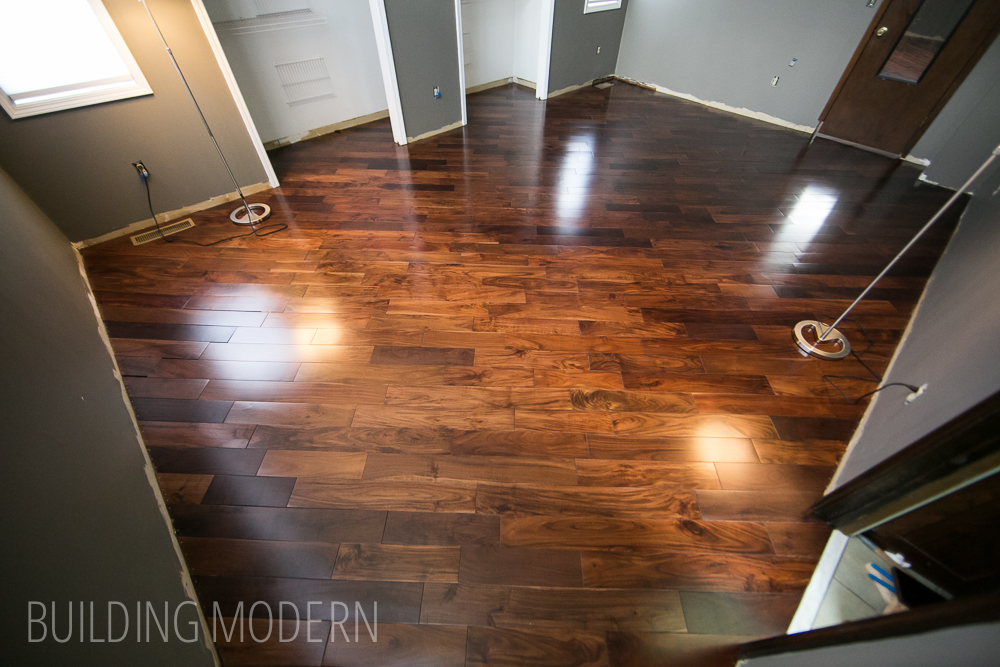
We knew this was very important because of the following problem… any hump or depression in the sub floor will cause gaps between flooring planks. The gaps between planks will eventually magnify and cause major problems. The only way to terminate the gapping (if it does occur) is to stair-step the problem into the closest wall. Normally, we would try to avoid a stair/zig zag pattern in the floor, but this was the best way to get rid of the gaps caused by the hump still present in the subfloor.
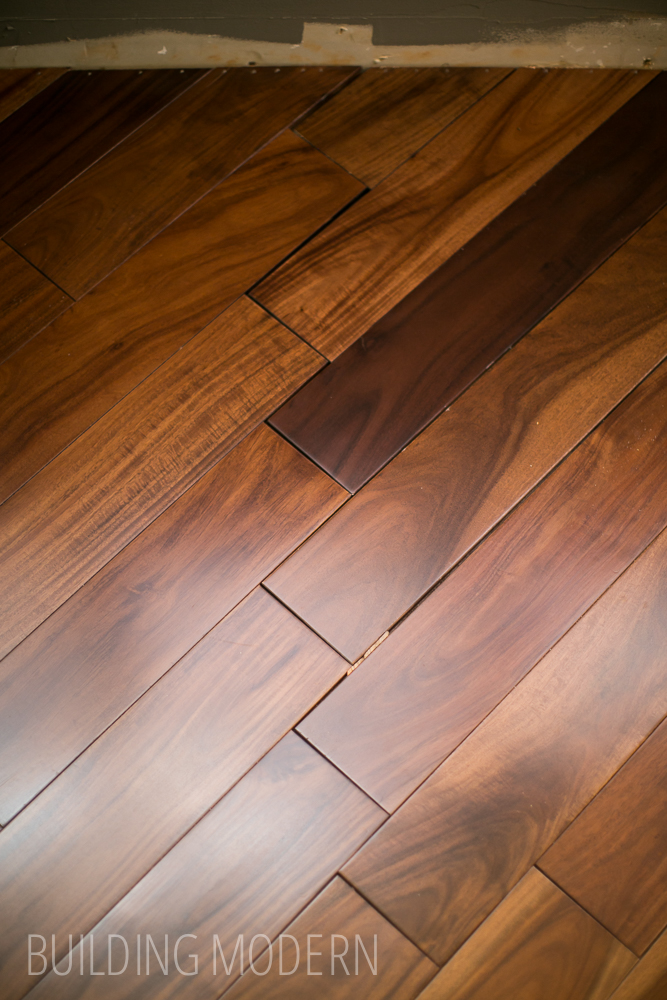
One fortunate thing is that the pattern will be hidden by the bed or dresser under the window.
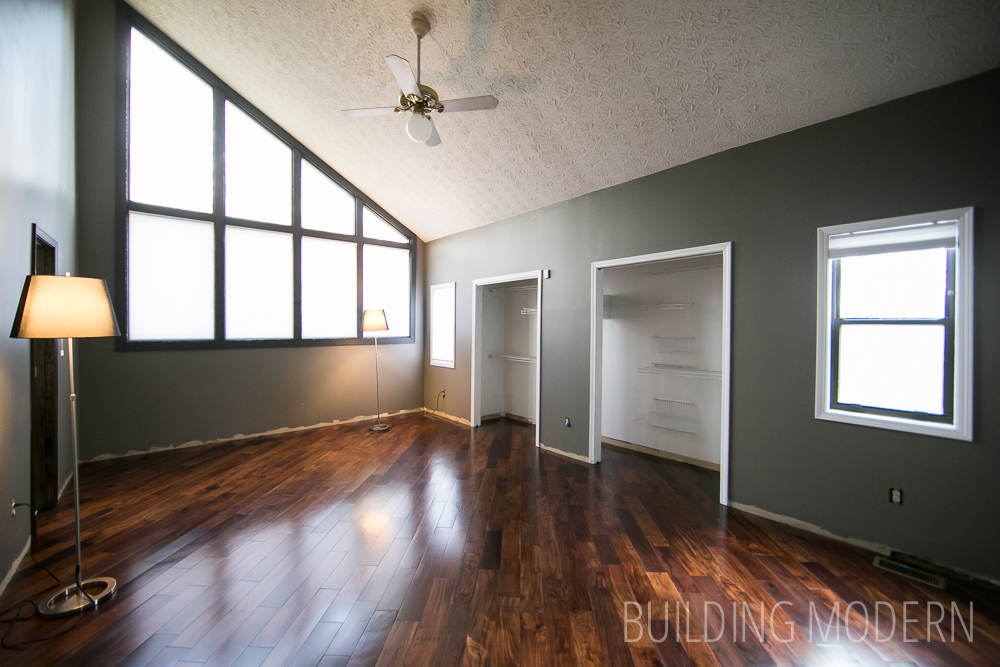
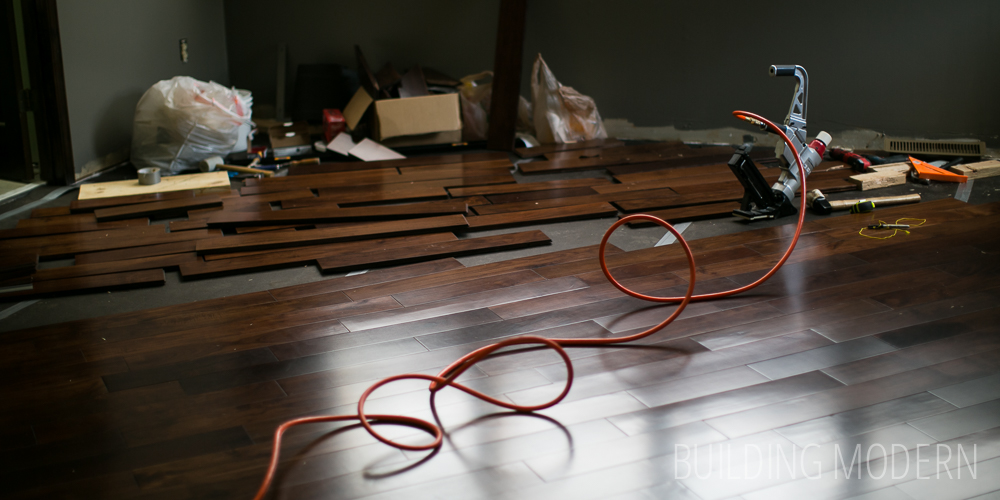
Another pretty photo of the finished floor where you can see the gaps/pattern over by the left window wall:
In case you missed it, here are the links for installing the floor:
Jacking up floor joists
Leveling out the subfloor
Part 1) How to prepare a floor for hardwood installation
Part 2) Installing hardwood floors
Part 3) Installing hardwood floors
Part 4) What we learned for installing our own hardwood floors