The first (and largest) project that we tackled in the house was a complete tear down of the kitchen. (I’m writing this in past tense because its difficult enough to be first-time diy-ers/renovators, document the process, and blog all simultaneously.)
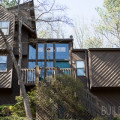
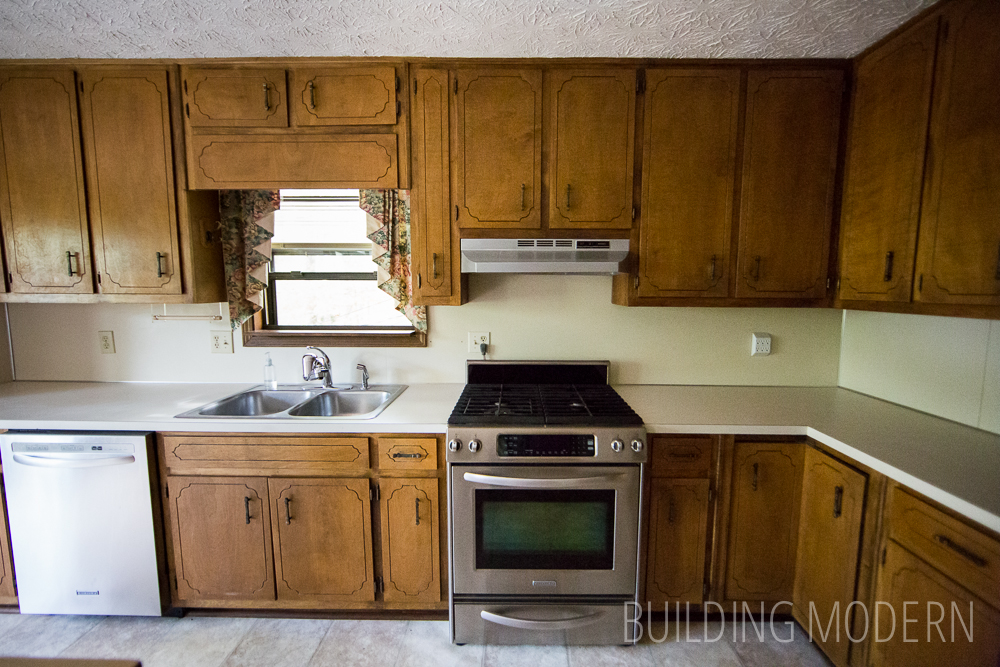
When we were looking at the house, one of the things we knew we were tackling was a complete kitchen gut. So, with out further ado, here’s the original 1980’s kitchen.
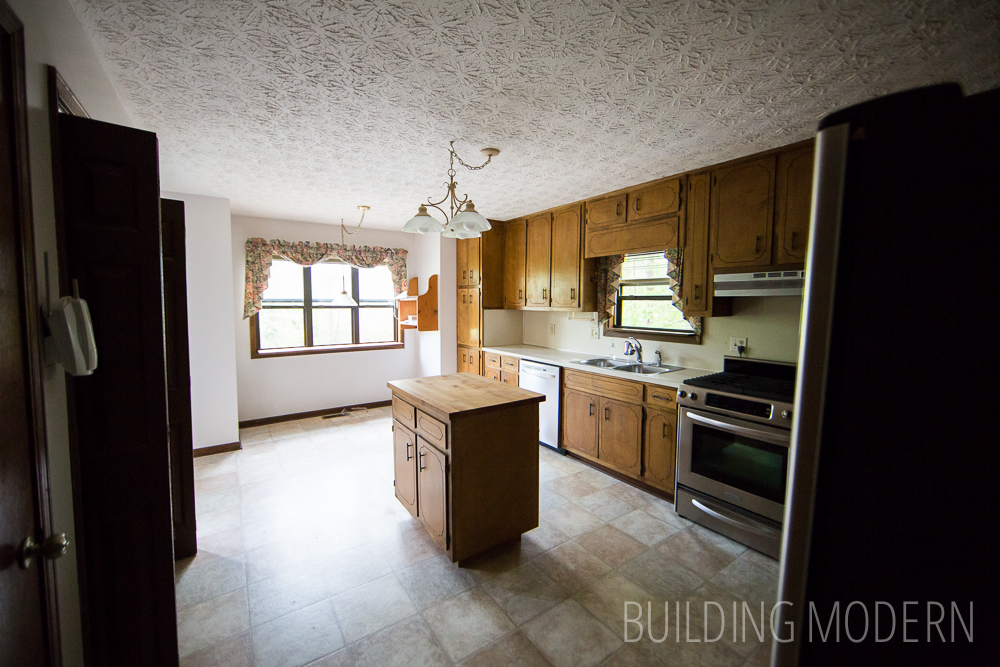
View from the foyer looking toward the dining room (pantry & basement door to the right):

Lets start on a positive note – some nice things about the kitchen was that it was functional and had new Kenmore appliances. Yay!
So, that’s one (or three rather) expensive updates that were already done. (Also a great bonus was that the fridge was the type we wanted: double door with a bottom freezer…even down to the lack of water/ice in the door – the filtered water spout is hidden in the interior.) The cook top is gas and the oven is convection with a warming drawer.
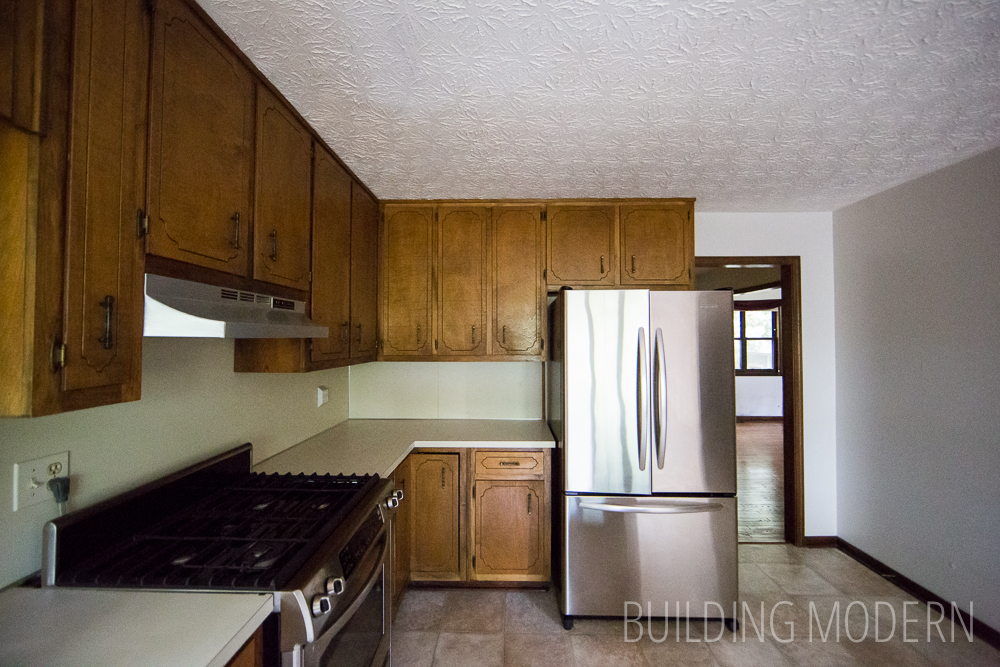
Also, The layout was already the best flow for the room, so we didn’t have to move appliance locations, plumbing, or any major electrical.
Now, the negatives – It was a kitchen from 1980.
1) The ceiling was stippled with mop-shaped blotches of plaster.
2) The floor was linoleum (in decent shape) & sloped pretty badly toward the pantry.
3) The counter tops & backsplash – formica.
4) The interior of the cabinets were made of particle board (which absorbs water… I have no idea how anyone cleaned them.)
5) The pantry structure took up a lot of room.
6) Narrow (standard size) doorways that once had actual doors (but had been removed)
7) Tiny island (which was not attached)
8) It may not look like it, but the walls were covered in painted-over wall paper. (It wasn’t actually that bad, until you noticed the seams.)
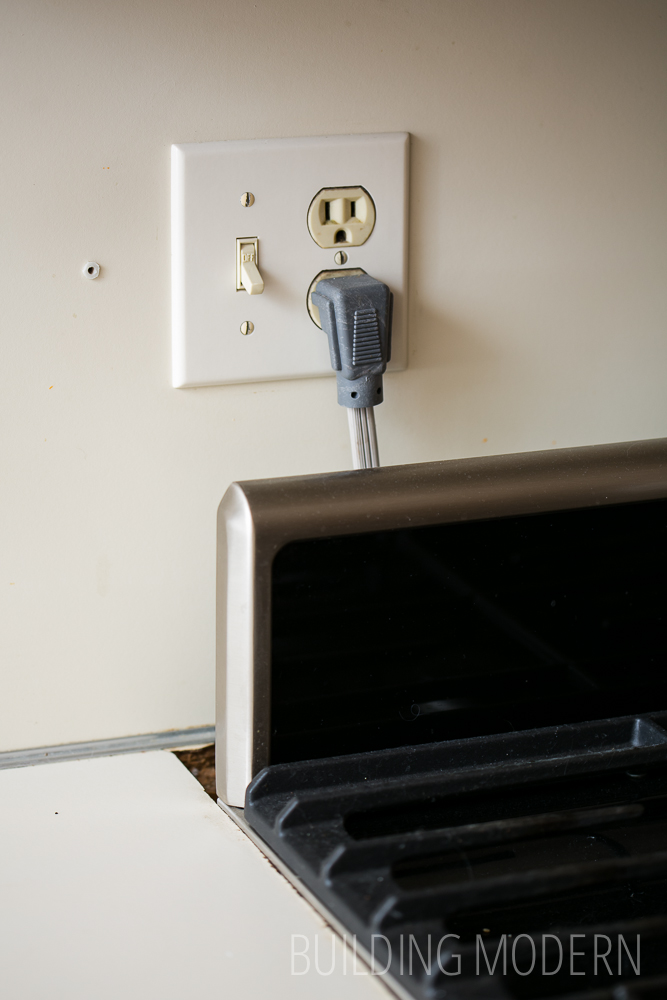
9) Some minor electrical annoyances (such as a non functional 3-way switch.)
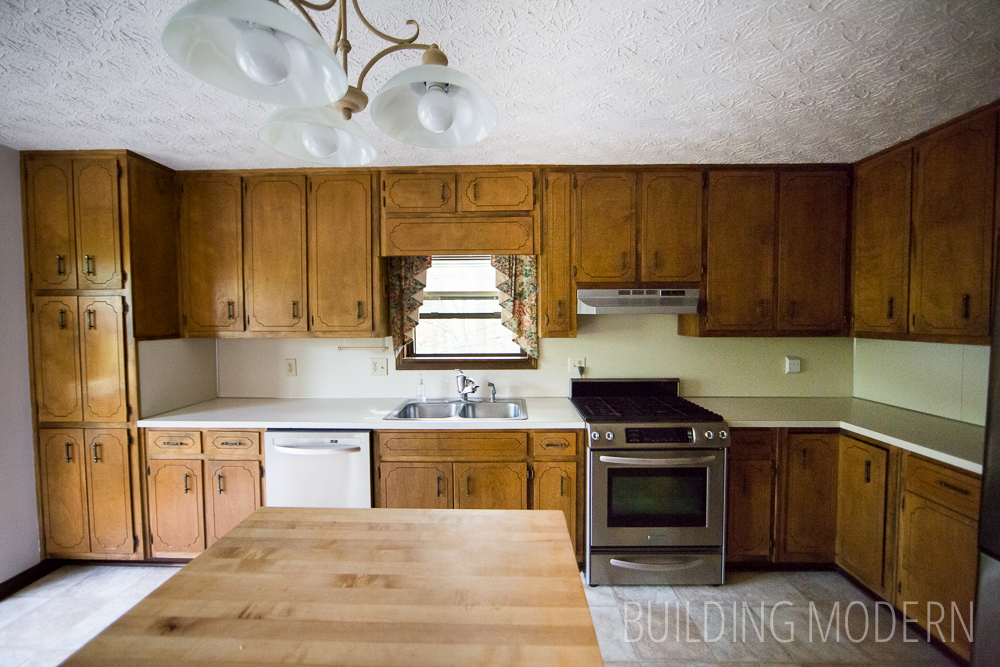
Yay: Fancy gas/convection oven with a warming drawer. Boo: spray painted vent hood from 1980. (Which, by the way, is the same vent as the one in the house I grew up in. They almost tricked me there for a second until I recognized the design while I was cleaning.)
This wasn’t right: the oven was plugged into a visible outlet in the backsplash. Also, there was no drywall behind the oven…just insulation that read “flammable”.
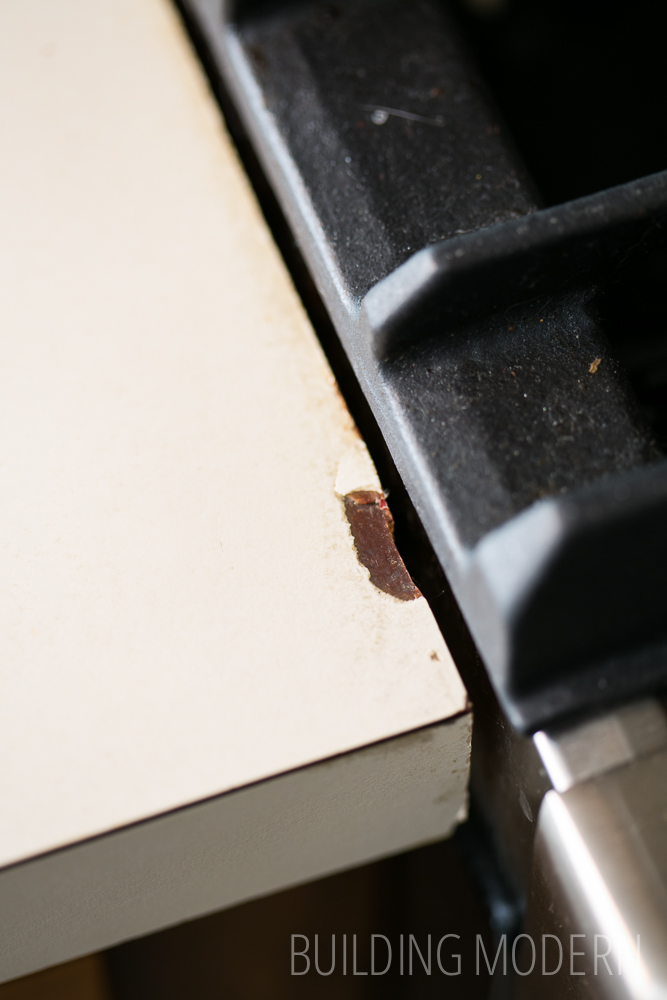
Clearly the oven had to be manipulated into a spot that was a little to tight compared to the original 80’s oven. Notice the chipped formica.
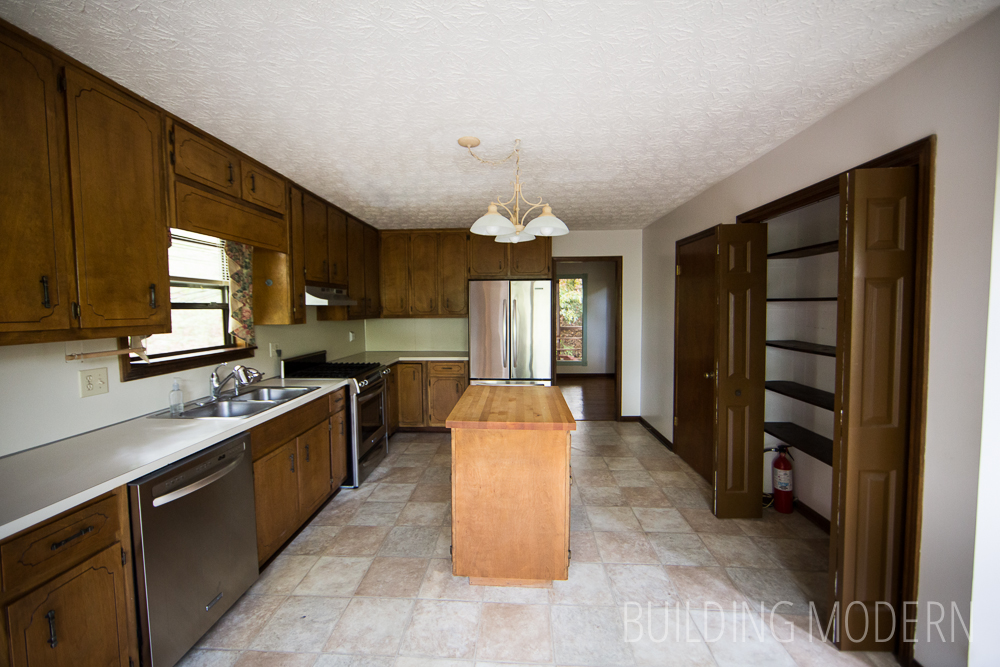
Looking back toward the front of the house from the dining room door (basement door, pantry, & foyer door to the left):
On the more immediate demo to do list:
1) Safely move the appliances
2) Remove the cabinets
3) Experiment with scraping the ceiling
4) Remove the flooring