
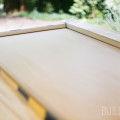
As a refresher, this is where we left off with our countertops – poured & dry. If you haven’t read those posts, you can find them here and here. The countertops were still in their forms so we could use the “walls” of the form as a height guide.

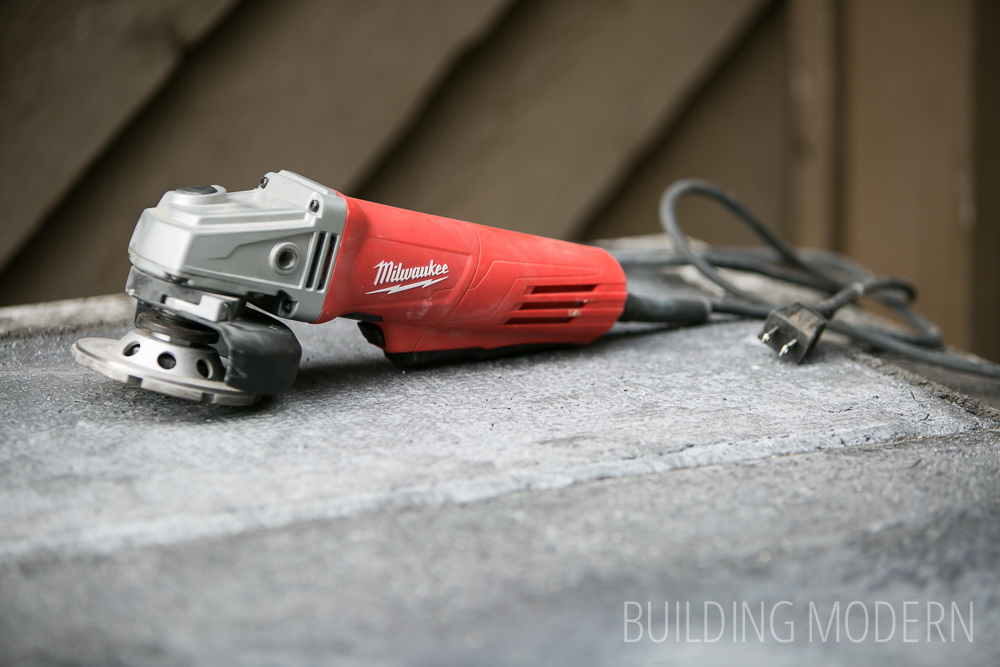
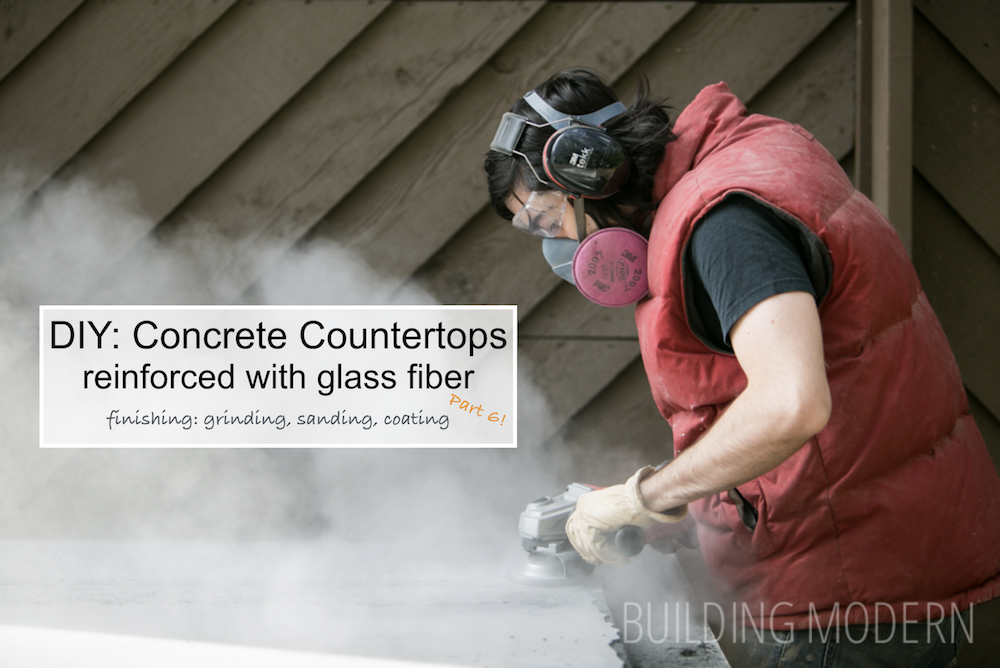
We used an angle grinder with a concrete diamond grinding wheel. For the bit, we actually found this in the rental section of Home Depot (for purchase) – it wasn’t out in the general area with the other tools & bits. I believe it was Ridgid brand. We ended up using two for the entire project/all of the countertops.
We did first try a bit from Harbor Freight – it lasted maybe 1/10th or 1/20th of the time the Ridgid grinding wheel lasted, for probably the same price difference. The bit from Harbor Freight, I believe, was around $6-$10, while the bit from Home Depot was about $70. As for the angle grinder itself, we initially punched a lower amp/ different brand from Harbor Freight – it stopped working within 10 seconds of turning it on. (We were able to return the tool without an issue since it essentially broke.) For the Milwaukee, we selected this angle grinder for it’s amperage. So, moral of the story, when selecting an angle grinder – be sure to get one with enough power. If a battery version does exist, don’t get it – it’d last maybe a minute if you’re lucky. (This concrete is some really tough stuff – much tougher than regular concrete by far.)
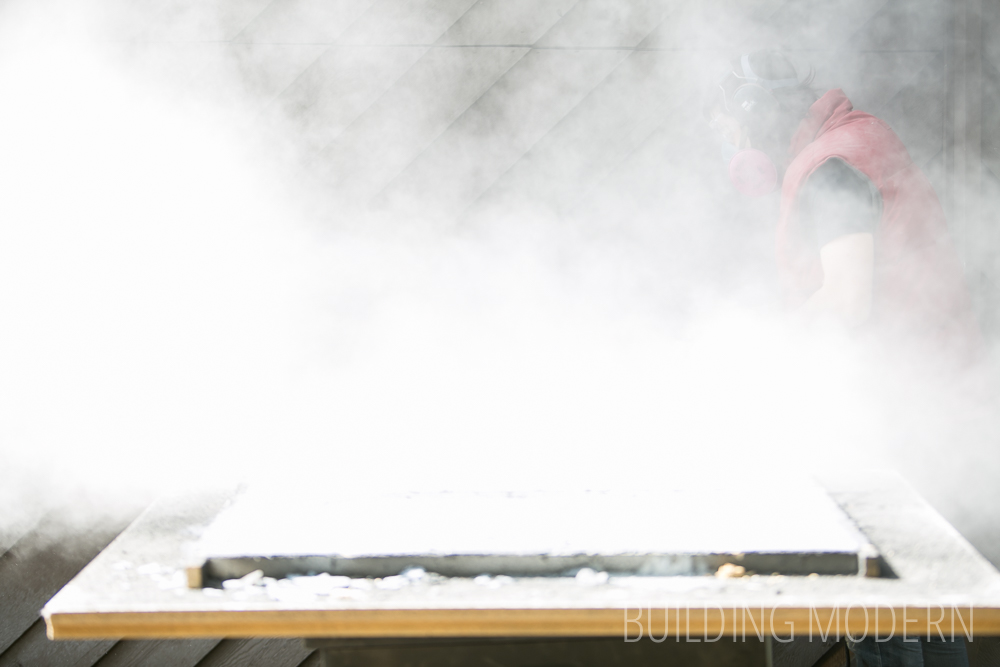
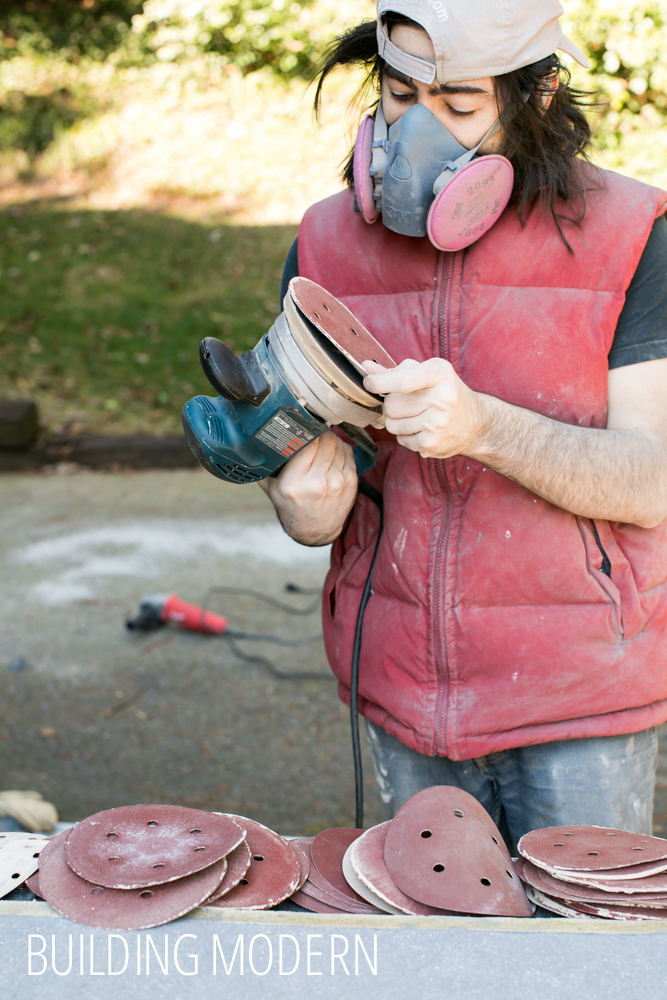
I say “we” used the angle grinder…who am I kidding? “We”? Spencer totally handled all of the angle grinder work. (I’m not quite sure what year his puffy vest is from… I think it might have been his dad’s from the ’80’s. Oh, wait, I’ve been told that it was his camping jacket from the ’90’s & that it still smells like campfire.)

Here’s the reality of using the angle grinder on concrete – it’s super dusty. If at all possible, do this outside or at least with the garage door open. (For all the other countertops, we had to do this step inside the garage: concrete. dust. everywhere.)
Making sure the back side of the countertop is level with the sides of the form:

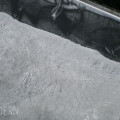
The results of using the angle grinder:

Next is removing the countertops from the forms. We did this by knocking off the “walls” of the form with a hammer (and sometimes a pry-bar) – they came off easily because we secured them only with hot glue. Really, though, most of the time we could just pull them off with our hands.
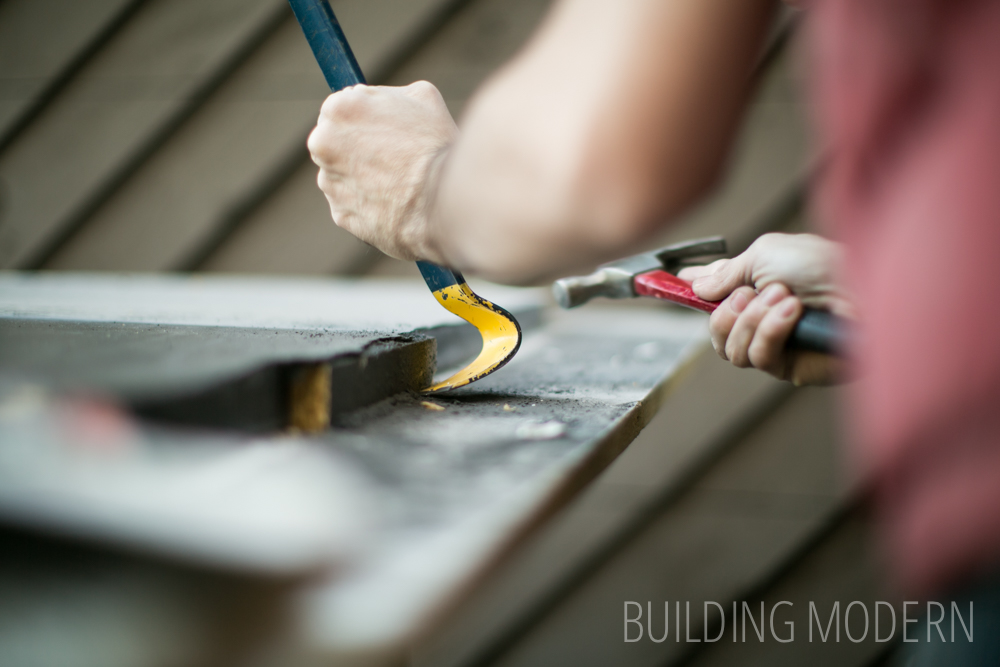
Once all the form walls were removed, we used shims to lift the countertop off of the melamine base.

The countertop ready to be flipped over! The “sink countertop” seemed like the largest of the group, but it was not necessarily the heaviest… it’s basically a bit of an illusion due to dimensions. This countertop was the longest at 10′ 3 1/4″ , but it was standard counter depth of 2′ 1 1/4″ – we calculated that it weighed around 450 lbs. The other countertop that rivaled the weight of this one was the island top (it wasn’t nearly as long, but it was deeper at 7′ 2 1/2″ x 2′ 11 1/2″.) The island was probably around 450 pounds as well.
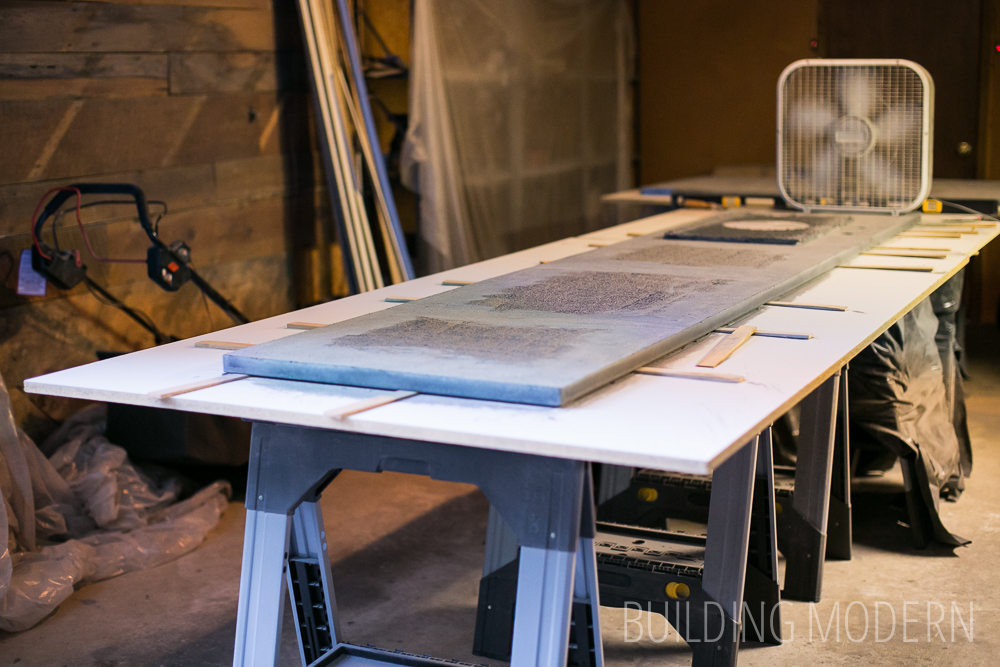
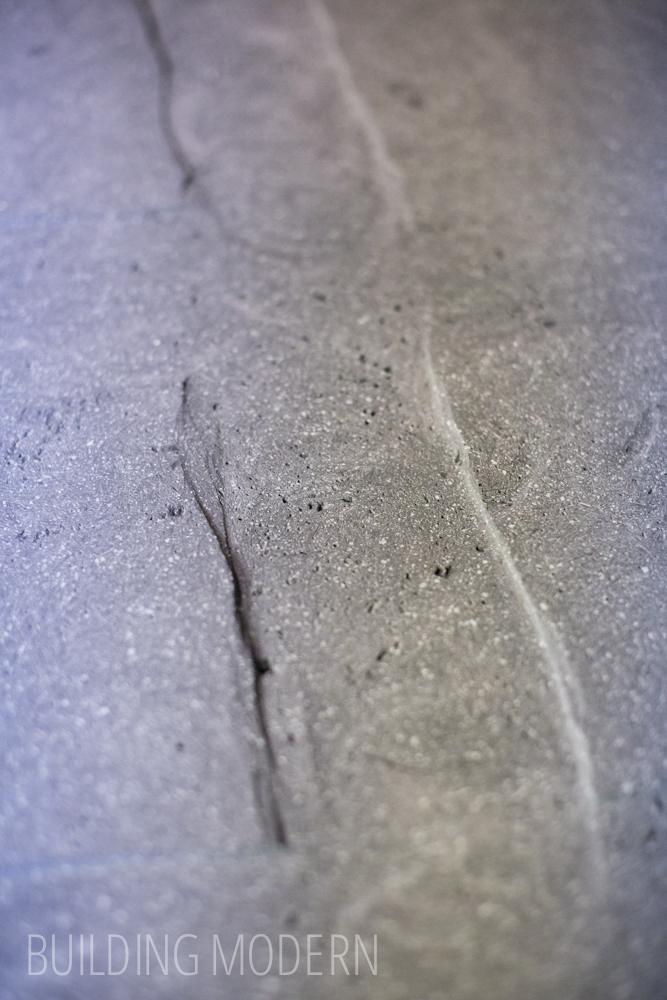
Let’s take a closer look at this particular countertop. Since this was a large countertop, and we didn’t want to do more work than was necessary, we only used the angle grinder on the certain sections that mattered. The only areas that really needed to be ground down to level were the edges and any places that touched the cabinet frames.
Here, an area ended up being a bit high, so we needed to grind a little trough for the cabinet frame.
Speaking of the “sink countertop”, here’s a photo of the pink foamular template that we made. We purchased an undercount sink from Kraus and it came with a paper template. We traced their template onto the foamular (we sandwiched two pieces together since we could only find one inch panels). After that, we used an “electric hot wire foam cutter” to cut out our shape. You need to be super consistent and smooth with your motions when using this tool… move too slowly and you melt more material than intended – it’s one of those things that I’m sure gets easer with practice. Suffice it to say, I wasn’t perfect with my cuts, so I surrounded the edges of the new template with clear packing tape to try to make the edges as smooth as possible.
We measured multiple times to make sure the position of the foamular was correct in the form and weighed it down with a bucket filled with the left over sifted sand (you can see where the bucket was weighing it down in the photograph below).

Since concrete won’t stick to plastics (such as the melamine and packing tape for the forms), we used pvc pipe for the holes for the faucet and soap dispenser:

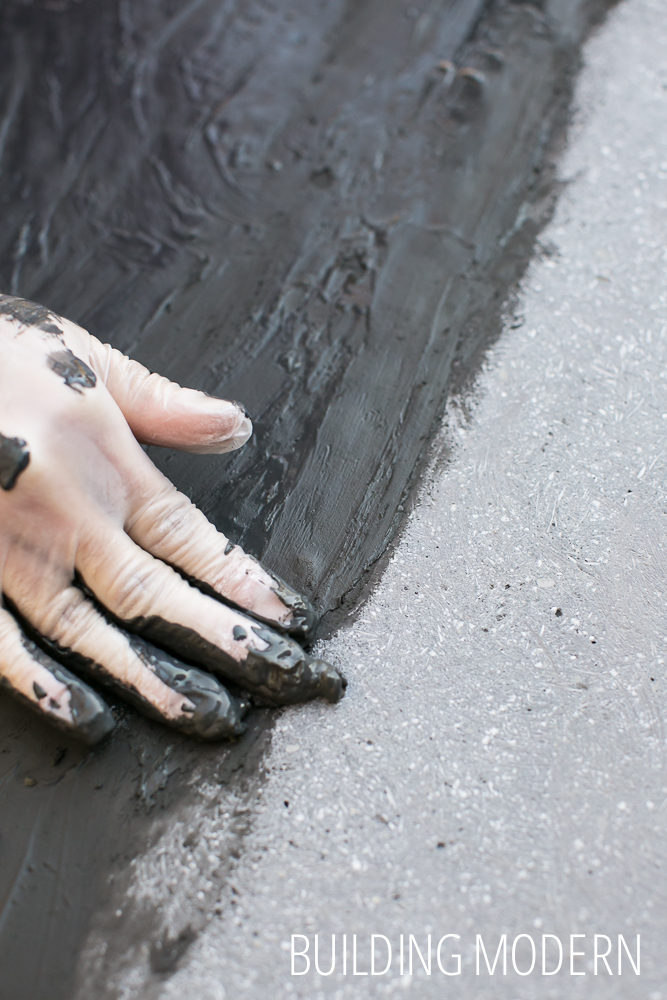
Next is to flip over the countertop to the visible side and add the “slurry coat”. The slurry coat is comprised of the same mix of the countertop concrete itself except it has no fibers or sand – this makes it smoother. Even though the visible side of the countertop should be very smooth because of the spraying the first coat of concrete technique, there is still the chance of a few air bubbles in the finished product. The slurry coat is applied to ensure all voids are filled. We covered the surface with the slurry and scraped as much off as possible with a plastic putty knife.
Adding the “slurry coat”. This is actually a not completely accurate depiction in this photo – this is actually the back of a countertop for the island’s waterfall side. Since this countertop was double sided, we needed to finish both sides… I’ll get into this later in another blog post… but this is photo I have, so it’ll have to do!
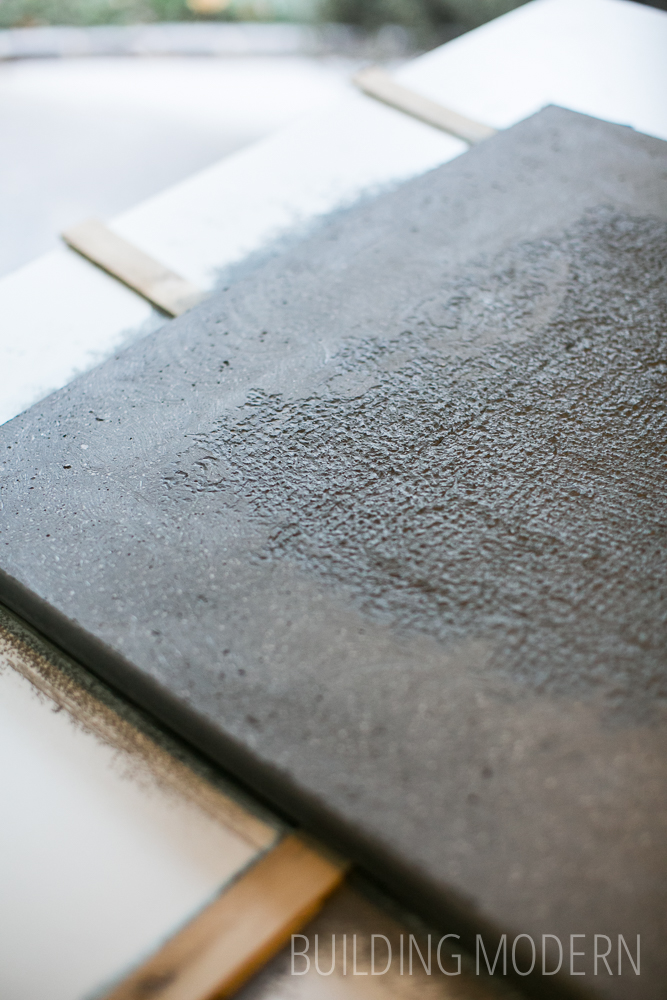
Let dry (which takes comparatively little time), then sand smooth. Here, you can really see the color difference before and after – just from the first pass of sanding. Spencer used 60, 120, & then 240 grit sand paper.

(Spencer commandeering the blog post writing here: Ok, so, sanding concrete does about as much as you’d think it would. It takes a TON of sandpaper a LOT of effort for very little results. I learned with the 60-grit paper, if you have used a pad of 60-grit for more than 2-3 minutes, you need to switch. Seriously. In most cases, one 60-grit pad lasted 30 seconds and covered an area maybe 10″x10″ if I was lucky. The idea here is that you have a smooth, even, look before moving on to a higher grit. I found the bosch pads on Amazon to be the best, by far. I’m not really sure why local stores don’t carry them, at least for us … to shorten it, don’t use any sanding paper from the store for this. Just get the bosch on amazon. It’s less expensive or the same in cost, and is much better in quality and how long it lasts. Anyway, still, 30 seconds with 60-grit paper. Change it out like it’s water. Yes, it’s at least $50 in just 60-grit paper. The 120 and 240 grit paper lasts much longer. I found I could sand an entire countertop with only two 240 grit papers, maybe three on the largest countertops. Also, that little blue tape you see on there – that’s holding our adaptor from the sander to a shop-vac. If you can get one of these, it will cut down the dust a good bit, but there’s still a lot of cement dust. BE SURE to be wearing a good breathing mask with a minimum of P100 – the pink kind of filters. Otherwise, you’re breathing in a lot of different things besides just cement – the PVA fibers would have me the most concerned, personally. The same goes for eyewear protection – I used the goggles that completely surround the face. You don’t want PVA fibers getting in your eyes either.)
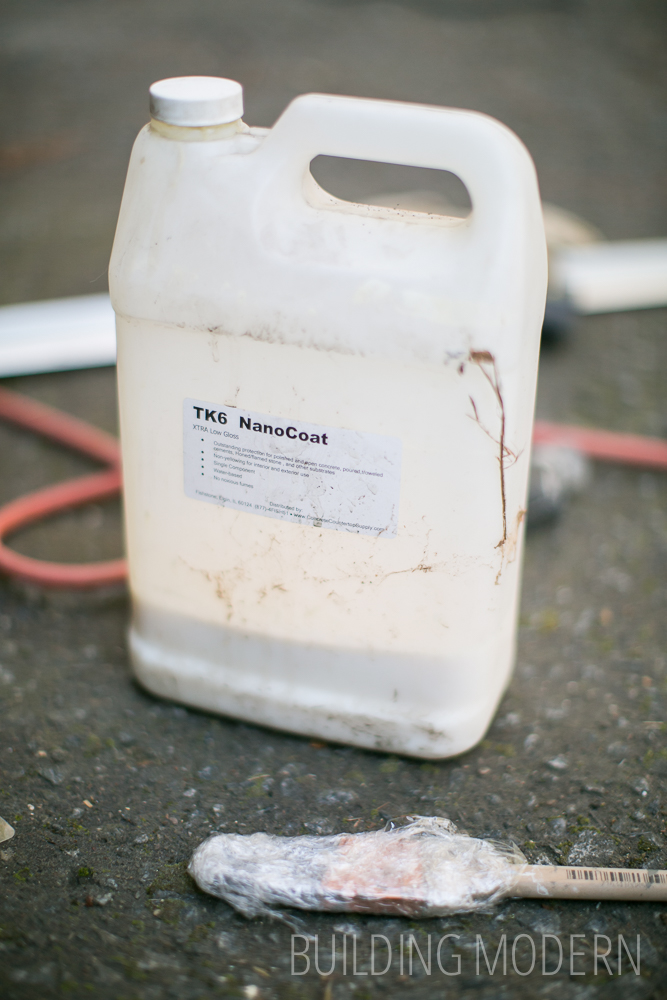
After the slurry coat has been sanded smooth, apply the TK6 NanoCoat (we chose extra low gloss) in light layers with a good paint brush. Apply very light layers. Otherwise, when dry, it will scratch easily. Also, very important: you have to have wet-to-wet when applying any finish like this – just like when painting a wall… but in a more crucial way: you need to move quickly and make sure your new edge is touching a wet edge you just put down. Otherwise, you’ll be able to see where you applied each line of coating. It may be smart to have one person brush while one person pours on more. You have to move FAST.)
We initially read about two techniques to apply the sealant. One was to use a paint brush, the other was to apply the finish with a rag in circular motions. We initially tried the later technique. Here, you can see the swirls in the finish. We actually installed this countertop as-is, but later decided we didn’t like the look and had to refinish this countertop in place.
A finished countertop! Yay! This is for the left side, under the bank of windows.

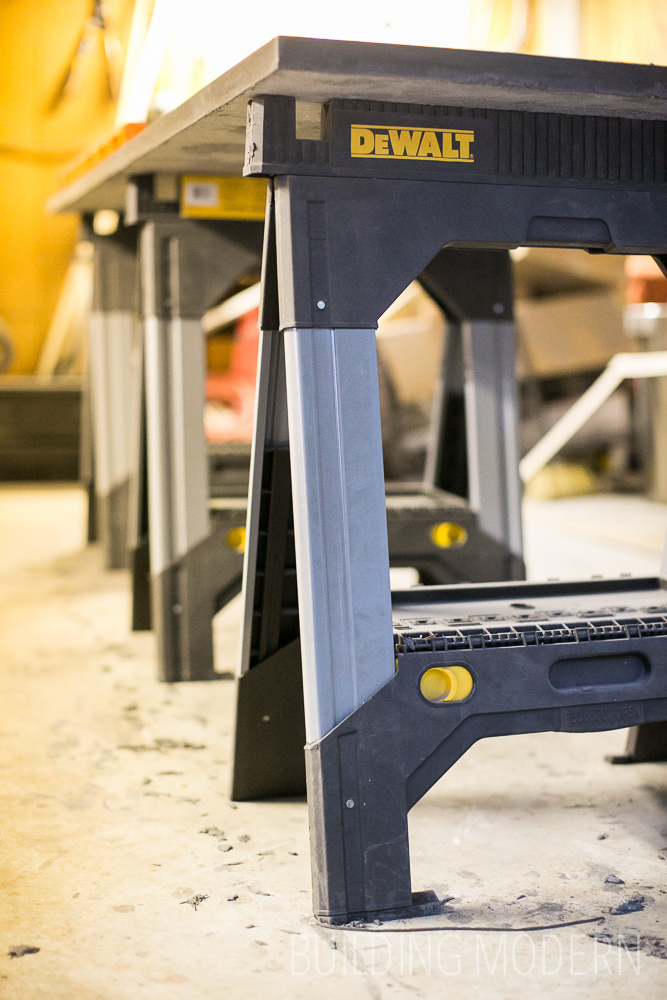
I will divert for a second and say that we invested in a whole bunch of saw-horses. We needed a large amount for the process of pouring the countertops, but we also needed more to receive the countertops once we flipped them over. The longest countertop (for the sink) needed six saw horses alone. These DeWalt saw-horses are awesome. Get these. Forget any others. Seriously, they are that much better than the cheapy, wobbly, molded plastic kind. For this purpose, these were great – for other woodworking projects, maybe the kind that extend out laterally would be good as well. But, for the price ($34/each), these were incredible. They have adjustable height per individual leg and are absolutely solidly built.
The sequence that we poured the countertops was this: we first started with the small corner piece because it was best to practice with the smallest one. Because it wasn’t terribly heavy, Spencer and I were able to carry it up to the kitchen by ourselves. Wade helped maneuver it into place because the oven and tall cabinet were already installed. It was just an awkward angle for installation with only two people. I was actually inside the corner cabinet space to help lift… then I had to jump out before we scooched it all the way in.
We then poured the left window side & island simultaneously. Eleven days after the second group was finished, the large sink countertop was done. So, at this point we had three very large and very heavy countertops to get from the garage up to the kitchen – which was the floor above us. Fortunately, the ground slopes in the backyard from the garage up to the back porch – there were only six stairs we had to tackle. I was concerned about actually being able to make the distance – we recruited our friends and family for muscle power. But, more on that next time!
Here’s a list of all of our concrete countertop posts:
Part 1) Materials and tools needed
Part 2) Making the templates & forms
Part 3) Preparation for the pour
Part 4) The first stage: spraying the beauty coat
Part 5) The second stage: compacting
Part 6) finishing: grinding, sanding, coating
Part 7) installation day
Part 8) the reveal
Other Related posts:
 Kitchen: diy concrete countertops – the first stage of making concrete countertops reinforced with PVA fibers
 Kitchen: diy concrete countertops – the second stage of making concrete countertops reinforced with glass fibers
 Kitchen: diy concrete countertops – materials & tools needed
 Kitchen: diy concrete countertops – making the templates & forms
 Kitchen: diy concrete countertops – preparation for the pour
Love the counter tops but your photos are amazing. I know you guys are photogs, too (right?), but, really, so good.
Thanks Dena!! We’re glad you like them. 🙂