
Tis post is about the second stage of pouring our own concrete countertops, just moments after the first layer of concrete was spayed into the form.
The “backer coat” for the concrete countertops is comprised of the same mix as the first layer aka “beauty coat”… the only difference is that the “backer coat” uses glass fibers for reinforcement and the “beauty coat” uses PVA fibers. The amount of material used for the “backer coat” is also much larger than the “beauty coat”… so we had to split the mix up and use multiple bins & buckets for most (if not all) of the multiple countertop pours. I’ll go through mixing the ingredients here, just like I did for the “beauty coat” blog post.
One note before we begin: the images in this post are from multiple countertop pours. Making the countertops is very time-sesnitive and messy, and since Spencer and I (and sometimes Spencer’s cousin, Wade) were the ones doing the work and photographing everything, we didn’t have the luxury to completely photograph one single pour… so, as a result, there may be some inconsistencies in time of day, lighting, or the countertop form. Actually, thanks to Wade helping with some pours, we were able to get most of the photographs that we used in this post.
The first three dry ingredients mixed together (sand, alto-pozz, & black iron oxide) – this was prepared the day before – along with the other dry ingredients (not pictured):

This batch had much more volume than the “beauty coat” layer that was sprayed into the form, so we mixed everything in concrete mixing bins rather than directly in the large bucket. The sloped edge of the bin really helped when scraping all the ingredients together… sometimes there would be dry pockets in the sharper corners or sides of the bin.
Adding the wet ingredients – water/ice, forton (which makes the mix look temporarily blue), and probably the defoamer at this point. (I think this might be a photo of a smaller batch, or possibly a photo of the first stage of one of the “beauty coats” because of the comparatively small amount of mix in the bin… but the point still gets across.)

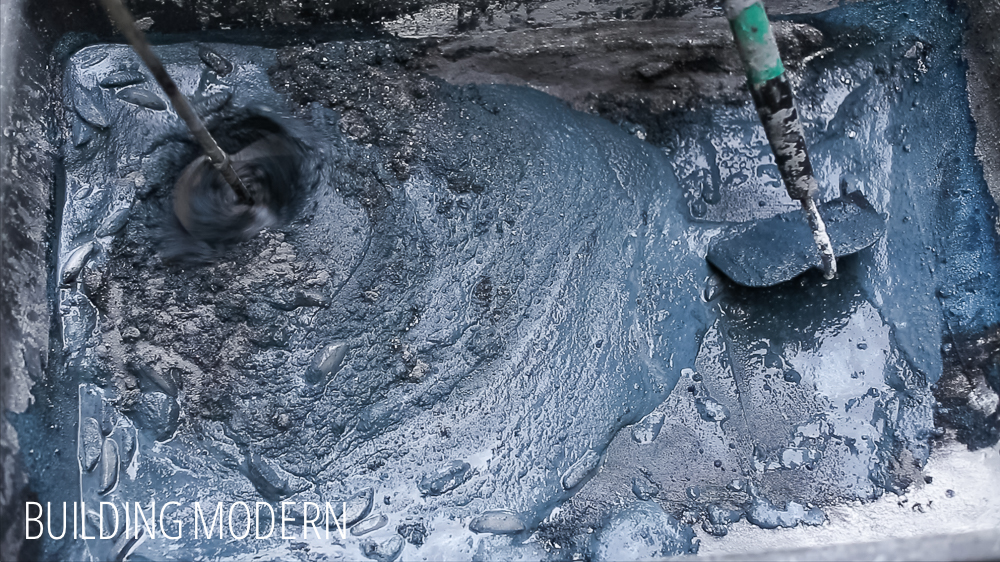
We started to use the mixing blade – as the hoe wasn’t really cutting it at this point. Because the mix was distributed thinly across the bin, we used the hoe to pull the mix up against one side and used the mixing blade to more throughly combine the ingredients. Here, you can still see some dry areas of the mix up against the walls of the bin:
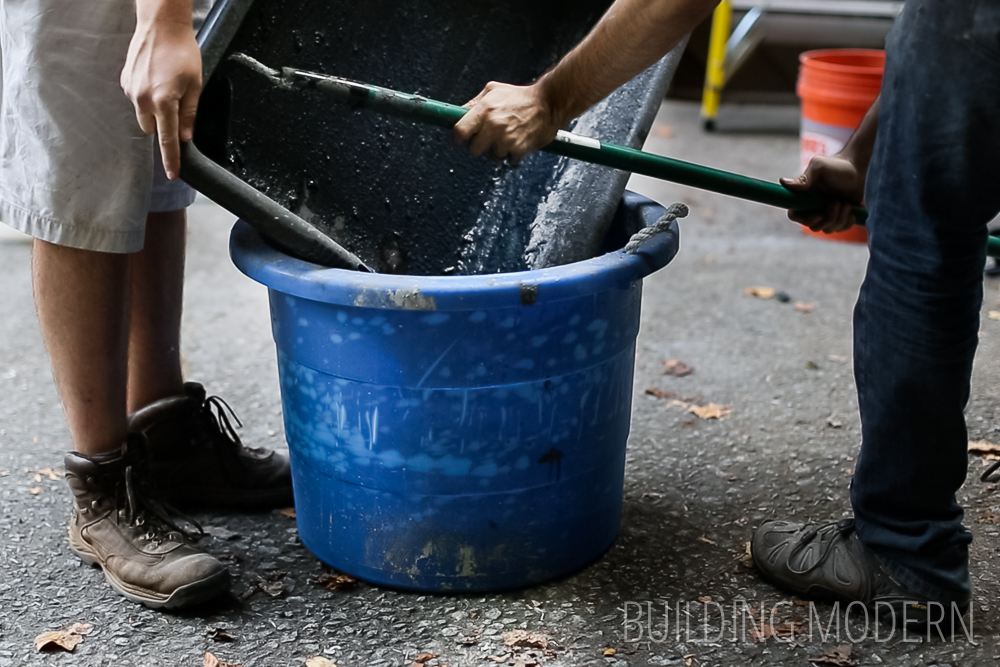
Transferring the mix to a large 20 gallon bucket so we could use the mixer more effectively:
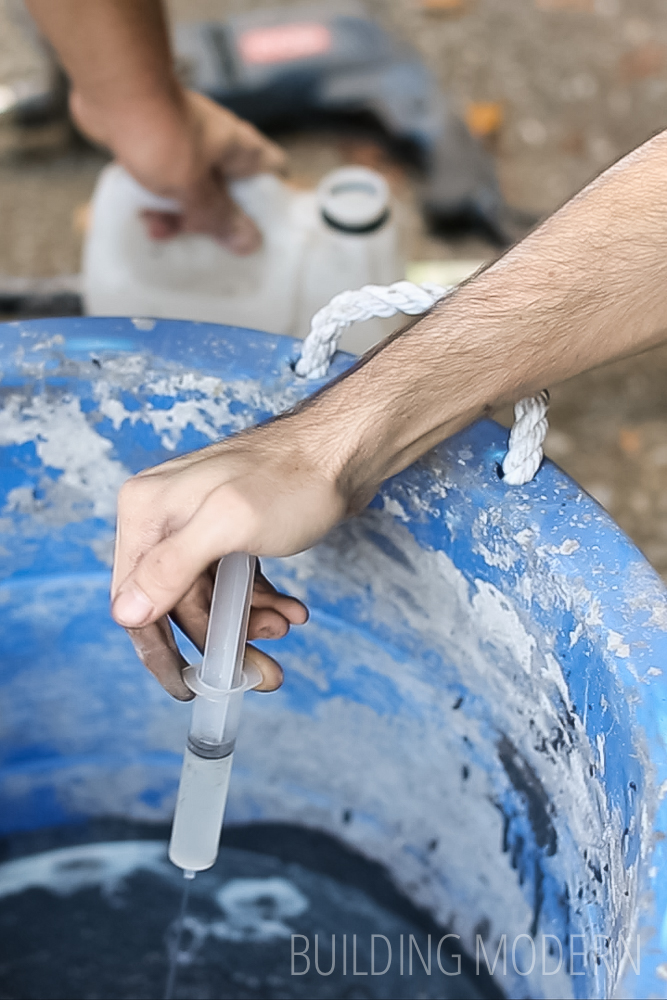
Adding superplasticizer:
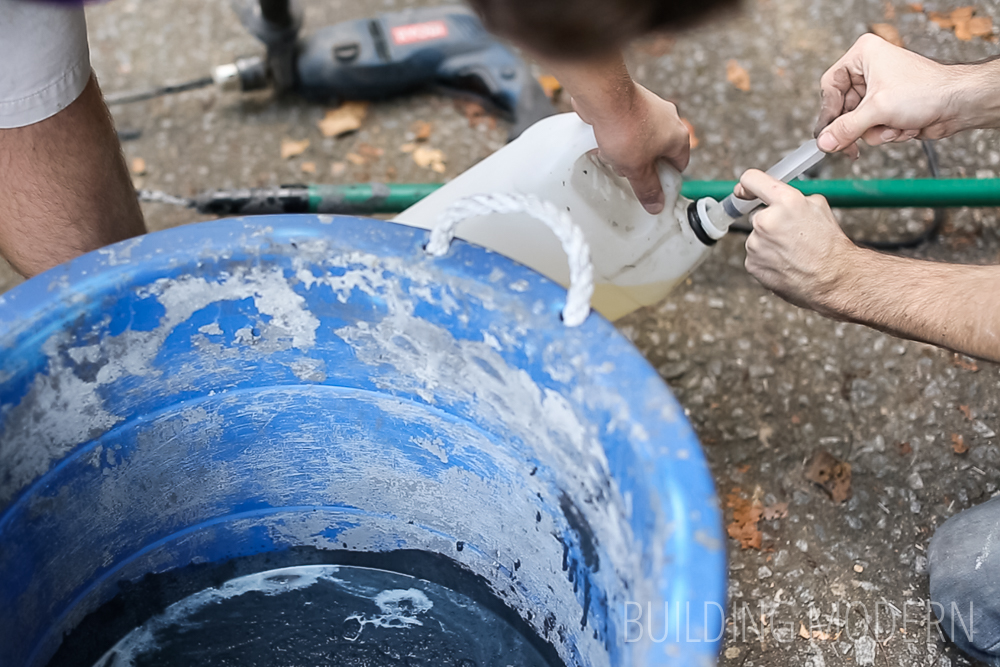
The syringe came with the C-64 defomer, but eventually the chemical erased the measurements. A pharmacy gave us a few “children’s medicine” syringes when I was looking for replacements.
Adding the portland cement:
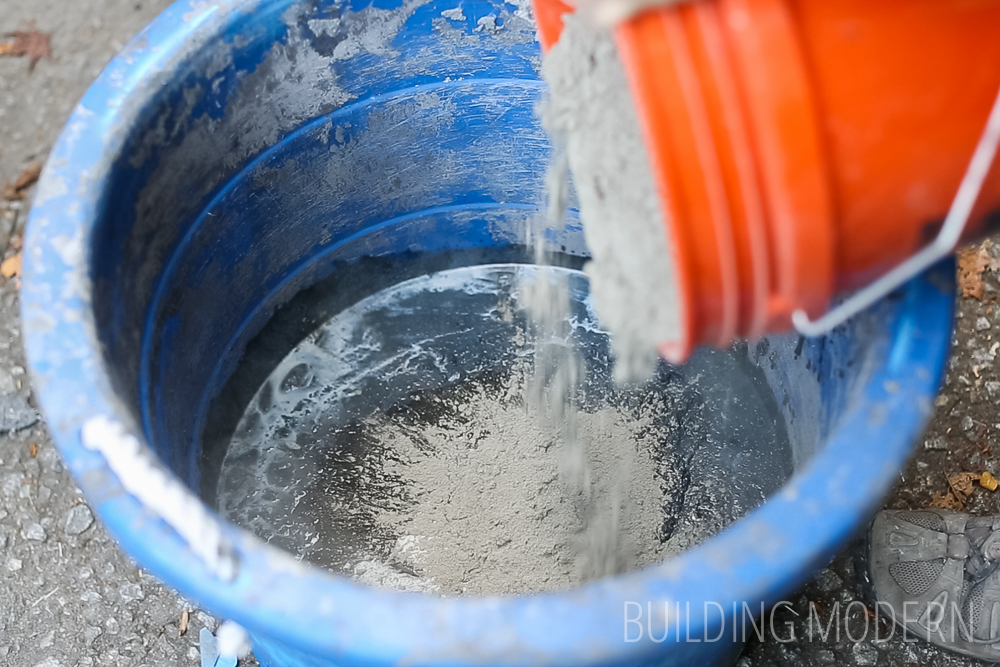
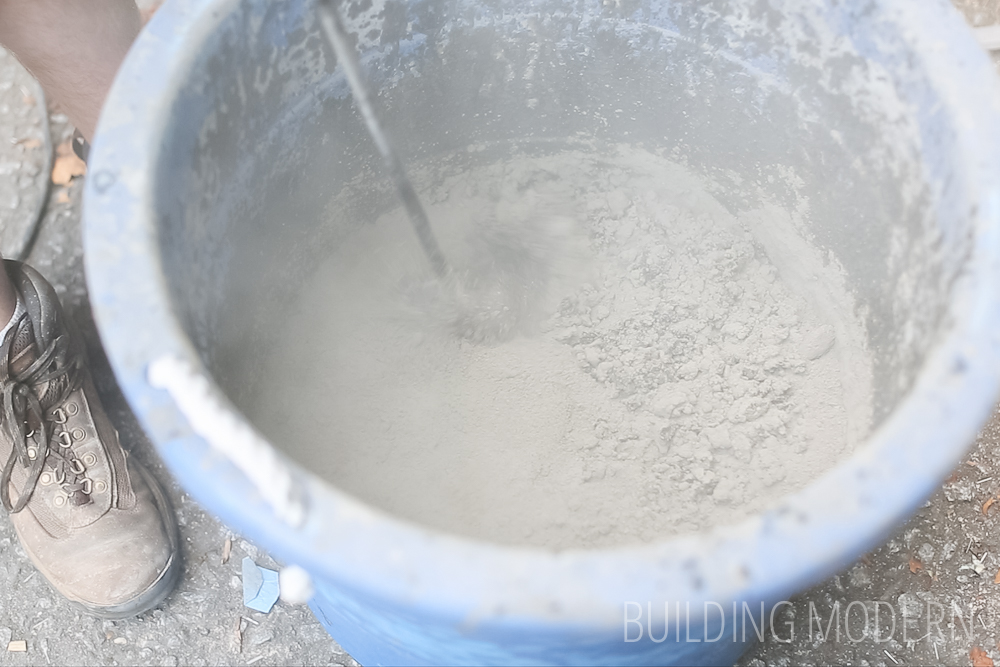
We added the portland cement in small amounts at a time in order to mix everything together throughly:

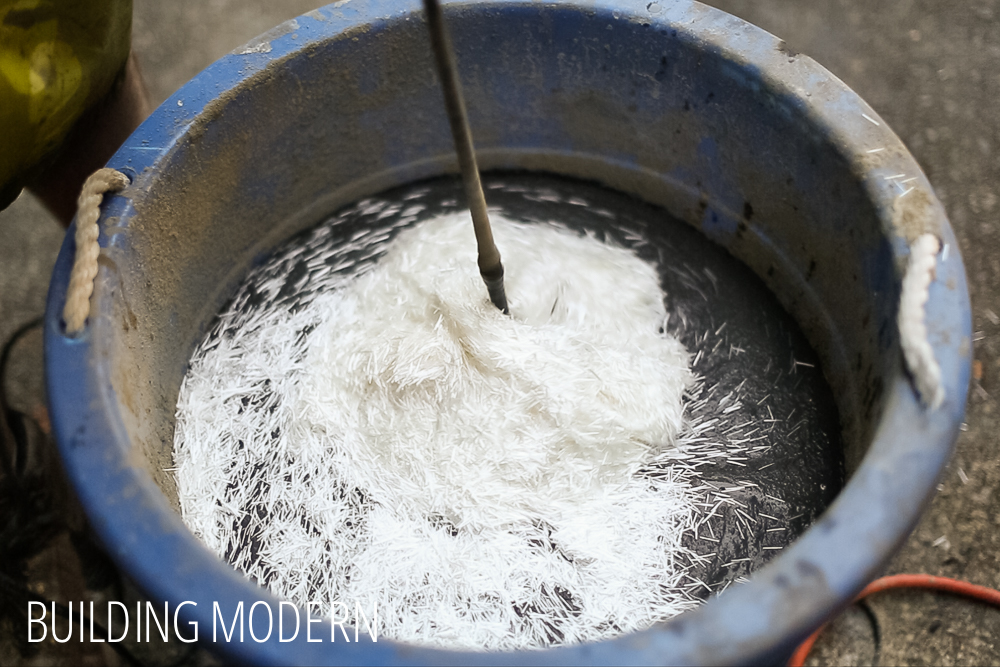
The glass fibers for the “backer coat”:

Mixing in the glass fibers:
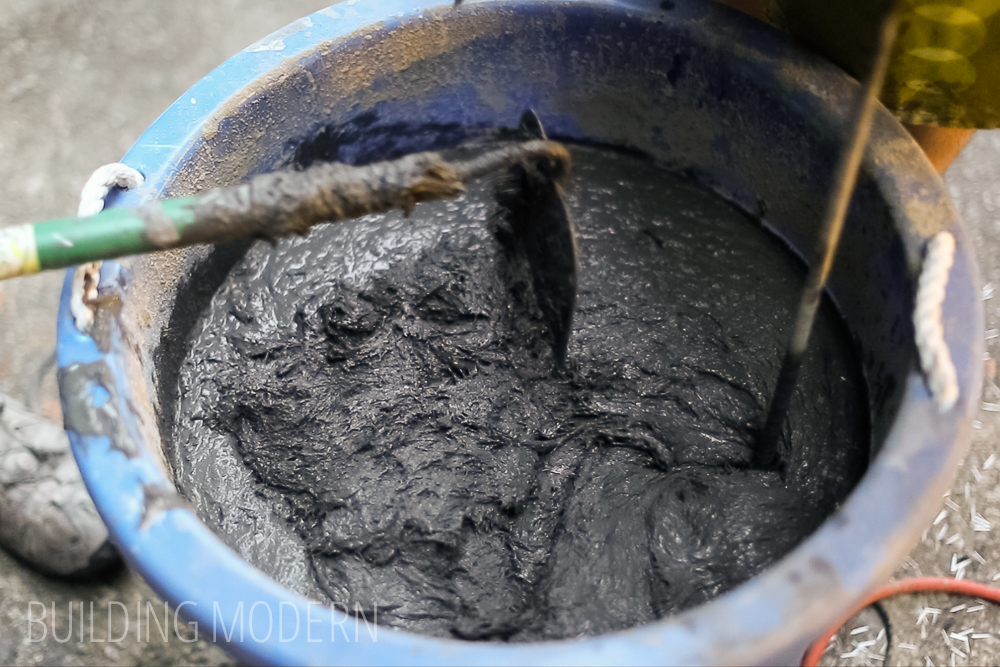
The “backer coat” completely mixed & ready to be packed into the form:
Mixing in the portland cement and glass fibers was work. Not only did we need to mix the “backer coat” in multiple buckets because it wouldn’t all fit in one batch, but even if we had larger buckets, I wouldn’t have wanted to combine it all in one batch due to the physical difficulty of mixing the concrete. We borrowed the mixing drill (we purchased the mixing blade, since it would get covered in concrete) – and boy, was it important. We learned how important on a later pour when we didn’t have the drill – if mixing everything with the drill was difficult, mixing by hand was terrible: it extended the time it took to mix everything and our layers of concrete in the form almost dried out. This also brings me to a related point – before starting this process, double check that you have everything you need for the pour – once you start, you won’t have any time go to the store. This may mean over purchasing and returning the unused items after the fact.
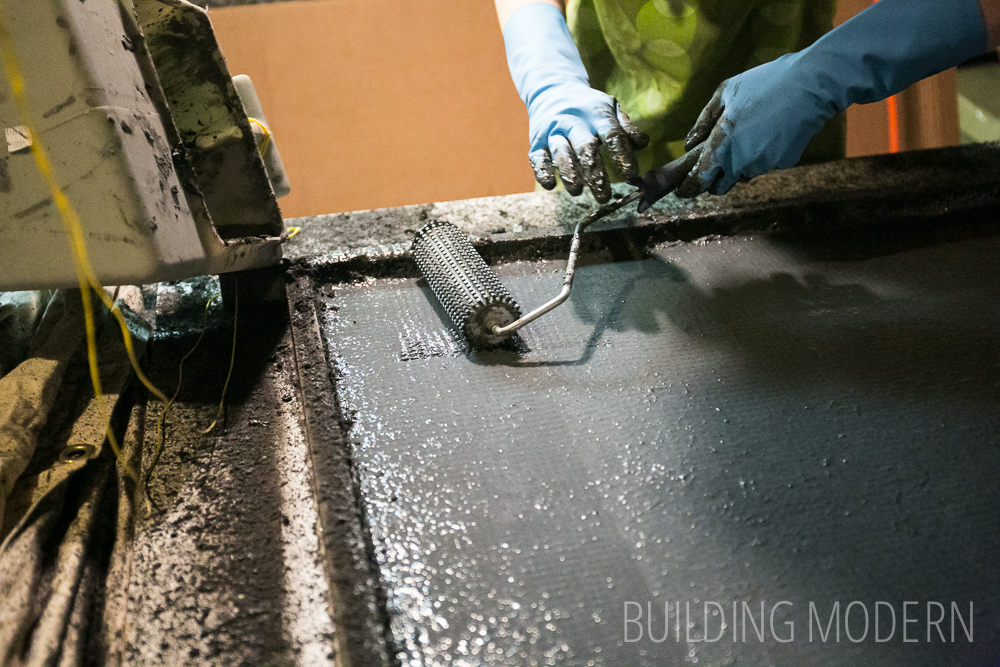
Okay, back to the pour: the next step is to pack in layers of the “backer coat” and compact with special compacting rollers. Once this stage had been reached, it’s pretty smooth sailing from here on out: pour, compact, and repeat.
Pouring in one of the “backer coat” layers:
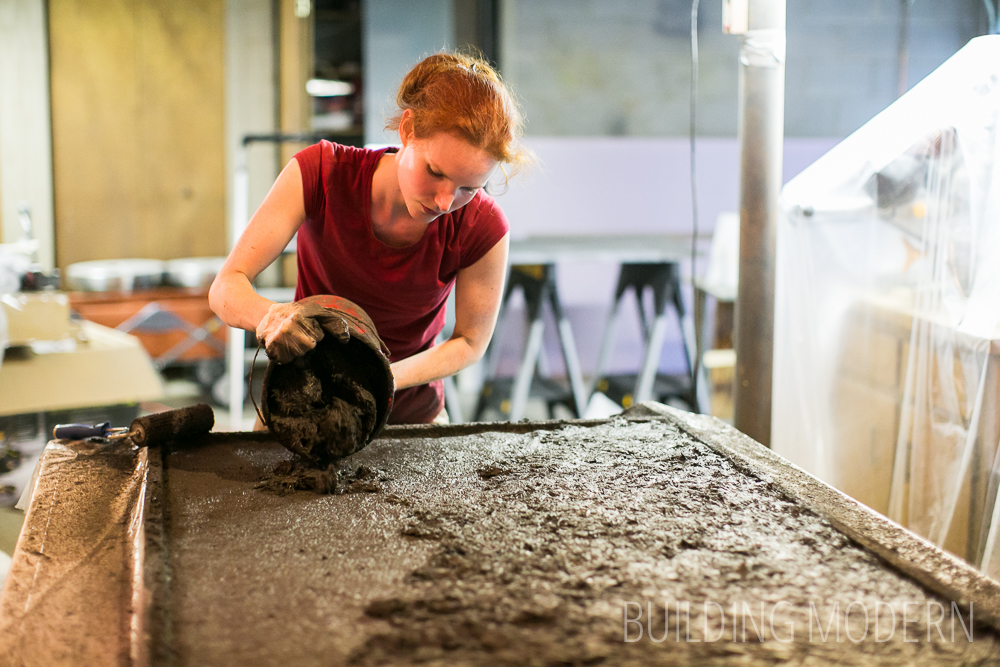
Spreading out an even, thin layer:
This particular batch was pretty thick with glass fibers, though we followed the percentages recommended by the supplier. In later countertop pours, we added less fibers because the amount didn’t seem right. Upon asking & looking up information, a lot of concrete work seemed to involve being able to “eyeball” the consistency of the mix… it can be a strange balance of very precise measurements versus seeing if the consistency looks too thick/thin and then compensating.
On a side note, these gloves pictured below were ineffective, I recommend thicker gloves unless you want to be impaled with tiny glass needles:

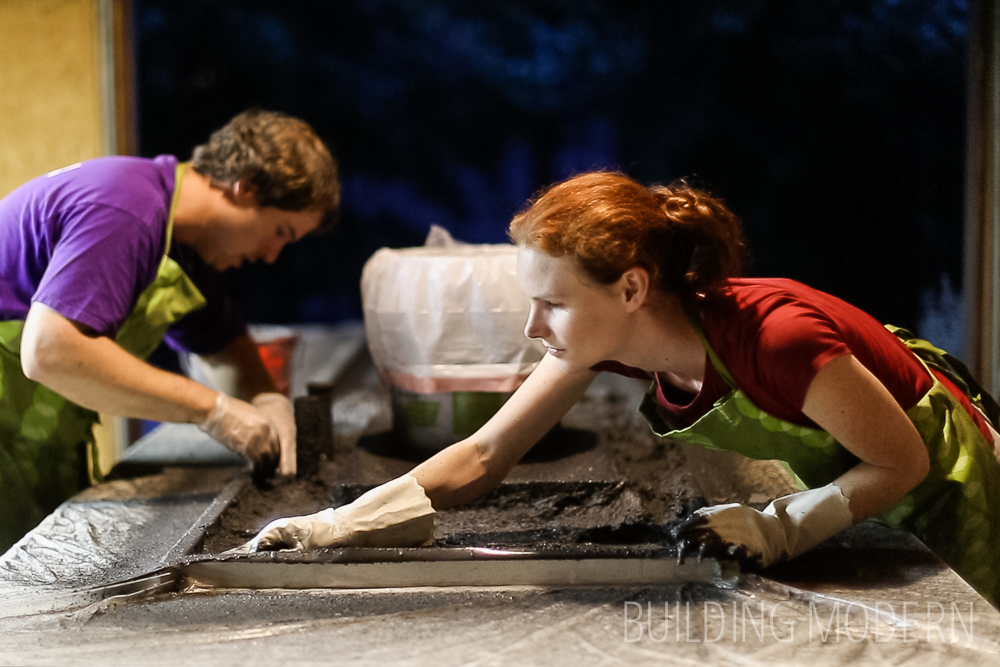
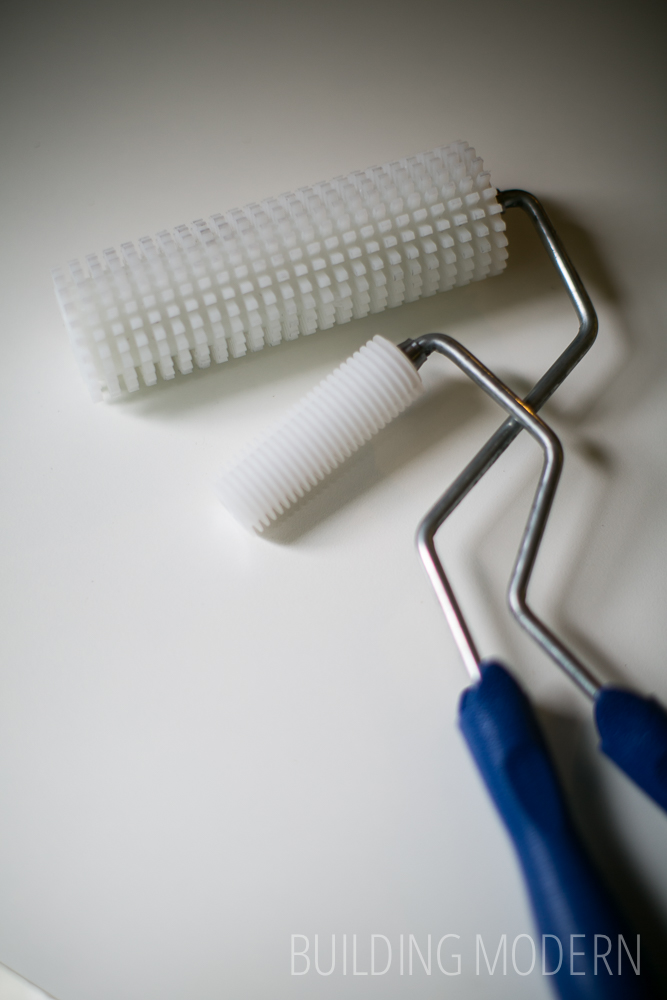
The compacting rollers (we didn’t really need the smaller roller, two of the larger would have been fine):
Compacting after each layer:
This was a much more liquid batch… we weren’t quite sure why – we must have had an incorrect measurement somewhere. (Though the finished product turned out just fine.) Also, notice the thicker gloves:
We added layers until the concrete reached the height of the form, but we were careful not to scrape off the walls of the form when using the compacting roller. After the countertop was finished, we cleaned buckets and anything we needed to reuse for later pours.

Let the concrete dry for many days. Depending on the climate, sometimes it is recommended to tent the whole slab with plastic – to keep in humidity, which helps the concrete cure. Since we live in Atlanta, lack of humidity definitely wasn’t an issue.
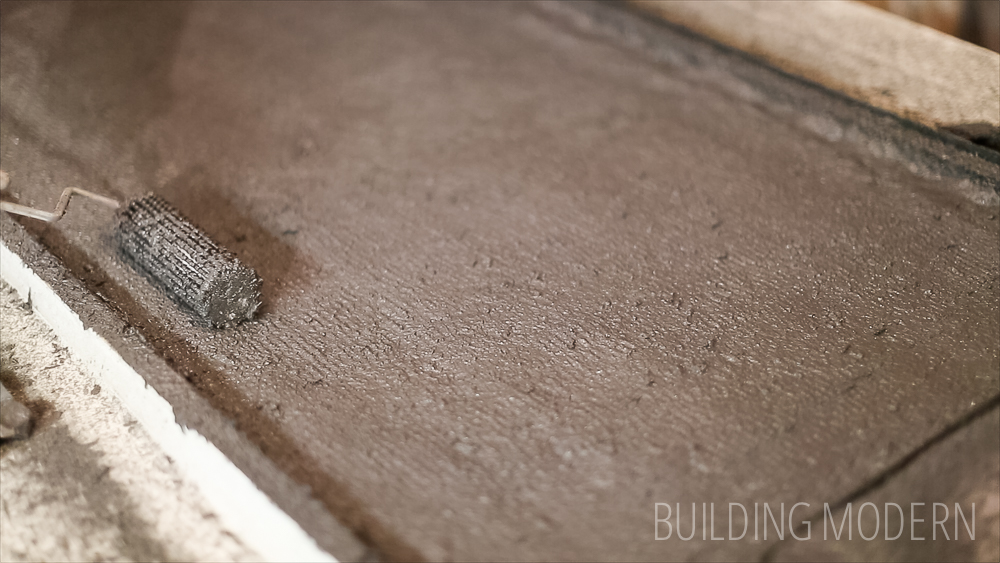
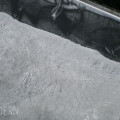
You can see the glass fibers imbedded in the dry concrete:

Next, I’ll talk more about the countertop that needed to accommodate the sink & fixture openings, finishing the backside of the countertops, removing the slabs from the forms, and finishing the visible side.
Here’s a list of all of our concrete countertop posts:
Part 1) Materials and tools needed
Part 2) Making the templates & forms
Part 3) Preparation for the pour
Part 4) The first stage: spraying the beauty coat
Part 5) The second stage: compacting
Part 6) finishing: grinding, sanding, coating
Part 7) installation day
Part 8) the reveal

Other Related posts:
 Kitchen: diy concrete countertops – the first stage of making concrete countertops reinforced with PVA fibers
 Kitchen: diy concrete countertops – making the templates & forms
 Kitchen: diy concrete countertops – materials & tools needed
 Kitchen: diy concrete countertops – preparation for the pour
 Stomped to Smooth: Skim coating a ceiling DIY