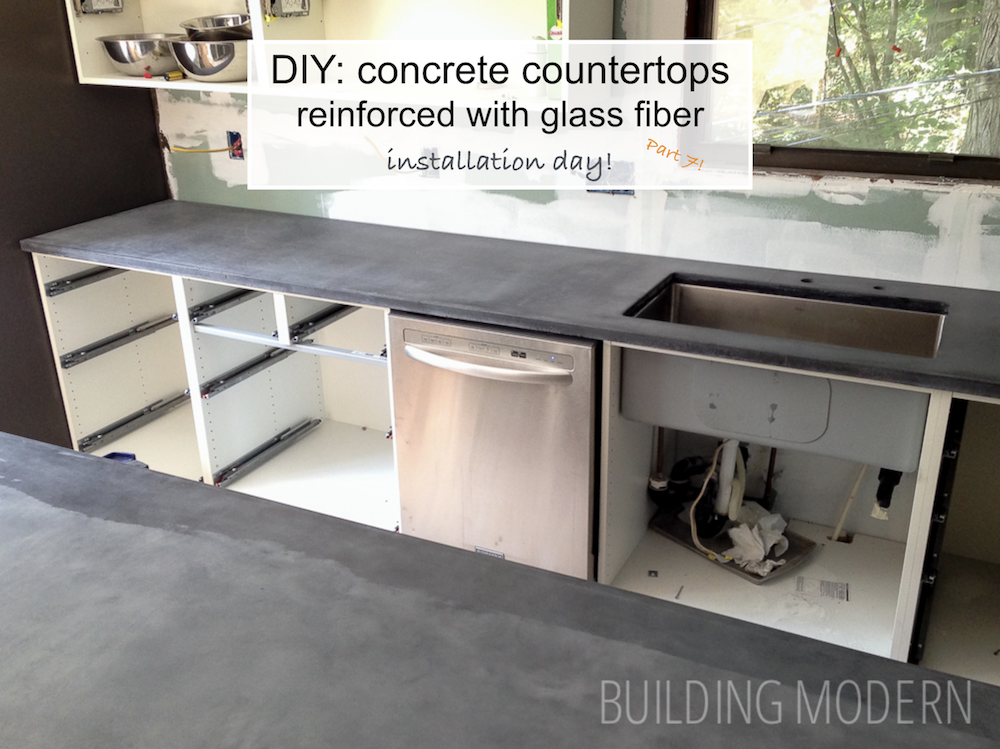
Time for countertop installation!
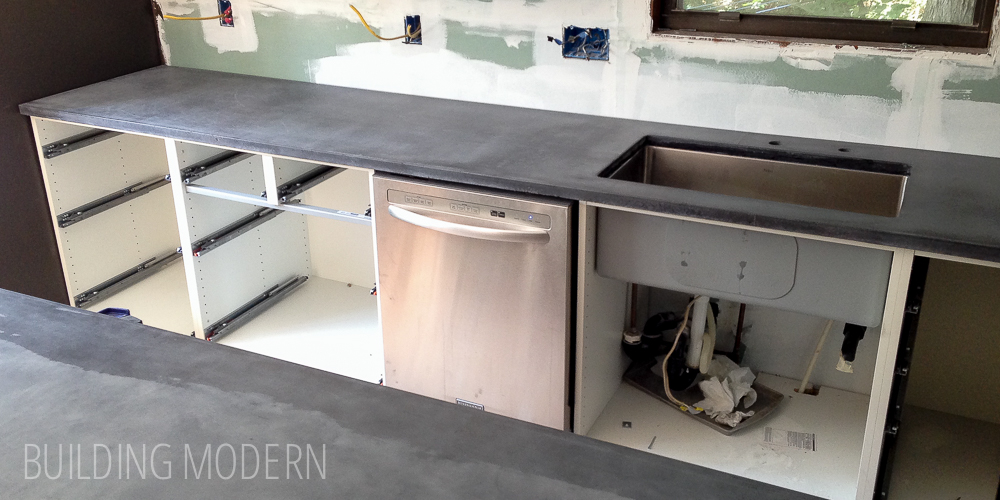
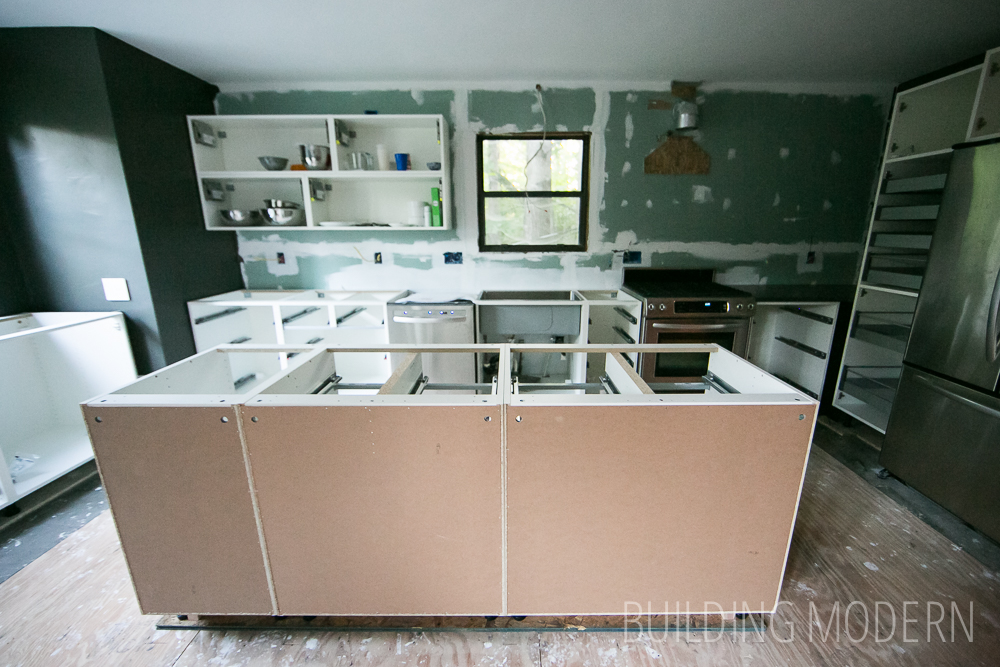
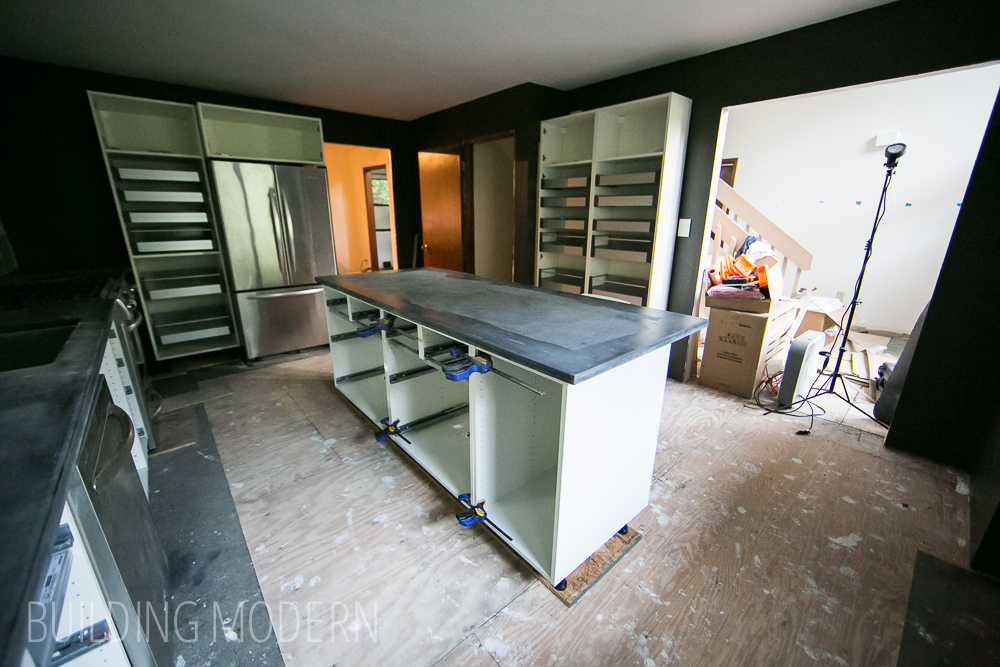
Just as a reminder, here is our kitchen with the cabinets installed, ready for the countertops. The island cabinets aren’t actually attached, so we could move them out of the way when we installed the countertop along the walls. In this photo, you can also see the cleat (the thickness of the wall tile) for the range hood. We made all the boxes/cleats around the same time: redirecting the vent, the cleats for the cabinet above the refrigerator, the island, & the exhaust hood.
All the splatters on the floor are from skim coating the ceiling.

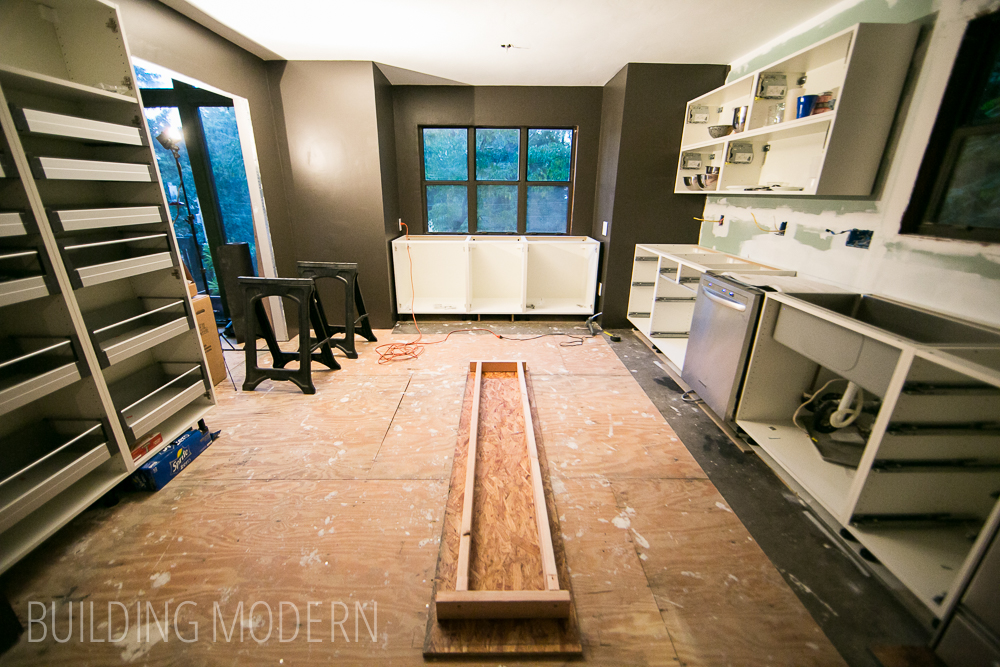
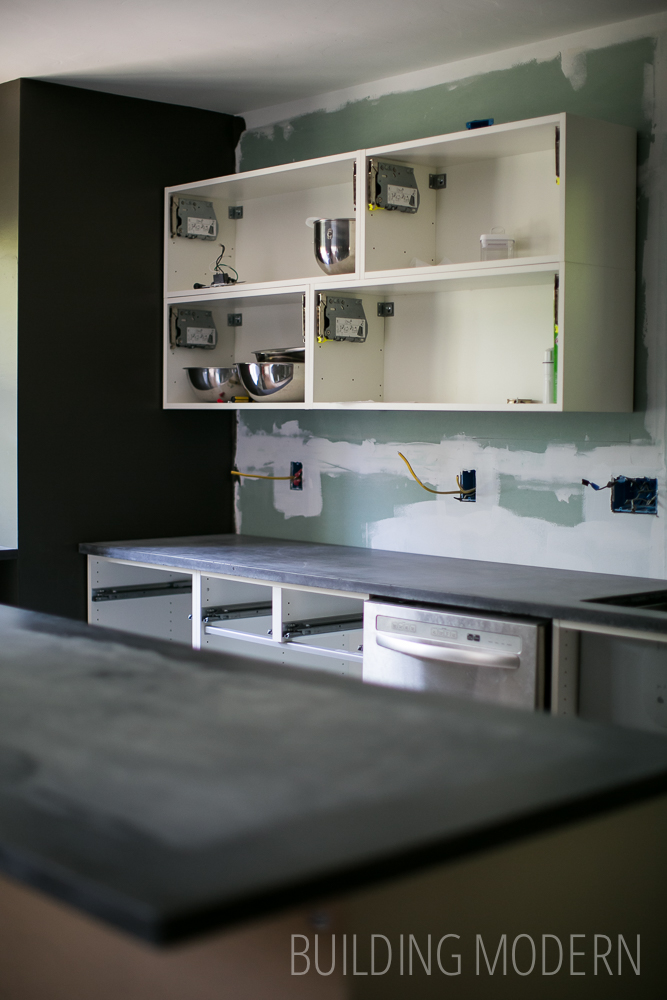
Already using the dishwasher without a totally complete kitchen:

Later on in the evening, the room with the island cabinets removed. You can see the cleat we created for the island. The osb is to lift the whole cleat & cabinets up to the same level when we install the hardwood floor. This also allowed us to install the cabinets & countertops before we installed the finished floor.
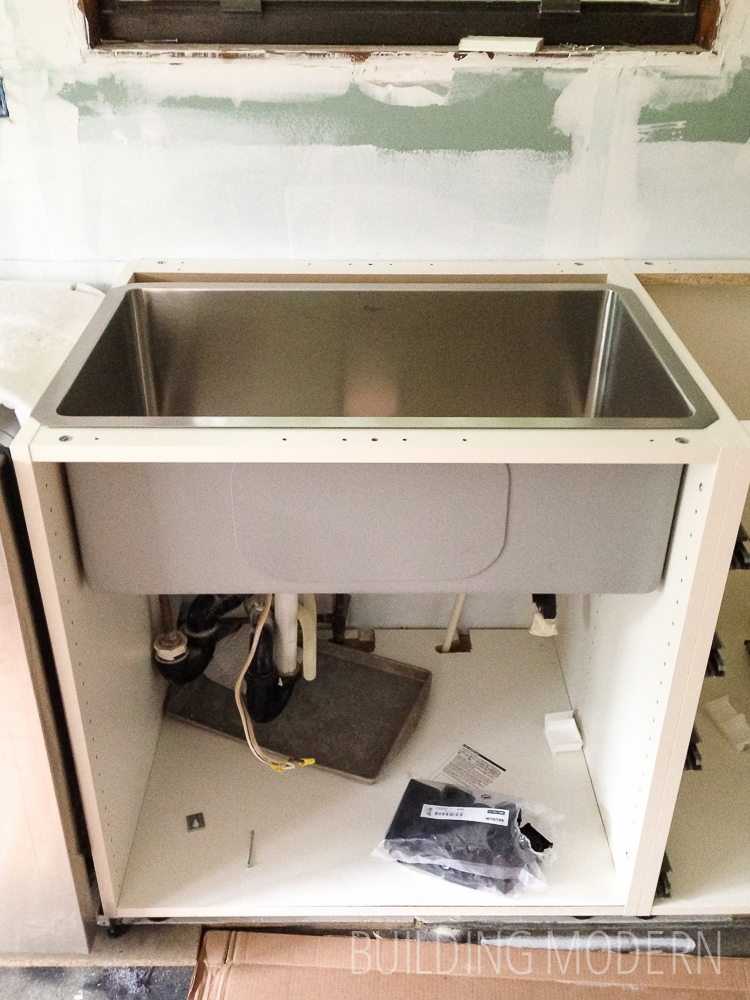
Since I didn’t cover this anywhere else, here is a terrible iPhone photo of the sink we chose. We wanted a single basin because I was tired of large pots (with handles) not fitting in a double sink. It’s a Kraus and seems to be the sink of choice when I was looking through Apartment Therapy’s “Renovation Diaries” Series. (We also bought the faucet & soap dispenser from Kraus as well.) It was comparatively inexpensive to other brands at $369.95 (today’s price is $284.95, the cheapest it has ever been is $239). It is a thick 16 gauge stainless steel and it comes coated with a sound-reducing insulation and a wire rack to protect the basin. It also arrived in some pretty fancy packaging.
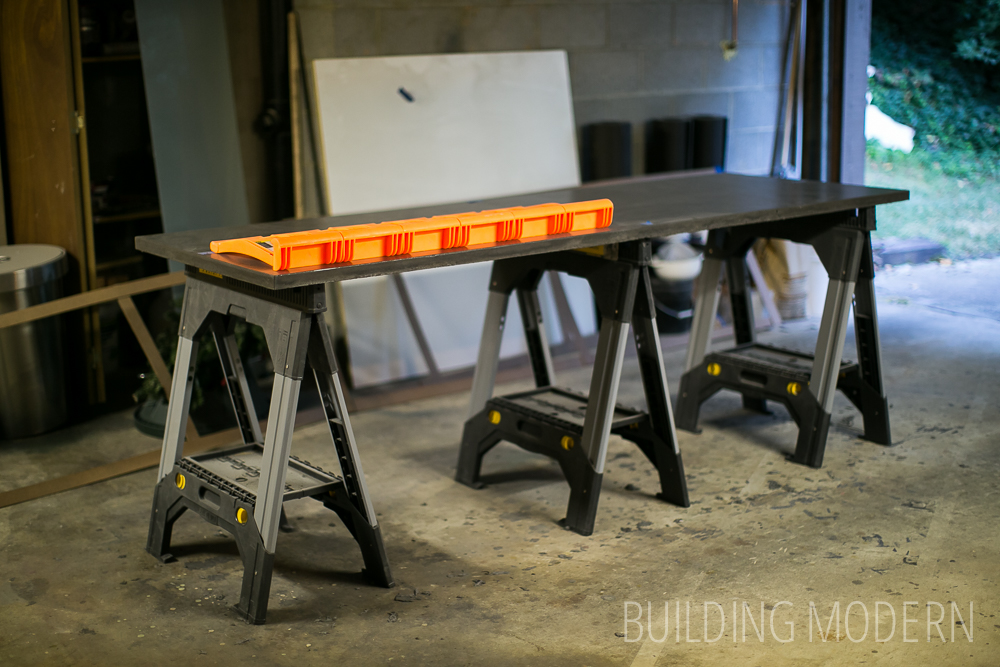
Anyway, back to our timeline… after our countertops were ready we needed to wait a few days for friends & family to be available to help us carry everything up to the kitchen. I was a bit worried about if we could physically carry the countertops – the two heaviest ones we figure were around 450 pounds. We didn’t have a cart to wheel them up to the location like I have seen in some professional installation videos I’ve seen.
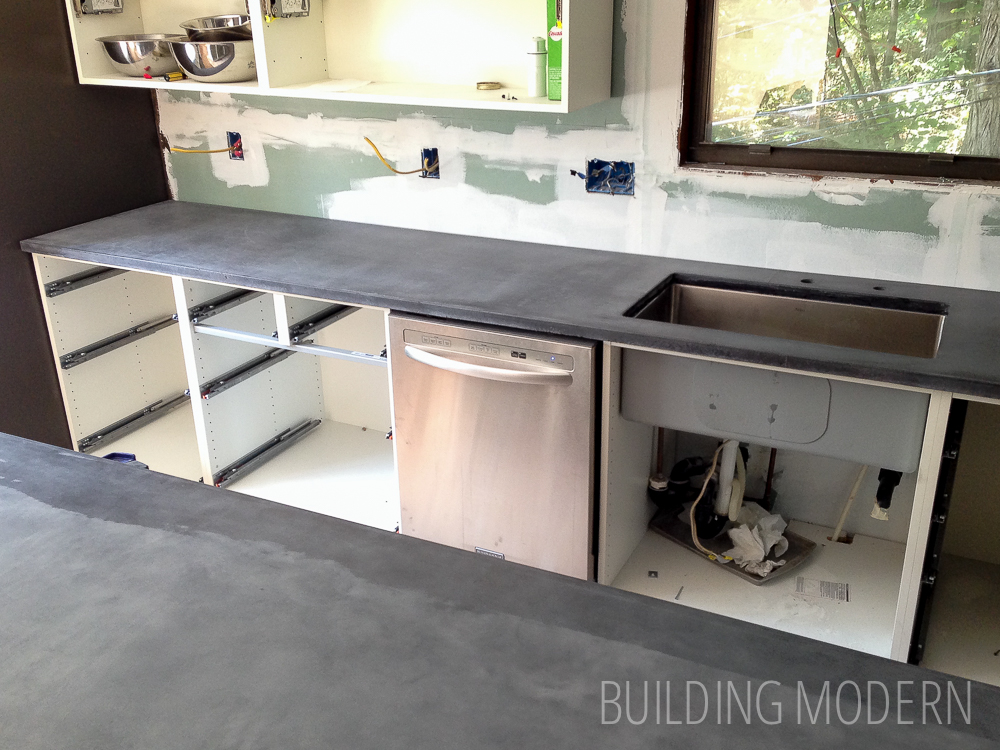
The countertop for the left wall with the three windows in the garage. Finished (with sealant) and ready to go:
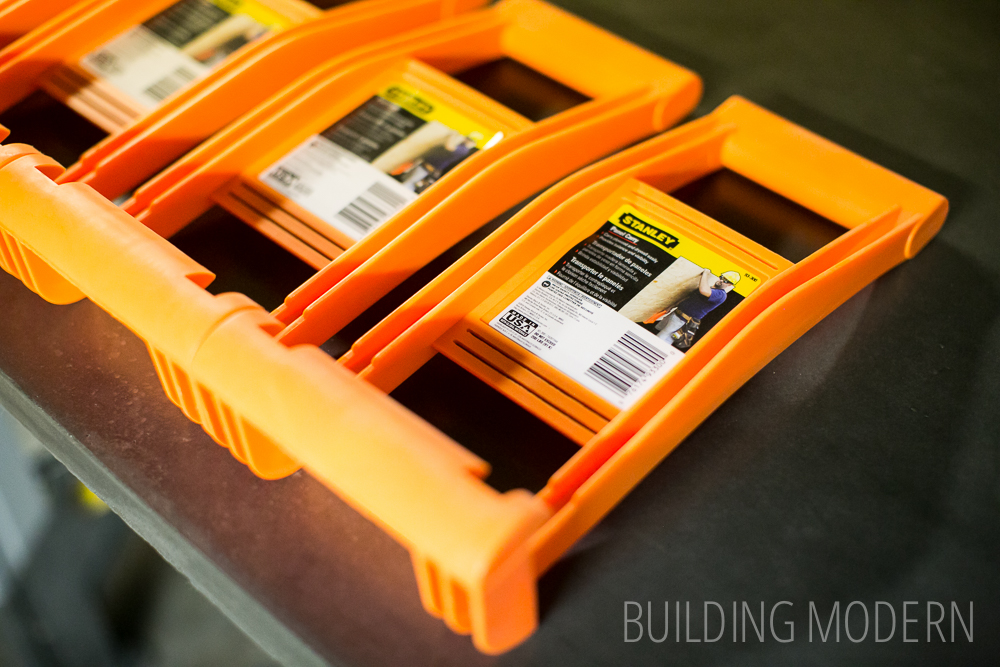
We purchased “panel carry” drywall handles as an option, just in case. Drywall is pretty heavy, so, why not? We ended up using the handles part of the way and at other times abandoned them and threw them off.
I have no photos of us actually transporting the countertops inside since it took all of us to carry the load & was a pretty potentially dangerous situation. But our neighbors totally saw us all carrying them – so we do have a witness! But seriously, we carefully planed our route with rest pauses & went over the plan multiple times with everyone before our first attempt.
We needed to go out of the garage, reverse direction & walk up a slope & three steps, walk a few paces – not hitting the chimney, up three steps through a door into the screened in porch & pause. We reversed direction through a door into the living room, reversed direction diagonally through the living room to the dining room to the kitchen & set the countertop down on sawhorses in the middle of the room. We carried the countertops on their edge because they are stronger that way & less likely to break. We had six of us total to transport the countertops, and for the longest one, we were all smushed in a zig zag pattern along the length.
Initially, we had all of our sawhorses occupied with the three countertops in the garage & needed some in the kitchen as a destination for the two heavier ones. So, we installed the left window countertop first because it was the smallest/lightest and we could directly put it in place without setting it on sawhorses in the kitchen. We next brought up the long sink countertop (in our zig zag formation), we left the pink foamular in place – we thought it might help & couldn’t hurt.
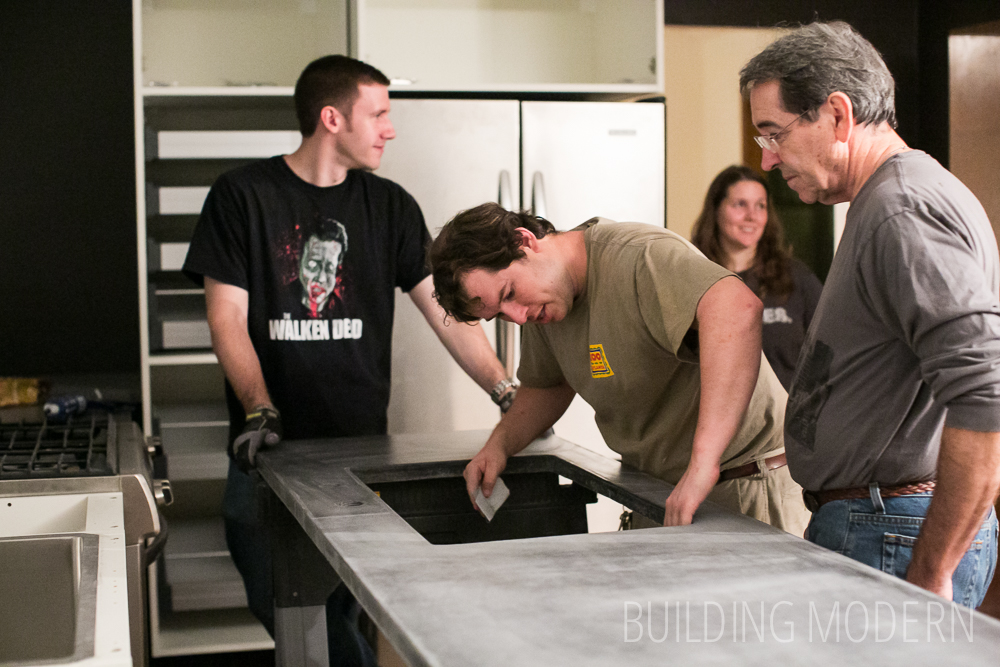
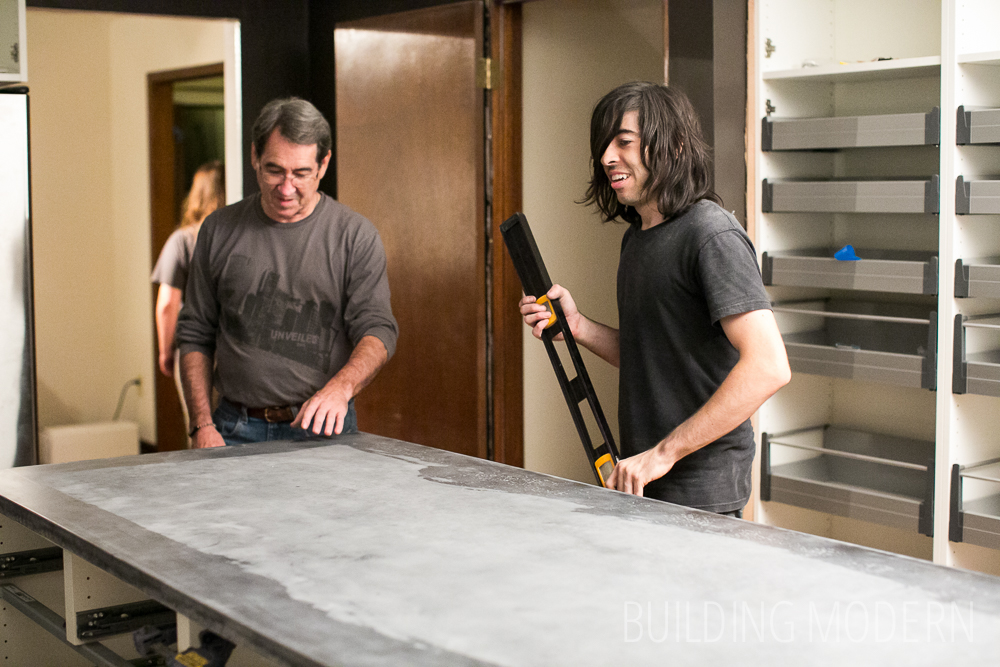
Here, you can see the unsealed “sink countertop” sitting on the sawhorses. Yay! It didn’t break at the sink! And, Yay! Friends! Cory is on the left, Wade is inspecting the sink area after we removed the foamular, Elizabeth is in the back, & Spencer’s dad is on the right.
This is the point of the night that Spencer’s dad suggested that someone could climb inside the cabinets, lay on their backs, and use their legs (since they are stronger than arms) to lift the counter into place. He proceeded to demonstrate (sans countertop). At the time, he was 69. So, even though he was completely capable, Spencer suggested that someone younger might volunteer for that job. Since I figure that my girl legs are stronger than my arms, I climbed in the cabinet while the guys lifted it into place… I feel like I contributed something, but probably not a lot.
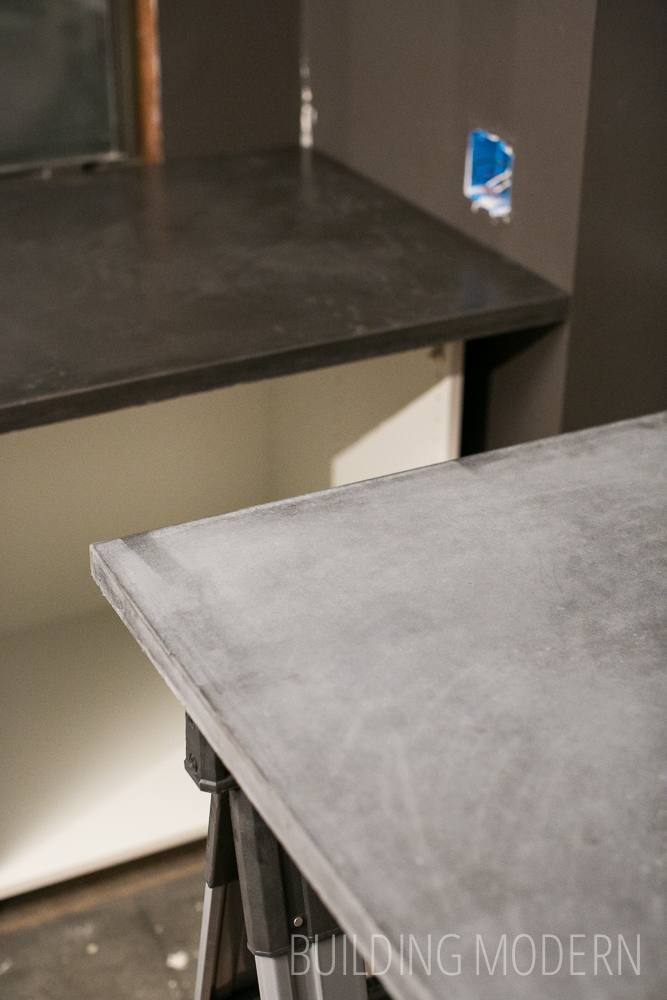
Oh, and here, you can see the difference in shade between a finished (in the back) and unfinished, not even sanded, countertop (foreground):
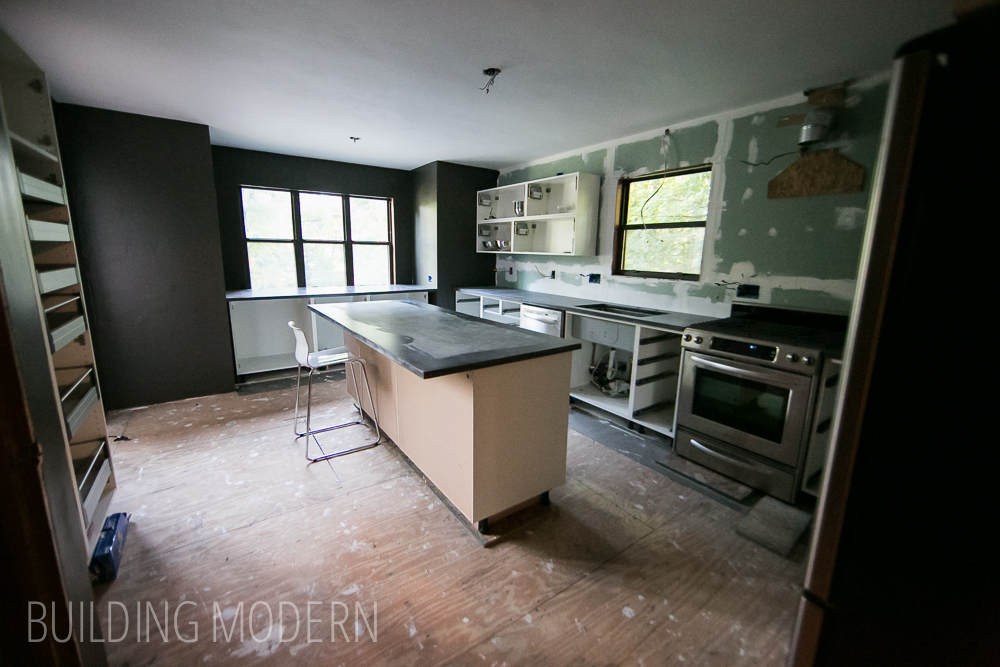
We next put the island countertops in place & clamped them together for stability. We had a cleat in place and feet on the cabinets, but didn’t secure the cabinets to the cleat due to time. The second largest countertop was just as heavy as the other one, but it was difficult in a different way: not as many people could help carry it because it was shorter.
The island countertop in place with a sigh of relief. The discoloration on the edges is from the wax in one of the moulds… it didn’t affect the end product.
And now for some “after installation photos” the next morning!
Here, you can see the dark charcoal grey color we chose for the walls. You can’t tell here, but it actually turned out a tinge more brown than I wanted – but the dark contrast with the white marble backsplash wall was going to look nice when finished! I’m writing this after the fact, but we decided to keep this color in half of the room – on the other side… the side that did not touch the countertops. We actually repainted this wall our “dark medium grey” color because, ultimately, this darker color looked too close of a match to the finished countertop color. Also, the “window wall” countertop slightly scratched the wall & it needed some touchups anyway.
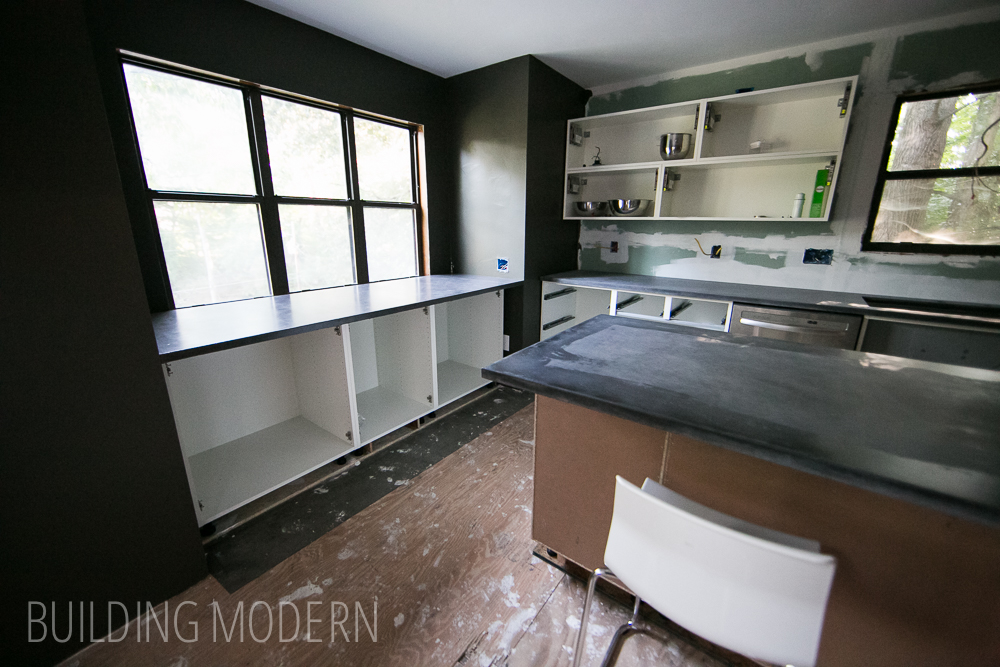
Remarkably, everything fit perfectly. The “left window wall” countertop fit snugly into place without drastically not fitting… so that was definitely a good thing – no need to shave anything down. (And I’m pretty sure it wasn’t going to be the countertop if it didn’t fit.)
Even more amazing was that the sink opening fit exactly where the sink was. I know we measured and measured again, but there was always that possibility the we were inaccurate.
We purposefully left the doors off of the cabinets so we wouldn’t accidentally damage anything during instillation.
For this portion of the project, we only did the countertop tops. We still needed to do the waterfall sides of the island, but we wanted to get the kitchen functional and move on with the other projects to finish the kitchen. Plus we were tired. Spencer and I were confident that we could carry & install the sides by ourselves later without recruiting anyone.
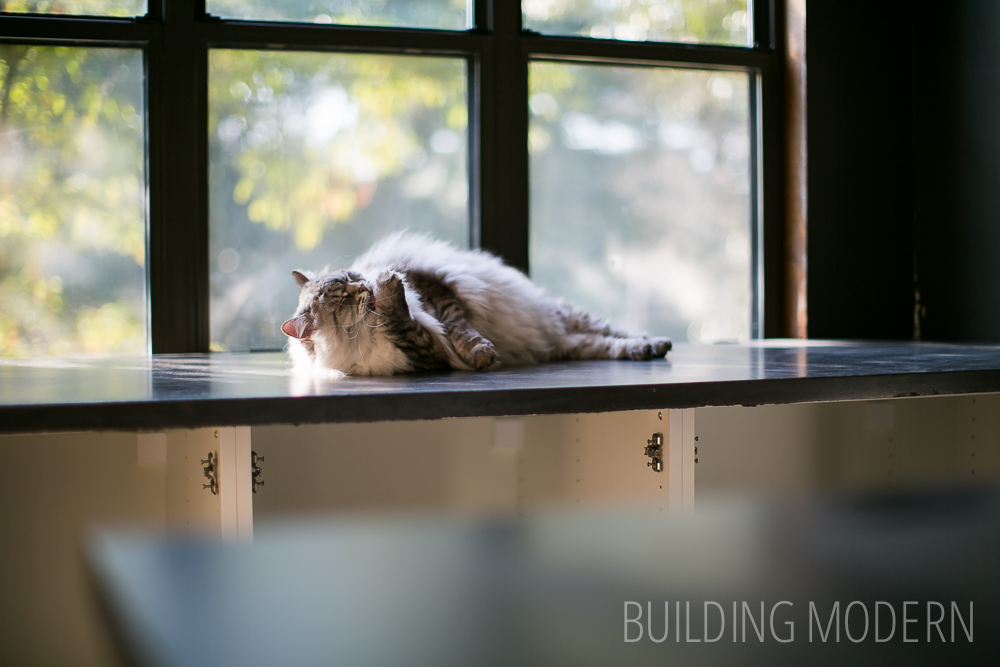
Izumi approves of her new perch. (She is only allowed on this one side countertop btw.)
We then needed to finish the sink wall & island countertops. I apologize for not having any action photos of sanding or finishing. Sanding creates a difference in how dark the countertop appears. Later, they become even darker with the finish applied.

…and, as I mentioned in the last post how we decided that we didn’t like the “swirl” finish of the left countertop, we decided to strip & refinish that one too. We bought a chemical gel paint stripper, painted it on, let it sit, & scraped it off.
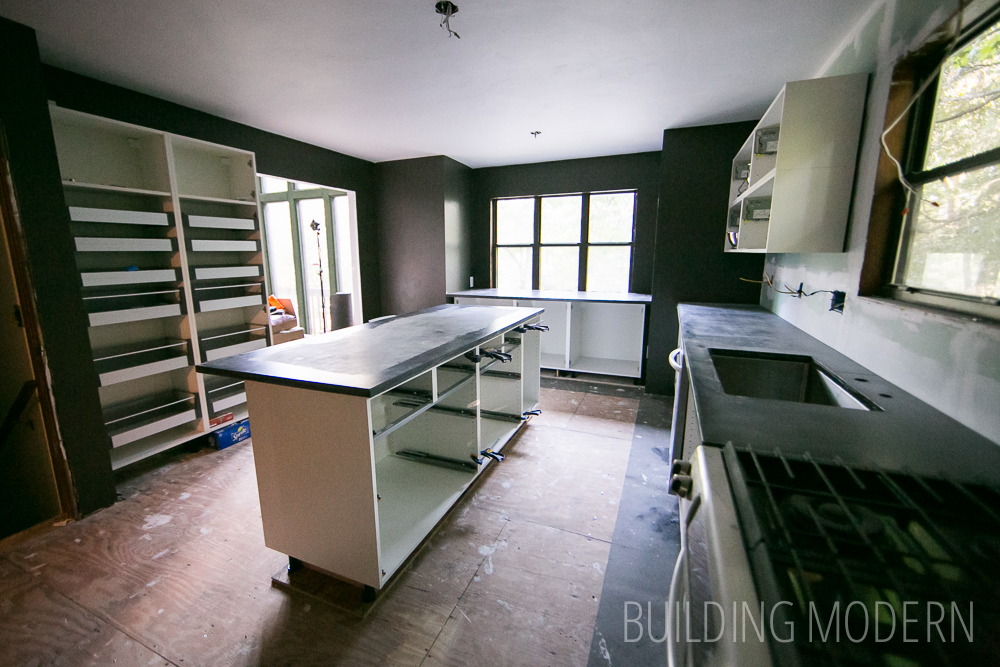
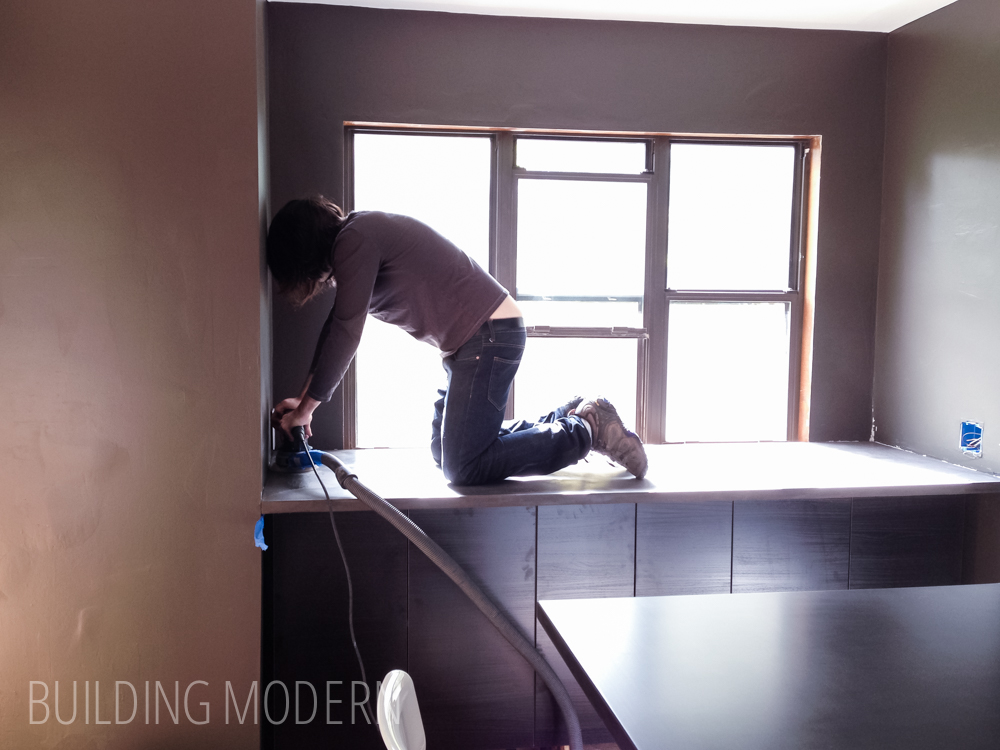
Spencer sanding this countertop… again. We protected the walls with a metal scraper to prevent the sander from gouging and hooked it up to the shop vac to reduce the mess. The walls are still the same color, just the bounce light from the foyer & iphone-ness makes them look different. Oh, and cabinet doors are on and you can barely see the one counter height stool we bought from the Ikea as-is section for like $30 (normally $80).
So, yay! We have technically a functional kitchen! No handles yet… or tile… or floor…or outlets…but functional!
Here’s a list of all of our concrete countertop posts:
Part 1) Materials and tools needed
Part 2) Making the templates & forms
Part 3) Preparation for the pour
Part 4) The first stage: spraying the beauty coat
Part 5) The second stage: compacting
Part 6) finishing: grinding, sanding, coating
Part 7) installation day
Part 8) the reveal
Other Related posts:
 Kitchen: DIY concrete countertops – finishing
 Kitchen: diy concrete countertops – materials & tools needed
 Kitchen: diy concrete countertops – the second stage of making concrete countertops reinforced with glass fibers
 Kitchen: diy concrete countertops – the first stage of making concrete countertops reinforced with PVA fibers
 Kitchen: diy concrete countertops – making the templates & forms
Wow! I absolutely love the color of these! Great job! How did they end up being such a dark grey? I think its awesome and so much different than any of the other DIY concrete tops I’ve seen.
Hi Rick, Thanks for your comments (and the complement)!
When we mixed the dry ingredients for the countertops, we included black iron oxide in the mix. Initially, the manufacturer suggested a certain amount… we made a sample, decided it was too light, and made another sample with a higher percentage. What’s nice is that the color is completely integrated into the concrete and isn’t just a stain on the surface of the material. The sealant on the surface of the countertop also makes it even darker.