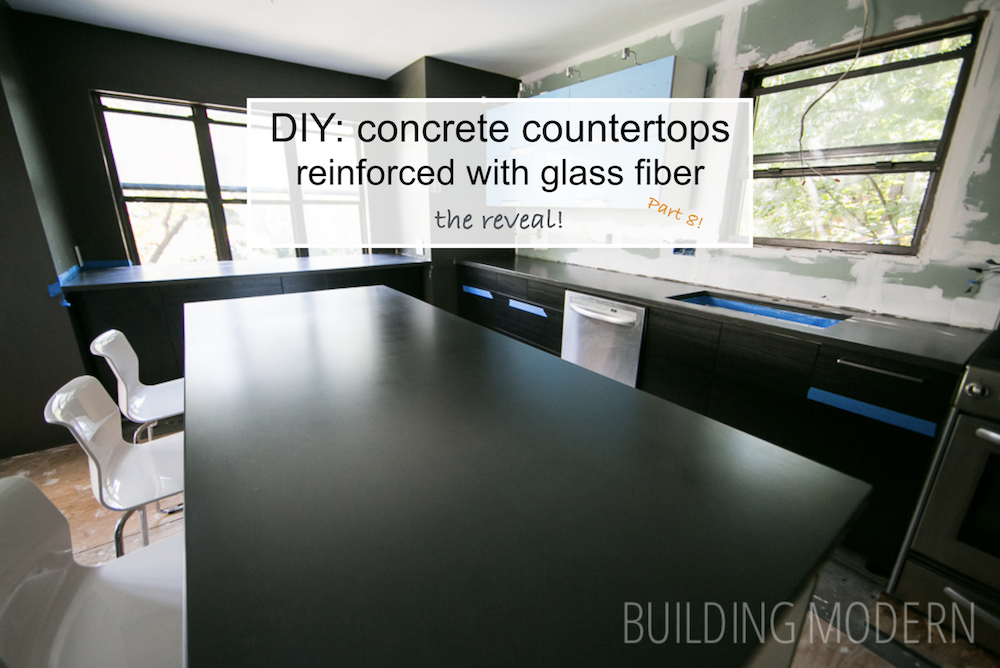
The finished countertops revealed!
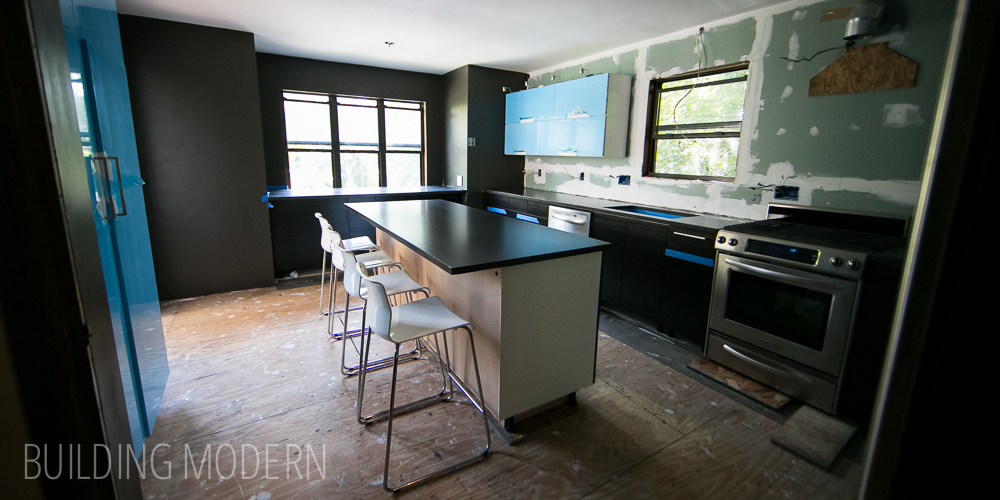
They look pretty good if I do say so myself:

We finished all of the countertops – except one against the left wall – in place… (that one we stripped the “swirl” finish & refinished a second time in place.) We lined the sink with paper towels and covered the walls with painters tape to protect them from the TK6 Nanocoat finish. We lightly brushed on the finish coat with even strokes along the entire length of the countertops. I think the results were pretty smooth – definitely not as smooth as a spray-on finish (not that that was an option), but still pretty smooth.

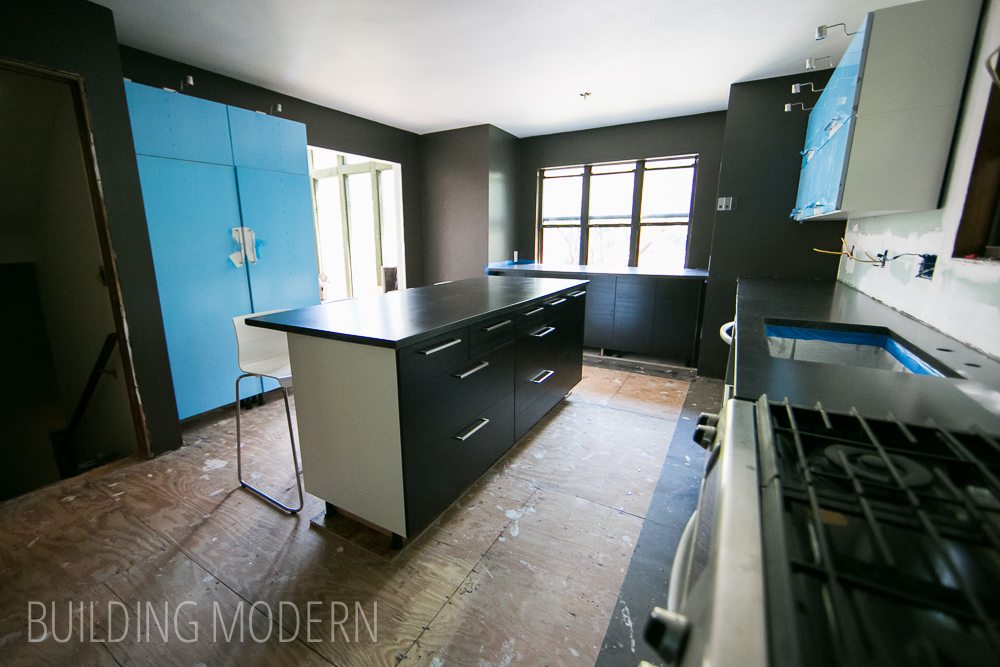
Oh, and while were at it, we put the doors and drawer fronts on the cabinets. Black/brown for the bottom cabinets & high gloss white for the uppers and tall cabinets.
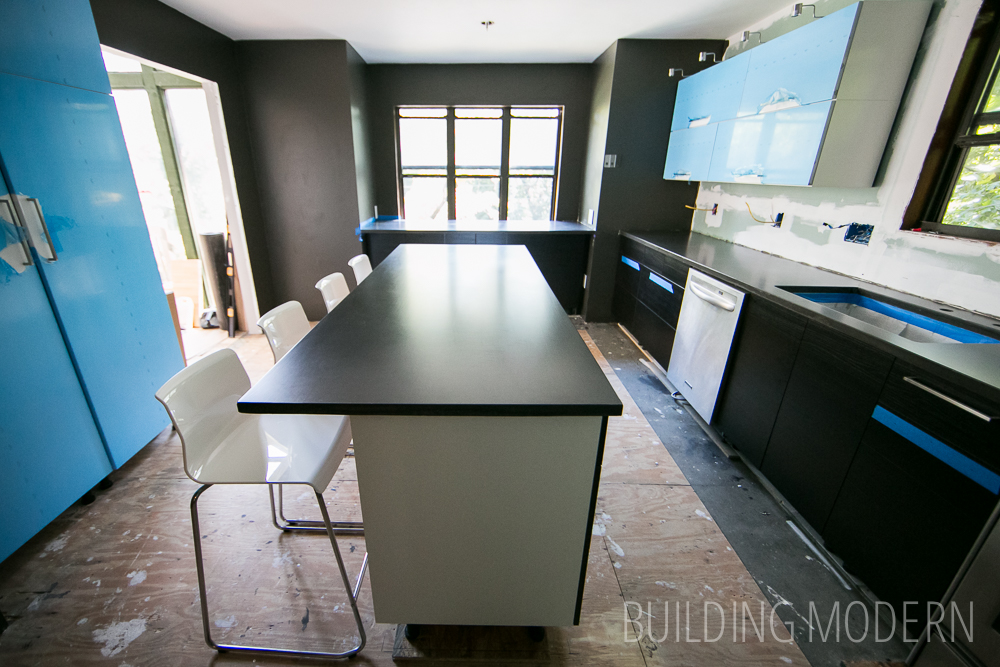
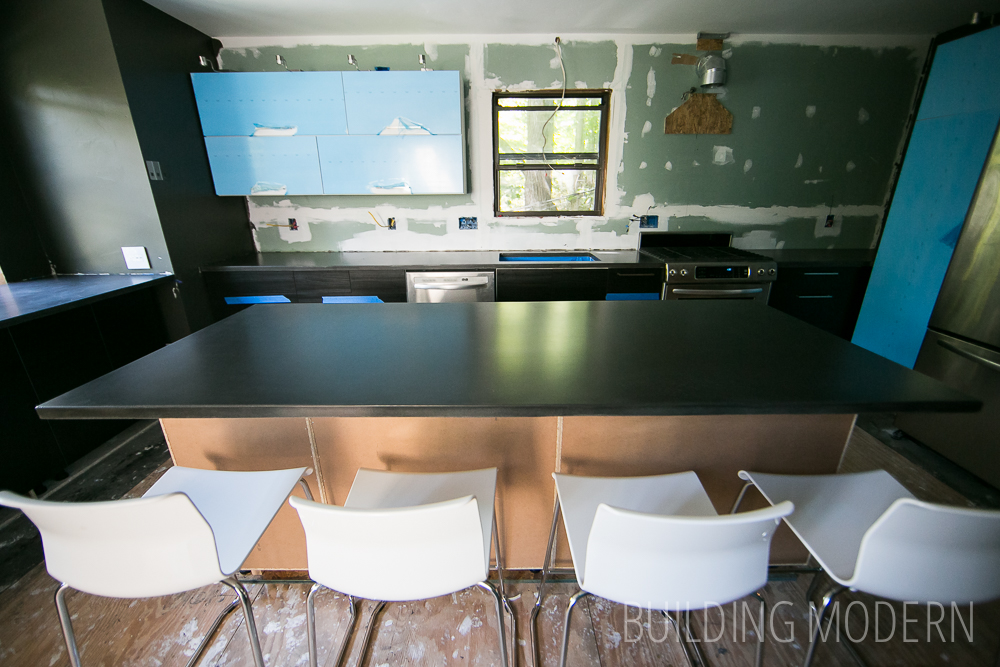
We also set the lights up on top of the cabinets (not actually installed) to see how we wanted to distribute them. The waterfall sides of the island, also made from the same countertop material, will be added later.
I spent some time looking into bar height stools and found out that they were silly expensive. We lucked out and all four of these chairs were in the as-is section of Ikea: one was a return and the other three were from the showroom display. These turned out to be the most comfortable of any stools we tried anyway… I just didn’t necessarily want everything to be Ikea, but the price was right.
Look at how nice the countertop looks! 😀
Just as a reminder, we went from this:
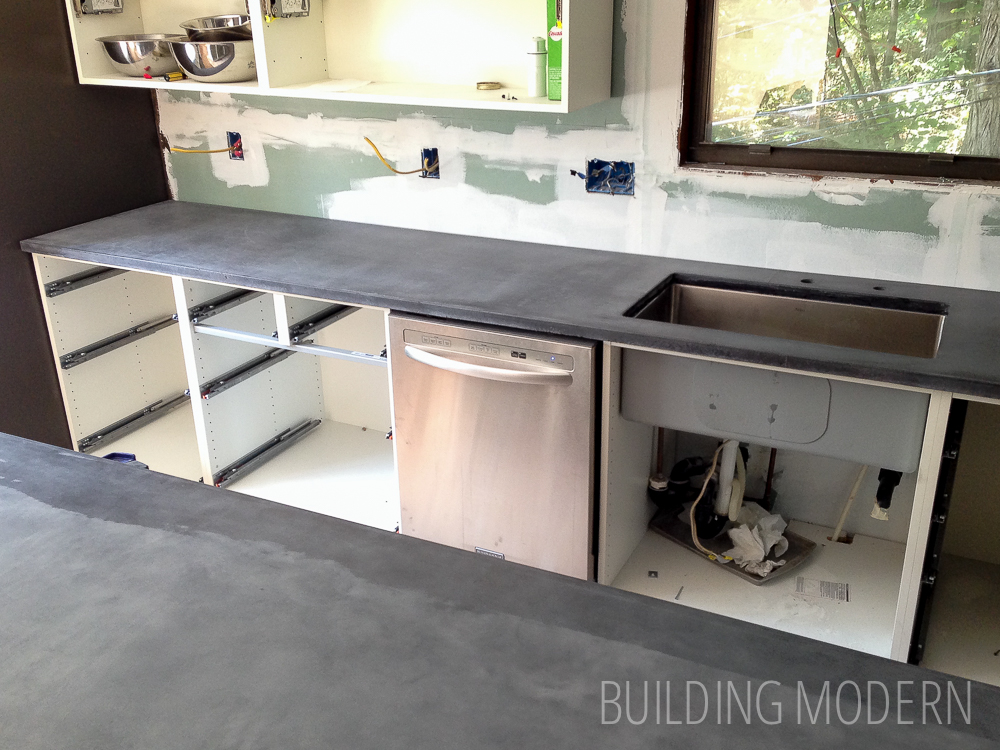
…to this:
Thats two major time-consuming projects (that typical renovations don’t usually have) checked off the list: skim coating the ceiling and making our own concrete countertops. I’m glad those messy projects are done. Onward to installing the walnut hardwood floors, electrical, light fixtures, tile, and all the other “little” things!
Here’s a list of all of our concrete countertop posts:
Part 1) Materials and tools needed
Part 2) Making the templates & forms
Part 3) Preparation for the pour
Part 4) The first stage: spraying the beauty coat
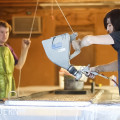
Part 5) The second stage: compacting
Part 6) finishing: grinding, sanding, coating
Part 7) installation day
Part 8) the reveal
Other Related posts:
 Kitchen: diy concrete countertops – materials & tools needed
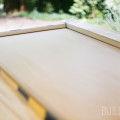 Kitchen: diy concrete countertops – making the templates & forms
 Kitchen: diy concrete countertops – the second stage of making concrete countertops reinforced with glass fibers
 Kitchen: diy concrete countertops – the first stage of making concrete countertops reinforced with PVA fibers
 Kitchen: diy concrete countertops – preparation for the pour
Did you use the extra low gloss or high gloss tk6 on this project?
Hi Stephanie – I believe we used the low gloss for it. It isn’t terribly glossy, more like a satin. However, I might also look into 511 Impregnator (different brand) or another alternative sealant were we to do it again. The tk6 scratches very easily (as in, slide a plate & it can scratch). Likewise, it absorbs oil stains very easily. So, while it definitely works, I’d test out a few different options by making a sample piece to test them on before selecting the finish to use. Fortunately / unfortunately, all of ours are already have the finish on them, so we don’t have any working samples to try other products on. I hope this helps!! – Spencer