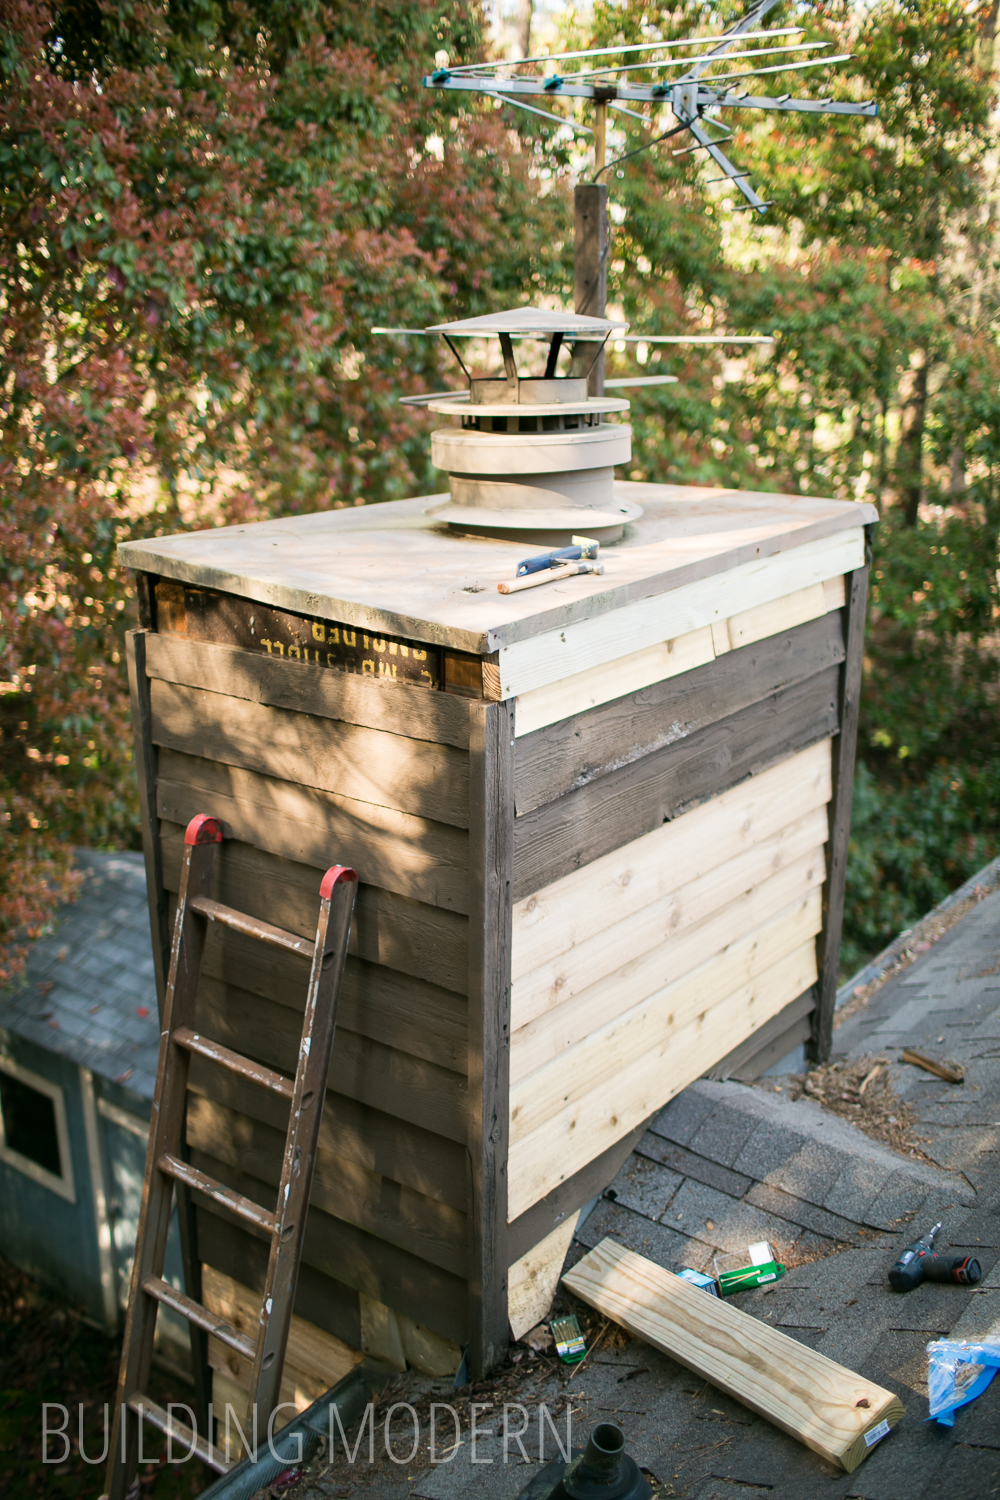
Our next outdoor project for the house was replacing a few cedar boards on our chimney. I don’t have a before photo, but just imagine some siding boards in rough enough shape to justify replacement. Replacing boards in this small area is probably the simplest and most straight-forward siding replacement project for a beginner. The boards were very short and, because we were matching the cedar, very light weight.
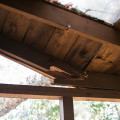
Here we are almost done replacing the siding on the right side of the chimney. The bad boards were all at the gutter and lower… there was definitely a problem with water in this area – most likely overflow from the roof not making it all the way into the gutter.


For this project we needed cedar siding, nails and exterior caulk. It is suggested that plain galvanized nails will react with the cedar and create staining and that hot-dipped galvanized, stainless steel, or aluminum nails will not react.

On a side note, beveled cedar siding is stupid expensive: it is more expensive than fiber-cement board. Unfortunately, fiber-cement board (most people will recognize the brand name Hardee board) is not manufactured with a bevel… so both the angle and texture will not match when patching existing siding.

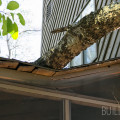
We replaced a few rotted boards at the top of the chimney as well. Water most likely splashes up onto the back of the chimney from the roof and leaves collect around the chimney cricket (the little pointed roof that diverts rain water around the chimney).

Spiral shank nails are sometimes difficult to remove because they sort-of twist like a screw when used. Apparently they should be used on hardwood and not softwood (they may split the softwood.) These nails were in the bigger boards and on our front porch not in the siding itself.

A closer look at the edge of the cricket/ side of the chimney/ gutter area. Clearly this has been a trouble spot for the previous owners. There is a bit of haphazard flashing and a home-made kick out flashing.

We decided to continue and replace a few more boards.


The top board against the metal cap was also in rough shape, so we decided to replace it as well.

The top board will be replaced with 2×4 pressure treated lumber.

Marking the length:

Cutting the board to size. We moved the saw from the garage to the back porch for efficiency and, for me specifically, I found that it was easier to use on the floor. Previously, when the saw was set up on a table, there must have been something about the angle or reach of the saw’s arm compared to my height that made it awkward. I’m not short, I’m 5’6″ but suddenly with the saw on the floor, it was much easier to use. Moral of the story: try different table heights and it may make a difference. (Since this time we have replaced this saw and have also purchased a proper saw stand.)


I will also take an aside and say we decided it was about time to replace our 3M respirator filters. Here’s a photo comparing the new filter and the used.

Back to the chimney: we removed the nails and it was easy to lift up the metal chimney cap and replace three sides of the upper boards.

The metal cap was easy to lift up and slide the new board underneath.

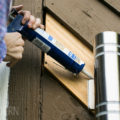
Next up: Quad exterior caulk.
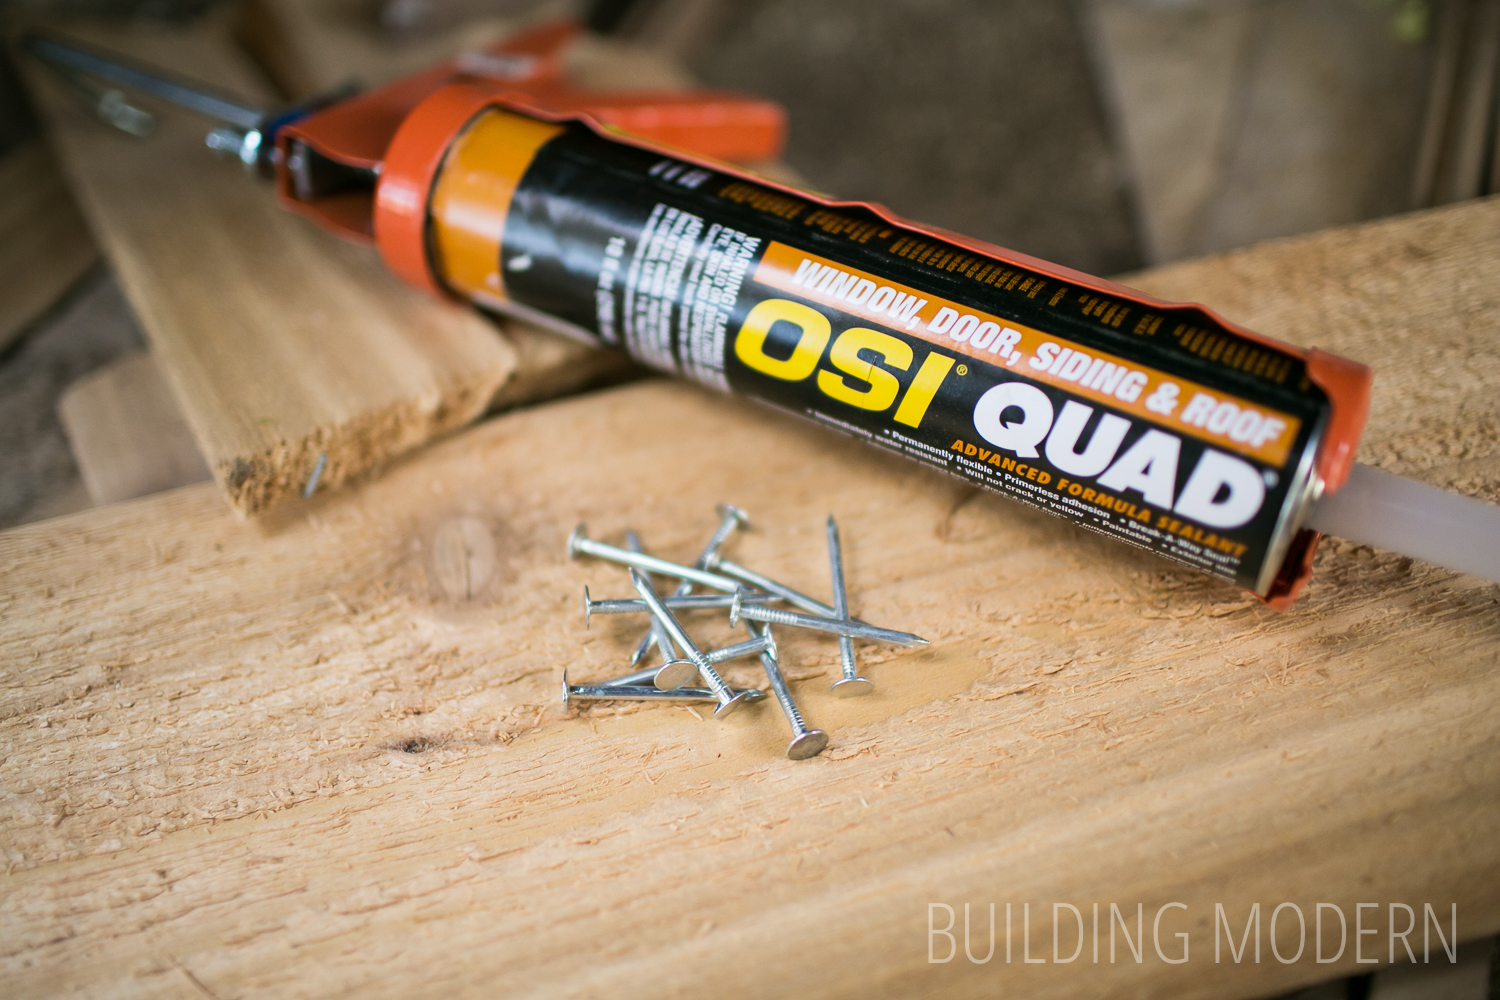
We caulked the new boards and refreshed the old caulk on the existing siding.

At the corner where the chimney meets the house, you couldn’t see it very well with the naked eye, but in this photo you can see plenty of old caulk and a miss match on the house stain color… clearly this has been a double spot.

This is far from a perfect repair, but it is progress. We will need to stain the new boards and investigate if there is indeed water coming down from the gutter and saturating the siding – but I’ll save that for a later date!