
As you might have seen in the foyer floor demo post, we had to hire some guys to help move our projects along (as I was incompasitated due to an unscheduled ER visit). The guys accomplished a few tasks while they were working in our house for two days:
Day 1:
• remove the pantry
• jack up joists under the kitchen & foyer, add support walls
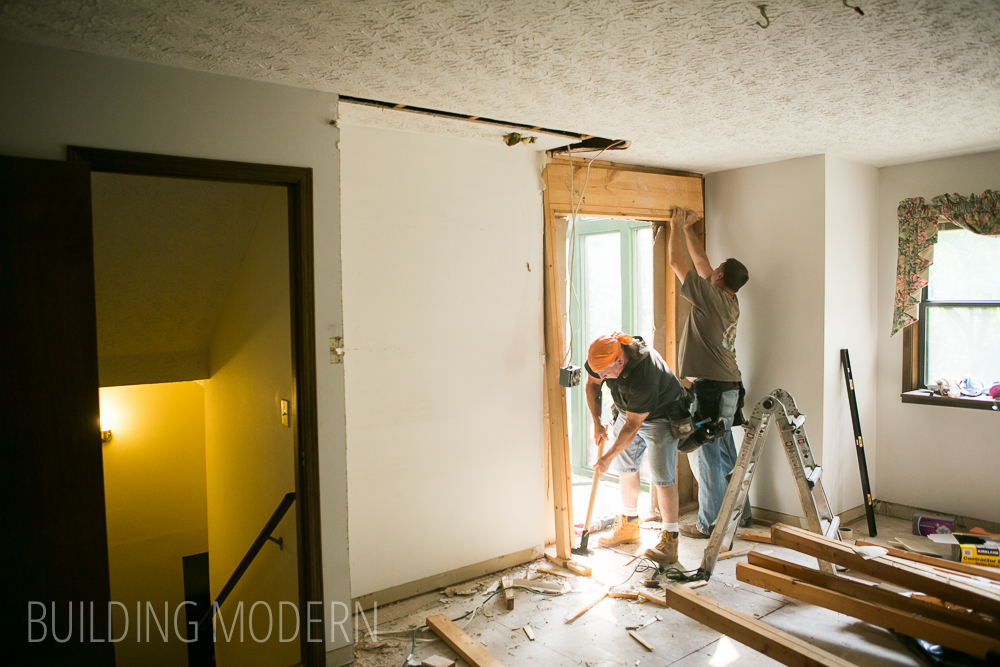
• expand the foyer/kitchen door and, as a result, slightly move a switch
Day 2:
• remove the foyer subfloor (in order to remove the tile) & replace with new
• install a new front door & lock
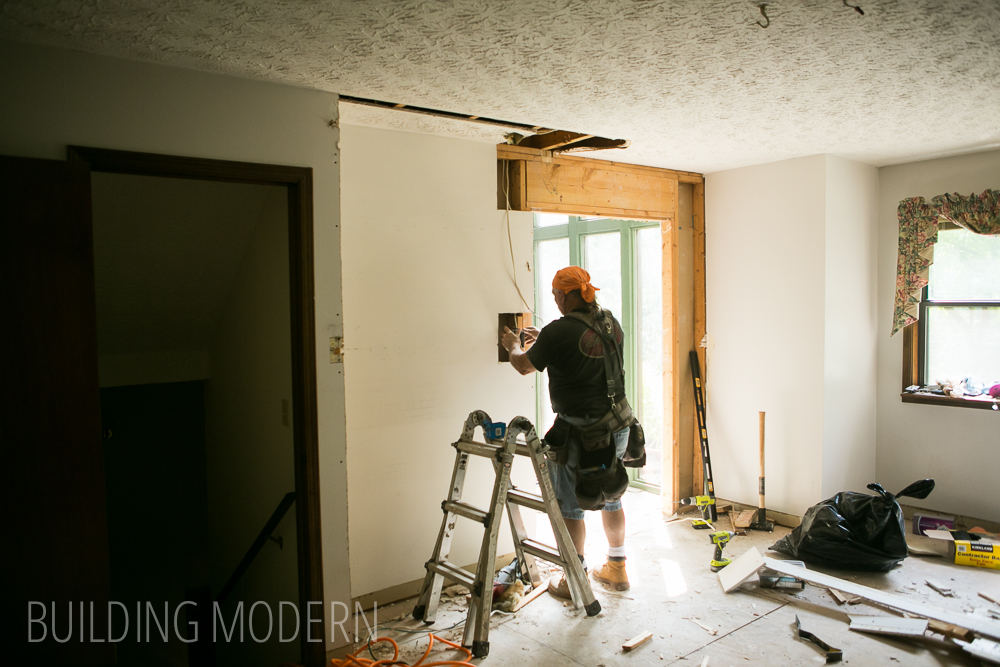
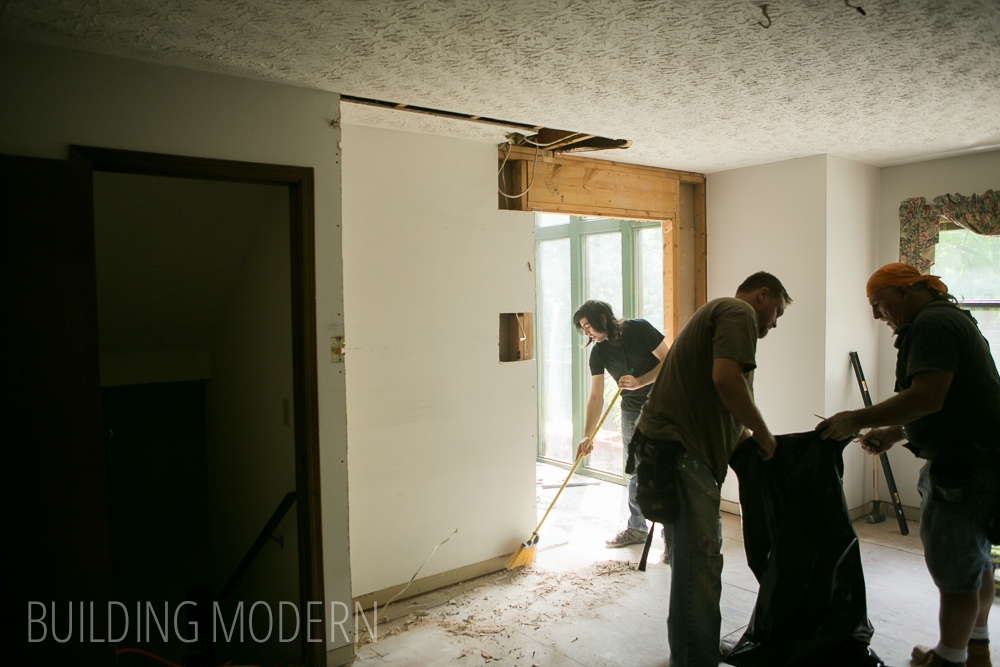
Here’s what day one looked like:
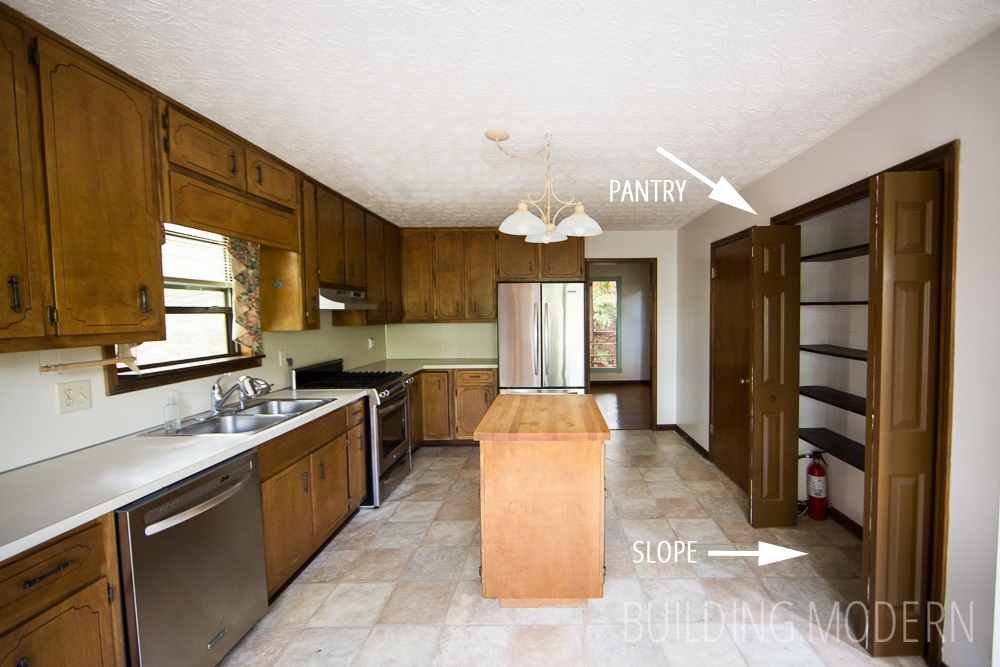
When we first toured the house, we could easily see the slope in the foyer floor. When we had our inspection, we could see that in the garage, below the foyer, a joist had been cut to accommodate the hvac. This was most likely done when the house was built. We knew about the problem when we bought the house and were definitely going to fix the issue. The garage ceiling wasn’t finished (insulation, but no drywall), so we could access the problematic joist easily. Bonus, the joist was very near a wall, so if we needed to support it (via a post… or wall… or whatever solution) it would not be in the middle of a parking space.
When we hired the contractor to actually fix the problem, as he pulled up the subfloor in the foyer, he noticed an additional factor that was contributing to the sag. Apparently, our master bedroom wall was not siting on top of a joist – it was sitting between joists. Great. Who builds a house like that? First, hvac people chop a joist to run their pipe & a major wall – that’s most likely helping holding up the roof – is not sitting on anything. This also got me wondering about the width of the foyer “hall” – is the size intentional or did someone make a mistake when building the house? I have looked around at similar floor plans in our neighborhood… I can’t really tell, but it seems that we might have a larger version of this house plan with possibly a wider foyer. Anyway, there wasn’t really anything we could do about the master bedroom/foyer wall issue. We just know about it now and supported the cut joist.

They jacked up the cut joist as much as they dared – not wanting to crack the drywall up above in the foyer – and installed a little wall. It was their opinion that a wall was needed instead of a post. A post could possibly be knocked over by a car or something and according to them, a post would not be to code. We are still not sure what code states in this situation – considering that there is already a metal post between the car bays to help support the metal I beam in the garage.
While were on the topic of sloping floors, we also had a bit of a slope in the kitchen (inside the pantry) that we needed to address. As we explored the joists below the kitchen (hidden behind a drop ceiling), we discovered that the joist under the pantry was not supported by any vertical studs… it was just dangling in mid air. So, the guys did the same thing – jacked it up just enough to make a difference and insert a support wall. Again, in this instance, the new support wall was located by an existing wall – so no weird post in the middle of the room.
On to removing the pantry and expanding the foyer/kitchen door!
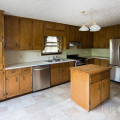
The pantry before:
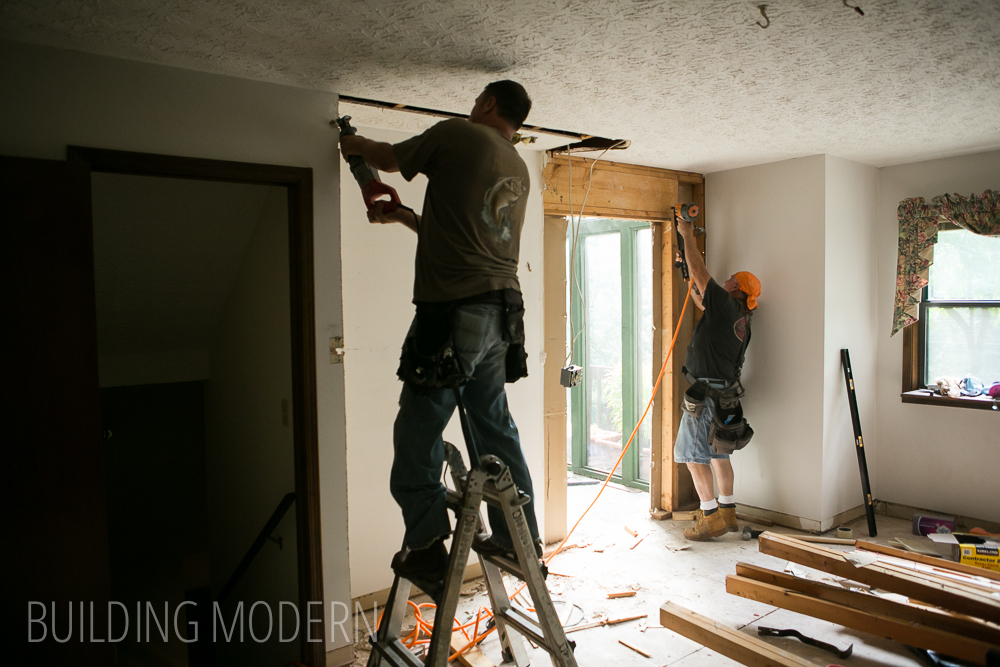
Spencer set up a time lapse camera so I could see what was happening in the kitchen. He didn’t want to impose too much on the men working on our house, so he only shot for the portion where they expanded the door & started to move a light switch. (hence no photos of jacking up the joists or pantry demo.)
You can see in this image on the ceiling, the outline where the pantry once was.
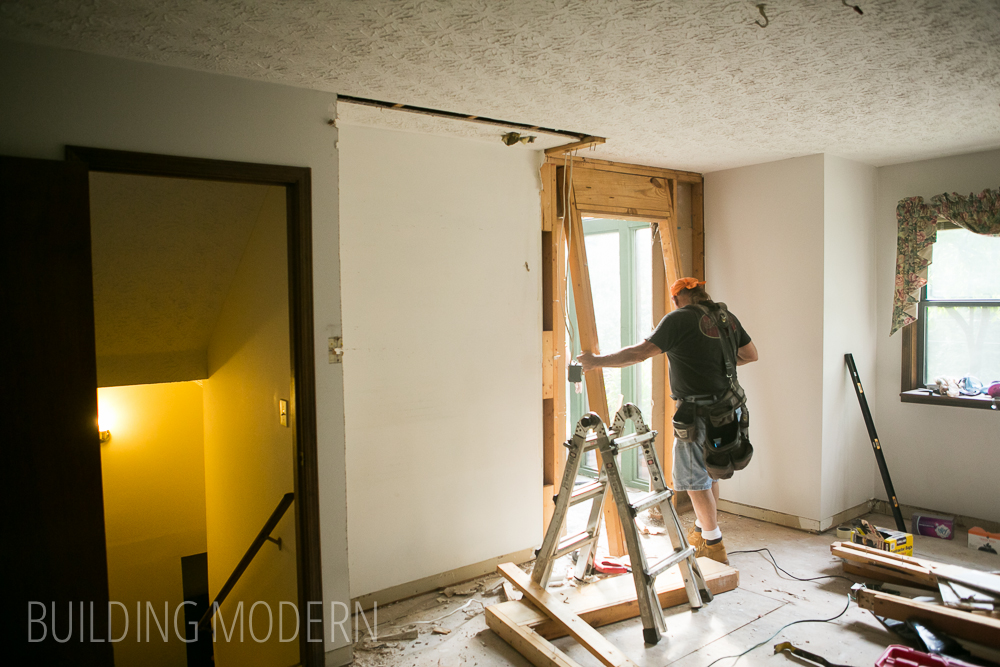

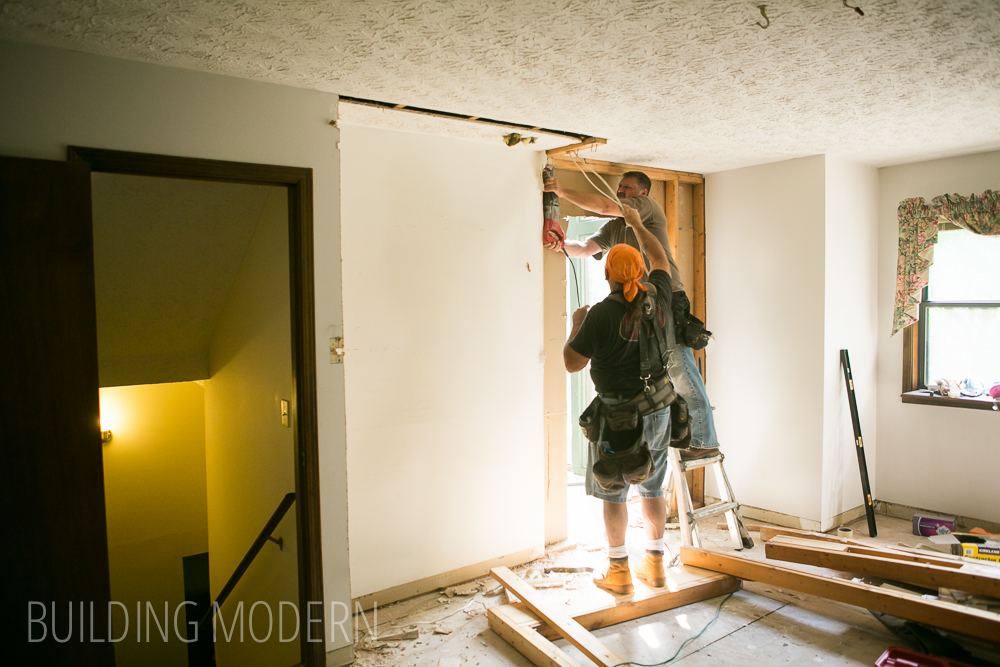

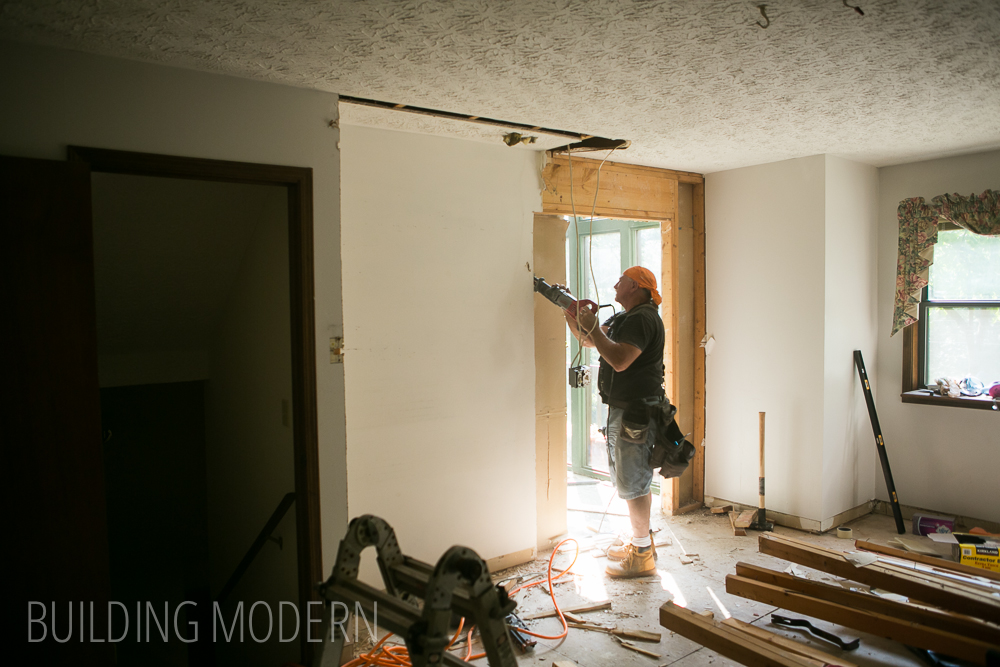
We were replacing the “built in” pantry with tall ikea cabinets and, because we had the door frame widened, we needed to discuss where the light switch could be placed.

Technically, there was space for the switch box, but the cover plate would be a little wide for the location. In the future, we will have to trim the plate down in order for it to fit – but that was what we needed to do because of the situation.
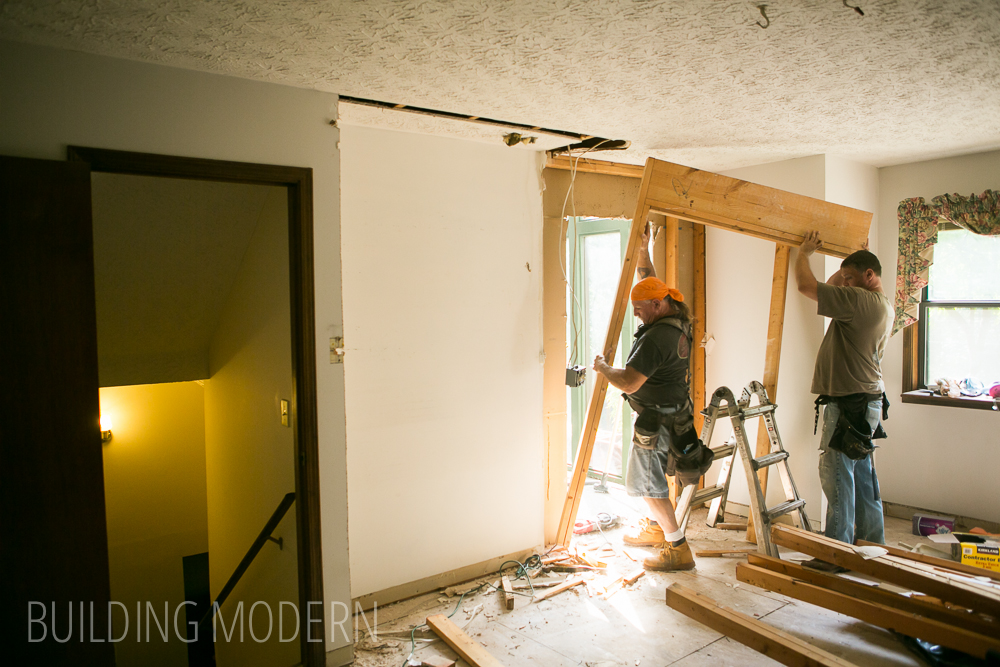
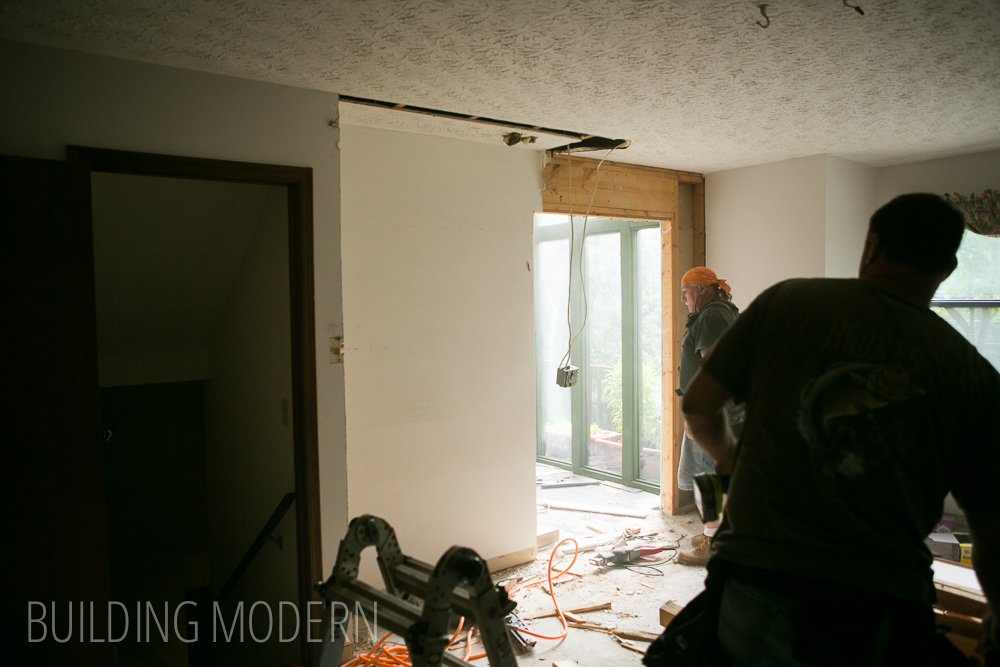
The new doorway!

We paid for two days of labor at $450 per day… which equals $900 in labor total. We spent $133.87 in materials total (2×4 studs & a header at $28.87 and plywood subflooring at $105). For a grand total of $1,033.87 for this project.
In retrospect, if I wasn’t sick & knowing what we know now, we could have definitely widened & added the new door header, and jacked up the joists. But, at the time, I was worried about supporting the kitchen/foyer ceiling while the header was being replaced… (apparently that wasn’t a concern as the hired guys just took out the old and popped in the new with out support.) We also couldn’t find a proper jack – post jacks were too short for our basement, but I did find the type of jack we needed on an episode of This Old House. Unfortunately, the host never said the name of the jack. I asked at multiple home improvement stores and described what we wanted to do, but our efforts lead nowhere. (Both our dads suggested using a car jack – we weren’t convinced). As I said in the post about the foyer demo, I don’t think we would have known to just cut out and replace the subfloor in order to get rid of the tile, so overall I am still happy with the fact that we hired some people to help with this portion of our renovation.


I just came across your blog and love it. Sorry for all of the troubles you’re having. We bought a foreclosure and found different things that were done improperly. It’s so frustrating! Glad they were able to fix the issues!